

Yaesu DVS-2 User Manual
DVS.2
Digital
Recorder
YAESU
IiIUSEI{
CO.,
LTD.
'C.P.0.
Box
1500
TOKYO,
JAPAII
voice
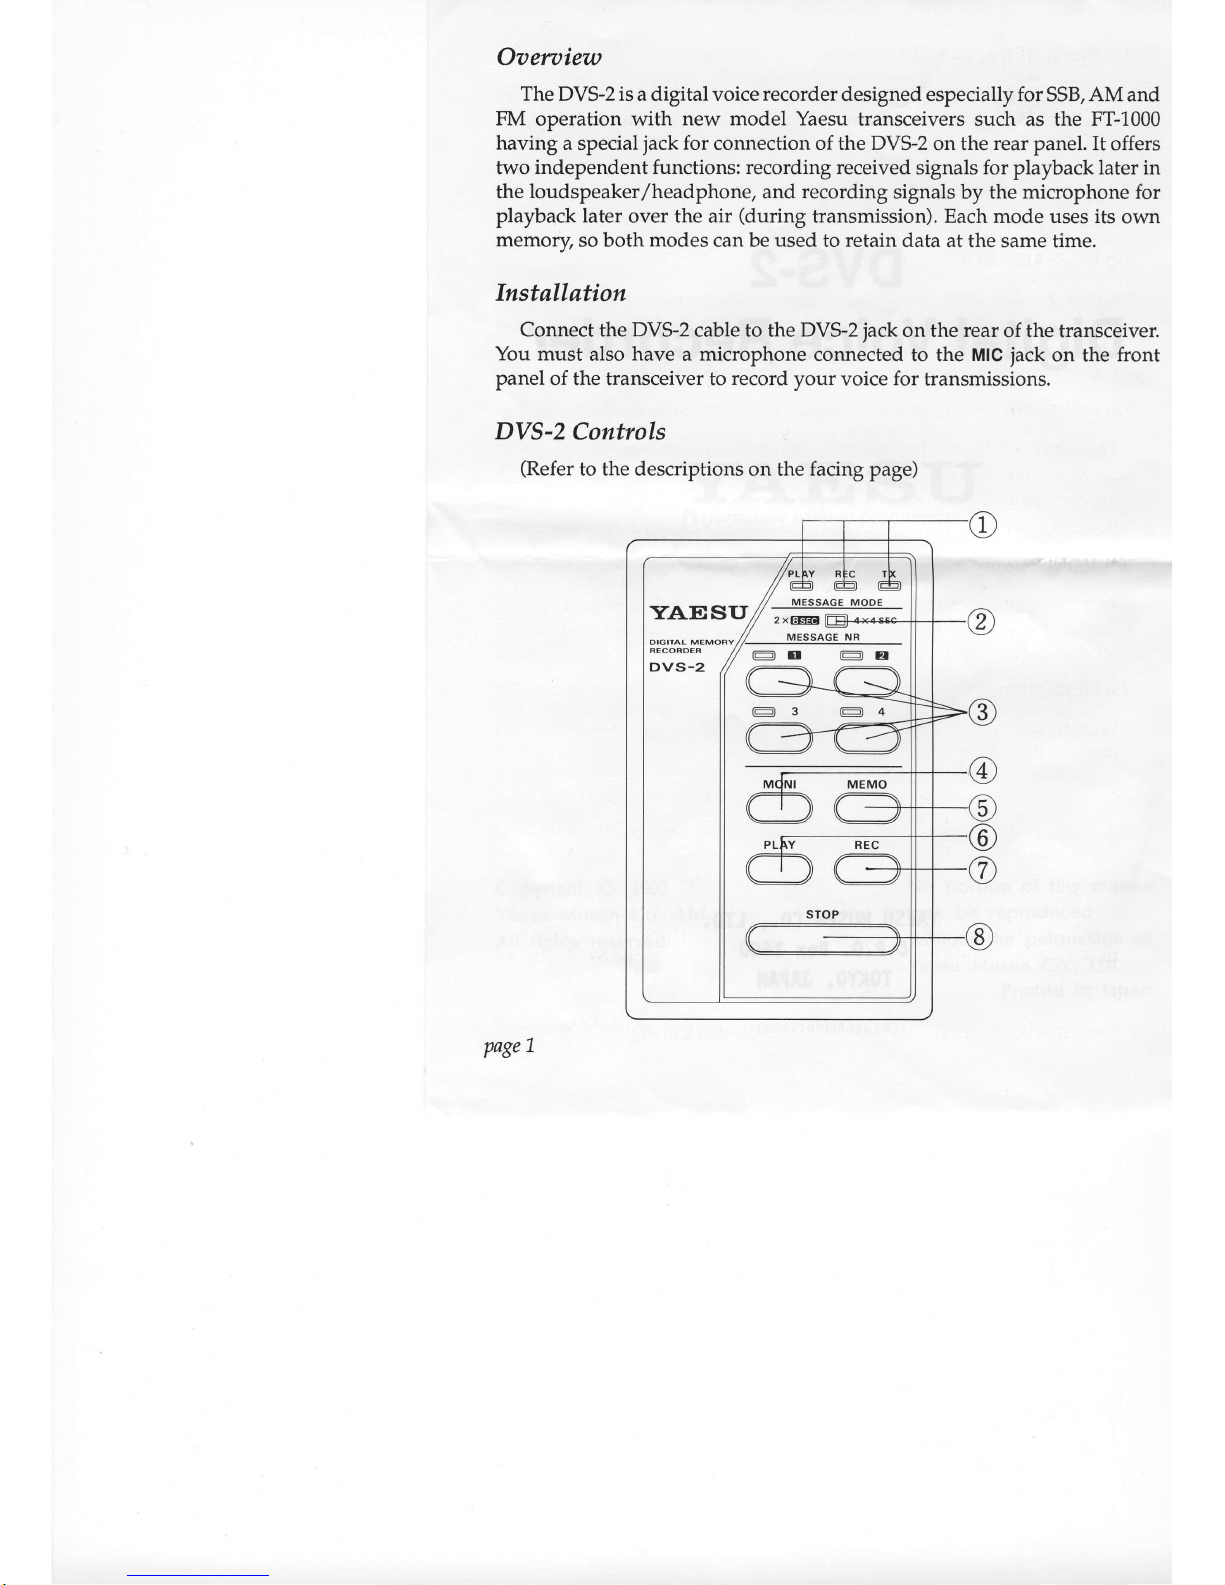
Oaeruiew
The DVS-2 is a digital voice recorder
designed especially for SSB, AM
and
FM
operation with
new model Yaesu
transceivers such as the FT-1000
having a special
jack
for connection of the DVS-2
on the
rear
panel. It offers
two
independent functions: recording
received
signals
for
playback later in
the
loudspeaker/headphone,
and recording signals
by the
microphone
for
playback later
over the air
(during
transmission). Each mode uses
its own
memory,
so both
modes
can be used to retain
data at the same time.
Installation
Connect
the
DVS-2
cable to the
DVS-2
jack
on the rear
of the transceiver.
You must
also
have
a microphone connected
to the
MIC
jack
on
the
front
panel
of the transceiver to
record
your voice for
transmissions.
DVS-T
Controls
(Refer
to the descriptions on the facing page)
page 1
YAESTI
MESSAGE
MODE
@r| @E
@384
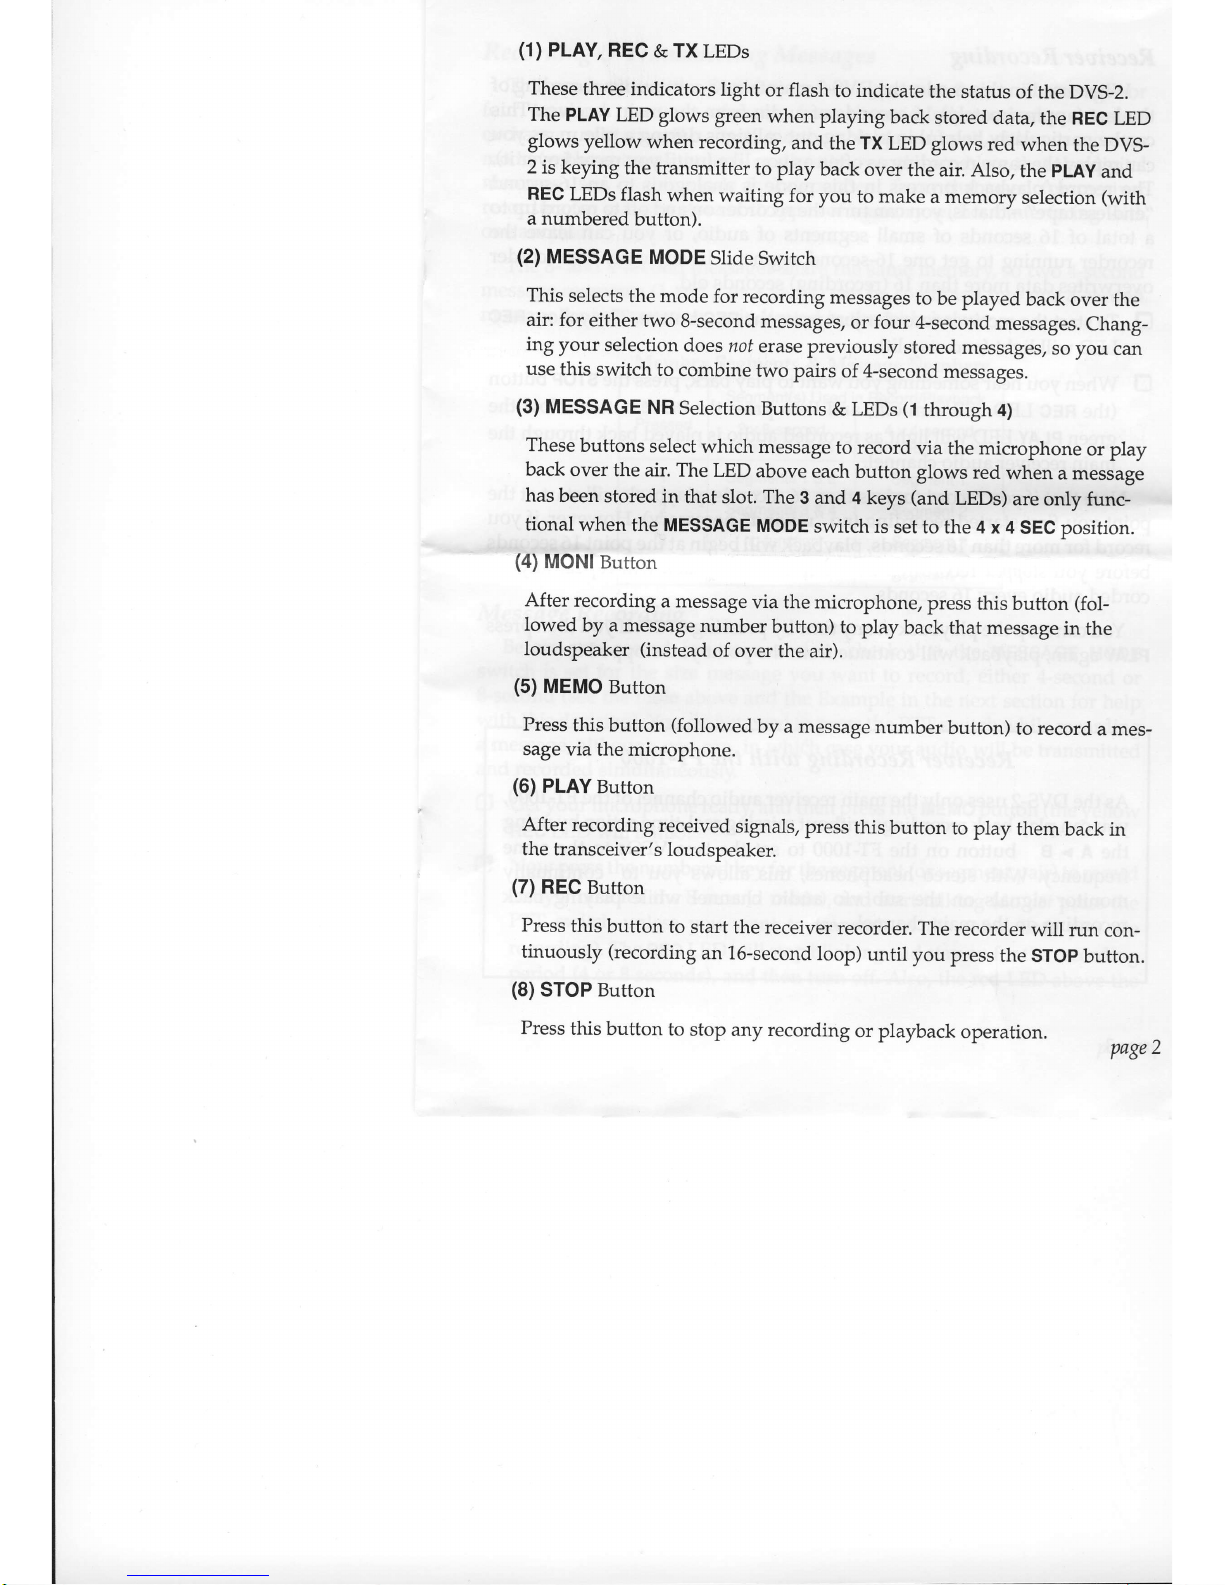
(1)
PLAY,
REC
& TX LEDs
These
three indicators
light
or flash
to indicate
the
status
of the DVS-2.
The PLAY
LED
glows
green
when playing
back
stored
data, the
REC LED
glows
yellow
when recording,
and
the
TX
LED glows
red
when
the DV$
2 is
keying
the
transmitter
to play
back
over
the air. Also,
the
pLAy
and
REC
LEDs flash
when
waiting for
you
to make
a memory
selection
(with
a numbered
button).
(2)
MESSAGE
MODE
Slide
Switch
This
selects
the mode for
recording
messages
to be played
back
over
the
air: for
either
two
8-second messages,
or
four
4-second
messages.
chang-
ing
your selection
does
not erase previously
stored messages,
so you
can
use
this
switch
to combine
two pairs
of
4-second
messages.
(3)
MESSAGE
NR
Selection
Buttons
& LEDs
(1
through
a)
These
buttons
select
which
message
to record
via the microphone
or pray
back
over the air. The
LED
above each
button
glows red
when a message
has
been
stored in
that slot. The
3 and
4 keys
(and
LEDs)
are
only func-
tional
when
the MESSAGE
MODE
switch is
set to
the 4 x 4
sEc
position.
(4)
MON!Button
After
recording
a message
via the microphone,
press
this
button
(fol-
lowed
by a message
number
button)
to play
back
that message
in
the
loudspeaker
(instead
of over
the
air).
(5)
MEMO
Button
Press
this button
(followed
by a message
number
button)
to record
a mes-
sage
via the microphone.
(6)
PLAY
Button
After recording
received
signals,
press
this
button
to play
them back
in
the transceiver's
loudspeaker.
(7)
REC
Button
Press
this
button
to start
the receiver
recorder.
The
recorder
will
run con-
tinuously
(recording
an 16-second
loop)
until
you press
the srop
button.
(8)
STOP Button
Press
this
button
to stop
any recording
or
playback
operation.
page 2
 Loading...