

Page 1

MP3 player
in an USB flash drive format
Instruction manual
Page 2

2
3
Table of contents
5 Chapter 1 Intended use
6 Chapter 2 Safety information
8 Connecting to a computer
10 Battery insertion and information
12 Chapter 3 The player
12 Controls and indicators
13 Turning ON/OFF
14 Connecting earphones or an amplier
15 Chapter 4 Basic operation
15 Playing music les
16 A-B repeat
17 Main menu
19 Playing recorded les
20 Recording voice les
20 Settings
24 Intro
24 Memory
25 Browser
27 Chapter 5 Troubleshooting
28 Chapter 6 Maintenance, cleaning and disposal
30 Chapter 7 Tips and information
31 Chapter 8 Specications
31 Technical data
32 Delivery contents
33 Chapter 9 Service
Page 3

4
5
Dear Customer:
Thank you for purchasing the MP3 player BogieMan V from
X4-TECH. This instruction manual will explain and help you
to understand how this device operates, as well as provide
you with information on maintenance, cleaning and safety
procedures. To maintain this products condition and ensure safe operation, we would like to request the owner to
take time to read and follow all instructions found in this
manual carefully! Retain this instruction manual for future
reference. Should any questions or suggestions arise regarding the BogieMan V, then please contact your local dealer
for further information. We look forward to you recommending us to others and wish you hours of enjoyment with
your BogieMan V MP3 player!
Your X4-TECH team
The product described in this manual is EMV-certied and
fullls all European and National guideline requirements. A
declaration of CE conformity has been established for this
product. Certication has been documented and entrusted to the manufacturer. All company names and product
names are trademarks of their respective owners. All rights
reserved.
This product is intended for music le playback in an MP3
or WMA format and features an available memory capacity
16 GB. Use the USB 2.0 connection to copy music les to
your MP3 player; during data transport between two com
puters you will also be able to le other data in memory
as well.
The labels found on the device should never be removed or
damaged in any way. They serve and are intended to iden
tify product safety. Misuse or operating the device in any
other way than described in this manual could lead to or
cause damage to the device. Furthermore, this could invol
ve such risks as short circuiting, re, electric shock etc.
2
Intended use
1
Chapter 1 Intended use
Page 4

6
7
Neglecting or ignoring the instructions found in this manual can lead to damage occurred as a result of improper use,
which voids all warranty claims. We assume no liability for
consequential damage! We assume no liability for personal
or property damage resulting from the failure to comply
with the safety instructions, improper operation and hand
ling. Under such circumstances, all claims under warranty
will become void.
Complying with the essential requirements of the European health, safety and environmental protection legisla
tion (CE), any unauthorized modication and/or change on
the device is prohibited and will void the warranty and all
warranty claims.
This device is not a toy and is not intended for children.
Keep it away from children at all times to avoid possible in
jury, as children can not judge the dangers involved when
handling electrical devices. Furthermore this product con
tains small parts that could be swallowed.
› This device should never come in contact with water or
moisture. Condensation can build up suddenly, when this
device is brought from a colder into a warmer area (e.g.
when transporting). Should this happen, allow the device
to warm up to room temperature rst before using.
Chapter 2 Safety information Chapter 2 Safety information
› Care should be taken that liquids (for e.g. in pails, vases
or plants) do not come in contact with the interior or are
placed anywhere near the device. This can not only dama
-
ge the device, but also become a re hazard.
› Never place any sources of re on top of or near the device
(e.g. lighted candle).
› Operate this device in a moderate climate and never ex
-
pose to extreme temperatures, such as high humidity.
› Never leave packaging material lying around unsupervi
sed. For children it could become a hazardous toy and lead
to serious injury.
› Your full concentration and attention is required while
driving in trac (as well as in many other surroundings).
Listening to, just as well as operating your MP3 player with
earphones/headphones can divert one’s attention and be
just as distracting, as using your cell phone while driving.
In case of an accident, insurance coverage might be denied
and you could be partially blamed for the accident respec
tively!
Safety information
2
Page 5
8
9
Chapter 2 Safety information Chapter 2 Safety information
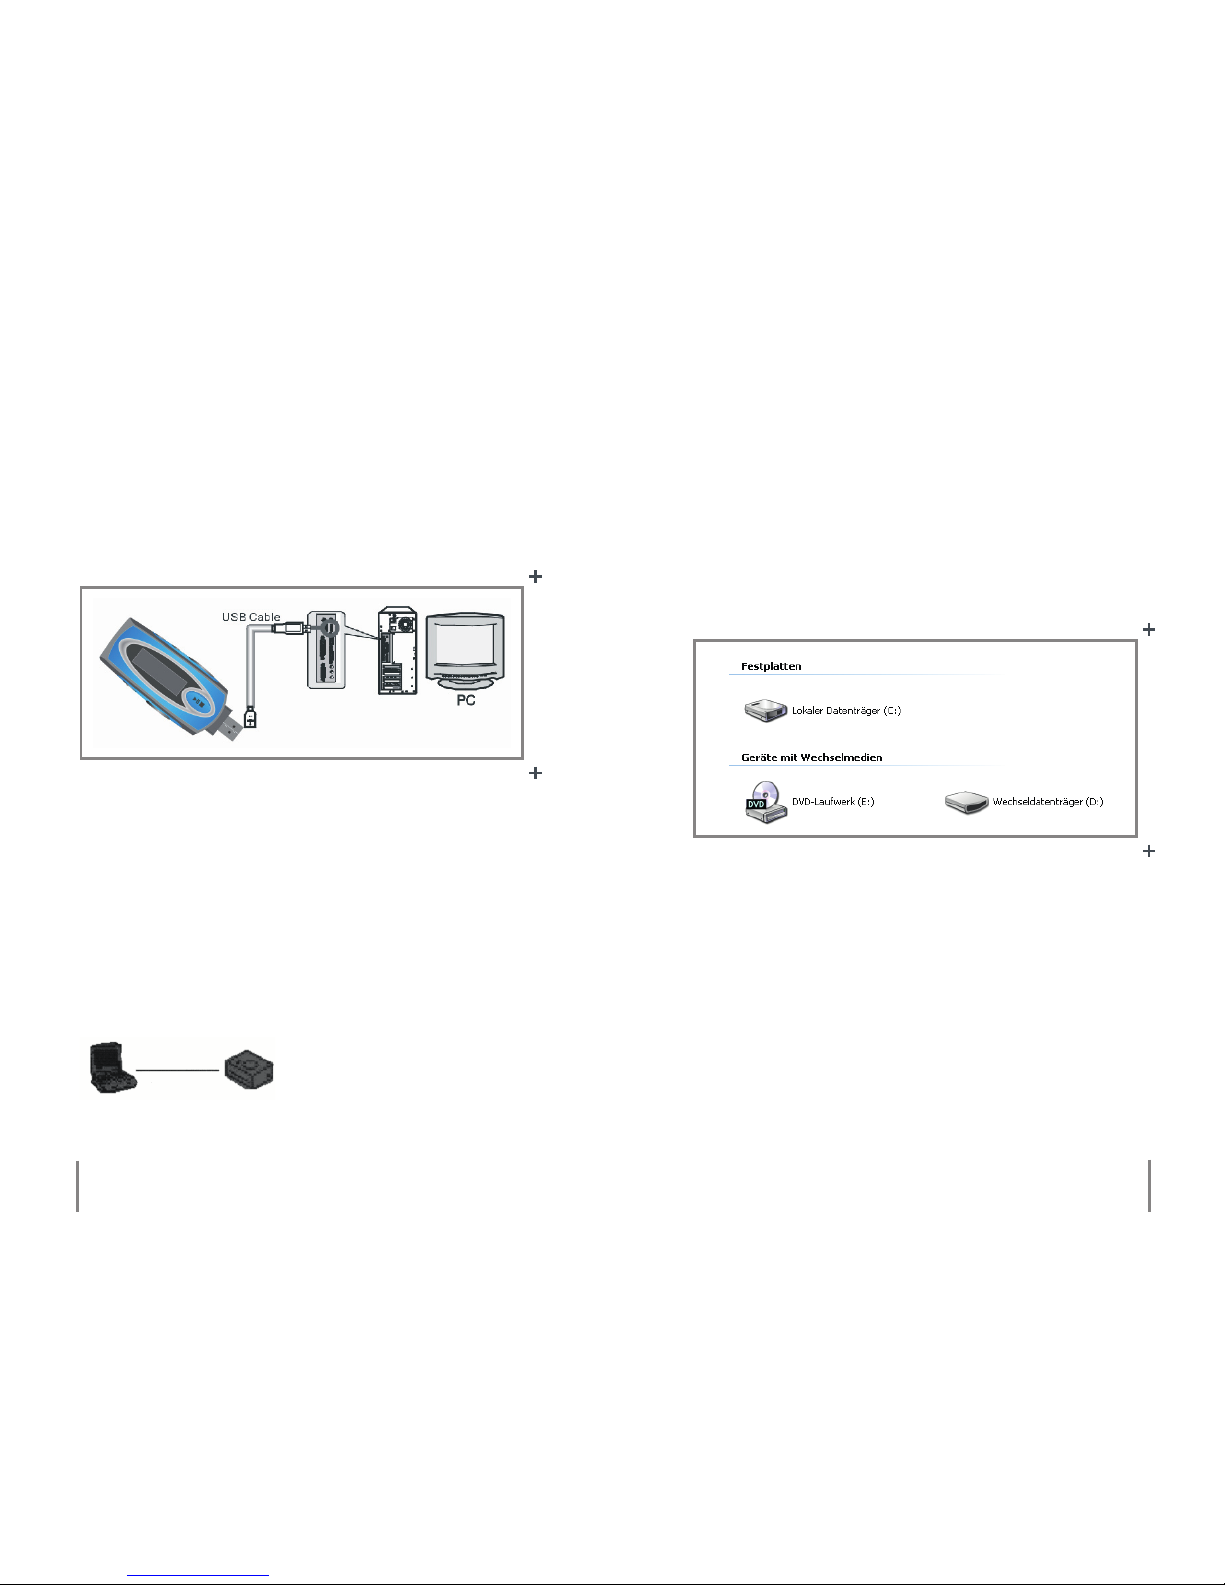
Connecting to a computer
Before connecting your MP3 player to a computer, please
make sure that the USB cable is connected to your player
rst, before connecting it to your computer. Use the USB
connection on the back of your computer. Some computers even feature an USB connection on the front. These
connections are suitable for data transfer as well. The following can be seen on display in a le mode.
Your operating system will recognize and determine the
device as removable media. A drive letter will then be assigned to this removable medium.
In the example, your player is assigned the drive letter D:
Before disconnecting your player from your computer,
right-click on the icon „Safely Remove Hardware“ in the
taskbar at the bottom right-hand side of the screen. Select
„USB mass storage device“ and conrm to remove. After
conrmation, detach the USB cable from the computer
rst, before detaching it from the player.
Neglecting these rules can lead to a program crash and damaged or lost les. The manufacturer assumes no liability
Page 6
10
11
Chapter 2 Safety information Chapter 2 Safety information
for any damage resulting from the failure to comply with
the above described instructions.
Note: During data transfer your player is provided with
power via the USB outlet. No battery is required.
Battery insertion and information
1. Remove the battery compartment lid by sliding it o
the back of the device.
2. Insert an AAA battery (1.5 V ) into the battery compart ment, checking the polarity of the battery („+“ and „–“)
as indicated in the compartment) before inserting.
3. Close the battery compartment by sliding the cover
back into place.
› Never leave batteries lying around carelessly in order to
prevent them from being swallowed by children or pets.
Contact with battery acid is seriously harmful. Seek medical care immediately.
› If the player turns o automatically, hence signaling an
empty battery, replace the battery with a new one.
› If the player is not in use for a longer period of time, remove the battery to prevent damage from a corroding or
leaking battery.
Page 7

12
13
Controls and indicators
1. Earphone jack
2. „Rec“ button
3. Menu button „M“
4. Previous/Fast reverse button „ “
5. Next/Fast forwards „ “
6. Play/Stop button „ /¢“
7. USB connector
8. Increase volume “V+”
9. Decrease volume “V-“
10. Display
11. Hold switch
Turning ON/OFF
Turning on: Keep the „ /¢“ button depressed until the dis-
play lights up to turn on the MP3 player.
Turning o: Press and continue to hold the „ /¢“ button
to turn the MP3 player o. An indicator bar will appear on
display and begin to ll up from left to right. As soon as this
is completely lled the device will turn o.
The „Hold“ switch
The „Hold“ switch helps to prevent your player from accidentally being turned on, should a button be pressed.
Slide the switch in the direction of the arrow to deactivate
this mode. If the player is in a locked mode and you try to
Chapter 3 The playerChapter 3 The player
The player
3
1
2 3 4 5 6
7
891011
Page 8

1415Chapter 3 The player Chapter 4 Basic operation
turn it on the text „HOLD“ will appear on display and the
player will turn o automatically again.
If the „Hold“ switch has been activated after the player has
been turned on the text „Locked“ will appear on display
when a button is pressed. Deactivate the „Hold“ switch to
unlock the player and for normal operation.
Connecting earphones or an amplier
1. Plug the earphones into the earphone jack on the device.
2. You can also use the 3.5 mm jack to connect an amplier.
The connection cable required for this is an optional ex tra that is available on the market. A stereo to 2 RCA ca ble with a 3.5 mm stereo male jack on one end and 2
RCA jacks on the other is suitable for this purpose.
Note: Please note that listening to loud volume levels with
earphones on a continual basis can lead to permanent hearing damage. Always pay special attention to children using
earphones and make sure that a moderate volume level has
been chosen.
Playing music les
The player is in a music playback mode after being turned
on.
1. Press the „ /¢“ button in a playback mode to begin pla ying the selected music le.
2. Press the „ “ buttons to select the previous/next
music le.
3. Press and hold the „ ”buttons to fast reverse/fast
forward.
4. Press the „ /¢“ button to pause playback.
5. Press the „V–“ or „V+“ button to decrease/increase the
volume.
4
Basic operation
Page 9

16
17
1. A-B repeat
2. Playback mode
3. Displays locked player mode
4. Battery indicator
5. File type
6. Playback status
7. Number of the current song/recorded le
8. Playing time
9. Name of the current le/ID3 Tag
(information displayed, where available)
10. Equalizer setting
A-B repeat
The A-B repeat function lets you mark a range in a song during playback that is to be repeated again. You can dene
the starting point „A“ and the ending point „B“ of a segment
to be repeated. The player will then repeat this segment.
1. While listening to a song in a playback mode, press the
„REC“ button down shortly to mark the beginning of the
segment to be repeated. The symbol „A“ can be seen on
display.
Chapter 4 Basic operation Chapter 4 Basic operation
2. Press the „REC“ button down again to mark the end of
the segment to be repeated. The symbol „B“ will appear
on display. The „A-B“ segment has been dened and the
player will now play back this selected segment.
3. Press the „REC“ button again to return to a normal play back mode.
Main menu
You can navigate with the „ “ buttons in the main menu
to select one of the following subitems.
Play Music
Play Voice
Record
Page 10

18
19
Setting
Intro
Memory
Browser
Exit
Press the „M“ button to conrm your selection. Pressing the
„ /¢“ button will return the player to a music playback
mode.
Playing recorded les
1. Press the „M“ button to enter the main menu.
2. Navigate with the „ “ buttons to the menu option
„PLAY RECORD“ and press the “M” button to conrm
and enter this menu.
3. Press the „ /¢“ button to start le playback.
4. Press the „ “ buttons to select either the previous/
next music le.
5. Press and hold the „ “ buttons to either fast forward
or fast reverse.
6. Press the „ /¢“ button to pause playback.
7. Press the „V+“ or „V –“ button to increase/decrease the
volume.
You also have the opportunity during playback to use the
A-B repeat function with a record le as explained in „A-B
repeat“.
Chapter 4 Basic operation Chapter 4 Basic operation
Browser
Memory
Page 11

20
21
Recording voice les
1. Press the „M“ button to enter the main menu.
2. Navigate with the „ “ buttons to the menu option
„RECORD “and press the „M“ button to conrm. The pla yer will now begin to record with the integrated micro phone.
3. Press the „REC“ or the „ /¢“ button to either pause or
resume a recording.
4. Press the „M“ button to stop and save the current recor ding.
5. If you press the „REC“ button now you will begin a fur ther recording with the integrated microphone. With
the „ /¢“ button you can start playing the recorded le
and the player will automatically enter the „PLAY RE CORD“ menu. Press the „M“ button to return to the main
menu.
Settings
1. Press the „M“ button to enter the main menu.
2. Navigate with the „ “ buttons to the menu option
„SETTINGS“ and press the „M“ button to conrm.
Chapter 4 Basic operation Chapter 4 Basic operation
You can use the „ “ buttons to select between the following settings. Press the „M“ button to conrm your selection.
Equalizer
Use the „ “ buttons to navigate within this menu to
choose one of the dierent equalizer settings for your MP3
player. This setting lets you change the audio sound of your
music. Choose between one of the following presettings:
Normal, Pop, Rock, Classic, Jazz and Bass. Press the „M“ button to conrm your selection or press the „ /¢“ button to
exit the equalizer mode.
Repeat mode/Playback
Use the „ “ buttons to navigate within this menu and to
select one of the dierent repeat modes. You can choose
between:
Normal: Plays all songs once.
Repeat one: The selected song will be repeated.
Repeat all: All songs will be repeated.
Shue: Plays songs randomly.
Page 12

2223Chapter 4 Basic operation Chapter 4 Basic operation
Press the „M“ button to conrm your selection. Pressing
the „ /¢“ button exits this menu option without changes
being made.
Contrast
Use the „ “ buttons to change the display contrast.
Press the „M“ or the „ /¢“ button to conrm the selected
contrast setting and to exit this menu option.
Backlight
With the „ “ buttons you will be able to select the time
that the backlight stays lit up when the player is in an inactive state. You can choose between „Always O“, „5 seconds“, „10 seconds“ and „Always On“. Press the „M“ or the
„ /¢“ button to conrm your selection and to exit this
menu option.
Auto Power O
In this menu setting you can use the „ “ buttons to set
the time after which the player is to shut o automatically. You can choose between „disable“, „2 minutes“, „10 mi-
nutes“ and „30 minutes“. Press the „M“ or the „ /¢“ button
to conrm your selection and to exit this menu option.
REC quality
With the „ “ buttons you will be able set the sampling
quality (recording quality). The following settings are
available to you: „8000 Hz“, „11000 Hz“, „16000 Hz“ and
„22000 Hz“. Therefore, the higher the setting is the better
the quality will be and will also at the same time have a higher memory requirement. Press the „M“ button to conrm
your selection. Pressing the „ /¢“ button exits this menu
option without changes being made.
Language
Use the „ “ buttons to select a preferred menu language. Press the „M“ button to conrm your selection or press
the „ /¢“ button to exit this menu option.
Exit
This option lets you return to the main menu by pressing
the „M“ button.
Page 13

2425Chapter 4 Basic operation Chapter 4 Basic operation
Intro
1. Press the „M“ button to enter the main menu.
2. Navigate with the „ “ buttons to the menu option
„INTRO“ and press the „M“ button to conrm.
The text „Intro“ will appear on display briey and the player will switch to a music playback mode. Now the rst
few seconds of each song will be played back in sequence.
Pressing the button will cancel this mode and playback will
return to the beginning of the current song.
Memory
1. Press the „M“ button to enter the main menu.
2. Navigate with the
„ “ buttons to the menu option
„MEMORY“ and press the „M“ button to conrm.
Now you will be able to see the players internal memory
capacity (Total) and the amount of memory still available
(Free). Press the „ /¢“ button to return to the main menu.
Browser
1. Press the „M“ button to enter the main menu.
2. Navigate with the „ “ buttons to the menu option
„BROWSER“ and press the „M“ button to conrm and
enter. This menu option allows you to select between
folder and les found on the ash memory.
With the „ “ and „V –/V+“ buttons you can browse either
up or downwards. Pressing the „ /¢“ button returns to the
main menu. Pressing the „M“ button conrms the current
selection.
As a standard feature this player enters the root directory
containing your songs and folders. You can browse through
your recorded les by entering „PLAY RECORD“ in the main
menu rst, before entering the menu option „BROWSER“.
To browse through music les again, enter the menu option „MUSIC“ in the main menu rst and then go back into
the menu option „BROWSER“.
If you have decided to select a folder (folder symbol followed by folder name) then enter this folder. Once within
a folder you can return to the previous folder with the up
Page 14

26
27
function (folder symbol followed by an arrow-up symbol).
You can exit the root directory and return to the main
menu with the down function (folder symbol followed by
a house symbol).
Press the „M“ button to open the menu of a playable le.
Here you have the opportunity to choose between „PLAY“
and „DELETE“.
If you select „PLAY“ then the player will begin to play this
le and enter a playback mode. If you select „DELETE“ a
follow-up window will appear on display requiring you to
conrm the deletion of a le with „YES“ to conrm and „NO“
to cancel. You can also directly open the delete window by
pressing the „REC“ button.
Chapter 4 Basic operation Chapter 5 Troubleshooting
The player can not be turned on
› Check that the battery has been inserted correctly.
› Check if the battery has been charged.
› Check that the HOLD key has not been activated.
No sound can be heard with the earphones
› Check if the volume has been regulated to 0.
If so increase the volume.
› Check that the earphones have been connected properly.
Static noise during playback
› Check the earphone jack for dust.
› Check if the music le is damaged. This can be checked by
selecting another le for playback.
Text content shown on display is not comprehensible
› Check if the correct language has been selected.
Data transfer is not possible
› Check if the player has been connected properly to your PC.
› Check if there is sucient memory still available on the
player.
› Check if the cable is damaged.
5
Troubleshooting
Page 15

28
29
This is a maintenance-free product that should never be
disassembled.
This product should only be repaired by qualied, authorized personnel or by an authorized dealer. Otherwise there
is the risk of destroying the device. Any damage caused by
improper use or unauthorized modication will void the
warranty/warranty claims and CE authorization.
Use a soft, dry, clean and fuzz-free cloth to clean. Never use
any cleaning agents; these could damage the exterior or
any markings and labels found on the player.
Dust can be easily removed with either a soft, clean brush
or a vacuum cleaner.
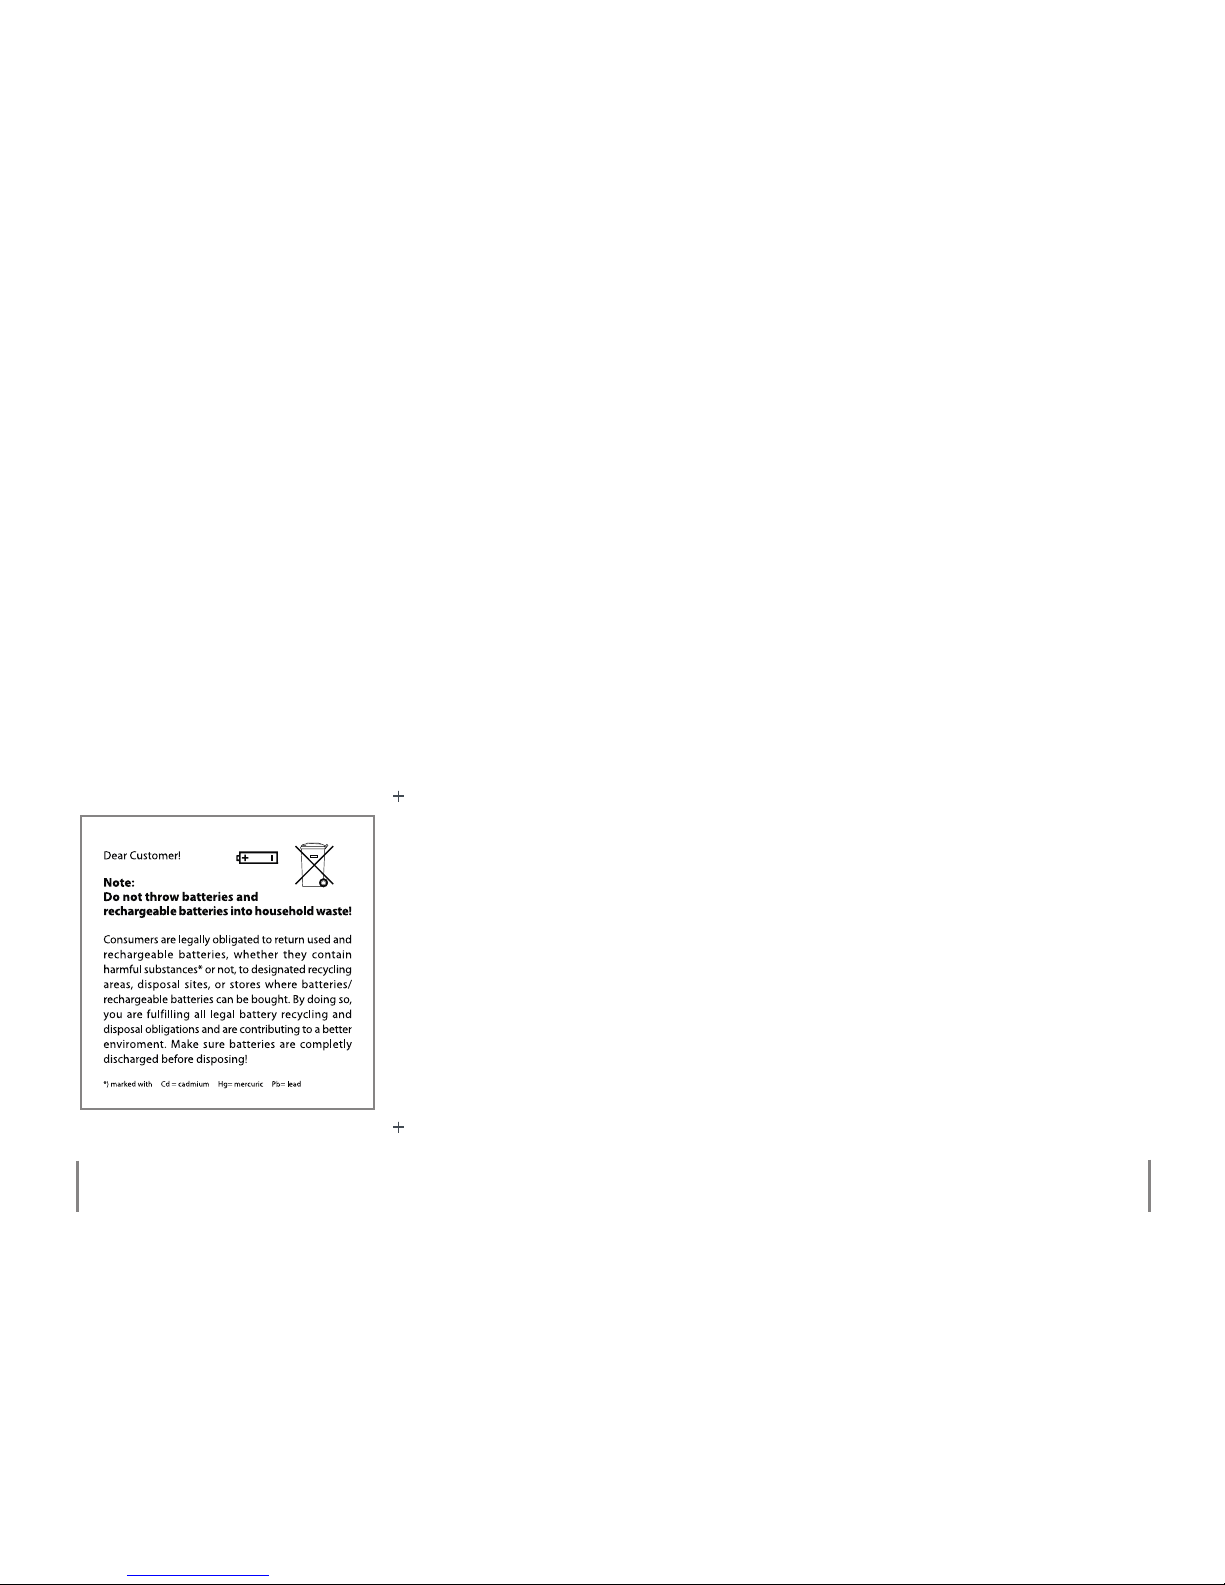
After the lifespan of a device has expired it should be collected and disposed of at appropriate sites. Check your
local region for legal requirements and guidelines as to a
proper disposal of electronic equipment in your area.
Chapter 6 Maintenance, cleaning and disposal
6
Maintenance, cleaning and
disposal
Chapter 6 Maintenance, cleaning and disposal
Page 16

3031Chapter 7 Tips and information
Any new known problems, drivers, software or rmware
will be released to the public when available and can be
seen under www.x4-tech.de.
Please do not carry out a rmware update if your player is
operating and functioning properly. An update will not
change the player’s technical functions, but (for example)
might only improve the menu.
7
Tips and information
Technical data
› Memory capacity: 16 GB
› Display: 196 x 26 LCD with backlight
› Earphone connection: 3,5 mm jack plug
› USB connection: Type A
› Supported operating systems: Windows XP/2000/Vista/MAC
› Battery: AAA battery, 1.5 V
› Playback time: approx. 8 hours, depending on battery
type and quality
› Supported formats: MP3, WMA, WAV
› Player dimensions: 95 x 31 x 21 mm
› Operating temperature: –10 °C to 50 °C
› Signal-to-noise ratio: ≥ 90 dB
› Distortion output: < 0.1%
› Signal separation: > 80 dB
› Frequency output: 20 HZ – 20 KHz
› Recording sampling frequency: 8 KHz – 22 KHz
Chapter 8 Specications
Specications
8
Page 17

32
33
Delivery contents
› 1x MP3 player X4-TECH BogieMan V
› 1x AAA battery
› 1x Earphones
› Instruction manual
› Service data sheet
Chapter 8 Specications
Should questions arise then please contact our service hotline:
Hotline: +49 (0) 5302/806-450
Address: x-services.eu gmbh
Service department X4-TECH
Brackestraße 3
38159 Vechelde/Germany
Information and updates: http://www.x4-tech.de
We reserve the right to alter specications and information
contained in this manual without notice.
All brands mentioned are property of X4-TECH or of their
respective owners.
X4-TECH assumes no responsibility or liability for any errors
or inaccuracies that may appear in this instruction manual.
© 2008 X4-TECH All Rights Reserved
Manufacturer information
x-peer.de GmbH · Brackestraße 3 · D-38159 Vechelde
Internet: www.x-peer.de · E-Mail: info@x-peer.de
Service
9
Chapter 9 Service
Page 18

34
www.x4-tech.de
Version 1.1 –11/2008
 Loading...