

Page 1
USB Digital
Video Converter
Models VA11A and VA12A
Page 2

Introduction
Basic Setup
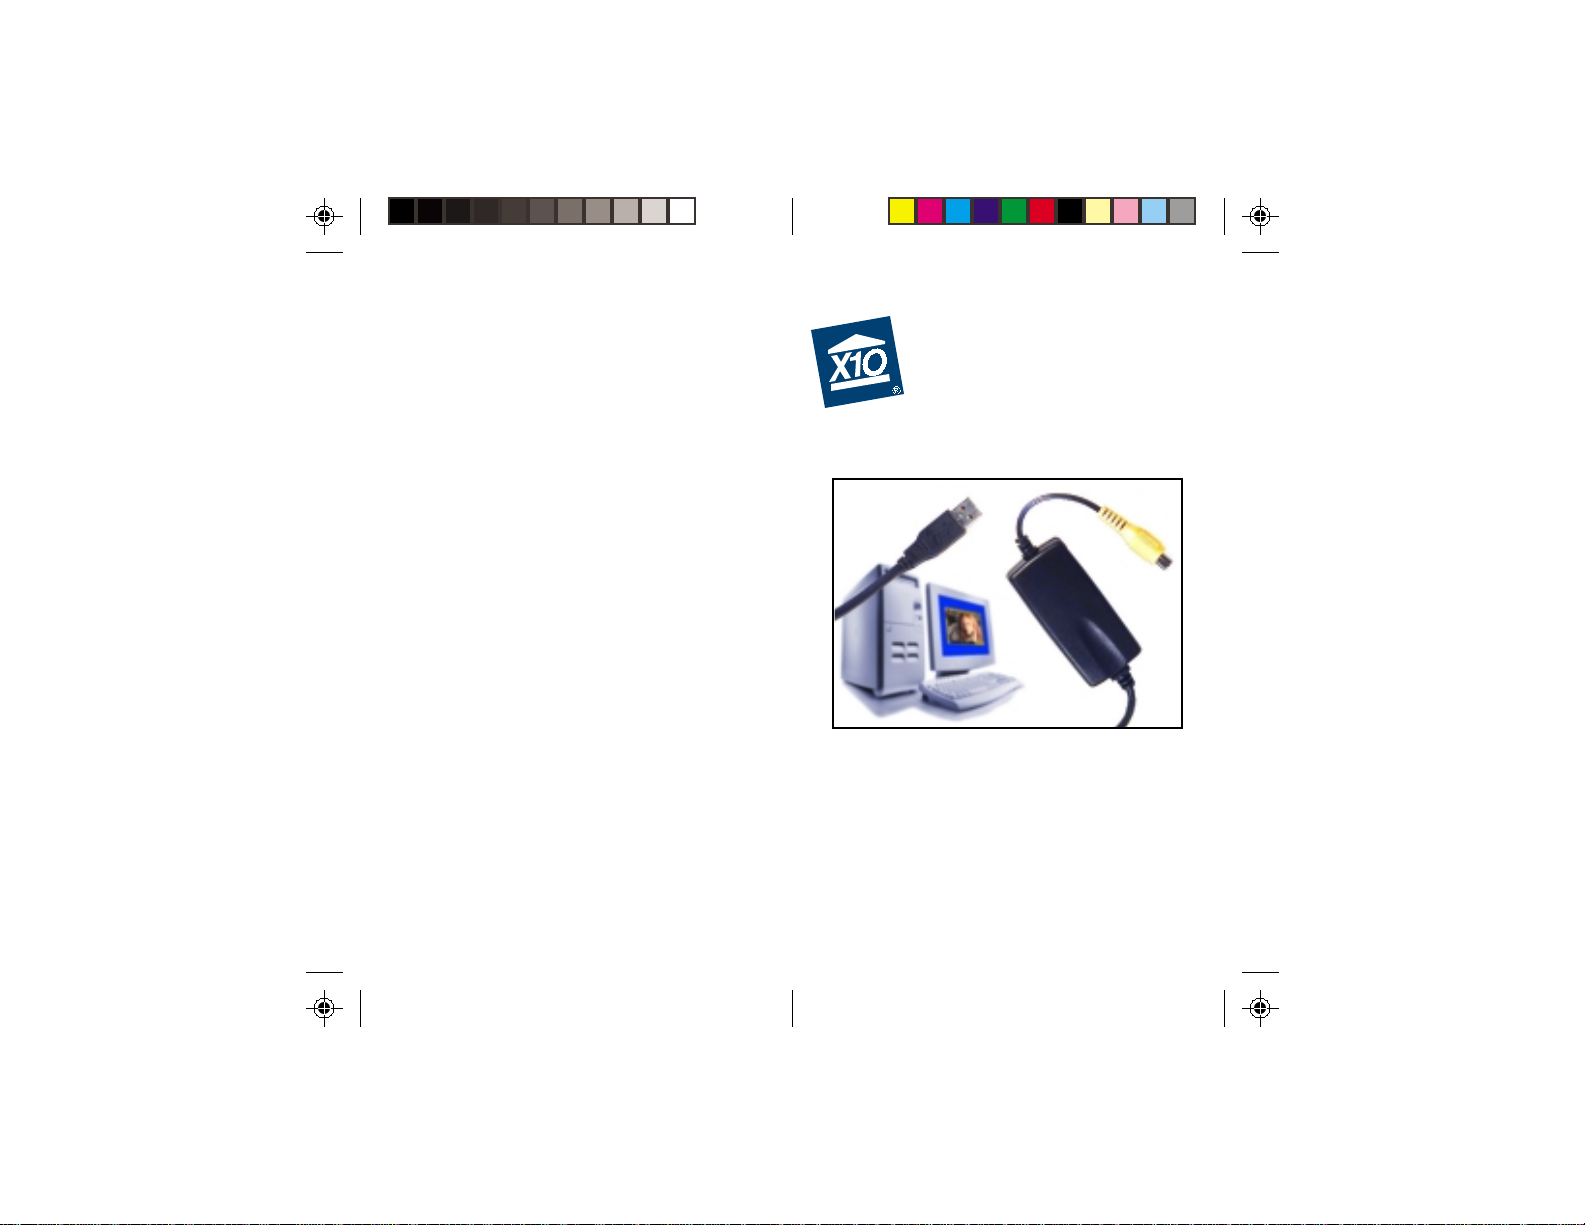
Thank you for purchasing the X10 USB
Digital Video Converter. The X10 software
you purchased, in conjunction with the video
converter, allows you to operate X10
cameras and display video using your PC.
Important: Please download and install
the X10 software before you plug in the
video converter.
The software you purchased should be
downloaded from the link you received in
our email titled “New Software Download
Link.” This manual assumes your camera is
working and your video receiver is near your
computer.
1. Download X10 Software. Click on the
software link in the email you received
titled “New Software Download
Link.” Before you download the
software, choose the option to save
the file, and save it onto your desktop
so you can more easily access it later.
2. Disable or turn off your anti-virus
software before you install the
software as some anti-virus programs
interfere with the installation.
Remember to turn on your anti-virus
program when you finish these steps.
3. Install Software. Go to your desktop
and double click the installation
program you just downloaded. The
software installation process will
install the driver for your VA11A/
VA12A.
32
Page 3

Basic Setup Basic Setup
Windows XP Users: When you see a
notice that the X10 VA11A (or VA12A)
Video Capture driver has not passed
Windows Logo testing, click “Continue
Anyway.” Installing these drivers will not
negatively affect your computer.
4. Plug in the Video Converter (wait until
the installation program asks you to
connect it).
5. Connect one end of the yellow video
cable to the Video Out jack on the
receiver and the other end to the
yellow input jack on the V ideo
Converter. Turn the receiver on.
If you are using the Video Converter with a
wired X10 camera like Anaconda or
NightWatch, connect the video output of the
camera directly into the yellow video input
on the Video Converter.
54
Page 4

Troubleshooting
Using the Video Converter
Congratulations! You are now ready to use
your video converter. All you need to do is
run your X10 software — your software
controls the Converter. Use the entry in your
Windows Start Menu, or double-click the
icon on your desktop to open the program.
When the program opens you should see
your camera’s picture in its window.
Troubleshooting
If you can’t find your link to download
software:
You can fill out a form to have the link sent
to you again. Go to:
http://www.x10.com/support
and click on the link for Secure Software
Download Link, under T echnical Support.
Enter your e-mail address and order number
to be sent the download link again.
X10 software installation on Windows
98 asks for a disk:
If your X10 software asks you to insert an
X10 disk when you connect the Video
Converter, follow these steps:
1. Click OK in this window.
2. In the “Insert Disk” window, click the
“Browse” button to look for the driver
files.
3. Go to your C: drive in the browse list and
then “Program Files,” “Common Files,”
“X10,” “DriverInstall,” and finally
“VA11A (or VA12A) Video Capture.”
4. Click the OK button to use the driver
files in that folder . Follow the instructions
on your screen after that.
If asked for the Windows 98 disk, click
“OK.” Insert your Windows 98 CD and
browse to the “Win98” folder. Click “OK.”
76
Page 5

Troubleshooting Troubleshooting
Windows 98 or Windows Me says it has
found an Unknown Device:
If you plug in the Video Converter and get
an “Unknown Device” message, you will
have to update the drivers in Windows
manually:
1. Go to Device Manager by right-clicking
on “My Computer” and selecting
“Properties.” Then click on the Device
Manager tab.
2. Double click on “Universal Serial Bus
Controllers” in the device list, and find
the item called “Unknown Device.”
3. Double-click on it and select the “Driver”
tab. Select “Update Driver.”
4. Select “Display a list of all the drivers in
a specific location so you can select the
driver you want.” Press the “Next”
button.
98
Page 6

Troubleshooting Troubleshooting
5. Select the “Show all hardware” selection
at the bottom of the screen. Choose X10
as the manufacturer and the X10 VA11A
(or VA12A) Video Capture. Press the
“Next” button.
6. Press “Next” to continue. Windows will
install the X10 driver.
1110
Page 7

Troubleshooting Troubleshooting
7. At this point your PC should be copying
files for the driver. You may need to
insert your Windows CD.
When all these steps are done, the driver
will be updated and the screen will say
you’re finished.
1312
Page 8

Troubleshooting Troubleshooting
Windows 2000 or XP Installs the Intel
PC Camera Pro:
When you connect your Video Capture
Converter to your computer running
Windows 2000 or XP, Windows might say
that it is installing the Intel PC Camera Pro.
If this happens your Video Capture
Converter won’t work until you fix the
problem:
1. Make sure the Video Capture Converter
is connected to your PC.
2. Go to your desktop and double-click the
installation program you downloaded
previously . Follow all instructions.
3. When installation has completed, restart
Windows.
Open Windows Device Manager (right-click
on My Computer and choose “Properties”
then “Hardware” then “Device Manager”).
Double-click on “Imaging Devices” in the
device list and check that “X10 VA11A (or
VA12A) Video Capture” is listed there.
Running the X10 installer with the Video
Capture Converter connected should force
Windows to use the X10 driver instead of
the Intel driver.
The picture on your computer isn’t
clear:
If you are using a wireless camera, you
might need to adjust the antenna on the
video receiver. First, adjust the antennas on
the video receiver and the camera so that
they point towards each other. The side of
the camera’s antenna with the dot on it
should face the side of the receiver’s
antenna marked with four squares. You can
also try moving the video receiver itself to
another location near your computer.
Sometimes moving it just a foot can make a
big difference.
1514
Page 9

F.C.C. CAUTION - THIS DEVICE COMPLIES
WITH PART 15 OF THE FCC RULES.
OPERATION IS SUBJECT TO THE FOLLOWING
TWO CONDITIONS: (1) THIS DEVICE MAY
NOT CAUSE HARMFUL INTERFERENCE, AND
(2) THIS DEVICE MUST ACCEPT ANY
INTERFERENCE RECEIVED, INCLUDING
INTERFERENCE THAT MAY CAUSE
UNDESIRED OPERATION.
NOTE: NO CHANGES OR MODIFICATIONS
MAY BE MADE TO THE UNITS. ANY
CHANGES MADE TO THE UNITS WILL VOID
THE USER’S AUTHORITY TO OPERATE THE
EQUIPMENT.
Warranty
X10.com, a division of X10 Wireless Technology, Inc.
(X10) warrants X10 products to be free from defective
material and workmanship for a period of one (1) year
from the original date of purchase at retail. X10 agrees to
repair or replace, at its sole discretion, a defective X10
product if returned to X10 within the warranty period and
with proof of purchase. If service is required under this
warranty: Call 1-800-442-5065, visit www.x10.com, or
e-mail support@x10.com.
For help or more information on setup, please visit:
http://www.x10.com/support
X10.com, a division of
X10 Wireless Technology, Inc.
3824 North 5th St., Suite C,
North Las Vegas, NV 89032
VA11A-12A-10/02
 Loading...