

Worldsat DSR 5200 NG3, 6000 NG3, 7500 NG3-M, DSR 7000 NG3, 520 NG3-E User Manual

english
N.B.
N.B.
If you are using the p
If you are using the p
arent
arent
al protection function
al protection function
with p
with p
assword access,
assword access,
do not let your children read these instructions
do not let your children read these instructions
INDEX
INDEX
1. Important advice p.1
2. Connections p.2
3. Remote control p.3
4. Step by step guide (Simplified installation procedure) p.4
5. Using the satellite receiver
5.1. On-off p.6
5.2. Selecting channels p.6
5.3. Selecting lists of favorite channels p.7
5.4. Selecting TV and Radio satellite channels p.7
5.5. Sorting channels p.7
5.6. Volume adjustment p.7
5.7. Channel information p.8
5.8. Program guide p.8
6. Programming the satellite receiver
6.1. Channel list menu p.9
6.2. Timer menu p.9
6.3. Installation menus p.10
6.3.1. Set up sat. receiver p.10
6.3.2. Set up TV p.11
6.3.3. Set up satellites p.11
6.3.4. Set up dish p.12
6.3.5. Scan channels p.13
6.3.6. Edit sat-channels p.14
6.3.7. System information p.15
7. Technical specifications p.16
1.
1.
IMPORT
IMPORT
ANT
ANT
ADVICE
ADVICE
For your own safety, please read the following advice carefully before switching on your
Satellite receiver:
1. Place the Satellite receiver in a well-ventilated place at ambient temperature.
2. Do not open the device (danger of electric shocks).
3. If you will be away for a long period or in the event of a storm, disconnect the Satellite receiver from the mains
4. Ventilation slots are located on your Satellite receiver to provide the proper ventilation needed by the device. These slots must not be obstructed, even partially. This is to ensure that
your satellite receiver continues to function correctly and has a full service life.
1
ed. F01-en1

english
2.
2.
CONNECTIONS
CONNECTIONS
- Connect the head (LNB) of the dish or motor to the Sat Input of the Digital satellite receiver.
- The Sat Output of the Satellite receiver can be used to connect an analog or digital satellite
receiver or a second digital satellite receiver. This receiver will only work if the Digital satellite receiver is on standby.
- It is best to connect the television and auxiliary device (video recorder, DVD etc.) to the Scart
plugs of the Digital satellite receiver (continuous lines on the drawing).
- If the Scart sockets cannot be used, connect the Digital satellite receiver using a coaxial dish
cable (dotted lines) (TV Output, TV Input, Video/Audio Outputs L/R optional depending on
the model).
ASSEMBLING THE "F" CONNECTORS
Coaxial cable
F connector
38 mm
1. Strip the casing along a length of 11 mm and fold the braided wire up along the outside of
the casing.
2. Strip the central wire along a length of 8 mm.
3. Screw the "F" connector onto the cable, making sure that no braided wire is touching the
central wire. It is important for the braided wire to be touching the main body of the "F"
connector.
4. Cover the "F" connector connected to the head with a sealing product (silicone, self-vulcanizing tape…).
TIGHTEN
THE "F" CONNECTORS BY HAND because they may be damaged by over-tighte-
ning.
DIGITAL SATELLITE RECEIVER
2
ed. F01-en1
Other connection possibilities exist :
Sat receiver
VCR./DVD... TV
TV <-> AUX
TV <-> AUX
optional
Outputs
Video
Audio
optional
Input RF
L
TV
Output RF
R
Main
AC 230V
50 Hz
Input
SAT
Output
SAT
Digital
audio
output
S/PDIF
Serial Port
RS232
optional
VCR/AUX
TV
VCR/DVD...
TV
AUX
TV

english
3.
3.
REMOTE CONTROL
REMOTE CONTROL
On/off
Numeric keypad
Select TV/Satellite Select TV/Radio
Select audio modes
Select language MUTE
Key without function Key without function
Channel information Freeze image
Program guide Previous menu or exit
Sort lists Access main menu
Scan up
OK, validation, list
Scan left Scan right
Scan down
8 favorite lists
FlyLink (reserved key)
Fast scan Volume +, Volume -
Key without function
The FlyLink key can be used to switch over to sources of a transmitter without FlyLink wire
(not supplied).
F
a
v
5
F
a
v
6
F
a
v
7
F
a
v
8
1
2
3
4
5
6
7
8
9
T
V
/
S
a
t
0
T
V
/
R
a
d
i
o
L
a
n
g
u
e
A
u
d
i
o
I
n
f
o
A
B
F
r
e
e
z
e
F
a
v
1
F
a
v
2
F
a
v
3
F
a
v
4
T
r
i
G
u
i
d
e
R
e
t
o
u
r
M
e
n
u
OK
+
-
+
-
Volume
Page
Sat-Messenger
3
ed. F01-en1

english
4.
4.
STEP
STEPBYBY
STEP
STEP
GUIDE
GUIDE (Simplified installation procedure)
When the Satellite receiver is switched on for the first time or after using the Factory reset
function (accessible via the Set up sat. receiver menu in the Installation menu), the Step
by step guide immediately comes on. This is a simplified procedure to help you install the
dish and Satellite receiver.
The 5 steps listed below follow on from each other automatically :
Step 1
1 - Follow the connection instructions given
in paragraph 2 Connections.
2 - Connect the Satellite receiver to the
mains and wait 30 seconds for the welcome menu to be displayed on the
screen.
3 - Select the menu language using the ,
keys.
S
tep 2
4 - Press the OK key to validate and move on to the next menu :
5 - Select your installation type using the ,
keys.
This is defined according to the format of
the satellite kit: type of head, switch,
motor.
6 - Press the OK key to validate: a message
asks for confirmation.
7 - Select YES using the key.
S
tep 3
8 - Press the OK key to validate and move on to the next menu :
9 - Select the main satellite using the ,
keys.
The main satellite indicates the chosen
satellite. When installing more than one
satellite, it indicates the satellite that is
the easiest to receive.
In Europe and North Africa, this is usually the HotBird 13°East satellite.
10 - Press the OK key to validate : a messa-
ge asks for confirmation.
11 - Select YES using the key.
4
ed. F01-en1
Welcome, choose the menu language
Bienvenue, choisissez la langue du menu
Willkommen, wahlen Sie die Menusprache
Benvenuti, scegliere la lingua del menu
Bienvenido, elija el idioma del menu
Welkom, kies de gewenste menutaal
Witamy, wybierz jezyk menu
Hos geldiniz, menŸ dilini seçin
English
Français
Deutsch
Espanol
Italiano
Dutch
Move Modify Select Exit
Choose your type of installation
Confirm Modify dish config
NO
1 Parabole & 1 LNB
1 Para. & 1 Monobloc A
1 Para. & 1 Monobloc B
1 Para. & 1 Monobloc C
1 Para. & 1 Monobloc D
1 Para. & 2 LNB & DiSEqC
OK RET.
YES
Move Modify Select Exit
Select the main satellite
Confirm selection of the main satellite
NO
HOTBIRD
ASTRA
EUTELSAT W2
EUTELSAT W1
EUTELSAT W3
SIRIUS
OK RET.
YES
english
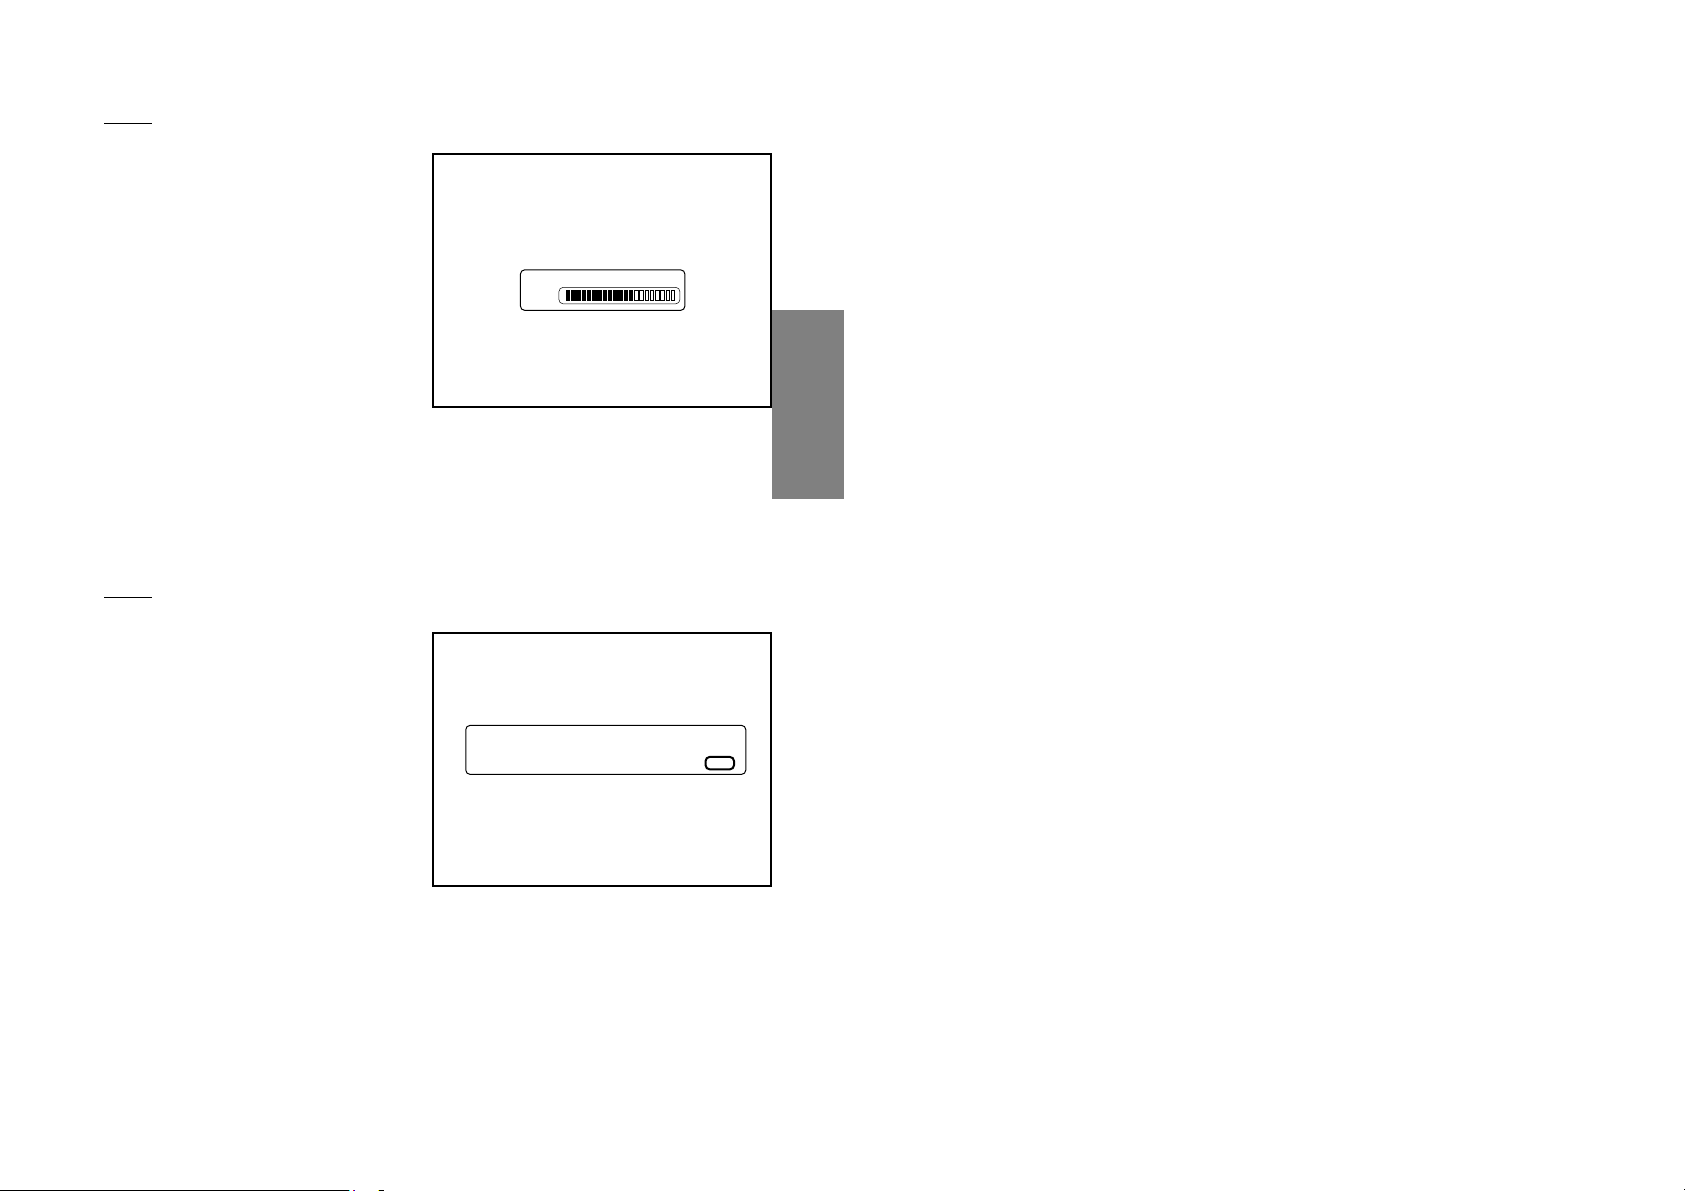
Step 4
12 - Press the OK key to validate and move on to the next menu :
13 - Set your dish to the satellite selected
previously. To do so :
- Adjust the dish vertically and direct it
towards the South.
- Slowly scan the dish from right to left (±
40° approx. in relation to the South) keeping it titled at the same angle (scanning
time approx. 20 seconds).
- If the Quality level does not react, start
scanning again, tilting the dish approx.
2° towards the sky (= move it upwards by
approx. 1 cm from the upper edge of the
dish).
- Adjust the dish to obtain the best stable
Quality level. Tighten the adjustment screws on the dish.
- After adjusting the dish, turn the head (LNB) slightly, by a maximum of ± 20°, to obtain
the maximum Quality level. This is usually greater than 60% for HotBird or Astra in Europe.
Important: Satellites are always located between the South East and the South West.
There must not be any obstacles (buildings, trees, windows, etc.) blocking the path between the dish and the satellite.
S
tep 5
14 - Press the OK key to move on to the next menu :
15 - Select YES using the key if you want
to protect access to certain channels of
your choice (parental control).
Otherwise, keep selecting NO.
16 - Press the OK key to validate.
If you have chosen YES, a screen will
ask you for a new password :
Enter your personal 4-digit password
and type it again to confirm.
N.B. You must not forget this code, as
you will need it to enter in the programming menus and to access favorite list 8
(Black List).
17 - You can now display the channels that are programmed as standard.
To install a motorized dish or a dish with a switch, you must select the list of satellites from
the Set up satellites menu.
It is possible to update the list of channels by carrying out an automatic Quick scan for
each satellite via the Scan channels menu in the Installation menu.
5
ed. F01-en1
Set your satellite dish and press OK when
the signal is maximal
Quality level
60 %
Do you want to lock your Set Top Box ?
NO
YES
 Loading...