

Page 1
Operation/Cleaning Guide
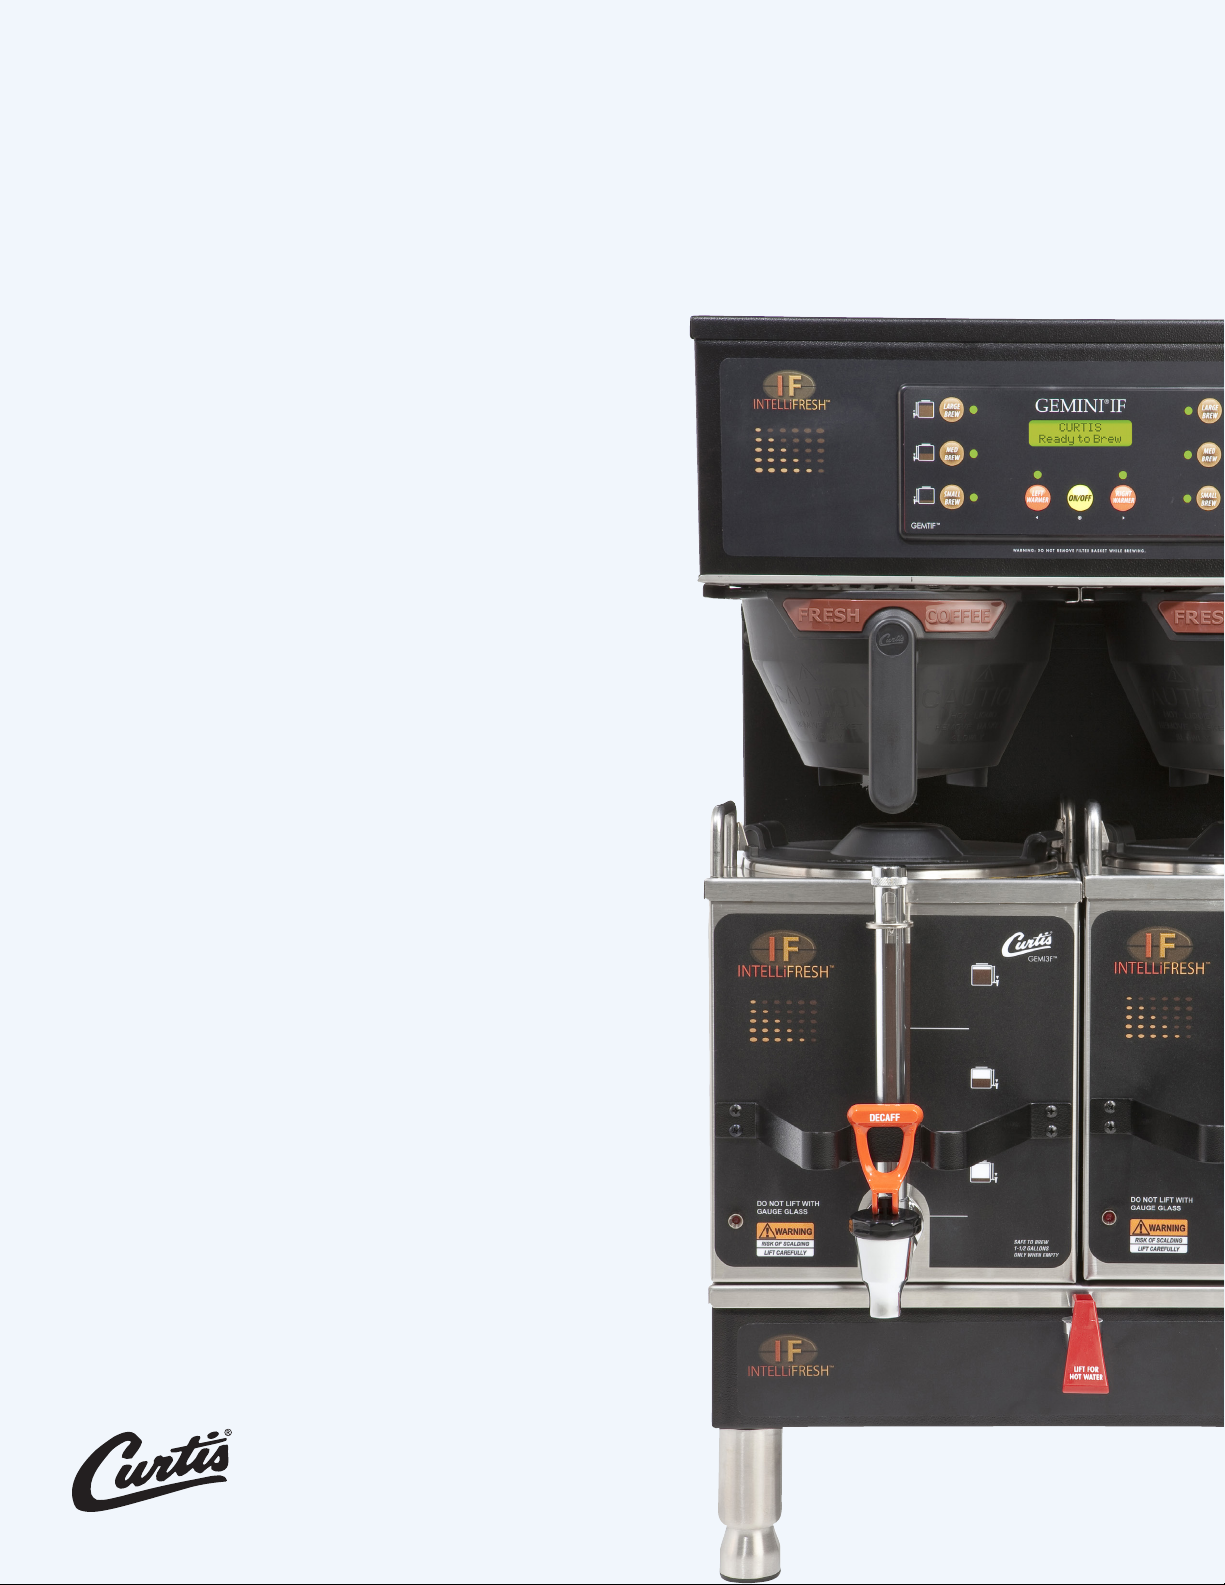
GEMIF, G4GEMIF
GEMINI INTELLIFRESH
™
Page 2

Brewer and Satellite Overview
Coee Brewing Instructions
BATCH SIZES
1½ gal
1 gal
½ gal
LARGE BREW
MEDIUM BREW
SMALL BREW
G3 display shown for illustative purposes only.
DOCKING THE SATELLITE ONTO THE BREWER
Satellite should be pushed behind the bracket. This bracket ensures that the satellite is not pulled forward
when dispensing coffee.
SATELLITE SERVER
Volume Indicator
LED Light
Place a clean filter into brew
basket
WARNING – TO AVOID SCALDING, DO NOT REMOVE BREW BASKET WHILE BREWER IS FILLING.
Fill brew basket with the correct
amount of ground coffee
Transfer brew basket to brewer Press desired brew button.
Brewing will begin immediately.
Follow the steps below to ensure proper coffee quality and to maintain safety at all times.
Place a paper filter carefully inside the brew basket and then fill with the appropriate amount of coffee:
1
SMALL BREW = ½ gallon MEDIUM BREW = 1 gallon LARGE BREW = 1½ gallons
Slide the filled brew basket all the way back along its tracks towards the back of the machine.
2
Make sure that the satellite server is completely empty.
3
Place the empty satellite under the brew basket. Check the faucet to ensure it is closed. Make sure that the satellite is
4
positioned all the back and secure on the brewer deck. The IF socket should make contact with the satellite.
Press the appropriate size “Brew” button and brewing will begin immediately.
5
The Gemini IF System features a Quality Timer. The Quality Timer is intended to notify the user when the coffee loses
6
its freshness. The indicator light (LED) on the satellite will remain solid red until the Quality Timer expires (2 hours). At
this time discard the old coffee.
At expiration, the LED will flash and remain flashing at the factory setting for an additional 8 hours. The additional 8
7
hours are controlled by the Warmer Auto-Off setting (10 hours). The warmers then shut off.
Note: The Warmer Auto-Off has higher priority than the Quality Timer.
2
Page 3

Cleaning the Brewer
To ensure the highest quality, best tasting coffee, your Gemini Satellite brewer must be cleaned daily after the last batch. Regular cleaning
and preventive maintenance is essential in keeping your coffee brewer looking and working like new.
CAUTION – DO NOT USE CLEANSERS, BLEACH LIQUIDS, POWDERS OR ANY OTHER SUBSTANCE CONTAINING CHLORINE. THESE PRODUCTS PROMOTE CORROSION AND
WILL PIT THE STAINLESS STEEL. USE OF THESE PRODUCTS WILL VOID THE WARRANTY.
DAILY CLEANING INSTRUCTIONS
1 2 3 4
G4 Brewer shown for illustrative purposes only
WARNING – HOT SURFACES, TO AVOID INJURY, ALLOW THE WARMER DECK TO COOL BEFORE CLEANING.
1
2
3
4
5
6
7
Turn brewer OFF at the power toggle switch behind brewer. Allow brewer to cool.
Wipe exterior surface with a cloth moistened with warm water to remove spills and debris.
Slide the brew basket out, discard used coffee grounds. Rinse brew basket with warm water. Dry with paper towel.
Clean the spray head area with a moist, clean cloth.
With a moist cloth, apply stainless steel polish on the exterior surface of the brewer.
Return brew basket to brewer. Turn brewer ON at the power toggle switch behind brewer.
Drain the drip tray of coffee. Wash out the drip tray and dry.
5
6
Cleaning the Satellite Server Components
To clean the satellite components, prepare a solution of mild detergent and warm water. Do not immerse satellite in water or any other liquid.
2
1
2
3
4
5
6
7
Remove lid from satellite. Clean the lid at the funnel area with a spiral brush and detergent solution. Rinse the lid,
removing all traces of cleaning solution.
Unscrew the handle/bonnet faucet assembly and remove.
Inspect the silicone seat cup for wear, cracks, or hardening. If okay, then leave the seat cup attached on the handle/
bonnet assembly. Soak and then wipe clean.
Remove the gauge glass tube by unscrewing the gauge glass cap. Clean the gauge glass tube with a gauge brush and
detergent solution. Soak and wipe washers with detergent solution. Rinse with clear water. Dry the parts and assemble
them onto the satellite.
Clean inside of the satellite. Remove coffee residue with the mild detergent solution and a cloth.
Thoroughly rinse out the satellite with clear warm water. Dry unit and replace lid.
Drain the drip tray of coffee. Wash out the drip tray and dry.
4 6
3
Page 4

Troubleshooting Tips (For G3 and G4 Units)
The following tips address some of the most frequently asked service questions. Please use this as quick solution guide before calling
for onsite service.
PROBLEM: Brewing time takes too long
3. If 1 & 2 do not solve problem, contact tech support.
PROBLEM: Weak Coffee
setting in programming.
check volume.
Clean sprayhead.
6. If 1 - 5 do not solve problem, contact tech support.
1. Sprayhead may be clogged. Clean sprayhead.
2. Water filter may be clogged or nearing end of life. Replace filter.
1. Water temperature at the sprayhead may be too low. It should be 195 – 200 degrees F. Check temperature
2. Make sure coffee is level in the brew basket before brewing. Verify amount of coffee is correct. Brew and
3. Make sure sprayhead is properly in place.
4. Make sure there is only ONE filter in the brew basket.
5. Sprayhead may be clogged or partially blocked, causing the water to “channel” through the grounds.
PROBLEM: Strong or bitter coffee
1. Check to see that sprayhead and surrounding areas are clean. Clean sprayhead.
2. Make sure coffee is level in the brew basket before brewing. Verify amount of coffee is correct. Brew and
check volume.
3. Check to see that fresh coffee isn’t being added to old coffee.
4. Make sure satellites are clean.
5. Throw out old grounds and rinse brew basket immediately after brewing to prevent oils from dripping into
freshly brewed coffee.
6. Water filter may be clogged or nearing end of life. Replace filter.
7. If 1 - 6 do not solve problem, contact tech support.
PROBLEM: Water Level Error:
1. Confirm that the water valve is ON and water is flowing. Flow rate should be 1 gpm minimum. Reset the unit
by turning OFF the toggle switch behind the unit for 5 seconds, then turn ON. The unit should start filling.
2. If 1 does not solve problem, contact tech support.
Error Messages (G3 Units Only)
AN ERROR MESSAGE WILL APPEAR ON THE SCREEN IN THE EVENT OF A MALFUNCTION UNDER THE FOLLOWING CONDITIONS:
PROBLEM/ISSUE
ERROR MESSAGE DESCRIPTION CAUSE
Water Level Overflow
Break in temperature Control Circuit
Excess Temperature in Heating Tank
1-(800)-000-0000
Water Level Error
1-(800)-000-0000
Sensor Error
1-(800)-000-0000
Over Temp. Error
To turn off an error message, press the D button for five seconds.
WILBUR CURTIS CO. |
6913 ACCO STREET, MONTEBELLO, CA 90640
FILL RUN ERROR/
OVERFLOW
OPEN PROBE
EXCESS TEMPERATURE
|
800-421-6150
|
323-837-2300
The fill solenoid has either run for more
than 10 minutes on the initial tank fill or
1 minute, 30 seconds in normal operation.
Break in the temperature thermistor circuit.
The sensor is reading the temperature in the
heating tank has risen above 210º.
|
FAX 323-837-2406
|
WWW.WILBURCURTIS.COM
DEC/2012 F-3888 revA
4
 Loading...