

Page 1
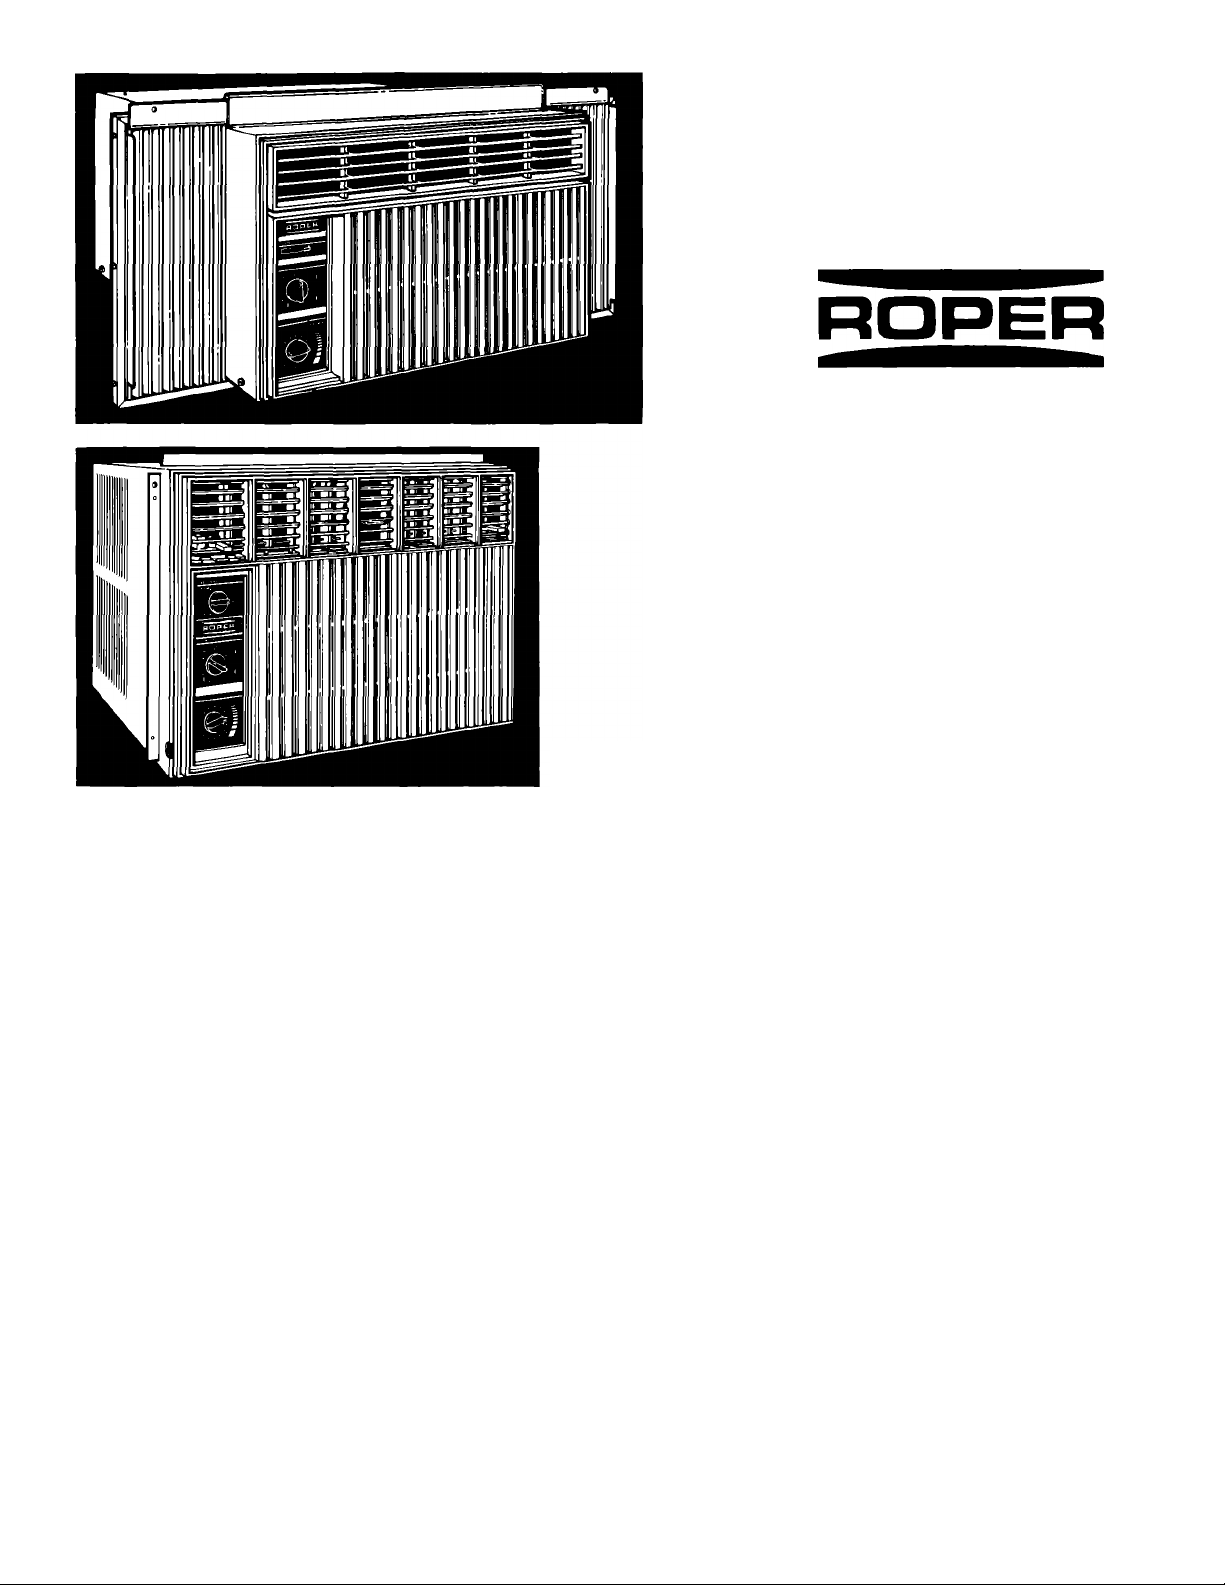
Models
X05002V0
X05002W0
X07502V0
X07002W0
X10002V1
X10002W0
X12002V0
Air Conditioner
Use and
Care Guide
Appliances
Thank you for choosing a Roper air
conditioner. This Guide will help you
operate and maintain your new,
quality-built Roper air conditioner. Keep
this Guide in a safe place for future
reference.
First...complete all
of the Installation
Instruction
steps before attempting to operate your
air conditioner.
Next... complete and
mail the Product
Registration Card.
This card enters your wananty into our
Energy-saving tips.
■ Improve home insulation. Seal doors
and windows. Close fireplace flue.
■ Close blinds or drapes on sunny side
of house. Add window awnings.
■ Keep air filter clean.
■ Do Not block air flow with drapes or
furniture.
■ Ventilate attic. High temperatures in
the attic add to the cooling load.
Model
X18004V0
warranty system insuring efficient
claim processing. It can be used as a
proof of purchase for insurance claims
and helps Roper to contact you
immediately in the unlikely event of a
product safety recall.
Please remember...
It is your responsibility to be sure that
your air conditioner:
■ Has been properly installed according
to the Installation Instructions
provided.
■ Is the right size for the area you want
to cool.
■ Is properly connected to a grounded
electrical circuit that meets the
electrical requirements as stated in
the Installation Instructions.
' Try not to use heat-producing
appliances during the hottest part of
the day.
I Turn lights and appliances off when
not needed.
Keep heat registers and cool-air
returns closed.
Use exhaust venting fans while
cooking, doing laundry and bathing.
■ Is used only for the job it was
intended to do.
■ Is not used by children or anyone
unable to operate it properly.
■ Is properly maintained.
Remove the energy
label.
Lift one edge of the energy rating label
and pull straight off. Use a damp cloth
to take off any glue residue.
Do Not use any sharp instrument or any
harsh or abrasive cleaners.
Do Not use rubbing alcohol or
flammable toxic solvents; such as
acetone, gasoline, carbon tetrachloride,
etc.
Part No. 1158169 Rev. A
Page 2
Important Safety
Instructions
A WARNING
Reduce risk of fire, electrical
shock or personal injury when
using air conditioner by following
these basic precautions:
■ Complete all of the Installation
Instructions to prevent product
operating problems and possible
personal injury.
■ Read all operating instructions
before using air conditioner.
» Do Not store or use gasoline or
other flammable vapors and
liquids in the vicinity of this or
any other appliance. The fumes
can create fire hazard or
explosion.
■ Use only a properly grounded
electrical outlet. Check with a
qualified electrician if you are in
doubt as to whether the air
conditioner is properly
grounded. Do Not modify the
plug on the power cord. If it
will not fit the outlet, have a
proper outlet installed by a
qualified electrician.
■ Do Not use an extension cord.
■ Do Not have a fuse in the
neutral or grounding circuit.
Save these instructions
Starting your air conditioner.
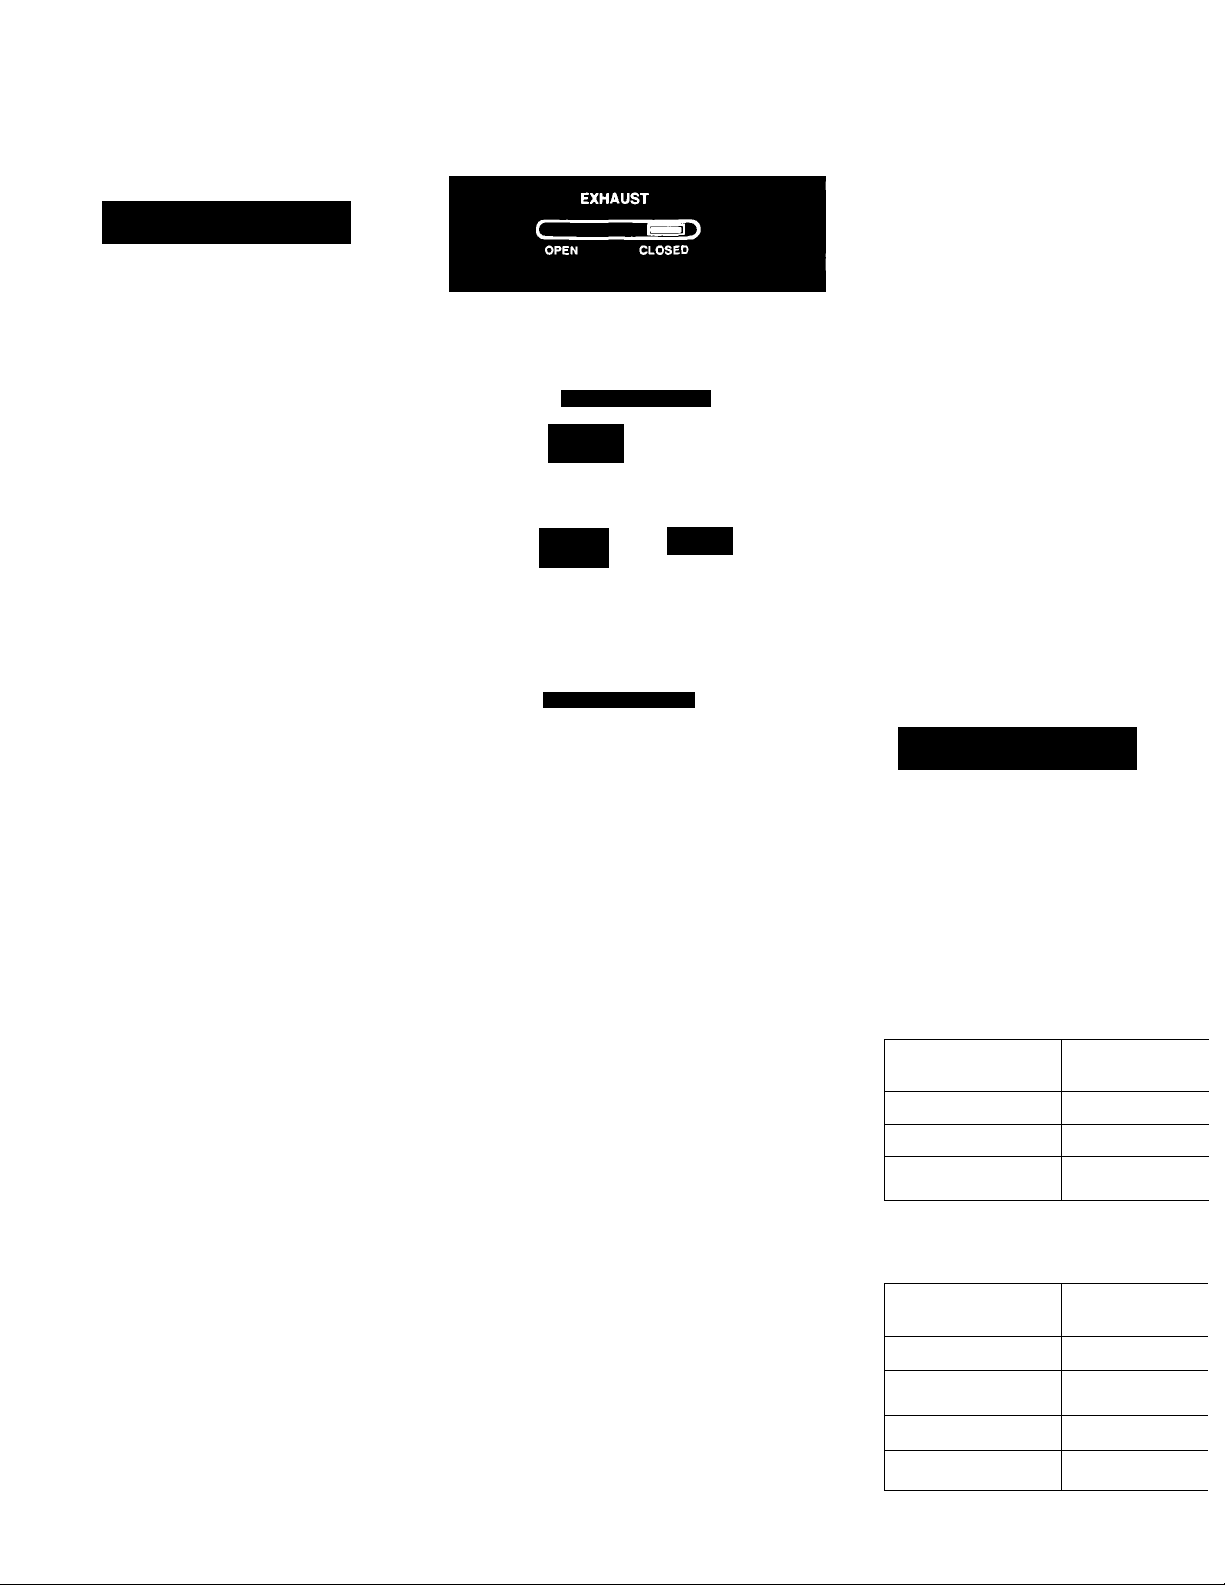
SYSTEM CONTROL
E3^
> MED
LO
COOL |.^
THERMOSTAT
COOLI-
1. Set the Exhaust Control* to the
"Closed" position or the Air Control
to the "Off" position depending on
which feature your air conditioner
has. This position will provide for
maximum cooling.
•Consoles shown may vary slightly from
your air conditioner. The controls on
your air conditioner wUl operate the
same as explained in this section.
2. Set the System Control to the
desired setting. Suggestions are as
follows:
Lo Cool - for sleeping comfort
Med Cool - for normal cooling
Hi Cool - for maximum cooling
Fan Only - for air circulation
without cooling.
Set the Thermostat Control to
3.
number 6. You can adjust the
cooling performance by resetting
the Thermostat Control to a higher
number for more cooling or to a
lower number for less cooling. You
will need to experiment to find the
setting which you prefer.
A CAUTION
If you turn your air conditioner off,
wait two or three minutes before
turning it back on. The amount of
time to wait is printed on your
console. You may blow the fuse in
the fuse box or trip the circuit
breaker if you Do Not follow these
instmctions.
Using special features...
Exhaust Control
Use this feature to draw stale or smoky air
from the room or to circulate air in the
room.
See the chart to determine what settings to
select for the type of air control you desire.
Note: Energy efficiency is decreased when
exhausting room air and cooling at the
same time.
Air Control
Use this feature to draw stale or smoky air
from the room or to circulate fresh air from
the outside into the room.
See the chart to determine what settings to
select for the type of air control you desire.
Note: Energy efficiency is decreased when
exhausting room air or circulating fresh air
into the room and cooling at the same time.
Exhaust Control
Room all desired
Exhaust room air
Circulate room air
Cooling only
Air Control
Room air desired
Exhaust room air
Circulate fresh air
into the room
Circulate room air
Cooling Only
Exhaust Contre
setting
"Open"
"Closed"
"Closed"
Air Control
setting
"Exhaust"
"Fresh Air"
"Off"
"Off
Page 3

Maintaining your air conditioner.
^WARNING
Electrical Shock and Personal
Injury Hazard
■ Set System Control to the “Unit
Off" position. Unplug power
supply cord or disconnect power
supply at the fuse or circuit
breaker box before cleaning and
maintaining your air conditioner.
■ Carefully handle air conditioner.
Metal fins on the front and rear
coils have sharp edges.
■ Cover motor, electrical control
box and compressor electrical
terminals to prevent water or
other liquids from getting into
these areas when cleaning and
maintaining air conditioner.
■ Do Not drink any water that
collects within air conditioner.
This water is not sanitary.
■ Do Not use cleaning fluids,
solvents, abrasive cleaners, or
strong detergents. Such use may
damage air conditioner parts.
■ More than one person is required
to lift the air conditioner because
of its weight and size.
Failure to follow these instmctions
may result in personal injury or
damage to the air conditioner.
Annual maintenance of your air
conditioner is needed to keep your air
conditioner operating at top
performance.
Your local dealer can recommend a
service company to complete the
needed checks and maintenance. Or if
you are familiar with electrical
appliances, you can do the cleaning and
maintenance. Maintenance steps are
listed below. The expense of an annual
maintenance is the customer's
responsibility.
The key components to check include;
■ Coils and condensate water
passages - inspect and clean.
■ Fan - inspect.
■ Fan motor - inspect and oil.
The compressor is sealed and never
needs oiling.
Set System Control to the "Unit
1.
Off" position. Discormect power
supply cord from electrical outlet.
2. Remove air conditioner from
window.
3. Press dowm on the top edge of front
panel until it releases from the
cabinet. Pull front panel toward
you. Lift up and away from bottom
spring clips.
Remove 6 Phillips-head screws
that attach curtains to cabinet.(A)
5. Remove slotted-hex head
screws from top channel (B) and
sides (C) of cabinet.
6. Hold the cabinet on both sides and
carefully lift cabinet off of air
conditioner.
7. Wrap the motor, electrical control
box and compressor terminal box in
plastic film to make sure no water
or other liquid can get inside.
Water or other liquids could
damage insulation and cause
serious mechanical problems.
8. Carefully clean and hose out the
base, coils and condensate pans.
The areas listed may need to be
cleaned more frequently especially
if you notice an odor coming from
the air conditioner.
9. Remove plastic film from motor and
electrical parts.
11. Reinstall cabinet over air
conditioning unit using all the
slotted-hex head screws.
12. Reinstall the slide curtains using
the Phillips-head screws.
13. Replace the front panel.
Wait 24 hours before starting the air
conditioner again. This will give time
for all areas to dry completely.
Maintenance Steps for
Model X18004V0:
1. Set System Control to the "Unit
Off" position. Disconnect power
supply cord from electrical outlet.
2. Press down on the top edge of front
panel until it releases from the
cabinet. Pull front panel toward
you. Lift up and away from bottom
spring clips.
3. PuU control knobs straight off.
Remove control panel.
4. Remove the green grounding wire
screw located at the bottom left
side under the control panel. Save
this screw to reattach wire.
Model and
serial number
label
10. Oil the fan motor as instructed on
the motor. Remove the oil hole
plug at each end of the motor to
add oil. An easy-to-use oil capsule
is available from local service
centers or you can use SAE #20
nondetergent oil. Replace plugs
into each end of the motor.
Pull out wire handle at bottom and
slide air conditioner unit out of
cabinet.
Page 4

Maintaining your air conditioner, continued
Remove plastic film from motor and
Wrap the motor, electrical control
box and compressor terminal box in
plastic film to make sure no water
or other liquid can get inside.
Water or other liquids could
damage insulation and cause
serious mechanical problems.
7.
Carefully clean and hose out the
base, coils and condensate pans.
The areas listed may need to be
cleaned more frequently especially
if you notice an odor coming from
the air conditioner.
8.
electrical parts.
Oil the fan motor as instructed on
the motor. Remove the oil hole plug
at each end of the motor to add oil.
An easy-to-use oil capsule is
Before you call for service...
If you are having an operating problem,
check the chart to see what the cause
might be before you call for assistance.
available from local service centers
or you can use SAE #20
nondetergent oil. Replace plugs
into each end of the motor.
10. Reinstall air conditioner unit into
cabinet.
11. Reattach grounding wire. Replace
control panel and knobs.
12. Replace the front panel.
Wait 24 hours before starting the air
conditioner again. This will give time
for all areas to dry completely.
Operating problem
Air conditioner will not run.
Air conditioner blows fuses.
Air conditioner turns on and off
or does not cool room.
Check if What to do
■ Power cord is plugged into a live
circuit with proper voltage.
■ System control is turned on.
■ Thermostat control is set at a high
enough number to cause the air
conditioner to run.
■ Fuse has blown or circuit breaker
has tripped. Also check to see if a
time-delay fuse is being used.
■ Correct type and ampere fuse is used.
■ An extension cord is being used.
■ You waited 2 minutes after turning air
conditioner off before attempting to
restart.
■ Filter is clean.
■ Evaporator (inside) and condenser
coils are clean.
Firmly plug power cord into electrical
outlet. Check circuit voltage at fuse/
circuit breaker box.
Turn System Control to a 'Cool' position.
Set Thermostat Control to a higher
number.
Replace fuse with a time-delay fuse of
the correct capacity. Reset circuit
breaker.
Use a time-delay fuse with the correct
ampere capacity.
Do Not use an extension cord.
Wait at least 2 minutes before restarting
air conditioner.
Follow the filter cleaning instructions in
this Guide.
FoUow the annual maintenance
instructions in this Guide.
Normal operating
sounds.
You can expect to hear the following
sounds when your air conditioner is
operating:
■ Excessive moisture or heat from
cooking or showers is in cooling area.
■ Fan setting is too low.
■ Thermostat setting is at high enough
number to cause the air conditioner to
cool room.
■ Droplets of water hitting the
condenser causing a 'pinging' or
'clicking' sound. Water from normal
operation or rainfall does not harm
components, so you should not be
concerned.
Use exhaust venting fans to remove
moisture or heat from cooling area.
Set fan setting to a higher speed.
Set Thermostat Control to a higher
number.
■ Air movement from the fan occurs
especially at high fan-speed settings.
■ Vibration sounds can be caused by
wall construction or mounting for the
air conditioner.
Page 5

AIR CONTROL
FRESH AIR
A
4
EXHAUST
SYSTEM CONTROL
E3 ^
LO I-
:ooL I"
THERMOSTAT
I
<
12 4 4
11 10
System Control Setting
Cooling Is wanted Cooling is Not
Select a 'Cool' setting
Select a "Cool’ setting Select "Fan Only’
Select a ’Cool" setting
System Control Setting
Cooling is wanted
Select a "Cool" setting Select "Fan Only’
Select a "Coor setting Select "Fan Only’
Select a ’Cool’ setting Select ’Fan Only’
Select a "Cool" setting
wanted
Select 'Fan Only"
Cooling is Not
wanted
Changing
air direction.
Locate tabs at the bottom or the top of
the grille and move the tab in the
direction in which you want the air to
Cleaning your
air conditioner.
A WARNING
Electrical Shock and Personal Injury
Hazard
■ Set System Control to the "Unit
Off" position. Unplug power
supply cord or disconnect power
supply at the fuse or circuit
breaker box before cleaning and
maintaining your air conditioner.
■ Do Not drink any water that
collects within air conditioner.
This water is not sanitary.
■ Do Not use cleaning fluids,
solvents, abrasive cleaners, or
strong detergents. These may
damage air conditioner parts.
Failure to follow these instructions
may result in personal injury or
damage to the air conditioner.
Cleaning the air conditioner front panel
and filter regularly, every two weeks,
will help to ensure longer life and lower
operating costs. The filter helps to
remove dust, lint and other particles
from the air.
Disconnect power supply cord before
starting cleaning process.
tab
1. Press down on the top edge of front
panel until it releases from the
cabinet.
flow (right, left or straight). A tab in the
center of the grille area on some models
will adjust air flow up or down.
2. Pull front panel toward you. Lift up
and away from bottom spring clips.
side of the front panel. Remove
filter.
4. Use vacuum cleaner to remove dust.
If the filter is very dirty, wash filter
in warm water using a mild
detergent. The filter should air dry
before you replace it. Do not use a
hair dryer to dry the filter.
5. Use a soft cloth soaked in warm
water with mild detergent to clean
the front panel. Rinse the front
panel and dry. Clean the control
area with a soft dry cloth.
G. Place filter in back of front panel.
Replace elastic band.
V. Put bottom of front panel into spring
clips. Press down on top edge of
front panel and push panel toward
unit. Snap front panel tabs into
place in cabinet.
Page 6

If you need assistance, service or replacement parts.
Read the warranty. Contact your local
dealer for the recommendation of a local
service company or to obtain
replacement parts.
You will need the model number and
serial number when you call for
assistance or service. Both numbers are
located behind the front panel on a label
attached to the evaporator coil cover
near the top of the unit.
LIMITED WARRANTY
Appliances
1. Repair or replace during the first thirty (30) days from the date of purchase any finishes (porcelain, enamel or other)
and glass parts which we find to be defective.
2. Repair or replace during the first (1st) year from date of purchase any other part except for the finish, which we find
to be defective.
3. Repair or replace during the first five (5) years from date of purchase any magnetron (on those units so equipped)
which we find to be defective. Labor on any magnetron under wananty is limited to the first (1st) year from date of
purchase.
4. During the second (2nd) through the fifth (5th) years from the date of original purchase on any product so equipped,
any part of the refrigerating system (compressor, evaporator, condenser, drier or connecting tubing) or any part of the
washer gear case assembly found defective in material or workmanship, wiU be supplied. Labor on the gear case
assembly under this warranty is limited to the first (1st) year from the date of original purchase.
5. Replacement parts furnished under the terms of this warranty are warranted only for the unexpired portion of the
original warranty period and transportation charges relative to obtaining parts involved are the responsibility of the
original consumer purchaser.
6. This warranty applies only to products properly installed, adjusted and operated in accordance with instructions
found in the product literature. This warranty does not apply to any product which has been subjected to alteration,
misuse, improper installation or delivery damage. Nor does it apply to costs for any service requested for
demonstration or to confirm proper operation of appliance, or when used in other than, single-family household use.
7. Any repairs made under the terms of this warranty must be performed by a Roper brand appliance servicer
authorized by warrantor.
SHOULD YOU HAVE ANY QUESTIONS CONCERNING THIS WARRANTY, PLEASE CONTACT:
Customer Relations Dept.
ROPER Brand Appliances
2000 M 63 North
Benton Harbor, MI 49022
If you write or call, please furnish complete model and serial number of appliance and date of purchase.
Under no circumstances shall Whirlpool Corporation be liable under this warranty for any loss of any
incidental or consequential damages and all IMPLIED WARRANTIES ARE LIMITED TO THE SAME TIME
PERIODS STATED HEREIN ON EXPRESS WARRANTIES FOR ROPER BRAND APPLIANCES.
Some states do not allow the exclusion or limitation of consequential damages or limitations of how long an
implied warranty may last, so the above limitations or exclusions may not apply to you. This warranty gives
you specific legal rights, and you may have other rights which may vary from state to state.
THIS IS A LIMITED WARRANTY WITHIN THE MEANING OF THAT TERM AS DEFINED IN THE
MAGNUSON-MOSS ACT OF 1975.
If you need service for your Roper brand appliance:
■ Contact your selling dealer for the authorized servicer in your area.
-OR-
Phone l-(800) 44-ROPER [l-(800)447-6737] BETWEEN 8:00 - 4:30
Eastern Time - Monday thru Friday.
Call ToU Free l-(800) 44-ROPER
l-(800) 447-6737
Between 8:00 a.m. - 4:30 p.m.
Monday thru Friday, Eastern Time
This Roper appliance is warranted by
Whirlpool Corporation to be free from
defect in material and workmanship to
the original domestic purchaser. Any
parts which we find to be defective will
be repaired or replaced at our option
subject to the following limitations:
Appliances
Part No. 1158169 Rev. A
©1989 Whirlpool Corporation
Printed inU.S.A.
 Loading...