

Whirlpool WRS576FID User Manual
LEARN MORE
User Guide
Side by Side Refrigerator
You can be killed or seriously injured if you don’t immediately follow instructions.
You can be killed or seriously injured if you don’t follow instructions.
All safety messages will tell you what the potential hazard is, tell you how to reduce the chance of injury, and tell you what can happen if the
instructions are not followed.
Your safety and the safety of others are very important.
We have provided many important safety messages in this manual and on your appliance. Always read and obey all safety messages.
This is the safety alert symbol.
This symbol alerts you to potential hazards that can kill or hurt you and others.
All safety messages will follow the safety alert symbol and either the word “DANGER” or “WARNING.”
These words mean:
DANGER
WARNING
IMPORTANT SAFETY INSTRUCTIONS
WARNING:
To reduce the risk of fire, electric shock, or injury when using your refrigerator, follow these basic precautions:
SAVE THESE INSTRUCTIONS
■ Plug into a grounded 3 prong outlet.
■ Do not remove ground prong.
■ Do not use an adapter.
■ Do not use an extension cord.
■ Disconnect power before servicing.
■ Replace all parts and panels before operating.
■ Remove doors from your old refrigerator.
■ Use nonflammable cleaner.
■ Keep flammable materials and vapors, such as gasoline, away from
refrigerator.
■ Use two or more people to move and install refrigerator.
■ Disconnect power before installing ice maker (on ice maker kit ready
models only).
■ Use a sturdy glass when dispensing ice (on some models).
■ Do not hit the refrigerator glass doors (on some models).
State of California Proposition 65 Warnings:
WARNING: This product contains one or more chemicals known to the State of California to cause cancer.
WARNING: This product contains one or more chemicals known to the State of California to cause birth defects or other reproductive harm.
Suffocation Hazard
Remove doors from your old refrigerator.
Failure to do so can result in death or brain damage.
WARNING
In an effort to conserve natural resources, this refrigerator includes a condensed User Guide. A complete User Instructions
manual for your model can be downloaded at www.whirlpool.com/manuals. The model number is located on the inside
wall of the refrigerator compartment.
For assistance or service, call 1-800-253-1301 in the U.S.A. or 1-800-807-6777 in Canada.
Register your refrigerator at www.whirlpool.com. In Canada, register at www.whirlpool.ca.
Para una version de estas instrucciones en español, visite www.whirlpool.com.
PROPER DISPOSAL OF YOUR OLD REFRIGERATOR
IMPORTANT: Child entrapment and suffocation are not problems of the
past. Junked or abandoned refrigerators are still dangerous, even if
they will sit for “just a few days.” If you are getting rid of your old
refrigerator, please follow these instructions to help prevent accidents.
1
W10632882A

Before You Throw Away Your Old Refrigerator or Freezer:
Important information to know about disposal of
refrigerants:
Dispose of refrigerator in accordance with Federal and Local
regulations. Refrigerants must be evacuated by a licensed,
EPA certified refrigerant technician in accordance with
established procedures.
OPERATING YOUR REFRIGERATOR
■ Take off the doors.
■ Leave the shelves in place so that children may not easily climb
inside.
Using the Controls
The refrigerator and freezer controls are located on the dispenser
panel.
IMPORTANT: The display screen on the dispenser control panel will
turn off automatically and enter “sleep” mode when the control buttons
and dispenser pads have not been used for 2 minutes or more. While in
“sleep” mode, the first press of a control button will only reactivate the
display screen, without changing any settings.
■ Touch any control button on the dispenser panel to activate the
display screen. The home screen will appear as shown.
To view and adjust the set points, press and hold the TEMP button for
3 seconds. When adjust mode is activated, adjusting information will
appear on the display screen.
Adjusting the Controls
For your convenience, your refrigerator and freezer controls are preset
at the factory. When you first install your refrigerator, make sure that the
controls are still set to the “mid-settings.” The factory recommended set
points are 37°F (3°C) for the refrigerator and 0°F (-18°C) for the freezer.
IMPORTANT:
■ Wait 24 hours before you put food into the refrigerator. If you add
food before the refrigerator has cooled completely, your food may
spoil.
NOTE: Adjusting the set points to a colder than recommended
setting will not cool the compartments any faster.
■ If the temperature is too warm or too cold in the refrigerator or
freezer, first check the air vents to be sure they are not blocked
before adjusting the controls.
■ The preset settings should be correct for normal household usage.
The controls are set correctly when milk or juice is as cold as you
like and when ice cream is firm.
■ Wait at least 24 hours between adjustments. Recheck the
temperatures before other adjustments are made.
NOTE: To view Celsius temperatures, press the LIGHT button when
adjust mode is activated. To return the display setting to Fahrenheit,
press LIGHT again.
■ When adjust mode is activated, the display screen shows the
refrigerator set point and “FRIDGE” appears.
■ Press LOCK to raise the set point, or press FAST ICE to lower the
set point.
■ When you have finished viewing (and adjusting if desired) the
refrigerator set point, press TEMP to change the display to show
the freezer set point. When the zone has been changed,
“FREEZER” appears on the display screen.
■ Press LOCK to raise the set point, or press FAST ICE to lower the
set point.
■ When you have finished viewing (and adjusting if desired) both the
refrigerator and freezer set points, press FILTER to save the
settings.
NOTE: To exit without saving changes, press ICE TYPE at any time
while in adjust mode, or allow about 60 seconds of inactivity and
adjust mode will turn off automatically.
2
When adjusting temperature set points, use the following chart as a
guide.
CONDITION: TEMPERATURE ADJUSTMENT:
REFRIGERATOR too cold REFRIGERATOR Setting 1° higher
REFRIGERATOR too warm REFRIGERATOR Setting 1° lower
FREEZER too cold FREEZER Setting 1° higher
FREEZER too warm /
FREEZER Setting 1° lower
Too little ice
The set point range for the refrigerator is 33°F to 45°F (0°C to 7°C). The
set point range for the freezer is -5°F to 5°F (-21°C to -15°C).
Cooling On/Off
Your refrigerator and freezer will not cool when cooling is turned off.
■ To turn cooling off, press and hold the LOCK and FILTER buttons at
the same time for 3 seconds.
IMPORTANT: To avoid unintentionally locking the dispenser or
changing other settings, be sure to press both buttons at exactly the
same time.
When cooling is off, “COOLING OFF” will appear on the display
screen.
■ Press and hold LOCK and FILTER for 3 seconds again to turn
cooling back on.
Additional Features
Fast Ice
The Fast Ice feature assists with temporary periods of heavy ice use by
increasing ice production over a 24-hour period.
IMPORTANT: This feature only works if the ice maker is turned on. See
“Ice Maker and Storage Bin.”
■ Press FAST ICE to turn on the Fast Ice feature. When
the feature is on, the Fast Ice icon will appear on the
dispenser display screen. The Fast Ice setting will
remain on for 24 hours unless manually turned off.
■ To manually turn off the Fast Ice feature, press FAST
ICE again or adjust the freezer temperature set point. The Fast Ice
icon will disappear when the feature is off.
NOTE: If increased ice production is desired at all times, change the
freezer set point to a lower setting. Setting the freezer to a colder
temperature may make some foods, such as ice cream, harder.
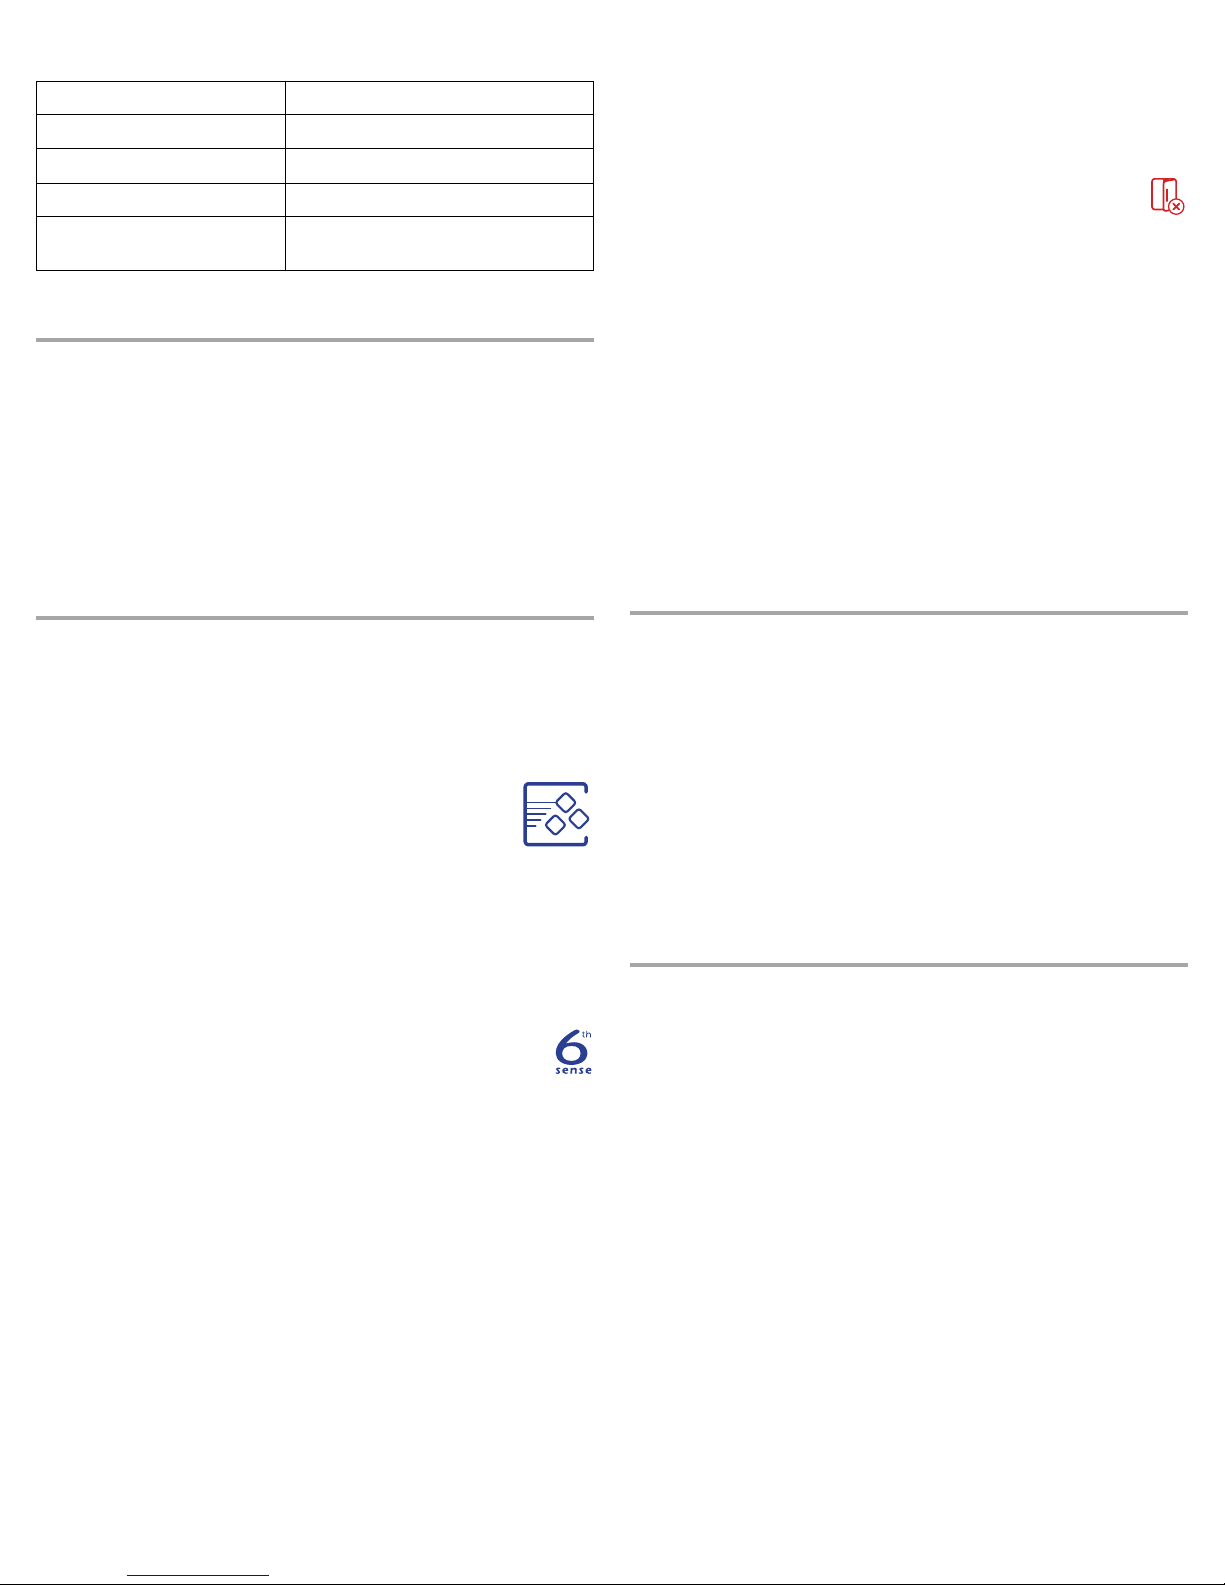
6th Sense
The 6th Sense® feature assists with regulating the temperature
inside the refrigerator. If a large quantity of warm food is placed
in the refrigerator or warm air enters the refrigerator while the
door is held open, the 6th Sense
restore the temperature to the set point.
NOTE: The 6th Sense
operating. You do not need to press any buttons to activate it. The 6th
Sense
is functioning properly.
®
Temperature Management (on some models)
®
system activates to quickly
®
system is always on when your refrigerator is
®
icon on the dispenser display screen indicates that the feature
Door Ajar Alarm
The Door Ajar Alarm feature sounds an alarm when the refrigerator or
freezer door is open for 5 minutes and the product cooling is turned on.
The alarm will repeat every 2 minutes. Close both doors to turn it off.
The feature then resets and will reactivate when either door is left open
again for 5 minutes.
NOTE: To mute the audible alarm while keeping the doors
open, such as while cleaning the inside of the refrigerator,
press any button on the control panel. The alarm sound will be
temporarily turned off, but the Door Ajar icon will still be
displayed on the dispenser control panel.
Dual Evaporator (on some models)
Some models come equipped with a dual sequential evaporation
system, which includes two separate evaporators for the refrigerator
and freezer compartments.
Dual evaporation results in higher humidity, which helps keep foods in
the refrigerator from spoiling as quickly and improves food quality and
freshness in the freezer due to decreased freezer burn. In addition, the
dual evaporation system helps keep food smells in the refrigerator from
transferring to ice in the freezer.
NOTE: The dual evaporation system is always activated when your
refrigerator is operating. You do not need to press any buttons to turn it
on.
Convertible Drawer Temperature Control
(on some models)
The control can be adjusted to properly chill meats or vegetables. The
air inside the pan is cooled to avoid “spot” freezing and can be set to
keep meats at the National Livestock and Meat Board recommended
storage temperatures of 28° to 32°F (-2° to 0°C).
To store meat:
Set the control to one of the three MEAT settings to store meat at its
optimal storage temperature.
To store vegetables:
Set the control to VEG to store vegetables at their optimal storage
temperatures.
NOTE: If food starts to freeze, move the control to the right (less cold),
toward the VEG setting. Remember to wait 24 hours between
adjustments.
Crisper Humidity Control (on some models)
You can control the amount of humidity in the moisture-sealed crisper.
Adjust the control to any setting between LOW and HIGH.
LOW (open) for best storage of fruits and vegetables with skins.
HIGH (closed) for best storage of fresh, leafy vegetables.
3
Water and Ice Dispensers
ICE AND WATER
A
NOTES:
■ The dispensing system will not operate when either door
(refrigerator or freezer) is open.
■ Allow 24 hours for the refrigerator to cool down and chill water.
■ Allow 24 hours to produce the first batch of ice. Discard the first
three batches of ice produced. Wait 72 hours for full ice production.
■ The display screen on the dispenser control panel will turn off
automatically and enter “sleep” mode when the control buttons and
dispenser pads have not been used for 2 minutes or more. While in
“sleep” mode, the first press of a control button will only reactivate
the display screen, without changing any settings.
Flush the Water System
Air in the water dispensing system can cause the water dispenser to
drip. After connecting the refrigerator to a water source or replacing the
water filter, flush the water system. Flushing the water dispensing
system forces air from the water line and filter, and prepares the water
filter for use.
NOTE: As air is cleared from the system, water may spurt out of the
dispenser.
1. Using a sturdy container, depress and hold the water dispenser
pad for 5 seconds, then release it for 5 seconds.
2. Repeat Step 1 until water begins to flow.
3. Once water begins to flow, continue depressing and releasing the
dispenser pad (5 seconds on, 5 seconds off) until a total of 3 gal.
(12 L) has been dispensed.
Additional flushing may be required in some households.
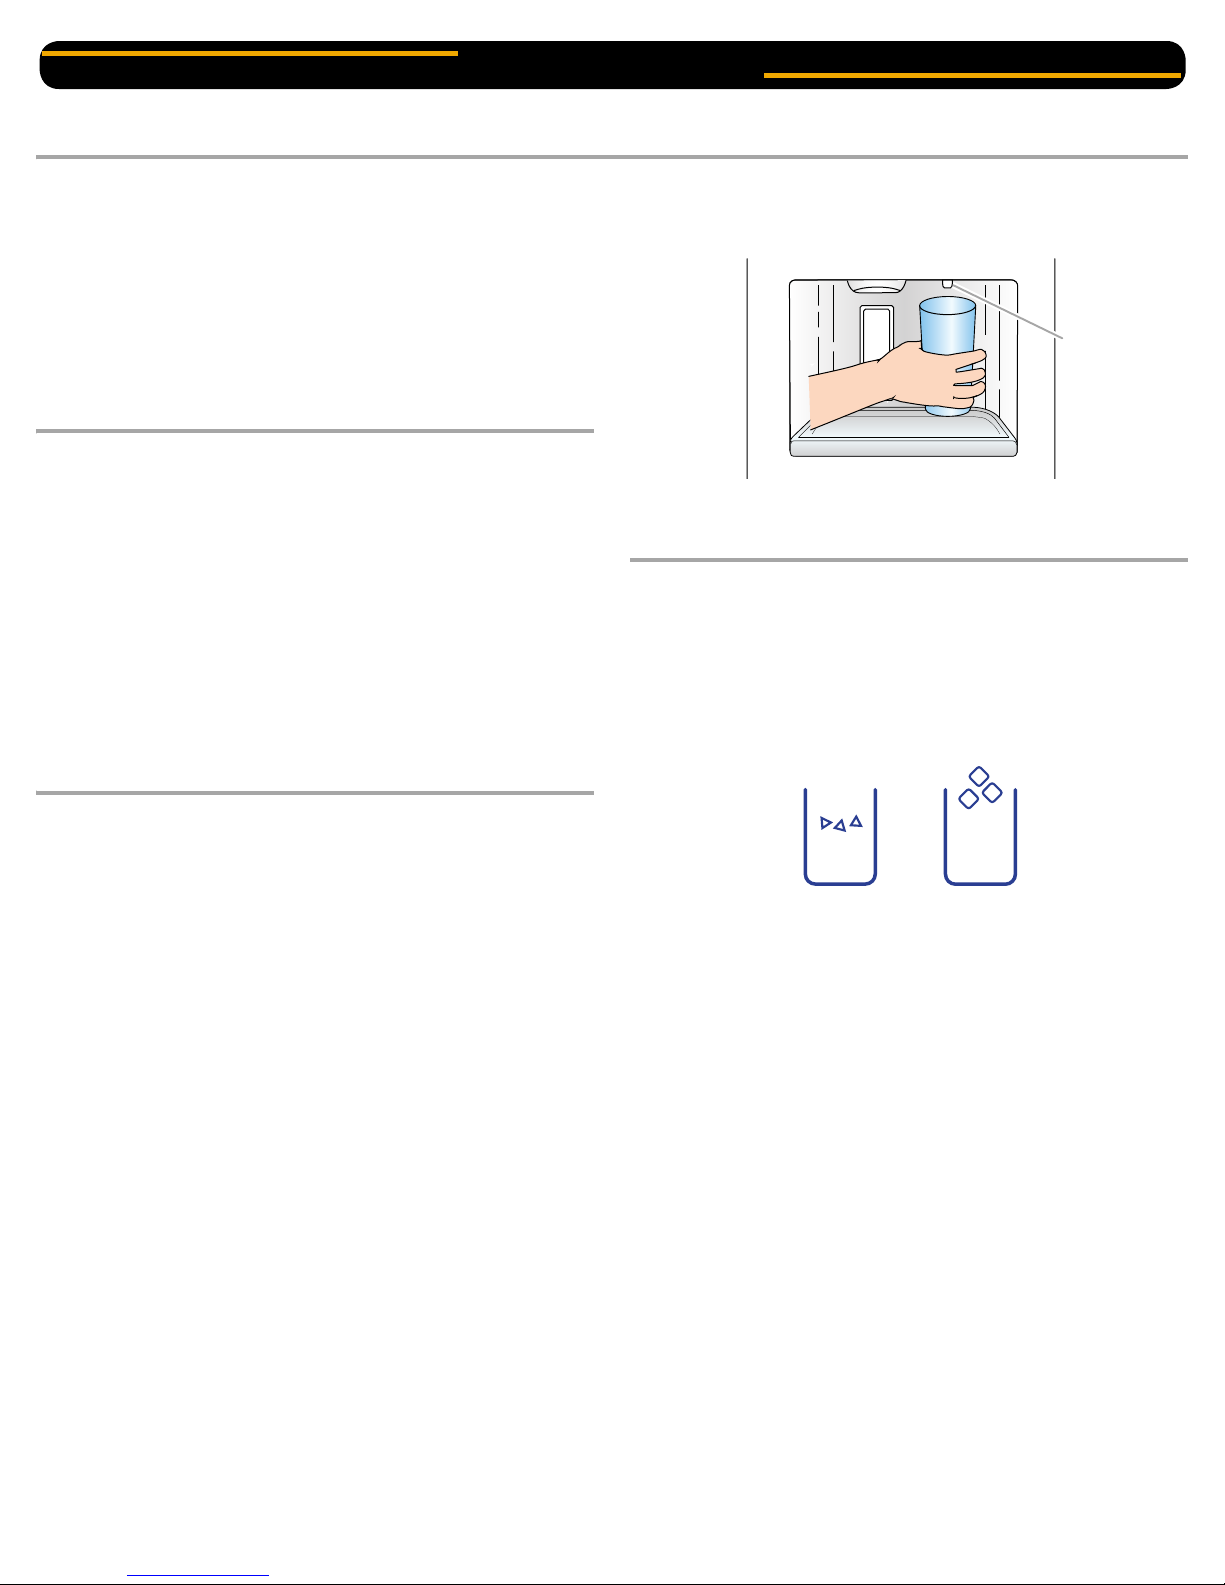
To Dispense Water:
1. Press a sturdy glass against the water dispenser pad. Hold the
glass close to the water dispenser spout to ensure that the water
dispenses into the glass.
A. Water dispenser spout
2. Remove the glass to stop dispensing.
The Ice Dispenser
Ice dispenses from the ice maker storage bin in the freezer when the
dispenser pad is pressed. To turn off the ice maker, see “Ice Maker and
Storage Bin.”
Your ice maker can produce both crushed and cubed ice. Before
dispensing ice, select which type of ice you prefer by pressing the ICE
TYPE button.
The display screen indicates which type of ice is selected.
The Water Dispenser
IMPORTANT:
■ Dispense at least 1 qt (1 L) of water every week to maintain a fresh
supply.
■ If the flow of water from the dispenser decreases, it could be
caused by low water pressure.
■ With the water filter removed, dispense 1 cup (237 mL) of
water. If 1 cup of water is dispensed in 8 seconds or less, the
water pressure to the refrigerator meets the minimum
requirement.
■ If it takes longer than 8 seconds to dispense 1 cup of water,
the water pressure to the refrigerator is lower than
recommended. See “Water Supply Requirements” (in the User
Instructions or the Installation Instructions and Owner’s
Manual) or “Problem Solver” for suggestions.
CRUSHED CUBED
For crushed ice, cubes are crushed before being dispensed. This may
cause a slight delay when dispensing crushed ice. Noise from the ice
crusher is normal, and pieces of ice may vary in size. When changing
from crushed to cubed, a few ounces of crushed ice will be dispensed
along with the first cubes.
4
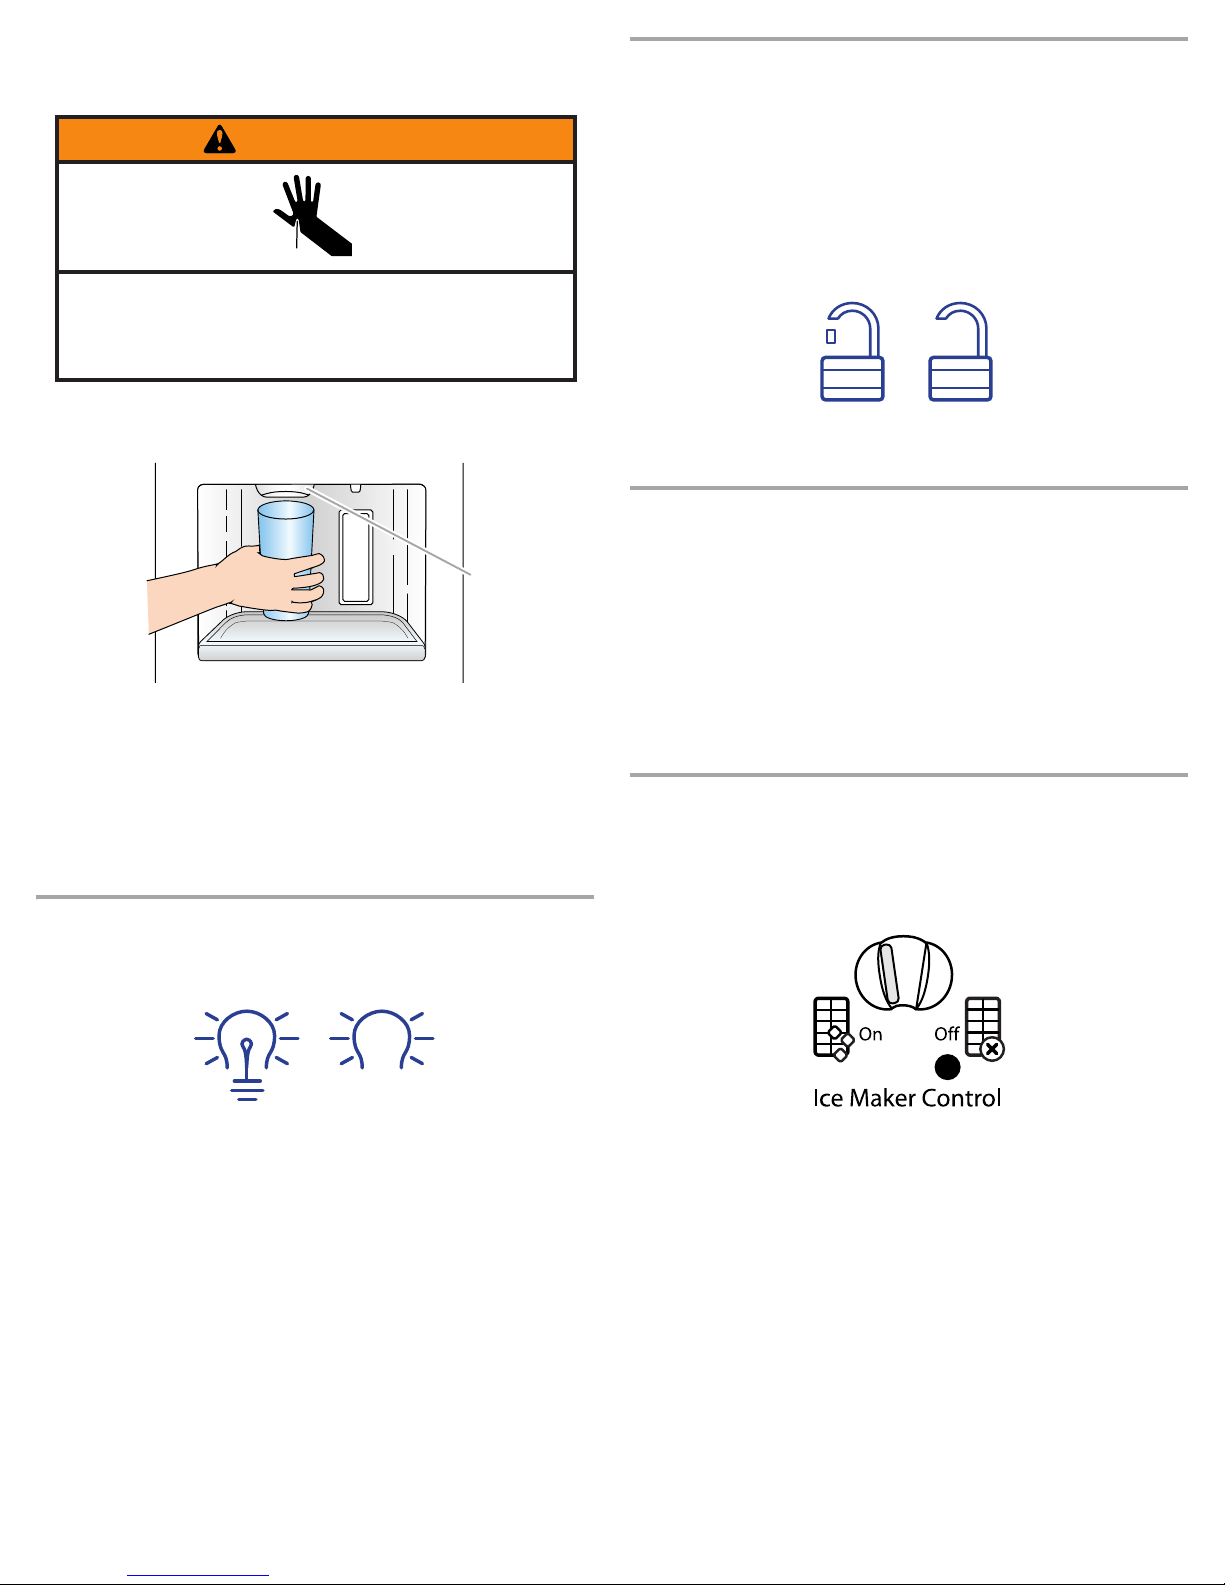
To Dispense Ice:
Cut Hazard
Use a sturdy glass when dispensing ice.
Failure to do so can result in cuts.
WARNING
A
1. Make sure the desired type of ice is selected. To switch between
cubed and crushed, press ICE TYPE.
The Dispenser Lock
The dispenser can be turned off for easy cleaning or to avoid
unintentional dispensing by small children and pets.
NOTE: The lock feature does not shut off power to the refrigerator, to
the ice maker, or to the dispenser light. It simply deactivates the
controls and dispenser pads. To turn off the ice maker, see “Ice Maker
and Storage Bin.”
■ Press and hold LOCK for 3 seconds to lock the dispenser.
■ Press and hold LOCK a second time to unlock the dispenser.
The display screen indicates when the dispenser is locked.
2. Press a sturdy glass against the ice dispenser pad. Hold the glass
close to the ice guide to ensure that the ice dispenses into the
glass.
A. Ice guide
IMPORTANT: You do not need to apply a lot of pressure to the pad
in order to activate the ice dispenser. Pressing hard will not make
the ice dispense faster or in greater quantities.
3. Remove the glass to stop dispensing.
NOTE: Ice may continue to dispense for several seconds after
removing the glass from the pad. The dispenser may continue to
make noise for a few seconds after dispensing.
The Dispenser Light
When you use the dispenser, the light will automatically turn on. If you
want the light to be on continuously, you may choose either ON or DIM.
The display screen indicates which mode is selected.
LOCKED UNLOCKED
Ice Maker and Storage Bin
■ Allow 24 hours to produce the first batch of ice. Discard the first
three batches of ice produced.
■ The quality of your ice will be only as good as the quality of the
water supplied to your ice maker. Avoid connecting the ice maker to
a softened water supply. Water softener chemicals (such as salt)
can damage parts of the ice maker and lead to poor quality ice. If a
softened water supply cannot be avoided, make sure the water
softener is operating properly and is well maintained.
■ Do not use anything sharp to break up the ice in the storage bin.
This can cause damage to the ice container and the dispenser
mechanism.
■ Do not store anything on top of or in the ice maker or storage bin.
Style 1
Turning the Ice Maker On/Off:
The On/Off switch can only be accessed when the ice storage bin has
been removed. The switch is located on the freezer door, on the left
side of the wall that surrounds the ice storage bin. See the following
section for bin removal instructions.
ON DIM
ON: Press LIGHT to turn the dispenser light on.
DIM: Press LIGHT a second time to select DIM mode. The dispenser
light will remain on, but at a lower intensity.
OFF: Press LIGHT a third time to turn the dispenser light off.
The dispenser lights are LEDs that cannot be changed. If it appears
that your dispenser lights are not working, see “Troubleshooting” or
“Problem Solver” for more information.
■ To turn on the ice maker, slide the control to the ON (left) position.
■ To manually turn off the ice maker, slide the control to the
OFF (right) position.
NOTE: The ice maker has an automatic shutoff to keep the storage bin
from overfilling during normal operation. The ice maker sensors will
automatically stop ice production, but the control will remain in the
ON (left) position.
5
 Loading...