

Whirlpool WED9750WW1, WED9750WL1 Owner’s Manual
ELECTRONIC DRYER
Use & Care Guide
For questions about features, operation/performance, parts,
accessories, or service, call: 1-800-253-1301
or visit our website at...
www.whirlpool.com
In Canada, call: 1-800-807-6777
or visit our website at...
www.whirlpool.ca
®
MODEL WED/WGD 9750W*0
TABLE OF CONTENTS
Page
DRYER SAFETY...........................................................................................2
OPTIONS ......................................................................................................4
QUICK START GUIDE/DRYER USE ..........................................................4
Tips for Getting the Best Performance from Your St
Cycles .......................................................................................................6
Additional Features...................................................................................7
Drum Light and Controls Lock/Unlock
Changing Cycles, Options, and Modifiers................................................8
DRYER CARE...............................................................................................9
Cleaning the Dryer Location.....................................................................9
Cleaning the Lint Screen...........................................................................9
Cleaning the Dryer Interior........................................................................9
Removing Accumulated Lint ..................
Vacation, Storage, and Moving Care .......................................................9
Changing the Drum Light........................................................................10
TROUBLESHOOTING ...............................................................................10
WARRANTY ...............................................................................................13
ASSISTANCE OR SERVICE..................................................BACK COVER
.....................................................8
..................................................9
eam Dryer.............. 6
QUICK START GUIDE/
D
RYER USE............PG. 4
Para una versión en español, visite:
www.whirlpool.com
Número de pieza W10251161B
SÉCHEUSE
ÉLECTRONIQUE
Guide d'utilisation et d'entretien
Pour assistance, installation, ou service, composez le : 1-800-807-6777
GUIDE DE DÉMARRAGE RAPIDE/
UTILISATION DE LA SÉCHEUSE....PG. 16
TABLE DES MATIÈRES
SÉCURITÉ DE LA SÉCHEUSE.................................................................14
OPTIONS.................................................................................................... 16
GUIDE DE DÉMARRAGE RAPIDE/UTILISATION DE LA SÉCHEUSE.. 16
Conseils pour obtenir la meilleure performance
de votre sécheuse à vapeur ...............
Programmes ...........................................................................................18
Caractéristiques supplémentaires......
Drum Light and Controls Lock/Unlock (écl
et verrouillage/déverrouillage des commandes)
Changement des programmes, options et
ENTRETIEN DE LA SÉCHEUSE............................................................... 22
Nettoyage de l'emplacemen
Nettoyage du filtre à charpie .................................................................. 22
Nettoyage de l'intérieur de la sécheuse................................................. 22
Retrait de la charpie accumulée.............................................................22
Précautions à prendre avant les vacances,
un entreposage ou un déménagement.................................................. 22
Changement de l'ampoule d'éclairage d
DÉPANNAGE .............................................................................................24
GARANTIEN............................................................................................... 27
ASSISTANCE OU SERVICE............................... COUVERTURE ARRIÈRE
ou visitez notre site internet à..
www.whirlpool.ca
Page
.................................................... 18
.................................................... 20
airage du tambour
....................................20
modificateurs..................... 20
t de la sécheuse........................................ 22
u tambour .............................. 23
W10477025A
W10477026A -
SP
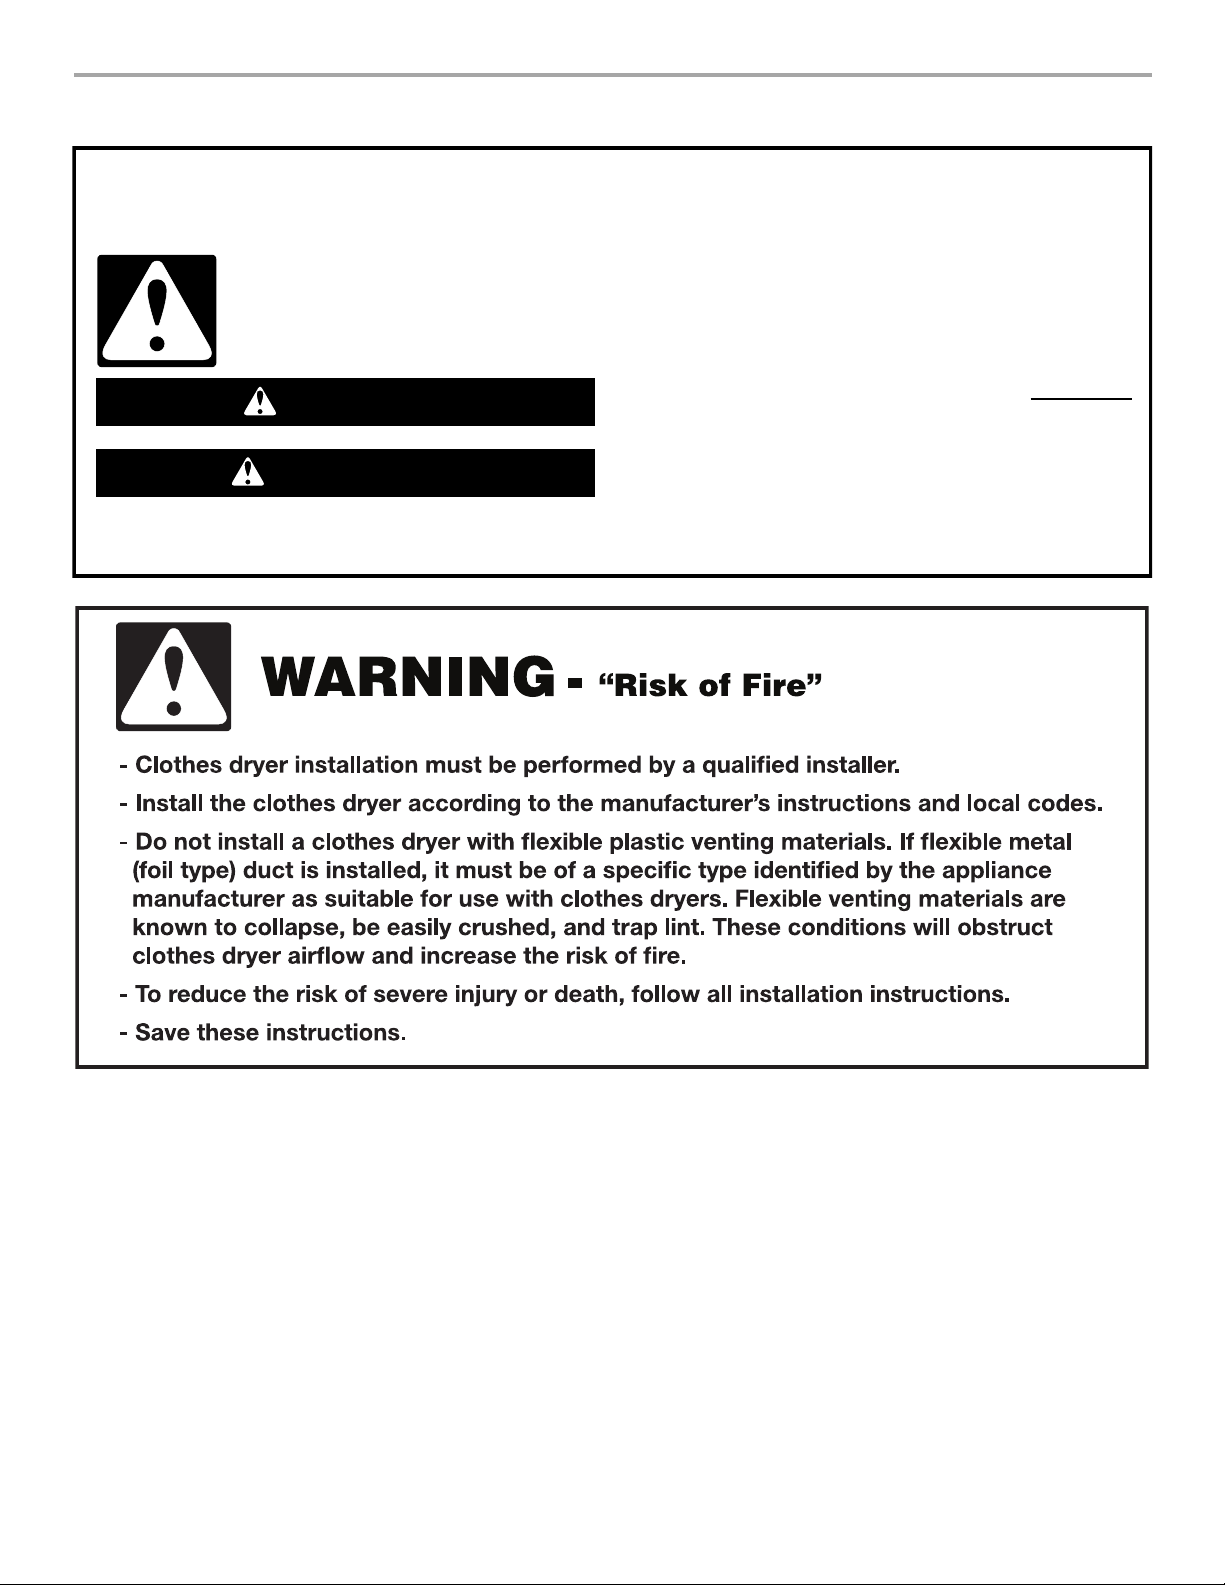
DRYER SAFETY
Your safety and the safety of others are very important.
We have provided many important safety messages in this manual and on your appliance. Always read and obey all safety
messages.
This is the safety alert symbol.
This symbol alerts you to potential hazards that can kill or hurt you and others.
All safety messages will follow the safety alert symbol and either the word “DANGER” or “WARNING.”
These words mean:
You can be killed or seriously injured if you don't immediately
DANGER
WARNING
All safety messages will tell you what the potential hazard is, tell you how to reduce the chance of injury, and tell you what can
happen if the instructions are not followed.
follow instructions.
You
can be killed or seriously injured if you don't
instructions.
follow
2

3
Pedestal
OPTIONS
accessories available, ask for Part Number.
Are you placing the dryer on a pedestal? You have the option of
purchasing pedestals of different heights separately for this dryer.
You may select a 10" (254 mm) or 15.5" (394 mm) pedestal. These
pedestals will add to the total height of the dryer for a total height
of approximately 48" (1.22 m) or 53.5" (1.36 m), respectively.
For a garage installation, you will ne
pedestal at least 9" (229 mm) above the floor and the 15.5"
(394 mm) pedestal at least 3.5" (89 mm) above the floor.
The pedestals are available in se
To order, call the dealer from whom you purchased your dryer or
refer to the “Assistance or Service” section. Other dryer
ed to place the 10" (254 mm)
veral colors.
QUICK START GUIDE / DRYER USE
Accessory Part Number
Stack Kit 8541503
Door Reversal Kit 8579666A
Back Guard 8212452 (White)
Optional Exhaust Installation
Dryer can be converted to exhaust out the
rig
ht side, left side, or through the bottom.
W10470674
For a summary of how to use your dryer following installation, see the QUICK START GUIDE on the next page.
4
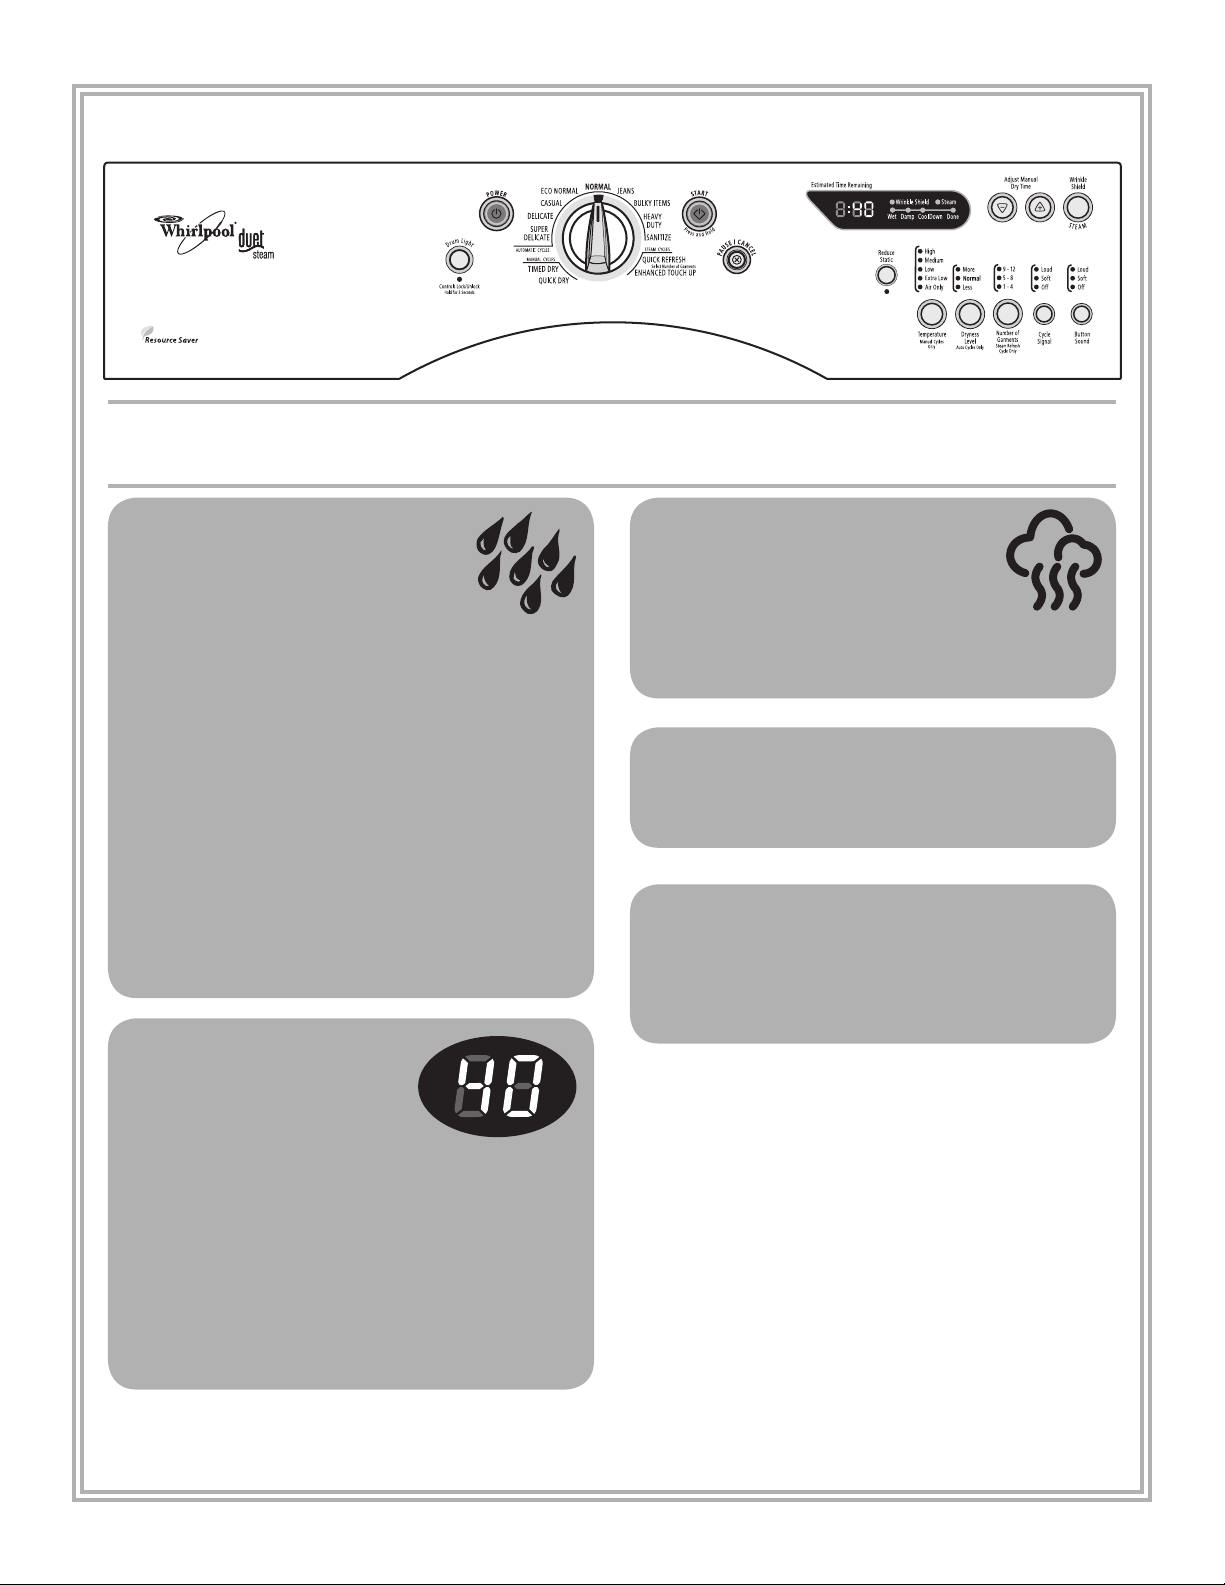
QUICK START GUIDE
WARNING: To reduce the risk of re electric shock, or injury to persons, read the IMPORTANT SAFETY INSTRUCTIONS
before operating this appliance.
This Use and Care Guide covers several different models. Your dryer may not have all the cycles and features described.
USING AUTOMATIC CYCLES
Automatic Cycles automatically match
the cycles setting to the type of load and
adjust drying time for optimal performance.
See the Cycles information on the following
pages for more details on each cycle.
Clean lint screen.
1.
2. Place laundry in the dryer. Shut the door.
3. Press POWER.
4. Select an AUTOMATIC Cycle.
5. Select the Options feature, if desired.
6. Press and hold START to begin.
To make changes during an Automatic Cycle:
1. Press PAUSE/CANCEL.
2. Select DRYNESS LEVEL or Option.
3. Press and hold START to begin.
NOTE: For the Sanitize Cycle, to ensure sanitization, do not
interrupt the cycle.
USING MANUAL CYCLES
Use Manual Cycles to set a drying
time and temperature. See the
Cycles information on the following
pages for detail on each cycle.
USING STEAM CYCLES
Steam Cycles use water and heat to reduce
wrinkles and odors in dry items.
Press POWER.
1.
2. Select a Steam Cycle. For the Quick Refresh Cycle, select
the desired Number of Garments.
3. Press and hold START to begin.
Stopping Your Dryer
To stop your dryer at any time
Press PAUSE/CANCEL twice, open the door, or Press
the POWER button.
Pausing or Restarting
To pause the dryer at any time
Open the door or press PAUSE/CANCEL once.
To restart the dryer
Close the door and press and hold START button until
dryer starts.
Clean lint screen.
1.
2. Place laundry in the dryer. Shut the door.
3. Press POWER.
4. Select a Manual cycle.
5. Press the Dry Time up or down buttons until the desired
drying time is displayed.
6. Press TEMPERATURE until the desired temperature glows.
7. Select the Options feature, if desired.
8. Press and hold START to begin.
5
 Loading...