

Whirlpool WED9750WW, WGD9750WW, WGD9750WL, WED9750WL Owners Manual

ELECTRONIC DRYER
Use & Care Guide
For questions about features, operation/performance, parts,
accessories, or service, call: 1-800-253-1301
or visit our website at...
www.whirlpool.com
In Canada, call: 1-800-807-6777
or visit our website at...
www.whirlpool.ca
®
MODEL WED/WGD 9750W*0
TABLE OF CONTENTS
Page
DRYER SAFETY...........................................................................................2
OPTIONS ......................................................................................................4
QUICK START GUIDE/DRYER USE ..........................................................4
Tips for Getting the Best Performance from Your St
Cycles .......................................................................................................6
Additional Features...................................................................................7
Drum Light and Controls Lock/Unlock
Changing Cycles, Options, and Modifiers................................................8
DRYER CARE...............................................................................................9
Cleaning the Dryer Location.....................................................................9
Cleaning the Lint Screen...........................................................................9
Cleaning the Dryer Interior........................................................................9
Removing Accumulated Lint ..................
Vacation, Storage, and Moving Care .......................................................9
Changing the Drum Light........................................................................10
TROUBLESHOOTING ...............................................................................10
WARRANTY ...............................................................................................13
ASSISTANCE OR SERVICE..................................................BACK COVER
.....................................................8
..................................................9
eam Dryer.............. 6
QUICK START GUIDE/
D
RYER USE............PG. 4
Para una versión en español, visite:
www.whirlpool.com
Número de pieza W10251161B
SÉCHEUSE
ÉLECTRONIQUE
Guide d'utilisation et d'entretien
Pour assistance, installation, ou service, composez le : 1-800-807-6777
GUIDE DE DÉMARRAGE RAPIDE/
UTILISATION DE LA SÉCHEUSE....PG. 16
TABLE DES MATIÈRES
SÉCURITÉ DE LA SÉCHEUSE.................................................................14
OPTIONS.................................................................................................... 16
GUIDE DE DÉMARRAGE RAPIDE/UTILISATION DE LA SÉCHEUSE.. 16
Conseils pour obtenir la meilleure performance
de votre sécheuse à vapeur ...............
Programmes ...........................................................................................18
Caractéristiques supplémentaires......
Drum Light and Controls Lock/Unlock (écl
et verrouillage/déverrouillage des commandes)
Changement des programmes, options et
ENTRETIEN DE LA SÉCHEUSE............................................................... 22
Nettoyage de l'emplacemen
Nettoyage du filtre à charpie .................................................................. 22
Nettoyage de l'intérieur de la sécheuse................................................. 22
Retrait de la charpie accumulée.............................................................22
Précautions à prendre avant les vacances,
un entreposage ou un déménagement.................................................. 22
Changement de l'ampoule d'éclairage d
DÉPANNAGE .............................................................................................24
GARANTIEN............................................................................................... 27
ASSISTANCE OU SERVICE............................... COUVERTURE ARRIÈRE
ou visitez notre site internet à..
www.whirlpool.ca
Page
.................................................... 18
.................................................... 20
airage du tambour
....................................20
modificateurs..................... 20
t de la sécheuse........................................ 22
u tambour .............................. 23
W10477025A
W10477026A -
SP

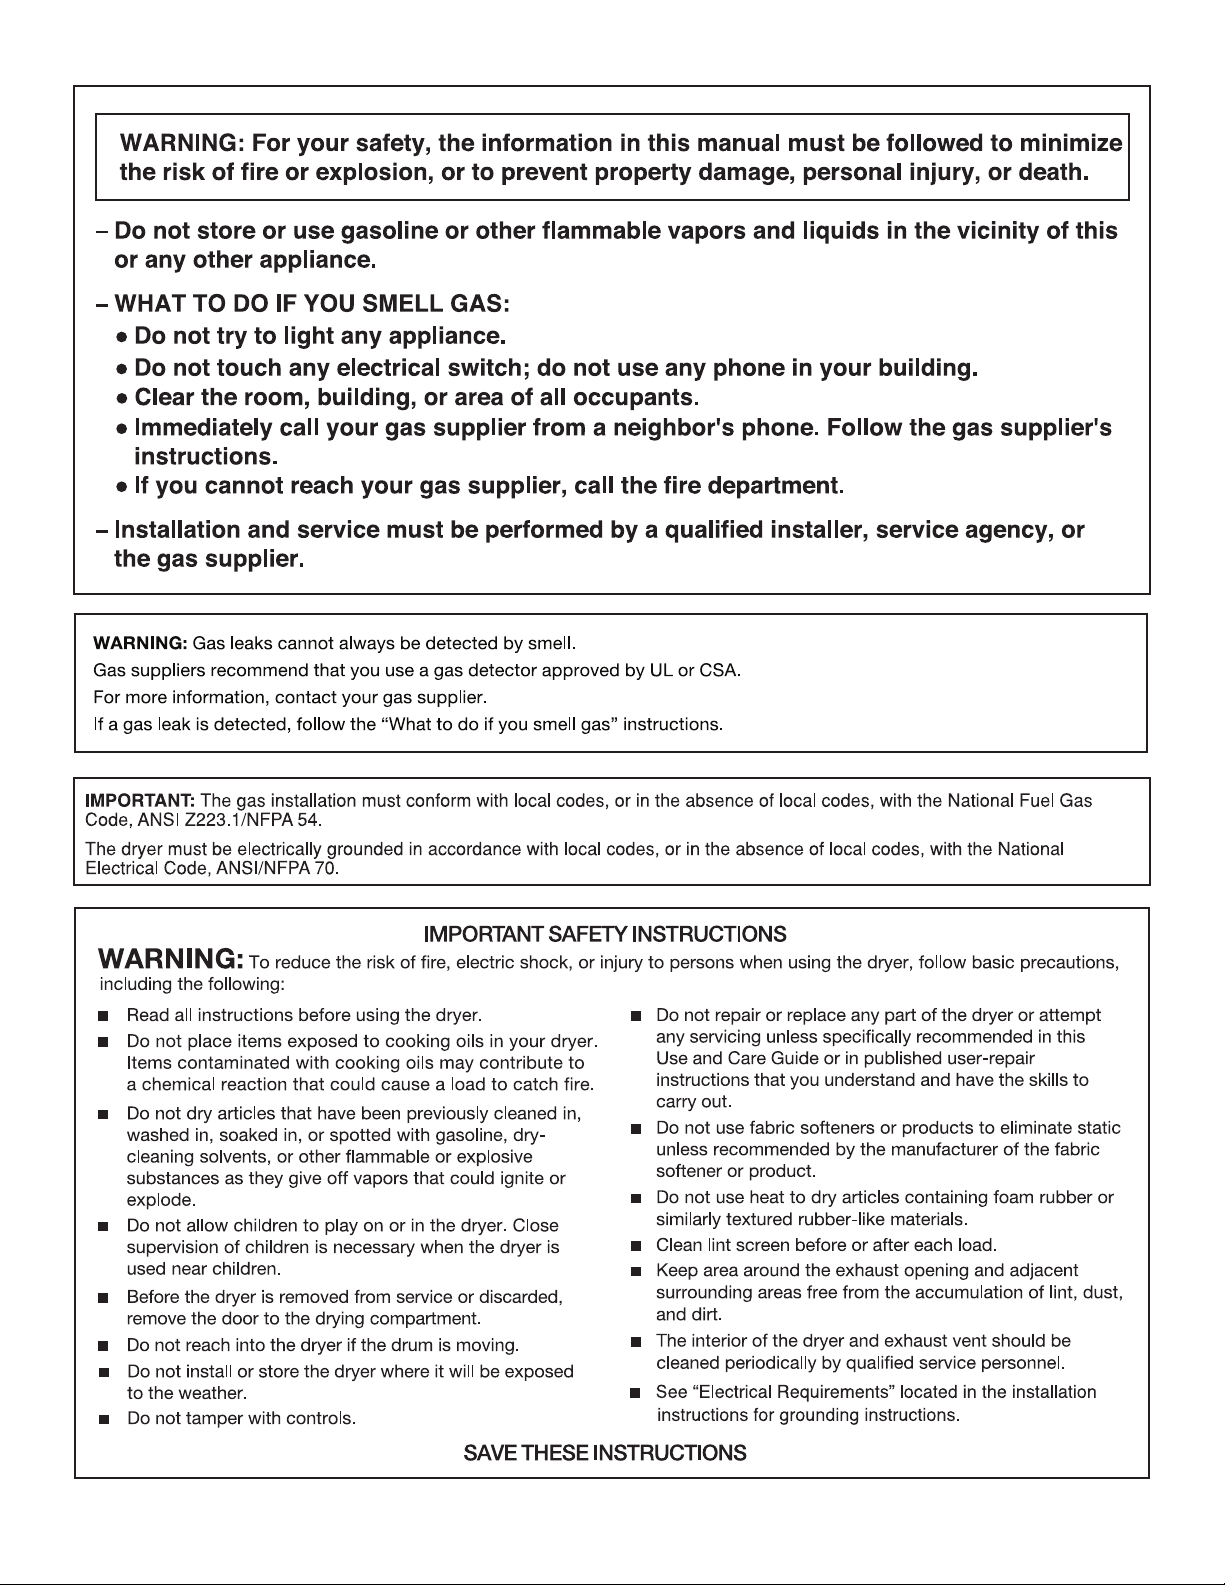
DRYER SAFETY
Your safety and the safety of others are very important.
We have provided many important safety messages in this manual and on your appliance. Always read and obey all safety
messages.
This is the safety alert symbol.
This symbol alerts you to potential hazards that can kill or hurt you and others.
All safety messages will follow the safety alert symbol and either the word “DANGER” or “WARNING.”
These words mean:
You can be killed or seriously injured if you don't immediately
DANGER
WARNING
All safety messages will tell you what the potential hazard is, tell you how to reduce the chance of injury, and tell you what can
happen if the instructions are not followed.
follow instructions.
You
can be killed or seriously injured if you don't
instructions.
follow
2
3

Pedestal
OPTIONS
accessories available, ask for Part Number.
Are you placing the dryer on a pedestal? You have the option of
purchasing pedestals of different heights separately for this dryer.
You may select a 10" (254 mm) or 15.5" (394 mm) pedestal. These
pedestals will add to the total height of the dryer for a total height
of approximately 48" (1.22 m) or 53.5" (1.36 m), respectively.
For a garage installation, you will ne
pedestal at least 9" (229 mm) above the floor and the 15.5"
(394 mm) pedestal at least 3.5" (89 mm) above the floor.
The pedestals are available in se
To order, call the dealer from whom you purchased your dryer or
refer to the “Assistance or Service” section. Other dryer
ed to place the 10" (254 mm)
veral colors.
QUICK START GUIDE / DRYER USE
Accessory Part Number
Stack Kit 8541503
Door Reversal Kit 8579666A
Back Guard 8212452 (White)
Optional Exhaust Installation
Dryer can be converted to exhaust out the
rig
ht side, left side, or through the bottom.
W10470674
For a summary of how to use your dryer following installation, see the QUICK START GUIDE on the next page.
4

QUICK START GUIDE
WARNING: To reduce the risk of re electric shock, or injury to persons, read the IMPORTANT SAFETY INSTRUCTIONS
before operating this appliance.
This Use and Care Guide covers several different models. Your dryer may not have all the cycles and features described.
USING AUTOMATIC CYCLES
Automatic Cycles automatically match
the cycles setting to the type of load and
adjust drying time for optimal performance.
See the Cycles information on the following
pages for more details on each cycle.
Clean lint screen.
1.
2. Place laundry in the dryer. Shut the door.
3. Press POWER.
4. Select an AUTOMATIC Cycle.
5. Select the Options feature, if desired.
6. Press and hold START to begin.
To make changes during an Automatic Cycle:
1. Press PAUSE/CANCEL.
2. Select DRYNESS LEVEL or Option.
3. Press and hold START to begin.
NOTE: For the Sanitize Cycle, to ensure sanitization, do not
interrupt the cycle.
USING MANUAL CYCLES
Use Manual Cycles to set a drying
time and temperature. See the
Cycles information on the following
pages for detail on each cycle.
USING STEAM CYCLES
Steam Cycles use water and heat to reduce
wrinkles and odors in dry items.
Press POWER.
1.
2. Select a Steam Cycle. For the Quick Refresh Cycle, select
the desired Number of Garments.
3. Press and hold START to begin.
Stopping Your Dryer
To stop your dryer at any time
Press PAUSE/CANCEL twice, open the door, or Press
the POWER button.
Pausing or Restarting
To pause the dryer at any time
Open the door or press PAUSE/CANCEL once.
To restart the dryer
Close the door and press and hold START button until
dryer starts.
Clean lint screen.
1.
2. Place laundry in the dryer. Shut the door.
3. Press POWER.
4. Select a Manual cycle.
5. Press the Dry Time up or down buttons until the desired
drying time is displayed.
6. Press TEMPERATURE until the desired temperature glows.
7. Select the Options feature, if desired.
8. Press and hold START to begin.
5

Tips for Getting the Best Performance
from Your Steam Dryer
■ Results may vary depending on fabric. 100% cotton
garments with wrinkle-free finish may yield better
results than those without. 100% cotton items may
require additional touching up after the Steam Cycle.
■ Use of fabric softener sheet is not recommended with
Steam Cycles. It may cause temporary staining on
clothes.
■ It is not recommended to use Steam Cycles for items that
have been starched. Wash any starched or new garments
prior to using a Steam Cycle.
■ The Quick Refresh Cycle is best for smoothing out
wrinkles and reducing odors from small loads consisting
of dry items of wrinkle-free cotton, cotton-polyester blend,
common knits, and synthetic garments.
■ The Enhanced Touch Up Cycle is best for smoothing out
wrinkles from clothes that have been left in the dryer too
long. For best results, do not overload the dryer.
■ The Quick Refresh Cycle time is adjusted for the Number
of Garments option selected. Under certain environmental
or installation conditions, you may experience under
drying with the Quick Refresh Cycle. Select Enhanced
Touch Up Cycle (20 min. default time) which can be
customized to select High Temperature and/or additional
cycle time by pressing the Timed Cycle Adjust More Time
button.
Cycles
Select the drying cycle that matches the type of load you are
drying. See Automatic Preset or Manual Preset Cycle Settings
chart.
NOTE: Not a
ll cycles are available on all models.
Automatic Cycles
Automatic Cycles allow you to match the cycle to the load you are
drying. See the following Automatic Preset Cycle Settings chart.
Each cycle dries certain fabrics at the recommended temperature.
A sensor detects the moisture in th
adjusts the drying time for optimal drying.
NOTE: Not all
Sanitize
Use this cycle for items such as towels, bedding, children’s
clothing, or other items needing to be sanitized. This cycle is
designed to eliminate 99.9% of 3 common infectious bacteria.
This cycle should be run to completion to ensure sanitization.
For best results, do not interrupt cycle.
cycles are available on all models.
Sanitization Performance of
Residential Clothes Dryers
e load and automatically
NSF Protocol P154
Automatic Preset Cycle Settings
Automatic Cycles Load Type
SANITIZE
Towels, bedding,
children’s clothing
HEAVY DUTY
Heavyweight items, towels
BULKY ITEMS
Jackets, comforters, pillows
(rearrange load part way through
cle to aid in drying.)
cy
Te mp e ra tu r e Est.
Cycle
Time*
(Minutes)
High 60
High 50
Medium 55
Cycle Control knob
JEANS
Jeans, denim jacket
NORMAL
Corduroys, work clothes, sheets
ECO NORMAL
Designed for average size loads
of medium weight items
CASUAL
Permanent press, synthetics
DELICATE
Lingerie, blouses, washable
olens
wo
SUPER DELICATE
Lingerie, blouses, washable
olens
wo
*Estimated time with Normal Dryness Level. If loads do not seem
as dry as you would like, select More Dry next time you dry a
similar load.
Medium 55
Medium 38
Medium 40
Low 35
Low 25
Extra Low 25
6

Manual Cycles
Use of a fabric softener sheet is n
cycles as it may cause temporary staining on the clothes.
ot recommended with steam
Use Manual Cycles to select a specific amount of drying time and
a drying temperature. When a Manual Cycle is selected, the
Estimated Time Remaining display shows the actual time
remaining in your cycle. You can change the actual time in the
cycle by pressing the ADJUST MANUAL DRY TIME up or down
buttons and the temperature by pressing the Temperature button.
Manual Preset Cycle Settings
Manual Cycles Load Type
TIMED DRY
Heavyweight items,
bulky items, bedspreads,
work clothe
QUICK DRY
Small loads
*Reset time to complete drying, if needed.
s
Te mp e ra t u re Est. Cycle
High 40
Medium 15
Time*
(M
inutes)
Air Only
Use Timed Dry/Air Only temperature setting for items that require
drying without heat such as rubber, plastic, and heat-sensitive
fabrics. This chart shows examples of items that can be dried
using Air Only.
Type of Load Est.
Time*
(Minutes)
Steam Preset Cycle Settings
Timed Cycles Load Type
QUICK REFRESH
Helps to smooth out wrinkles
educe odors. Estimated
and r
Time Remaining based on
Number of Garments
selected.
ENHANCED TOUCH UP
Helps to smooth out wrinkles
in loads le
an extended period.
*To program the Quick Refresh Cycle, turn the selector knob to
“Qu
NUMBER OF GARMENTS and selecting 1-4, 5-8, or 9-12
garments. Pressing ADJUST MANUAL DRY TIME options + or to manually increase by increments of 1. Number of Garments
will display in the Estimated Time Screen. Cycle time will be
displayed when Start is pressed.
*The Enhanced Touch Up Cycle has a minimum dry time of
15 minutes and a maximum dry time of 40 minutes. Only the
Medium and
Enhanced Touch Up Cycle.
ft in the dryer for
ick Refresh.” Use a combination of buttons by pressing
High temperature settings can be used for the
Default
Temperature*
Medium 12-29
Medium 20
Est. Time*
(Minutes)
Additional Features
Foam rubber - pillows, padded bras, stuffed toys 20 - 30
Plastic - shower curtains, tablecloths 20 - 30
Rubber-backed rugs 40 - 50
Olefin, polypropylene, sheer nylon 10 - 20
*Reset time to complete dryi
ng, if needed.
When using Air Only
■ Check that coverings are securely stitched.
■ Shake and fluff pillows by hand periodically during the cycle.
■ Dry item completely. Foam rubber pillows are slow to dry.
NOTE: Aut
setting.
omatic Cycles are not available when using the Air Only
Steam Cycles
In these cycles, a small amount of water is sprayed into the dryer
drum after several minutes of tumbling with heat. The STEAM
Status Light will come on while the water is sprayed into the drum.
The dryer will continue to tumble at Medium heat for the duration
of the cycle. The Steam Cycles include Quick Refresh and
Enhanced Touch Up. The cycle time is adjustable for the Quick
Refresh Cycle based on the Number of Garments selected. The
heat setting and cycle time may be adjusted for the Enhanced
Touch Up Cycle.
NOTE: Results may vary dep
garments with wrinkle-free finish may yield better results than
those without.
ending on fabric. 100% cotton
Reduce Static
An option that can be added to any Auto Cycle to Reduce Static
that may build up in loads as they tumble. The Reduce Static
feature periodically tumbles, stops, and sprays a small amount of
water over the load to help keep static from forming.
NOTE: By pr
miniminal extra time.
essing REDUCE STATIC, your cycle will add
WRINKLE SHIELD™ STEAM Feature
When you are unable to remove a load of clothes from the dryer
as soon as it stops, wrinkles can form. The WRINKLE SHIELD™
STEAM feature periodically tumbles, rearranges, and fluffs the
load to help keep wrinkles from forming.
■ Get up to 140 minutes of periodic tumbling at the end of a
cycle. Turn off at any time by pressing the WRINKLE
SHIELD™ STEAM button.
■ After 60 minutes of WRINKLE SHIELD™ STEAM operation, a
short 15 minute Steam cycle is used to smooth out wrinkles.
7

■ The Wrinkle Shield Steam feature is not available on Delicate
or Super Delicate Automatic Cycles and Timed Cycles with
Low, Extra Low, and Air Only Temperature selected. WRINKLE
SHIELD™ without Steam cycle is available for these cycles.
■ For the Casual Cycle, the WRINKLE SHIELD™ STEAM feature
is preset to “ON.” The other cycles will retain the WRINKLE
SHIELD™ STEAM feature setting.
Cycle Signal
The End of Cycle Signal produces an audible sound when the
drying cycle is finished.
Press until the desired volume (Loud, S
NOTE: Wh
and the End of Cycle Signal is on, an audible sound will be
emitted every 5 minutes until the clothes are removed, or the
WRIN
en the WRINKLE SHIELD™ STEAM feature is selected
KLE SHIELD™ STEAM feature is finished.
oft, or Off) glows green.
Button Sound
You can change the volume of the sound of the beeps. Press until
the desired volume (Loud, Soft, or Off) glows green. The Power
and Cancel buttons will still beep softly even when the Button
Sound volume is set to Off.
Drum Light and Controls Lock/Unlock
Drum Light
When pressed during a cycle, the Drum Light turns on and will
remain on until pressed again, the door is opened and closed, or
the door is left open for 20 minutes.
Controls Lock/Unlock
To enable the Controls Lock feature when dryer is running:
Press and hold the CONTROLS LOCK/UNLOCK button for
3 seconds. The control is locked when
the Controls Lock status light is on. This feature allows you to lock
your settings to avoid unintended use of the dryer. You can also
use the Controls Lock feature to avoid unintended cycle or option
changes during dryer operation.
■ When the dryer is off, it is not necessary to press the Control
On button before activating the Controls Lock feature.
To unlock:
Press and hold the CONTROLS LOCK/UNLOCK button for
3 seconds to turn this feature off.
NOTE: Wh
dryer can be stopped by pressing the Pause/Cancel button, but
cannot be restarted until the control is unlocked.
en the dryer is running and Controls Lock is on, the
a single beep is heard and
Changing Cycles, Options, and Modifiers
You can change Auto Cycles, Timed Cycles, Options, and
Modifier, and anytime before pressing Start.
■ Three short tones sound if an unavailable combination is
selected. The last selection will not be accepted.
Changing Cycles after pressing Start
1. Press PAUSE/CANCEL twice. This ends the current cycle.
2. Select th
3. Press and hold START. The dryer starts at the beginning of the
new cycle.
NOTE: If
cycle, the dryer automatically shuts off.
Changing Options and Modifiers after pressing Start
You can change an Option or Modifier anytime before the selected
Option or Modifier begins.
1. Pr
2. Select th
3. Press and hold START to continue the cycle. NOTE: If
clears and your dryer shuts down. Restart the selection process.
Changing the Preset Dryness Level Settings
If all your loads on all Auto Dry cycles are consistently not as dry
as you would like, you may change the preset Dryness Level
settings to increase the dryness. This change will affect all of your
Auto Dry cycles.
Your Dryness Level settings can be adjusted to adapt to different
stallations, environmental conditions or personal preference.
in
There are 3 drying settings: 1 (factory preset dryness level),
2 (slightly drier clothes, approximately 15% mor
and 3 (much drier clothes, appr
1. The Dryness Level settings cannot be changed while the dryer
is running.
2. Pr
dryer will beep, and “CF” will be displayed for 1 second
followed by the current drying setting.
o select a new drying setting, press the Dryness Level key
3. T
again until the desired drying setting is shown.
NOTE: Wh
will not flash, but the other settings will flash.
4. Pr
5. The drying setting you selected will become your new preset
drying setting for all Auto Dry cycles.
e desired cycle and options.
you do not press Start within 5 minutes of selecting the
ess PAUSE/CANCEL once.
e new Option and/or Modifier.
you happen to press Pause/Cancel twice, the program
e drying time),
oximately 30% more drying time).
ess and hold the Dryness Level button for 5 seconds. The
ile cycling through the settings, the current setting
ess START to save the drying setting.
8

DRYER CARE
Cleaning the Dryer Location
Keep dryer area clear and free from items that would obstruct the
flow of combustion and ventilation air.
Cleaning the Lint Screen
Every load cleaning
The lint screen is located in the door opening of the dryer. The
control panel has an indicator light to remind you to clean the lint
screen before each load. A screen blocked by lint can increase
drying time.
To clean
ull the lint screen straight up. Roll lint off the screen with your
1. P
fingers. Do not rinse or wash screen to remove lint. Wet lint is
hard to remove.
3. W
et a nylon brush with hot water and liquid detergent. Scrub
lint screen with the brush to remove residue buildup.
4. Rinse screen with hot water.
5. Thoroughly dry lint screen with a clean towel. Replace screen
in dryer.
Cleaning the Dryer Interior
To clean dryer drum
1. Make a paste with powdered laundry detergent and very
warm water.
2. Apply paste to
OR
Apply a liquid, nonflammable househ
area and rub with a soft cloth until all excess dye and stains
are removed.
3. Wip
4. T
NOTE: Garments that contain unstable dyes, such as denim blue
jeans or brightly colored cotton items, may discolor the dryer
interior. These stains are not harmful to your dryer and will not
stain future loads of clothes. Dry unstable dye items inside out to
avoid transfer of dye.
e drum thoroughly with a damp cloth.
umble a load of clean cloths or towels to dry drum.
a soft cloth.
old cleaner to the stained
Removing Accumulated Lint
From Inside the Dryer Cabinet
Lint should be removed every 2 years, or more often, depending
on dryer usage. Cleaning should be done by a qualified person.
2. Push the lint screen firmly back into place. IMPORTANT:
■ Do not run the dryer with the lint screen loose, damaged,
blocked, or missing. Doing so can cause overheating and
damage to both the dryer and fabrics.
■ If lint falls off the screen into the dryer during removal, check
the exhaust hood and remove the lint. See “Venting
Requirements.”
As needed cleaning
Laundry detergent and fabric softener residue can build up on the
lint screen. This buildup can cause longer drying times for your
clothes, or cause the dryer to stop before your load is completely
dry. The screen is probably clogged if lint falls off while the screen
is in the dryer.
Clean the lint screen with a nylon brus
frequently, if it becomes clogged due to a residue buildup.
To wash
1. Roll
2. W
lint off the screen with your fingers.
et both sides of lint screen with hot water.
h every 6 months, or more
From the Exhaust Vent
Lint should be removed every 2 years, or more often, depending
on dryer usage.
Vacation, Storage, and Moving Care
Install and store your dryer where it will not freeze. Because some
water may stay in the hoses, freezing can damage your dryer. If
storing or moving your dryer during freezing weather, winterize it.
Non-Use or Storage Care
Operate your dryer only when you are at home. If you will be on
vacation or not using your dryer for an extended period of time,
you should:
1. Unplug dry
2. Clea
3. Turn off the water supply to the dryer. This helps to avoid
unintended flooding (due to a water pressure surge) while you
are away.
er or disconnect power.
n lint screen. See “Cleaning the Lint Screen.”
9
 Loading...