

Page 1
BUILT-IN MICROWAVE OVEN
W10531851A
You can be killed or seriously injured if you don't immediately
You
can be killed or seriously injured if you don't
follow
All safety messages will tell you what the potential hazard is, tell you how to reduce the chance of injury, and tell you what can
happen if the instructions are not followed.
Your safety and the safety of others are very important.
We have provided many important safety messages in this manual and on your appliance. Always read and obey all safety
messages.
This is the safety alert symbol.
This symbol alerts you to potential hazards that can kill or hurt you and others.
All safety messages will follow the safety alert symbol and either the word “DANGER” or “WARNING.”
These words mean:
follow instructions.
instructions.
DANGER
WARNING
INSTALLATION INSTRUCTIONS
24" (61.0 cm)
This product is suitable for use below electric or gas built-in ovens. This product is not suitable for use below cooktops.
These installation instructions cover different models. The appearance of your particular model may differ slightly from the illustrations
in these Installation Instructions.
FOUR À MICRO-ONDES ENCASTRÉ
INSTRUCTIONS D'INSTALLATION
24" (61,0 cm)
Ce produit convient à une utilisation au-dessous de fours encastrés électriques ou à gaz. Ce produit ne convient pas à une utilisation
au-dessous de tables de cuisson.
Ces instructions d'installation sont valables pour plusieurs modèles. Il se peut que l’apparence de votre propre modèle soit légèrement
différente de celle illustrée dans ces Instructions d’installation.
Table of Contents / Table des matières
BUILT-IN MICROWAVE OVEN SAFETY .................................1
INSTALLATION REQUIREMENTS...........................................2
Tools and Parts ...................................................................... 2
Location Requirements.......................................................... 2
Minimum Dimensions............................................................. 2
Product Dimensions...............................................................3
Electrical Requirements ......................................................... 4
INSTALLATION INSTRUCTIONS............................................. 4
Install the Anti-Tip Block ........................................................ 4
Install the Microwave Oven.................................................... 5
Complete Installation .............................................................5
ASSISTANCE............................................................................. 5
SÉCURITÉ DU FOUR À MICRO-ONDES ENCASTRÉ..................... 6
EXIGENCES D’INSTALLATION..........................................................7
Outillage et pièces............................................................................7
Exigences d'emplacement...............................................................7
Dimensions minimales .....................................................................7
Dimensions du produit..................................................................... 8
Spécifications électriques ................................................................9
INSTRUCTIONS D’INSTALLATION.................................................10
Installation de la cale antibasculement..........................................10
Installation du four à micro-ondes .................................................10
Achever l'installation.......................................................................11
ASSISTANCE.....................................................................................11
BUILT-IN MICROWAVE OVEN SAFETY
Page 2

INSTALLATION REQUIREMENTS
2" (5.1 cm)
2" (5.1 cm)
A B C B
2" (5.1 cm)
2" (5.1 cm)
36"
(91.4 cm)
Tools and Parts
Location Requirements
The microwave oven may be located in a cabinet or below the
Tools Needed
Gather the required tools and parts before starting installation.
Read and follow the instructions provided with any tools
listed here.
■ Measuring tape
■ Pencil
■ No. 2 Phillips screwdriver
■ Drill
■ 1/16" (2 mm) drill bit
Parts Supplied
The microwave oven is preassembled.
■ 1" (2.5 cm) mounting screws (4)
Materials needed
■ 6" (15.2 cm) Anti-Tip block (installer to provide)
counter, and/or below a built-in oven. Check the opening where
the microwave oven will be installed. The location must provide:
■ Wood cabinetry.
■ Cutout opening that is plumb and square. See “Minimum
Cutout Dimensions” in “Minimum Dimensions” section.
■ Cutout floor that is solid, level and flush with bottom of
cabinet cutout.
■ Support for weight of at least 100 lbs (45.4 kg), which includes
microwave oven and items placed inside.
■ Grounded electrical outlet. See “Electrical Requirements”
section.
■ Minimum installation clearances for installation location. See
“Minimum Dimensions” section.
■ Complete enclosure around the recessed portion of the
microwave oven.
Minimum Dimensions
Minimum Installation Clearances
For proper installation, the following minimum clearances must exist above and below the cutout opening.
A. Upper oven
B. Lower cabinet
C. Counter
2
Page 3

Minimum Cutout Dimensions
W idthW idth
14¹³⁄₁₆"
(37.6 cm)
23
¹⁄₂" (59.72 cm)*
28" (71.1 cm)**
22¹⁄₈" (56.2 cm)
23¹⁄₂"
(59.7 cm)
28"
(71.1 cm)
A B C D
1²³⁄₃₂" (4.4 cm)
4¹¹⁄₁₆" (11.9 cm)
15¹³⁄₃₂"
(39.1 cm)
14
¹⁹⁄₃₂"
(37.1 cm)
21
¹⁹⁄₃₂"
(54.9 cm)
23²⁵⁄₃₂"
(60.4 cm)*
24
⁹⁄₁₆"
(62.4 cm)*
15" (38.1 cm)
*With flush receptacle.
**With non-flush receptacle.
Width 22¹⁄₈" (59.7 cm)
Height 14¹³⁄₁₆" (37.6 cm) for all installations
Product Dimensions
*Measurements include front facing of microwave oven drawer.
The drawer opens 15" (38.1 cm).
Depth 23¹⁄₂" (59.7 cm) with flush receptacle;
28" (71.1 cm) with non-flush receptacle
Cutout Top View
A. Flush receptacle located in upper left corner only
B. Non-flush receptacle
C. Microwave oven
D. Anti-tip block located in upper right corner only
3
Page 4
Electrical Requirements
Electrical Shock Hazard
Plug into a grounded 3 prong outlet.
Do not remove ground prong.
Do not use an adapter.
Do not use an extension cord.
Failure to follow these instructions can result in death,
fire, or electrical shock.
WARNING
GROUNDING INSTRUCTIONS
SAVE THESE INSTRUCTIONS
■
For all cord connected appliances:
The microwave oven must be grounded. In the event of
an electrical short circuit, grounding reduces the risk of
electric shock by providing an escape wire for the electric
current. The microwave oven is equipped with a cord
having a grounding wire with a grounding plug. The plug
must be plugged into an outlet that is properly installed
and grounded.
WARNING: Improper use of the grounding plug can
result in a risk of electric shock. Consult a qualified
electrician or serviceman if the grounding instructions are
not completely understood, or if doubt exists as to whether
the microwave oven is properly grounded.
Do not use an extension cord. If the power supply cord is
too short, have a qualified electrician or serviceman install
an outlet near the microwave oven.
3¹⁄₂"
(8.9 cm)
6" (15.2 cm)
1" (2.5 cm)
14¹³⁄₁₆"
(37.6 cm)
A
Observe all governing codes and ordinances.
Required:
■ A 120 volt, 60 Hz, AC only, 15- or 20-amp electrical supply
with a fuse or circuit breaker.
Recommended:
■ A time-delay fuse or time-delay circuit breaker.
■ A separate circuit serving only this microwave oven.
INSTALLATION INSTRUCTIONS
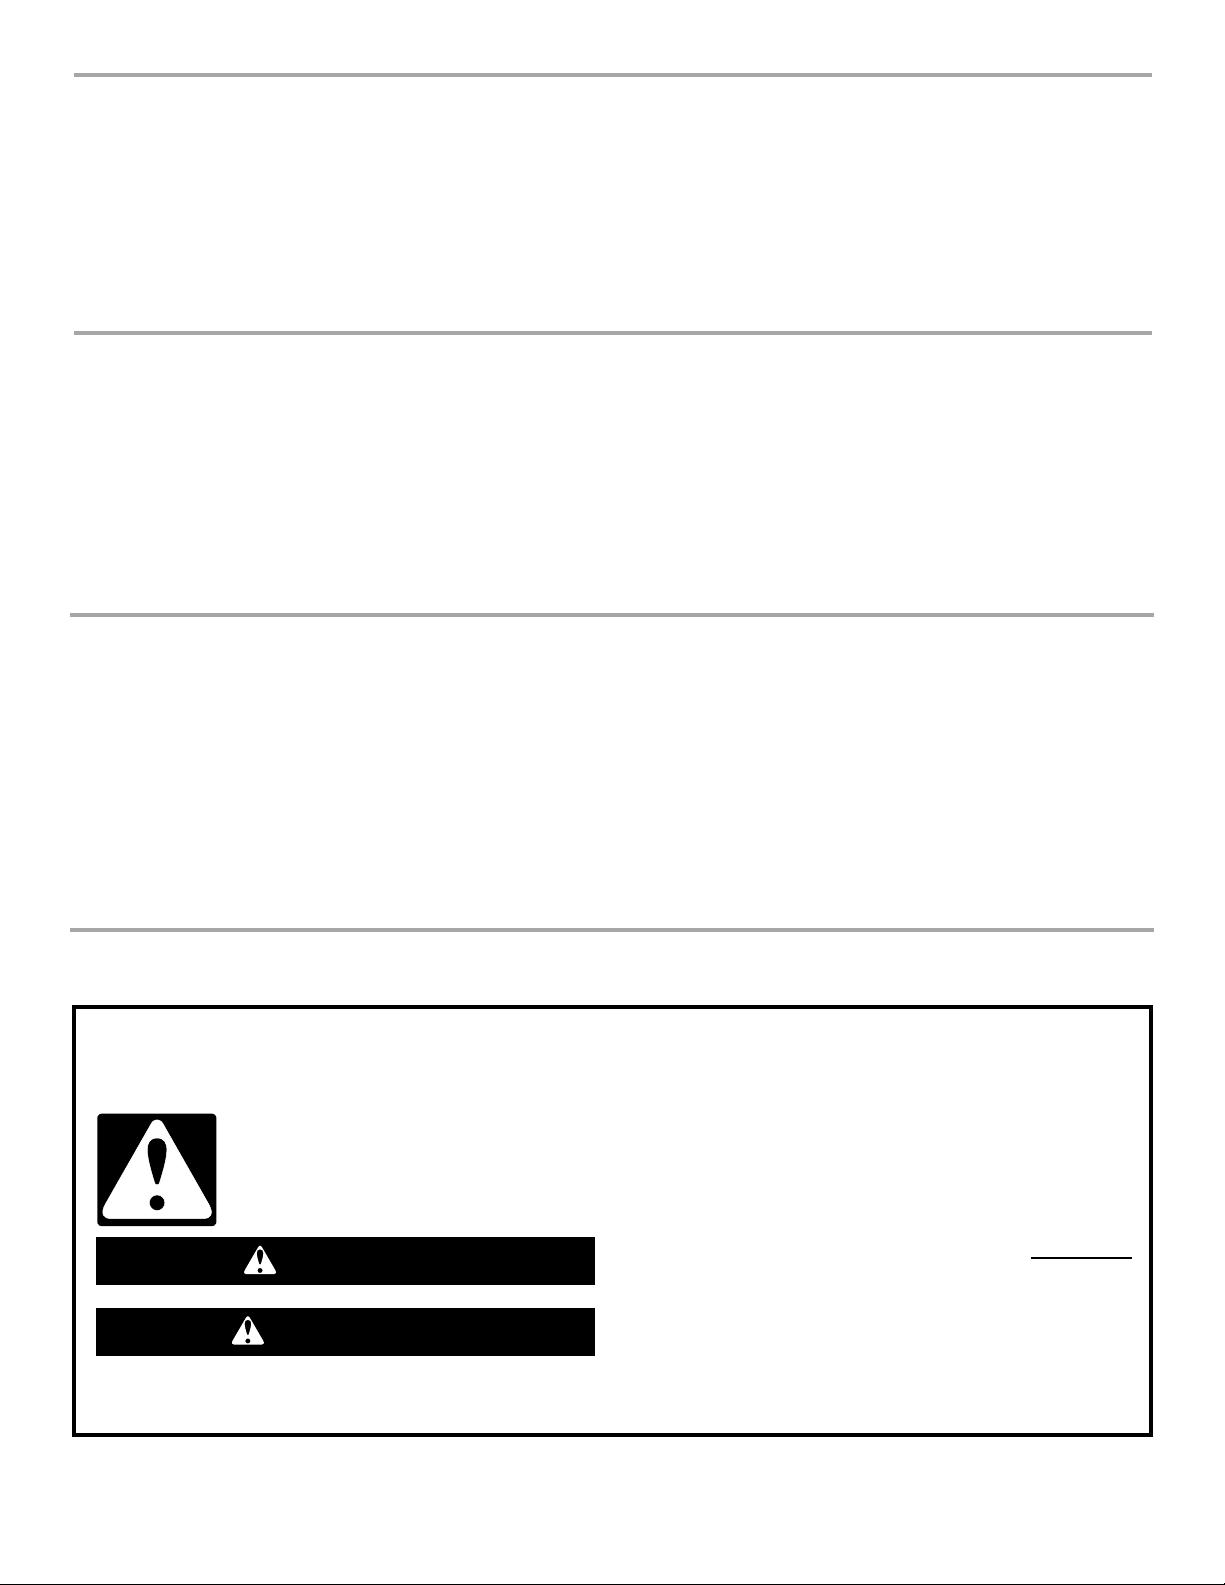
Install the Anti-Tip Block
NOTES:
■ This is an optional step.
■ The anti-tip block (if installed) is to be provided by the installer.
Recommended Anti-Tip Block Dimensions
Anti-Tip Block Position
4
A. Anti-tip block
Using sturdy wood screws (installer to provide), securely install
the anti-tip block in the upper, right corner of the cutout, making
sure the block is completely stable. The bottom of the block must
be 14¹³⁄₁₆" (37.6 cm) from the cutout floor.
Page 5

Install the Microwave Oven
WARNING
Excessive Weight Hazard
Use two or more people to move and install
microwave oven.
Failure to do so can result in back or other injury.
Electrical Shock Hazard
Plug into a grounded 3 prong outlet.
Do not remove ground prong.
Do not use an adapter.
Do not use an extension cord.
Failure to follow these instructions can result in death,
fire, or electrical shock.
WARNING
A
B
C
1. Empty microwave oven of any loose contents.
2. Using 2 or more people, slide microwave oven all the way into
the opening, and center the microwave oven.
3. Open the microwave oven drawer, and mark the 4 holes in the
mounting flange.
NOTE: The screw holes in the mounting flange of both sides must
be fully over the wood of the wall or cabinet.
4. Remove microwave oven.
5. Using 1/16" (1 mm) drill, drill 4 pilot holes into the cabinet
through the marks made in Step 3.
6. Prepare the holes by installing 1" screw in and out of each
pilot hole.
8. Reinsert microwave oven into the opening, open the drawer,
and align holes in mounting flange with pilot holes in the
cabinet.
A. 1" mounting screws (4)
B. Mounting flange screw holes
C. Mounting flange
9. Install four 1" screws to secure the microwave oven in place,
then close the drawer.
Complete Installation
1. Check the operation of microwave oven by placing 1 cup
(250 mL) of water in the microwave oven and programming
cook time of 1 minute at 100% power.
2. If the microwave oven does not operate:
■ Check that a household fuse has not blown, or a circuit
breaker tripped. Replace the fuse or reset the circuit
breaker. If the problem continues, call an electrician.
■ Check that the power supply cord is plugged into a
grounded 3 prong outlet.
■ See the Use and Care Guide for troubleshooting
information.
Installation is now complete.
Save these Installation Instructions for future use.
7. With the microwave oven near the opening, plug the
microwave oven into the grounded 3 prong outlet.
ASSISTANCE
Call your authorized dealer or service center. When you call, you
will need the microwave oven model number and serial number,
both of which can be found on the model and serial number plate.
To access the model and serial number plate, fully open the
microwave oven drawer. The plate is located on a flat surface just
beyond the back wall of the drawer.
If you need additional assistance, call us at our toll free number or
visit our website listed in the Use and Care Guide.
5
Page 6

SÉCURITÉ DU FOUR À MICRO-ONDES ENCASTRÉ
Risque possible de décès ou de blessure grave si vous ne
suivez pas immédiatement les instructions.
Risque possible de décès ou de blessure grave si vous
ne suivez pas les instructions.
Tous les messages de sécurité vous diront quel est le danger potentiel et vous disent comment réduire le risque de blessure et
ce qui peut se produire en cas de non-respect des instructions.
Votre sécurité et celle des autres est très importante.
Nous donnons de nombreux messages de sécurité importants dans ce manuel et sur votre appareil ménager. Assurez-vous de
toujours lire tous les messages de sécurité et de vous y conformer.
AVERTISSEMENT
DANGER
Voici le symbole d’alerte de sécurité.
Ce symbole d’alerte de sécurité vous signale les dangers potentiels de décès et de blessures graves à vous
et à d’autres.
Tous les messages de sécurité suivront le symbole d’alerte de sécurité et le mot “DANGER” ou
“AVERTISSEMENT”. Ces mots signifient :
6
Page 7

EXIGENCES D’INSTALLATION
2" (5,1 cm)
2" (5,1 cm)
A B C B
2" (5,1 cm)
2" (5,1 cm)
36"
(91,4 cm)
Outillage et pièces
Outillage nécessaire
Rassembler les outils et pièces nécessaires avant de commencer
l'installation. Lire et suivre les instructions fournies avec les outils
mentionnés ici.
■ Mètre ruban
■ Crayon
■ Tournevis Phillips n° 2
■ Perceuse
■ Foret de 1/16" (2 mm)
Pièces fournies
Le four à micro-ondes est prémonté.
■ Vis de montage de 1" (2,5 cm) (4)
Matériaux nécessaires
■ Cale antibasculement de 6" (15,2 cm) (l’installateur la fournit)
Dimensions minimales
Distances de dégagement minimales d’installation
Exigences d'emplacement
Le four à micro-ondes peut être installé dans un placard ou bien
sous le comptoir, et/ou au-dessous d'un four encastré. Inspecter
l'ouverture dans laquelle le four à micro-ondes sera installé.
L’emplacement d’installation doit posséder les caractéristiques
suivantes :
■ Placards de bois.
■ Une ouverture découpée qui soit d'aplomb et d'équerre. Voir
“Dimensions minimales de l'ouverture à découper” dans la
section “Dimensions minimales”.
■ Le plancher au niveau de l'encastrement doit être robuste,
d'aplomb et en affleurement avec le bas de l'ouverture
découpée du placard.
■ Une capacité de charge d'au moins 100 lbs (45,4 kg), ce qui
comprend le four à micro-ondes ainsi que les éléments placés
à l'intérieur.
■ Prise de courant reliée à la terre. Voir la section “Spécifications
électriques”.
■ Distances de dégagement minimales pour l'emplacement
d'installation. Voir la section “Dimensions minimales”.
■ Une enceinte complète autour de la partie encastrée du four à
micro-ondes.
Pour une installation correcte, les distances de dégagement minimales suivantes doivent être respectées au-dessus et en dessous de
l’ouverture à découper.
A. Four supérieur
B. Placard inférieur
C. Comptoir
7
Page 8

Dimensions de l'ouverture à découper
W idthW idth
14¹³⁄₁₆"
(37,6 cm)
23
¹⁄₂" (59,72 cm)*
28" (71,1 cm)**
22¹⁄₈" (56,2 cm)
23¹⁄₂"
(59,7 cm)
28"
(71,1 cm)
A B C D
1²³⁄₃₂" (4,4 cm)
4¹¹⁄₁₆" (11,9 cm)
15¹³⁄₃₂"
(39,1 cm)
14¹⁹⁄₃₂"
(37,1 cm)
21
¹⁹⁄₃₂"
(54,9 cm)
23
²⁵⁄₃₂"
(60,4 cm)*
24
⁹⁄₁₆"
(62,4 cm)*
15" (38,1 cm)
*Avec prise de courant courte (affleurement).
**Avec prise de courant longue (sans affleurement).
Largeur 22¹⁄₈" (59,7 cm)
Hauteur 14¹³⁄₁₆" (37,6 cm) pour toutes les installations
Dimensions du produit
*Les mesures comprennent la partie avant du tiroir du four à
micro-ondes.
Profondeur 23¹⁄₂" (59,7 cm) avec prise de courant courte
(affleurement);
28" (71,1 cm) avec prise de courant longue (sans
affleurement).
Vue de dessus de l'ouverture à découper
A. Prise de courant courte (affleurement) situé
uniquement au coin supérieur gauche
B. Prise de courant longue (sans affleurement)
C. Four à micro-ondes
D. Cale antibasculement située uniquement au coin
supérieur droit
Le tiroir s’ouvre à 15" (38,1 cm).
8
Page 9

Spécifications électriques
AVERTISSEMENT
Risque de choc électrique
Brancher sur une prise à 3 alvéoles reliée à la terre.
Ne pas enlever la broche de liaison à la terre.
Ne pas utiliser un adaptateur.
Ne pas utiliser un câble de rallonge.
Le non-respect de ces instructions peut causer
un décès, un incendie ou un choc électrique.
INSTRUCTIONS DE LIAISON
À LA TERRE
CONSERVEZ CES
INSTRUCTIONS
■
Pour tout appareil ménager connecté par un cordon
de courant électrique :
Il faut que le four à micro-ondes soit relié à la terre. En
cas de court-circuit électrique, la liaison à la terre réduit le
risque de choc électrique car le courant électrique
dispose d’un itinéraire direct d’acheminement à la terre.
Le four à micro-ondes est doté d’un cordon de courant
électrique qui comporte un fil de liaison à la terre, avec
broche de liaison à la terre. On doit brancher la fiche sur
une prise de courant convenablement installée et reliée à
la terre.
AVERTISSEMENT : L’utilisation incorrecte du
dispositif de liaison à la terre peut susciter un risque de choc
électrique. L’utilisateur qui ne comprend pas bien les
instructions de liaison à la terre, ou qui n’est pas certain que
le four à micro-ondes soit convenablement relié à la terre,
devrait consulter un électricien ou un technicien qualifié.
Ne pas utiliser un câble de rallonge. Si le cordon de
courant électrique est trop court, demander à un électricien
ou un technicien qualifié d’installer une prise de courant à
proximité du four à micro-ondes.
Observer les dispositions de tous les codes et règlements en
vigueur.
Nécessaire :
■ Une alimentation électrique de 120 volts, 60 Hz, CA
seulement, 15 ou 20 ampères, protégée par un fusible ou un
disjoncteur.
Recommandé :
■ Un fusible temporisé ou un disjoncteur temporisé.
■ Un circuit distinct exclusif à ce four à micro-ondes.
9
Page 10

INSTRUCTIONS D’INSTALLATION
3¹⁄₂"
(8,9 cm)
6" (15,2 cm)
1" (2,5 cm)
A
14¹³⁄₁₆"
(37,6 cm)
AVERTISSEMENT
Risque du poids excessif
Utiliser deux ou plus de personnes pour déplacer et
installer le four à micro-ondes.
Le non-respect de cette instruction peut causer
une blessure au dos ou d'autre blessure.
AVERTISSEMENT
Risque de choc électrique
Brancher sur une prise à 3 alvéoles reliée à la terre.
Ne pas enlever la broche de liaison à la terre.
Ne pas utiliser un adaptateur.
Ne pas utiliser un câble de rallonge.
Le non-respect de ces instructions peut causer
un décès, un incendie ou un choc électrique.
Installation de la cale antibasculement
REMARQUES :
■ C’est une étape facultative.
■ La cale antibasculement (si installée) doit être fournie par
l'installateur.
Dimensions de la cale antibasculement recommandées
Positionnement de la cale antibasculement
Installation du four à micro-ondes
1. Vider le four à micro-ondes de tout article.
2. À l'aide d'au moins 2 personnes, faire glisser complètement le
four à micro-ondes dans l'ouverture d'encastrement et le
centrer dans l'ouverture.
3. Ouvrir le tiroir du four à micro-ondes et marquer
l'emplacement des 4 trous dans le rebord de montage.
REMARQUE : Les trous de vis dans le rebord de montage des
deux côtés doivent recouvrir complètement la boiserie du mur ou
du placard.
4. Retirer le four à micro-ondes.
5. À l'aide d'un foret de 1/16" (1 mm), percer 4 avant-trous dans
le placard, aux emplacements marqués à l'étape 3.
6. Préparer les trous en installant une vis de 1" dans chaque
avant-trou puis en la retirant.
A. Cale antibasculement
À l'aide de vis à bois solides (fournies par l'installateur), installer
solidement la cale antibasculement dans l'angle supérieur droit de
l'ouverture découpée, vérifiant que la cale est stabilisée
complètement. La partie inférieure de la cale doit se trouver à
14¹³⁄₁₆" (37,6 cm) du plancher de l'ouverture découpée.
10
7. Tout en gardant le four à micro-ondes à proximité de
l'ouverture d'encastrement, brancher le four à micro-ondes
dans la prise à 3 alvéoles reliée à la terre.
Page 11

8. Réinsérer le four à micro-ondes dans l'ouverture, ouvrir le tiroir
A
B
C
et aligner les trous du rebord de montage avec les avant-trous
du placard.
A. Vis de montage de 1" (4)
B. Trou de vis du rebord de montage
C. Rebord de montage
9. Installer les quatre vis de 1" pour immobiliser le four à micro-
ondes puis fermer le tiroir.
ASSISTANCE
Appeler le marchand local autorisé ou le centre de service agréé.
Lors de l'appel, vous aurez besoin des numéros de modèle et de
série du four à micro-ondes, que l’on trouvera sur la plaque
signalétique.
Achever l'installation
1. Contrôler le fonctionnement du four à micro-ondes : placer
dans le four à micro-ondes 1 récipient contenant 1 tasse
(250 mL) d’eau et programmer une période de cuisson de
1 minute à la puissance maximale (100 %).
2. Si le four à micro-ondes ne fonctionne pas :
■ Déterminer si un fusible est grillé ou si un disjoncteur s’est
ouvert. Remplacer le fusible ou réenclencher le
disjoncteur. Si le problème persiste, appeler un électricien.
■ Vérifier que le cordon d’alimentation est correctement
branché sur une prise de courant à 3 alvéoles reliée à la
terre.
■ Pour l’information relative au dépannage, consulter le
Guide d’utilisation et d’entretien.
L’installation est maintenant terminée.
Conserver ces Instructions d’installation pour une éventuelle
réutilisation future.
Pour accéder à la plaque signalétique, ouvrir complètement le
tiroir du four à micro-ondes. La plaque signalétique se trouve sur
une surface plane, juste derrière la paroi arrière du tiroir.
Si une assistance supplémentaire est nécessaire, composer le
numéro sans frais ou consulter notre site Web indiqué dans le
Guide d'utilisation et d'entretien.
11
Page 12

W10531851A
SP PN W10531852A
© 2012 Whirlpool Corporation.
All rights reserved. Used under license in Canada.
Tous droits réservés. Utilisé sous licence au Canada.
TINSKB125MRR2
8/12
 Loading...