

Whirlpool MWN 410 W, MWN 410 S PROGRAM CHART
MWN 400 MWN 410
MWN 440
1
INSTALLATION
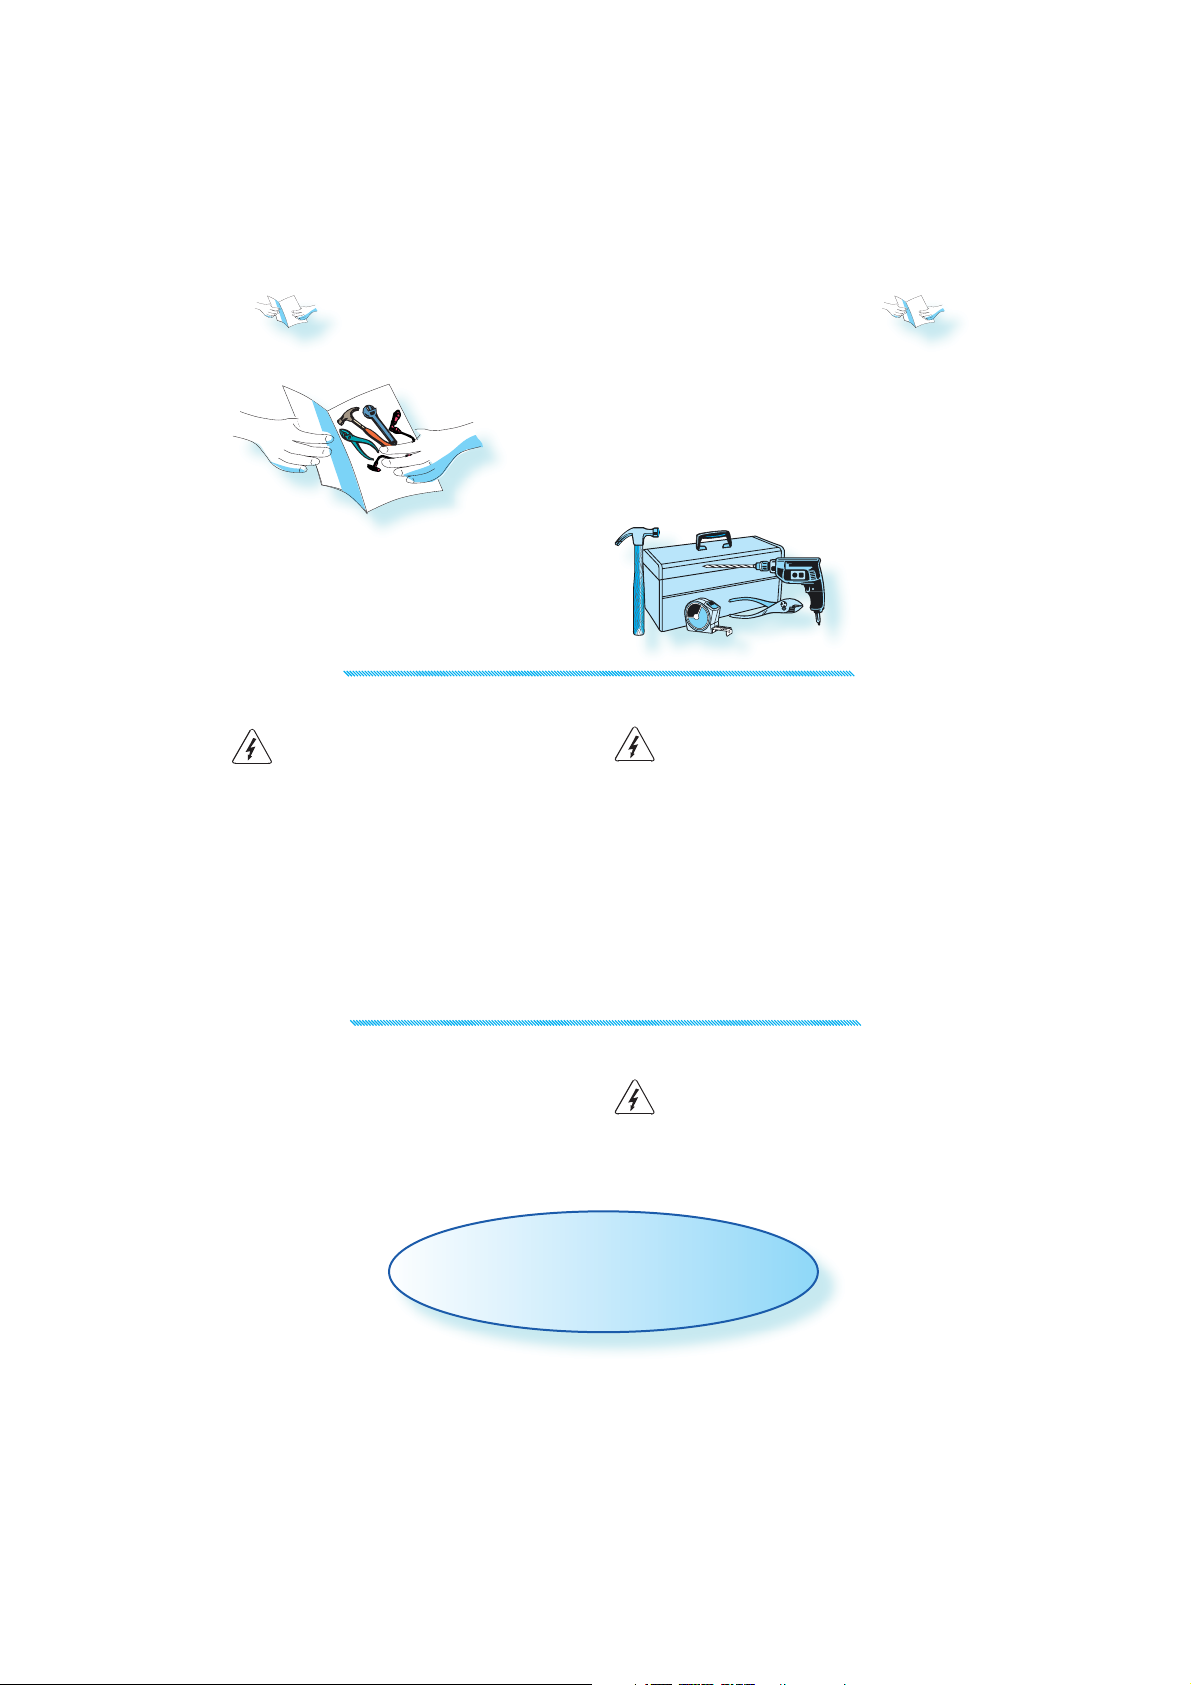
MOUNTING THE APPLIANCE
FOLLOW THE SUPPLIED separate mounting instructions when installing the appliance.
PRIOR TO CONNECTING
CHECK THAT THE VOLTAGE on the rating
plate corresponds to the voltage in your
home.
NSURE the oven cavity is empty before mount-
E
ing.
E
NSURE THAT THE APPLIANCE IS NOT DAMAGE D. Check
that the oven door closes firmly against the
door support. Empty the oven and clean the
interior with a soft, damp cloth.
D
O NOT OPERATE THIS APPLIANCE if it has a
damaged mains cord or plug, if it is not
working properly, or if it has been damaged or dropped. Do not immerse the
mains cord or plug in water. Keep the
cord away from hot surfaces. Electrical
shock, fi re or other hazards may result.
AFTER CONNECTING
T
HE OVEN CAN BE OPERATED ONLY if the oven door is
firmly closed.
The manufacturers are not liable for any
problems caused by the user’s failure to observe these instructions.
2
HE EARTHING OF THIS APPLIANCE is compulso-
T
ry. The manufacturer will accept no responsibility for injury to persons, animals or damage to objects arising from
the non-observance of this requirement.
IMPORTANT SAFETY INSTRUCTIONS
READ CAREFULLY AND KEEP FOR FUTURE REFERENCE
DO NOT HEAT, OR USE FLAMMABLE MATERIALS in
or near the oven. Fumes can create a fi re
hazard or explosion.
D
O NOT USE YOUR MICROWAVE oven for drying
textiles, paper, spices, herbs, wood, fl owers, fruit or other combustible materials.
Fire could result.
I
F MATERIAL INSIDE / OUTSIDE THE OVEN SHOULD
IGNITE OR SMOKE IS OBSERVED, keep oven
door closed and turn the oven off . Disconnect the power cord or shut off power at the fuse or circuit breaker panel.
DO NOT OVER-CO OK FOOD. Fire could result.
DO NOT LEAVE THE OVEN UNATTENDED, espe-
cially when using paper, plastic or other combustible materials in the cooking process. Paper can char or burn and
some plastics can melt if used when
heating foods.
ONLY ALLOW CHILDREN to use the oven without
adult supervision after adequate instructions have been given so that the child is
able to use the oven in a safe way and understands the hazards of improper use.
The appliance is not intended for use by
young children or infi rm persons without
supervision. Young children should be supervised to ensure that
they do not play with
the appliance.
If your oven has a combination mode, children should only use the oven under adult
supervision due to the high temperatures
generated.
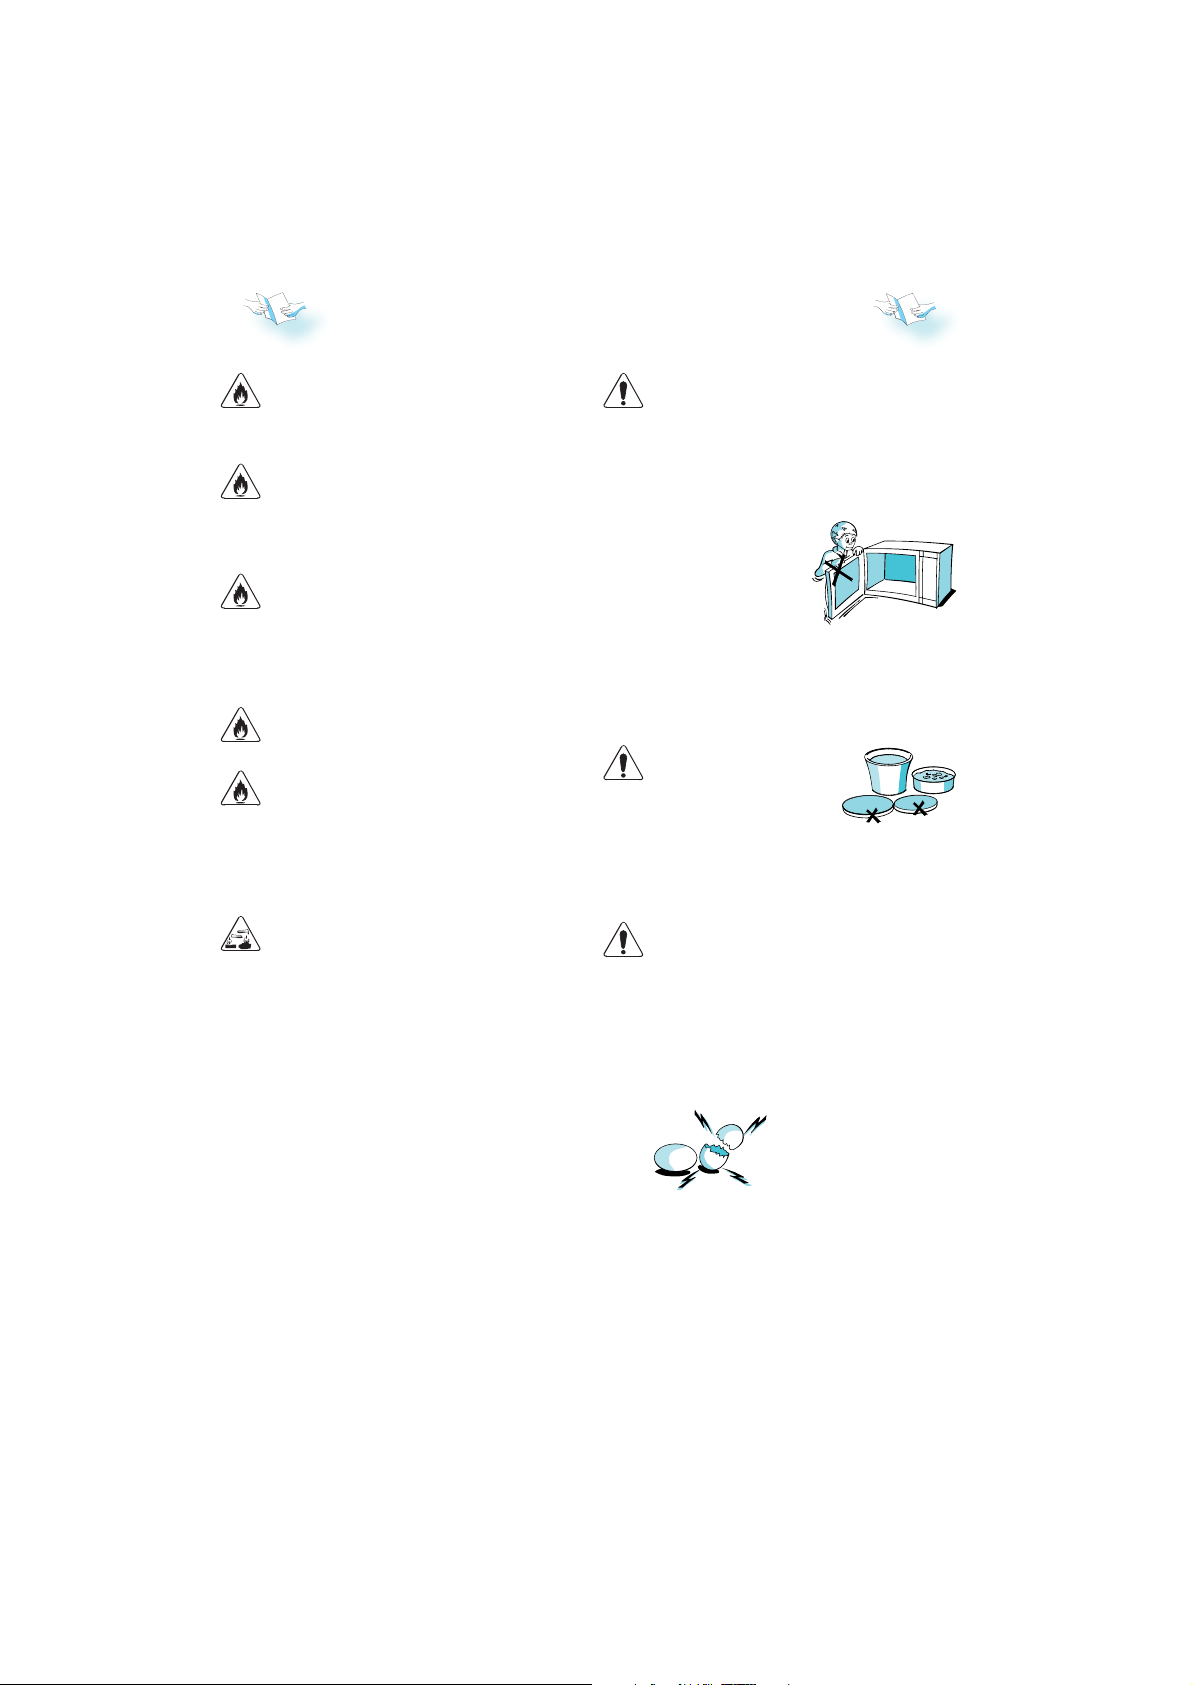
O NOT USE YOUR MICROWAVE
D
oven for heating anything in
airtight sealed containers. The pressure increases and may cause damage
when opening or may explode.
O NOT USE corrosive chemicals or va-
D
pors in this appliance. This type of oven
is specifi cally designed to heat or cook
food. It is not designed for industrial or
laboratory use.
EGGS
D
O NOT USE YOUR MICROWAVE oven for cook-
ing or reheating whole eggs with or
without shell since they may
explode even after microwave
heating has ended.
HE DOOR SEALS AND THE DOOR SEAL AREAS must
T
be regularly inspected for damage. If these
areas are damaged the appliance should
not be operated until it has been repaired
by a trained service technician.
3
PRECAUTIONS
GENERAL
HIS APPLIANCE IS DESIGNED FOR DOMESTIC USE ONLY!
T
HE APPLIANCE SHOULD NOT BE OPERATED without food
T
in the oven when using microwaves. Operation in
this manner is likely to damage the appliance.
F YOU PRACT ICE OPERATING the oven, put a glass
I
of water inside. The water will absorb the microwave energy and the oven will not be damaged.
O NOT USE THE CAVITY for any storage purposes.
D
EMOVE WIRE TWIST-TIES from paper or
R
plastic bags before placing bag in
the oven.
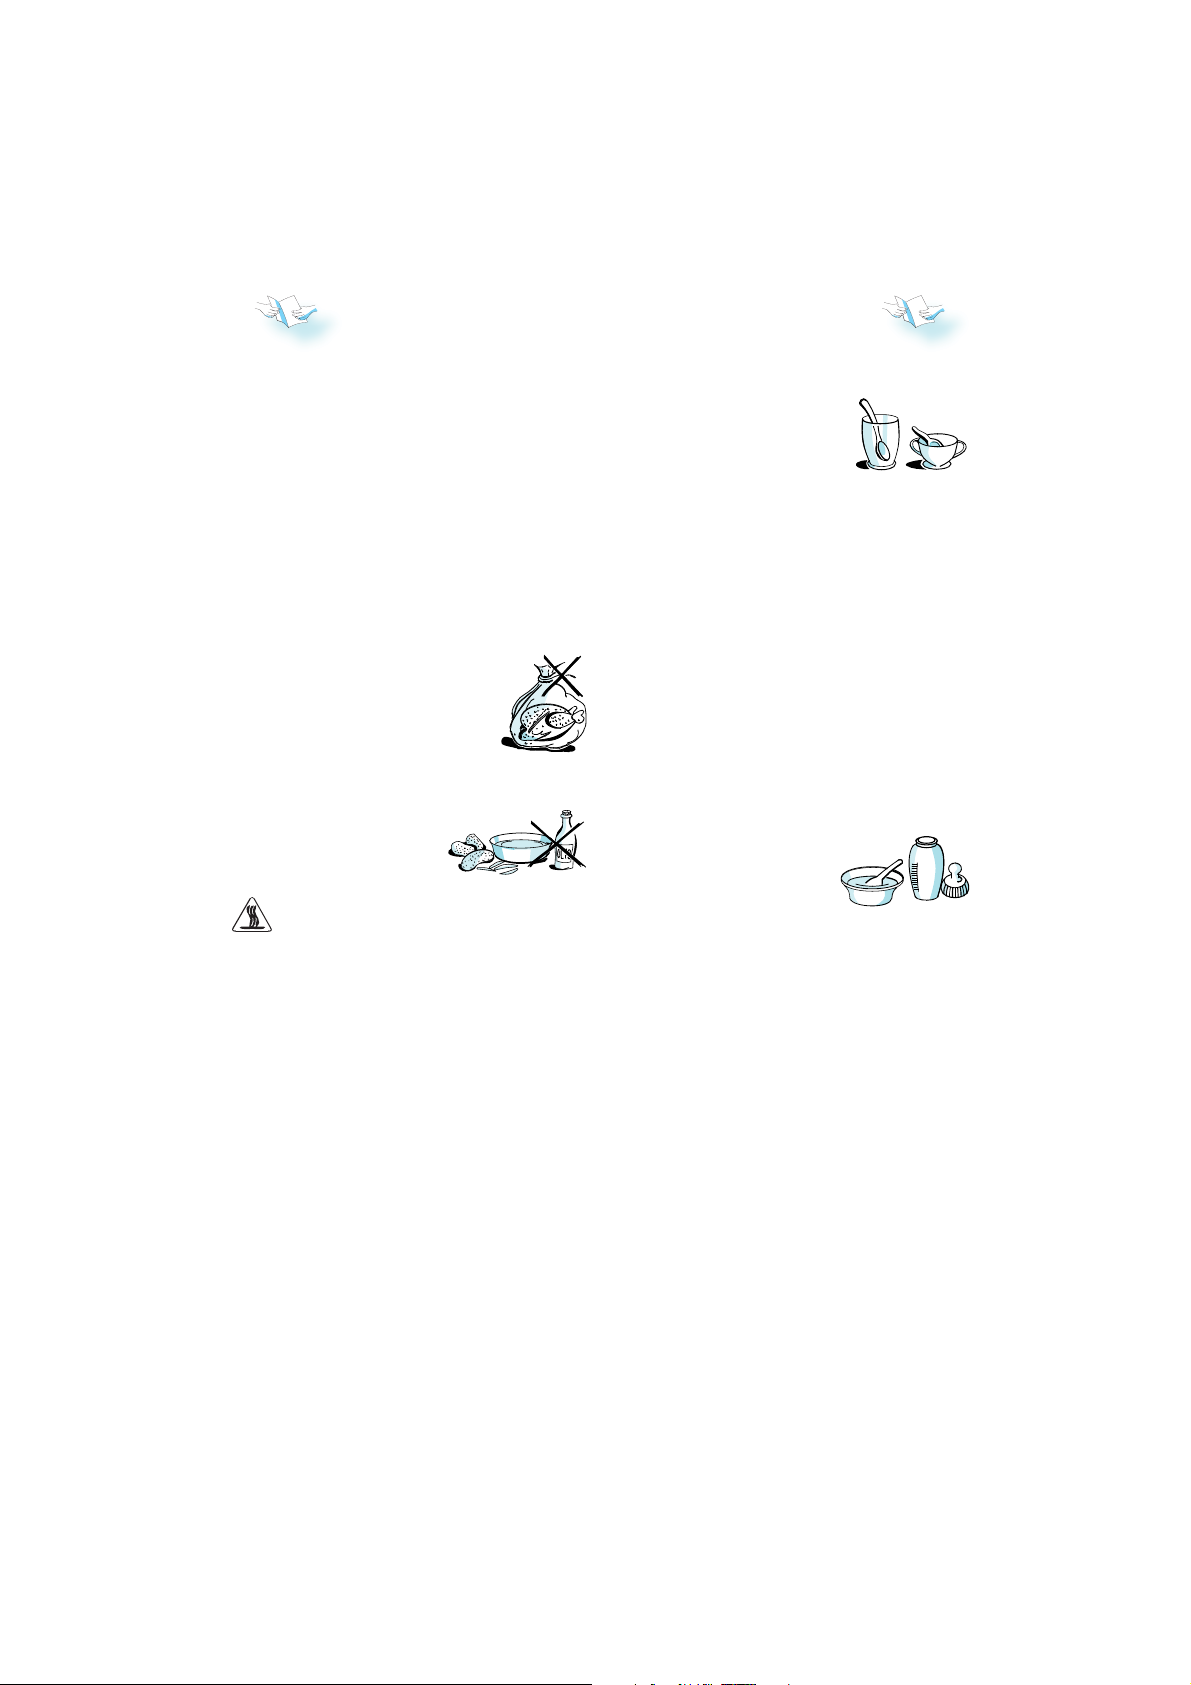
DEEPFRYING
D
O NOT USE YOUR MICROWAVE oven for deep-frying,
because the oil temperature cannot be
controlled.
USE HOT PADS OR OVEN MITTS to prevent
burns, when touching containers, oven
parts, and pan after cooking.
LIQUIDS
G. BEVERAGES OR WATER. Overheating the liquid
E.
beyond boiling point can occur
without evidence of bubbling.
This could result in a sudden
boil over of the hot liquid.
To prevent this possibility the
following steps should be taken:
1. Avoid using straight-sided containers with
narrow necks.
2. Stir the liquid before placing the container
in the oven and let the teaspoon remain
in the container.
3. After heating, allow standing for a short
time, stirring again before carefully removing the container from the oven.
CAREFUL
A
LWAYS REFER to a microwave cookbook for de-
tails. Especially, if cooking or reheating food
that contains alcohol.
A
FTER HEATING BABY FOOD or liquids in a
baby bottle or in a baby food
jar, always stir and check the
temperature before serving.
This will ensure that the heat is evenly distributed
and the risk of scalding or burns can be avoided.
Ensure the Lid and the Teat is removed before heating!
4

ACCESSORIES
GENERAL
T
HERE ARE a number of accessories available on
the market. Before you buy, ensure they are
suitable for microwave use.
ENSURE THAT THE UTENSILS YOU USE are oven proof
and allow microwaves to
pass through them before
cooking.
HEN YOU PUT FOOD AND ACC ESSORIES in the micro-
W
wave oven, ensure that they do not come in
contact with the interior of the oven.
This is especially important with accessories made of metal or metal parts.
I
F ACCESSOR IES CONTAINING METAL comes in contact
with the oven interior, while the oven is in operation, sparking can occur and the oven could
be damaged.
A
LWAYS ENSURE that the turntable is able to turn
freely before starting the oven.
TURNTABLE SUPPORT
USE THE TURNTABLE SUPPORT under the
Glass turntable. Never put any other utensils on the turntable support.
Fit the turntable support in the oven.
GLASS TURNTABLE
USE THE GLASS TURNTABLE with all cooking meth-
ods. It collects the dripping juices and food particles that otherwise would stain and soil the interior of the oven.
Place the Glass turntable on the turntable
support.
BAKING PLATE
USE THE BAKINGPLATE when
cooking in forced air only
or when grilling. Never use
it in combination with microwaves.
WIRE RACK
U
SE THE WIRE RACK when cook-
ing and baking with Forced Air,
Grill, Forced Air Combi, Auto
Forced Air Combi or Turbo Grill Combi.
WHEN GRILLING WITHOUT MICRO-
WAVES, place the wire rack
on the baking plate in order to elevate the food
closer to the grill element
in the ceiling.
BABY BOTTLE HOLDER
SE THE BABY BOTTLE HOLD-
U
ER when heating baby food
in bottles that are too tall
to stand-alone in the oven.
Please see also, the chapter ”Precautions”,
for more information about heating baby
food.
START PROTECTION / CHILD LOCK
THIS AUTOMATIC SAFETY FU NCTION IS ACTIVATED ONE
MINUTE AFTER the oven has returned to
“stand by mode“. (The oven is in
“stand by” when the 24-hour clock is
displayed or if the clock has not been
set, when the display is blank).
T
HE DOOR MUST BE OPENED AND CLOSED e.g. putting
food into it, before the safety lock is released.
Else the display will show “
DOOR“.
dOOR
5
PAUSE OR STOP COOKING
TO PAUSE COOKING:
THE COOKING CAN BE PAUSE D to
check, turn or stir the food
by opening the door. The
setting will be maintained
for 10 minutes.
TO CONTINUE COOKING:
CLOSE THE DOOR and press the Start
button ONCE. The cooking is
resumed from where it was
paused.
PRESSING THE START BUTTON TWICE will increase the time by 30 seconds.
I
F YOU DON’T WAN T TO CONTINUE COOKING:
REMOVE THE FOOD, close the door
and press the STOP button
BEEP WILL SIGNAL once a minute for 10 min-
A
utes when the cooking is finished. Press the STOP button or open the door to cancel the signal.
NOTE: The oven will only hold the settings for
60 seconds if the door is opened and then
closed after the cooking is finished.
DONENESS
DONENESS IS AVAIL ABLE IN THE FOLLOWI NG FUNCTIONS:
AUTO REHEAT
AUTO COOK
AUTO FORCED AIR COMBI
IN THE ABOVE functions, you have the possibili-
ty to personally control the end result through
the Adjust doneness feature. This feature enables you to achieve higher or lower end temperature compared to the default standard
setting.
DONENESS
EVEL EFFECT
L
Hi 2
Hi 1
- - - Lo 1
Lo 2
YIELDS HIGHEST END TEMPERATURE
YIELDS HIGHER END TEMPERATURE
DEFAULT STANDARD SETTING
YIELDS LOWER END TEMPERATURE
YIELDS LOWEST END TEMPERATURE
COOLING DOWN
WHEN A FUNCTION IS FINIS HED, the oven carries out
a cooling procedure. This is normal.
After this procedure the oven switches off automatically.
6
WHEN USING one of these functions the oven
chooses the default standard setting. This setting normally gives you the best result. But if
the food you heated became too warm to eat
at once, you can easily adjust this before you
use that function the next time. This is done
by selecting a Doneness level with the adjust
knob right after you have pressed the Start
button.
NOTE:
THE DONENESS can only be set or altered during
the first 20 seconds of operation.
THE COOLING PROCE DURE can be interrupted without any harm to the oven by opening the door.

KITCHEN TIMER
USE THIS FUNCTION when you need a kitchen
timer to measure exact time for various purposes such as cooking eggs or letting the
qw
TURN THE MULTIFUNCTION KNOB to the zero position.
q
TURN THE ADJUST KNOB to set the time to measure.
w
T
HE TIMER AUTOMATI CALLY STARTS the countdown after 1 second.
AN ACOUSTI C SIGNAL will be heard when the timer has finished to
count down.
dough rise before baking etc.
CLOCK
WHEN THE APPLIANCE IS FIRST PLUGGED IN or after a power failure, the display is blank. If
the clock is not set, the display will remain
qe
wry
blank until the cooking time is set.
t
TURN THE MULTIFUNCTION KNOB to the zero position.
q
PRESS THE SELECT BUTTON (3 seconds) until the left-hand digit
w
(hour’s) flicker.
TURN THE ADJUST KNOB to set the hours.
e
PRESS THE SELECT BUTTON again. (The two right hand digits (min-
r
utes) flicker).
TURN THE ADJUST KNOB to set the minutes.
t
PRESS THE SELECT BUTTON again.
y
HE CLOCK IS SET and in operation.
T
IF YOU WISH TO REMOVE THE CLOCK from the display once it has been set,
simply press the Select button again for 3 seconds and then press
the Stop button.
TO REINSTATE THE CLOCK, follow the above procedure.
NOTE: KEEP THE DOOR OPEN WHILE SETTING THE CLOCK. This gives you 10
minutes to complete the setting of the Clock. Otherwise, each step
must be accomplished within 60 seconds.
7

COOK & REHEAT WITH MICROWAVES
USE THIS FUNCTION for normal cooking and reheating, such as vegetables, fish, potatoes
and meat.
qetw
TURN THE MULTIFUNCTION KNOB to the microwave position.
q
TURN THE ADJUST KNOB to set the cooking time.
w
PRESS THE SELECT BUTTON to select power level.
e
TURN THE ADJUST KNOB to set the preferred power level.
r
PRESS THE START BUTTON.
t
NCE THE COOKING PROCESS HAS BEEN STARTED:
O
The time can easily be increased in 30-second steps by pressing
the Start button. Each press increases the time with 30 seconds.
You may also alter the time by turning the adjust knob to increase
or decrease the time.
BY PRESSING THE SELECT BUTTON you may switch between cooking
time and power level. Both can be altered during cooking by turning the adjust knob after selection.
r
CHOOSING POWER LEVEL
MICROWAVES ONLY
OWER SUGGESTED USE:
P
Jet
(900 W)
R
EHEATING OF BEVERAGES, water, clear soups, coffee, tea or other food with a high water
content. If the food contains egg or cream choose a lower power.
750 W C
650 W C
500 W
350 W S
160 W D
90 W K
0 W SETTING the standing time.
8
OOKING OF fish, meat, vegetables etc.
OOKING dishes not possible to stir.
ORE CAREFUL COOKING e.g. high protein sauces, cheese and egg dishes and to finish cook-
M
ing casseroles.
IMMERING STEWS, melting butter.
EFROSTING. Softening butter, cheeses.
EEP WARM
JET START
THIS FUNCTION IS USED for quick reheating of
food with a high water content such as
clear soups, coffee or tea.
qw
TURN THE MULTIFUNCTION KNOB to the microwave position.
q
PRESS THE START BUTTON.
w
THIS FUNCTION AUTOM ATICALLY STARTS with maximum microwave power
level and the cooking time set to 30 seconds. Each additional press
increases the time with 30 seconds. You may also alter the time by
turning the adjust knob to increase or decrease the time after the
function has started.
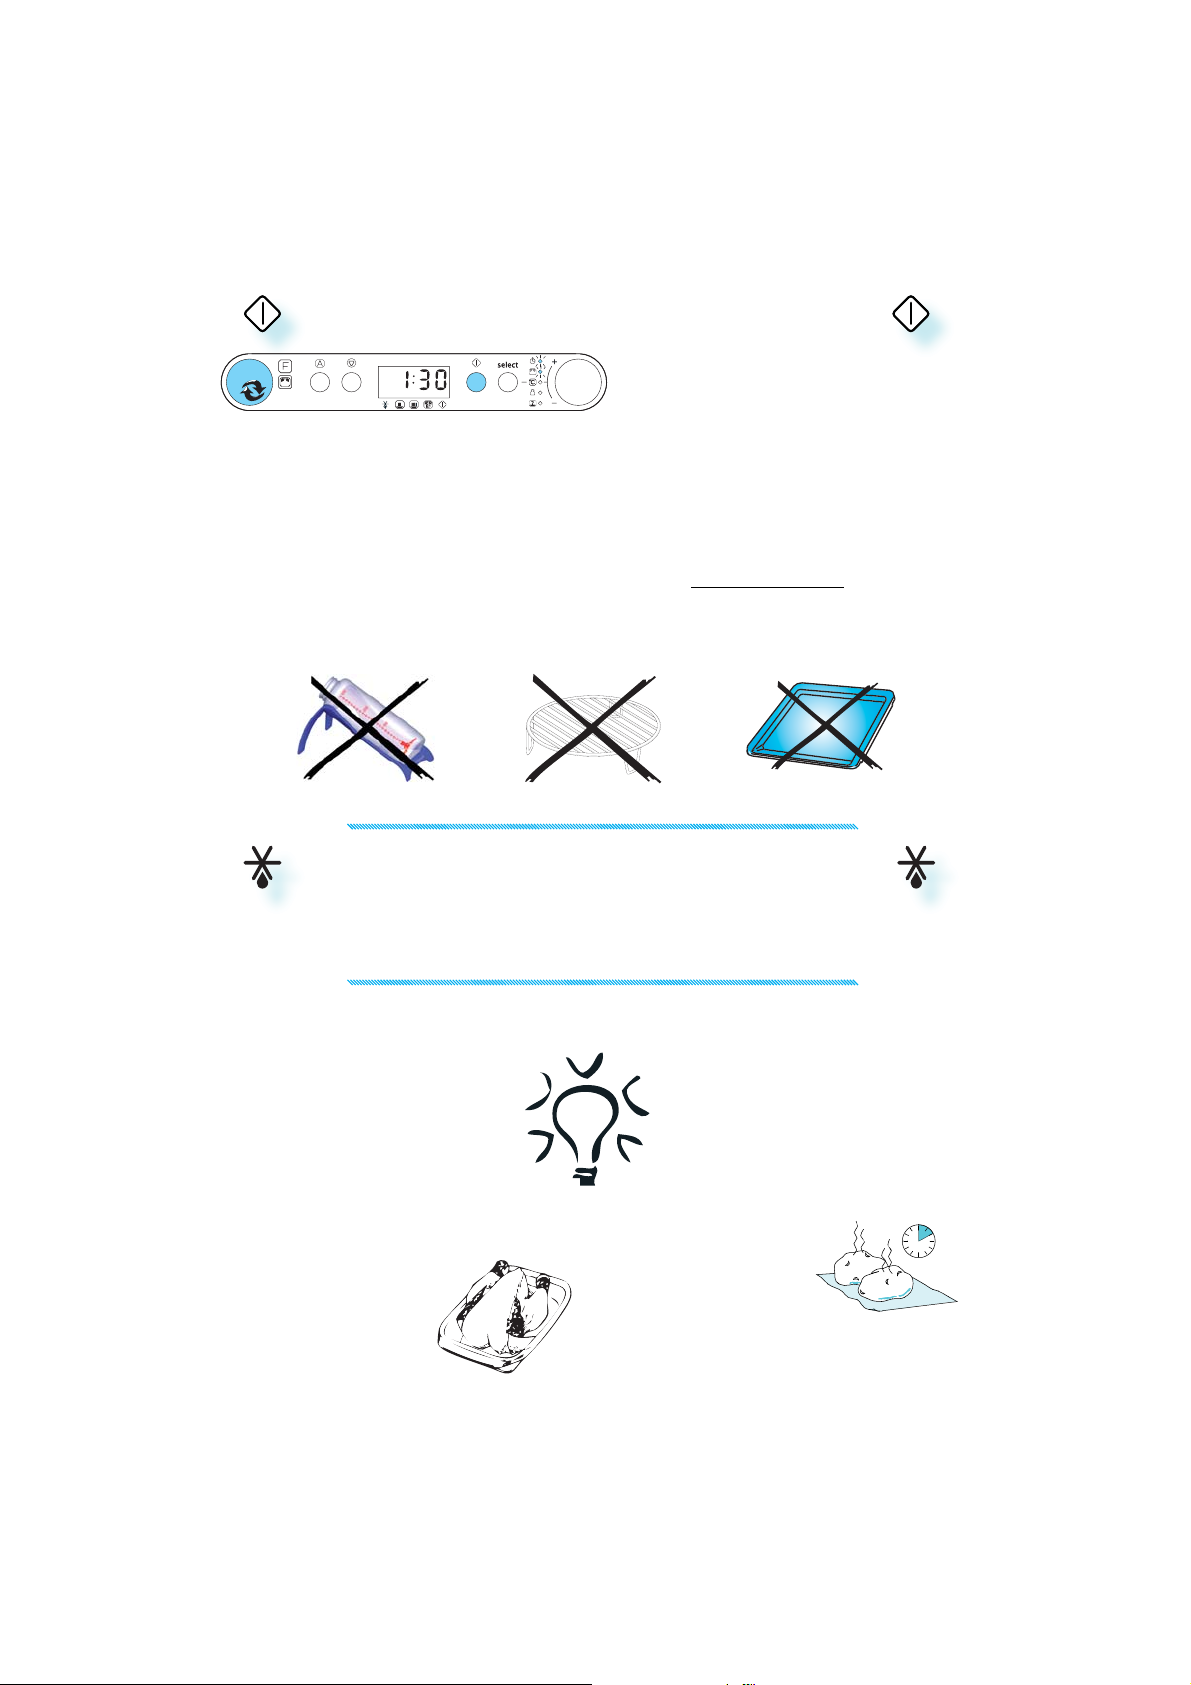
MANUAL DEFROST
FOLLOW THE PROCEDURE for “cook & reheat with microwaves” and choose power level 160 W when
defrosting manually.
FROZEN FOOD IN PLASTIC BAGS, plastic films or cardboard packages can be placed directly in the
oven as long as the package has no metal parts (e.g. metal twist ties).
T
HE SHAPE OF THE PACKAG E alters the de-
frosting time. Shallow packets defrost
more quickly than a deep block.
EPARATE PIECES as they begin to defrost.
S
Individual slices defrost more easily.
S
HIELD AREAS OF FOOD with small
pieces of aluminum foil if they
start to become warm (e.g.
chicken legs and wing tips).
CHECK AND INSPECT THE FOOD REGULARLY. Experi-
ence will give you the times needed for various amounts.
URN LARGE JOINTS halfway through the defrost-
T
ing process.
B
OILED FOOD, STEWS AND MEAT SAUCES defrost
better if stirred during defrosting time.
W
HEN DEFROSTING it is better to under-
thaw the food slightly and allow the
process to finish during standing time.
S
TANDING TIME AFTER DEFROSTING ALWAYS IMPROVES
the result since the temperature
will then be evenly distributed throughout the food.
9
 Loading...