

Whirlpool LT5005XM User Manual
.
.
.,L
I
wave Ovens, Trash Compactors, Room AH Condllloners. Dehumldlflers. Automallc Washers, Clothes Dryers. Freezers. Refngeralot-Free2
thFbvr7
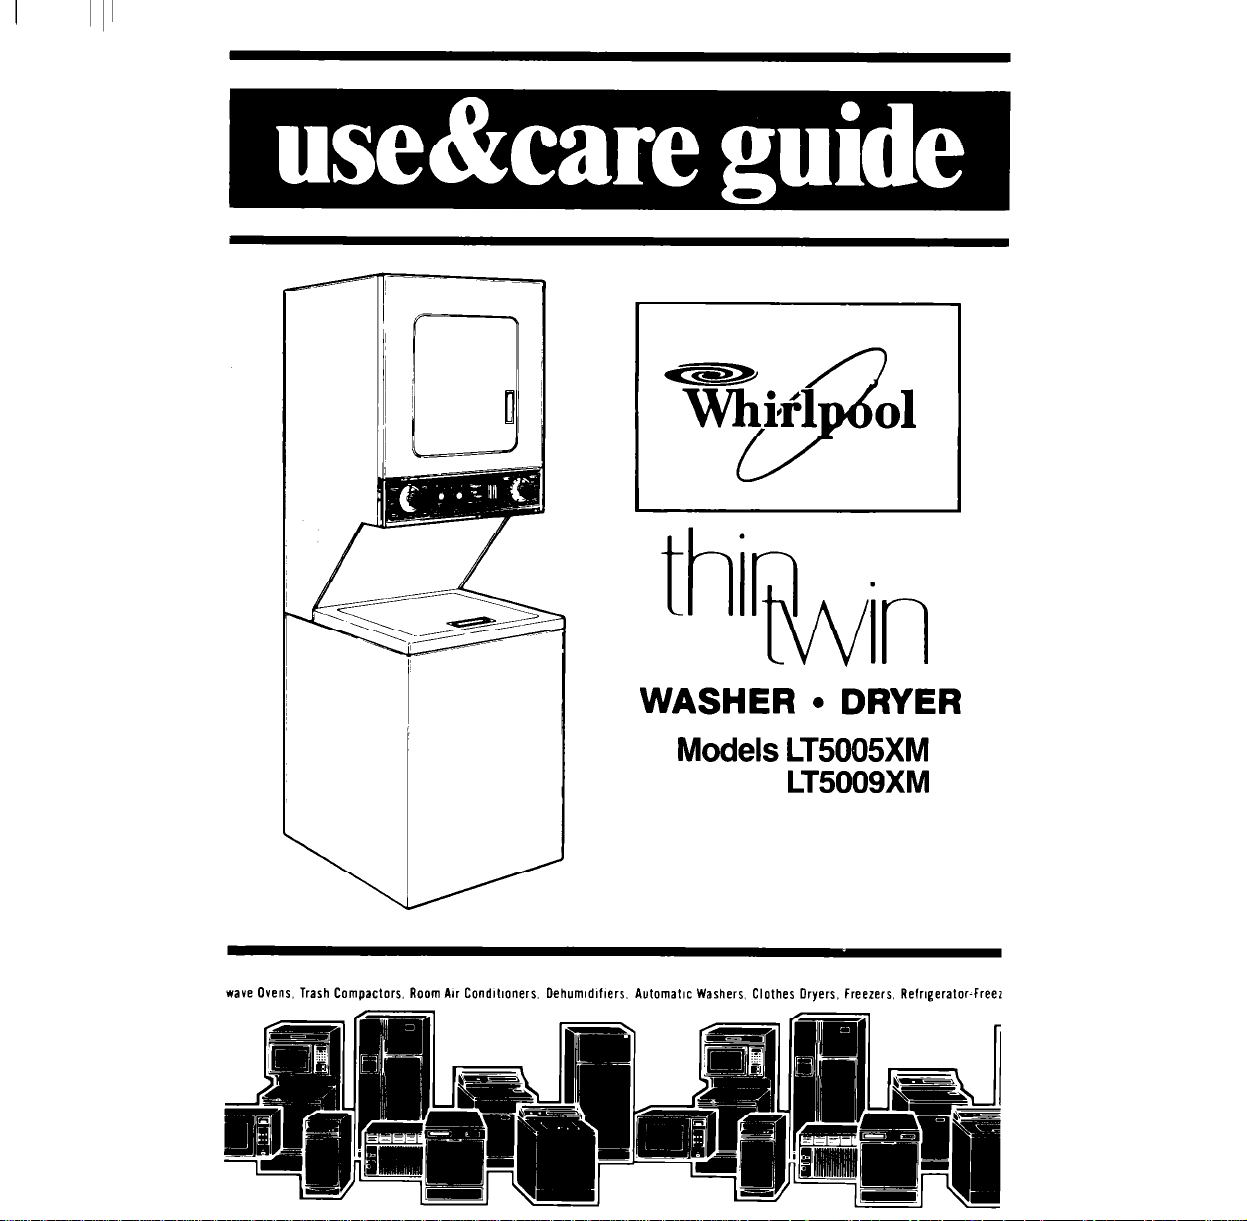
WASHER l DRYER
Models LT5005XM
LT5009XM
Parts and features
MODE AND SERIAL
NUMB1 R PLATE
LINT S :REEN
DRYER DRUM
WASH ? CONTROLS
DRYEL CONTROLS
WASH L! LID LATCH
OPTIC 4AL EXHAUST
OUTLI
LINT F IER
BASKE
AGITA 3R
RI
move
Guic e label. It will be easier
to 16 move before the
was’ier l dryer is used.
YCI J should wipe out the
was’rer basket and dryer
drur I with a damp cloth betore Jsing to remove dust
fron storing or shipping.
Copy your Model and Serial Num HXS here
When you need service or (call with a
question, have this informatlon ready
1. Complete
bers (from the plate located as
shown).
2. Purchase date from sales slip.
Copy this information in these spaces. Purch, se ~~~~
Keep this book, your warranty and sales
slip together in a handy place There
is no warranty registration to return.
Proof-of-purchase is all that is required
for in-warranty service.
2
Model and Serial Num-
ComF ete Model Number
Come ete Serial Number
Servic : Company and
Telepl 3ne Number
the Consumer Buy
Contents
Your Responsibilities..
Safety.................... 4
Before Using Your
Washer l Dryer
WASHER
Starting Your Washer.
What Happens in Each
Cycle,
Other Operating
Instructions
Cleaning the Lint Filter
DRYER
Starting Your Dryer.
Operating Instructions
Selecting a Cycle.
Paae
O3
10
10
11
12
13
Drying Tips.
lint Screen,
lint Removal
5
WASHER. DRYER
Caring for Your
6
Washer l Dryer,
Cleaning Dryer Interior
8
Vacation Care
Winterizing
If You Need Service or
Assistance
I. Before Calling for
Assistance
2. If You Need Assistance
3. If You Need Service
4. If You Have a Problem
8,~ 1985 Whirlpool Corporation
Your responsibilities
Read this”Use and Care Guide”and your “Laundry Guide”
carefully for important use and safety information.
You are personally responsible for installation. Have your
washer /dryer installed by a qualified installer and make sure that
it has been..
1. Installed exactly according to the”lnstallation Instructions,”
including..
. proper electrical supply,outlet and grounding;‘
l
proper water supply, plumbing fixtures and drain;’
l
proper dryer exhausting system. *
2. Installed and leveled in a room where..
l
there is adequate ventilation and protection from weather;
l
the floor is strong enough to support the weight;
l
The temperature is above 45 F [7.2 C) because..
- the dryer will not operate properly at cold temperatures.
-freezing temperatures can damage the washer
*Refer to the”lnstallation Instructlons”for complete information.
You are personally responsible for proper use of your
washer /dryer. You must be sure that it is..
1.
Used only by those who understand how to operate it properly.
2. Properly maintained and used only for jobs expected of home
washers and dryers.
You are personally responsible for the safe use of your
washer /dryer
Page
14
15
15
16
16
17
17
18
18
19
19
19
DO NOT try to service
this appliance unless it
is unplugged or the
electrical power has
been turned off.

Before using your
THIN TWIN*
washer l dryer
For best washing and drying results, you must take some very important
steps before, during and after each load:
1. Prepare and sort each load for washing (“Laundry Guide,” pages d-5).
2. Measure and add detergent or soap to washer (“Laundry Guide,” pages
9-10).
3. Load the washer properly (“Laundry Guide,” pages 6-7).
4. Select the water temperature, load size and cycle recommended ‘for the
fabrics before starting the washer (“Use and Care Guide,” pages 6-7).
5. Add other laundry aids to the washer according to instructions (“Laundry
Guide,” pages 11-13).
6. Properly sort the load for drying (“Laundry Guide,” pages 18-19).
7. Select the right drying cycle and time for the fabrics (“Use and Care
Guide,” page 12-13).
8. Remove and hang or fold items lmmedlately after drying.
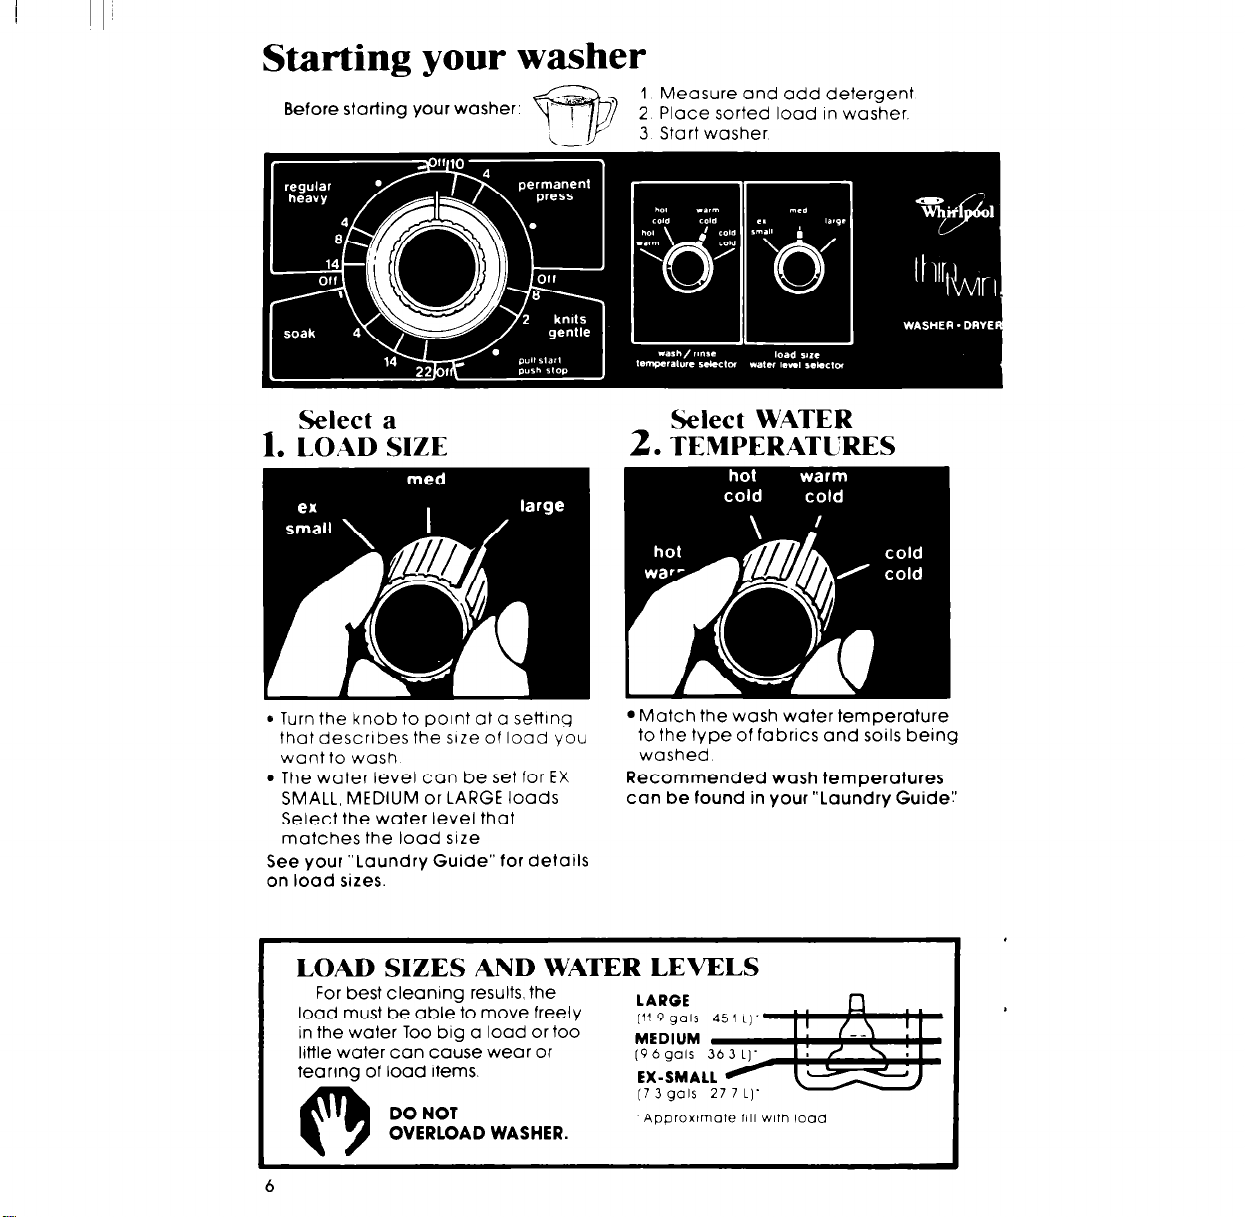
Starting your washer
1 Measure and add detergent
2 Place sorted load In washer.
3 Start washer
Select a
1. LOAD SIZE
0 Turn the knob to point at a setting
that describes the size of load you
want to wash
l
The water level can be set for EX Recommended wash temperatures
SMALL, MEDIUM or LARGE loads
Select the water level that
matches the load size
See your “Laundry Guide” for details
on load sizes.
Select WATER
2.
TEMPERATURES
*Match the wash water temperature
to the type of fabrics and soils being
washed
can be found in your “Laundry Guide:
LOAD SIZES AND WATER LEVELS
For best cleaning results, the
load must be able to move freely
in the water Too big a load or too
little water can cause wear or
tearing of load items.
LARGE
iiis&m
DO NOT
OVERLOAD WASHER.
‘Approxtmale fill with load
I
6
 Loading...