

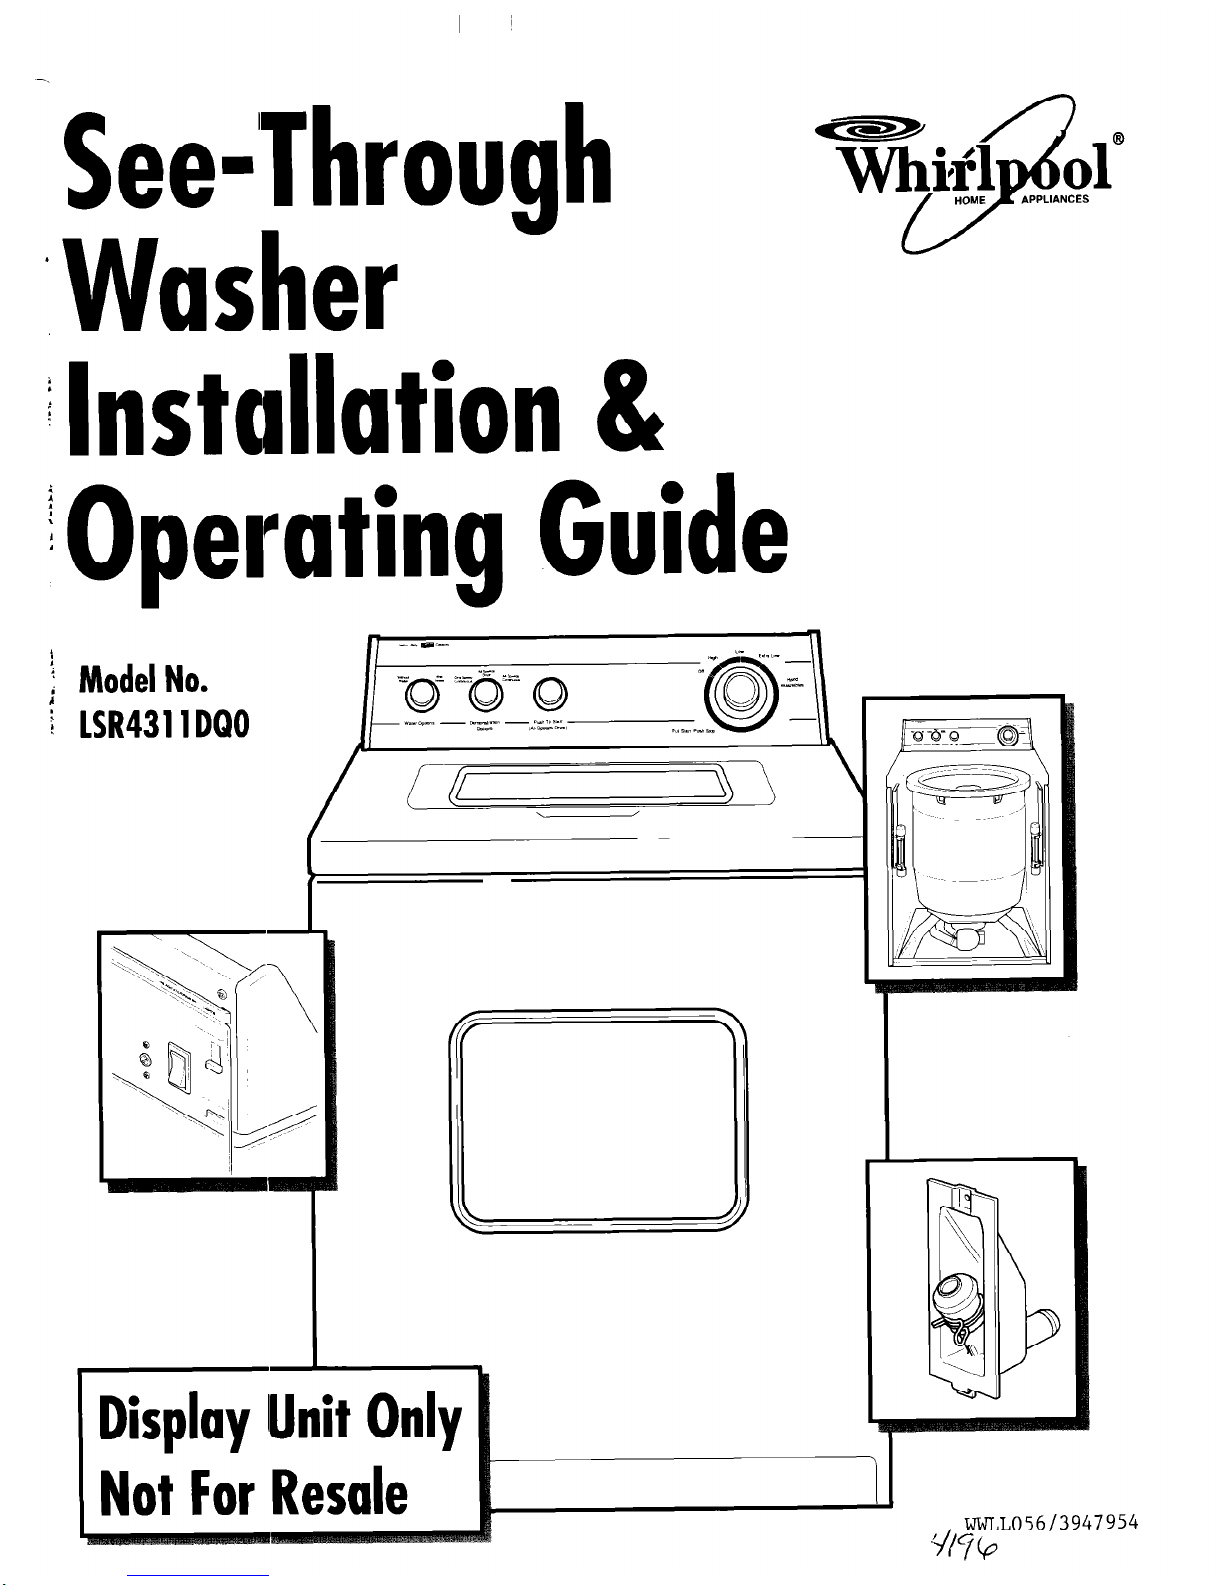
Whirlpool LSR4311DQ0 Installation & Operating Manual
&Through
1 Washer
t Installation &
i Operating Guide
! Model No.
i LSR4311 DQO
Display Unit Only
Not For Resale
wWLLO56/3947954
i/l’i@
If you have any problems or questions regarding
your See-Through Washer, please contact your
Whirlpool Account Manager or
Field Marketing Representative
or call toll-free:
l-800-253-1301
I
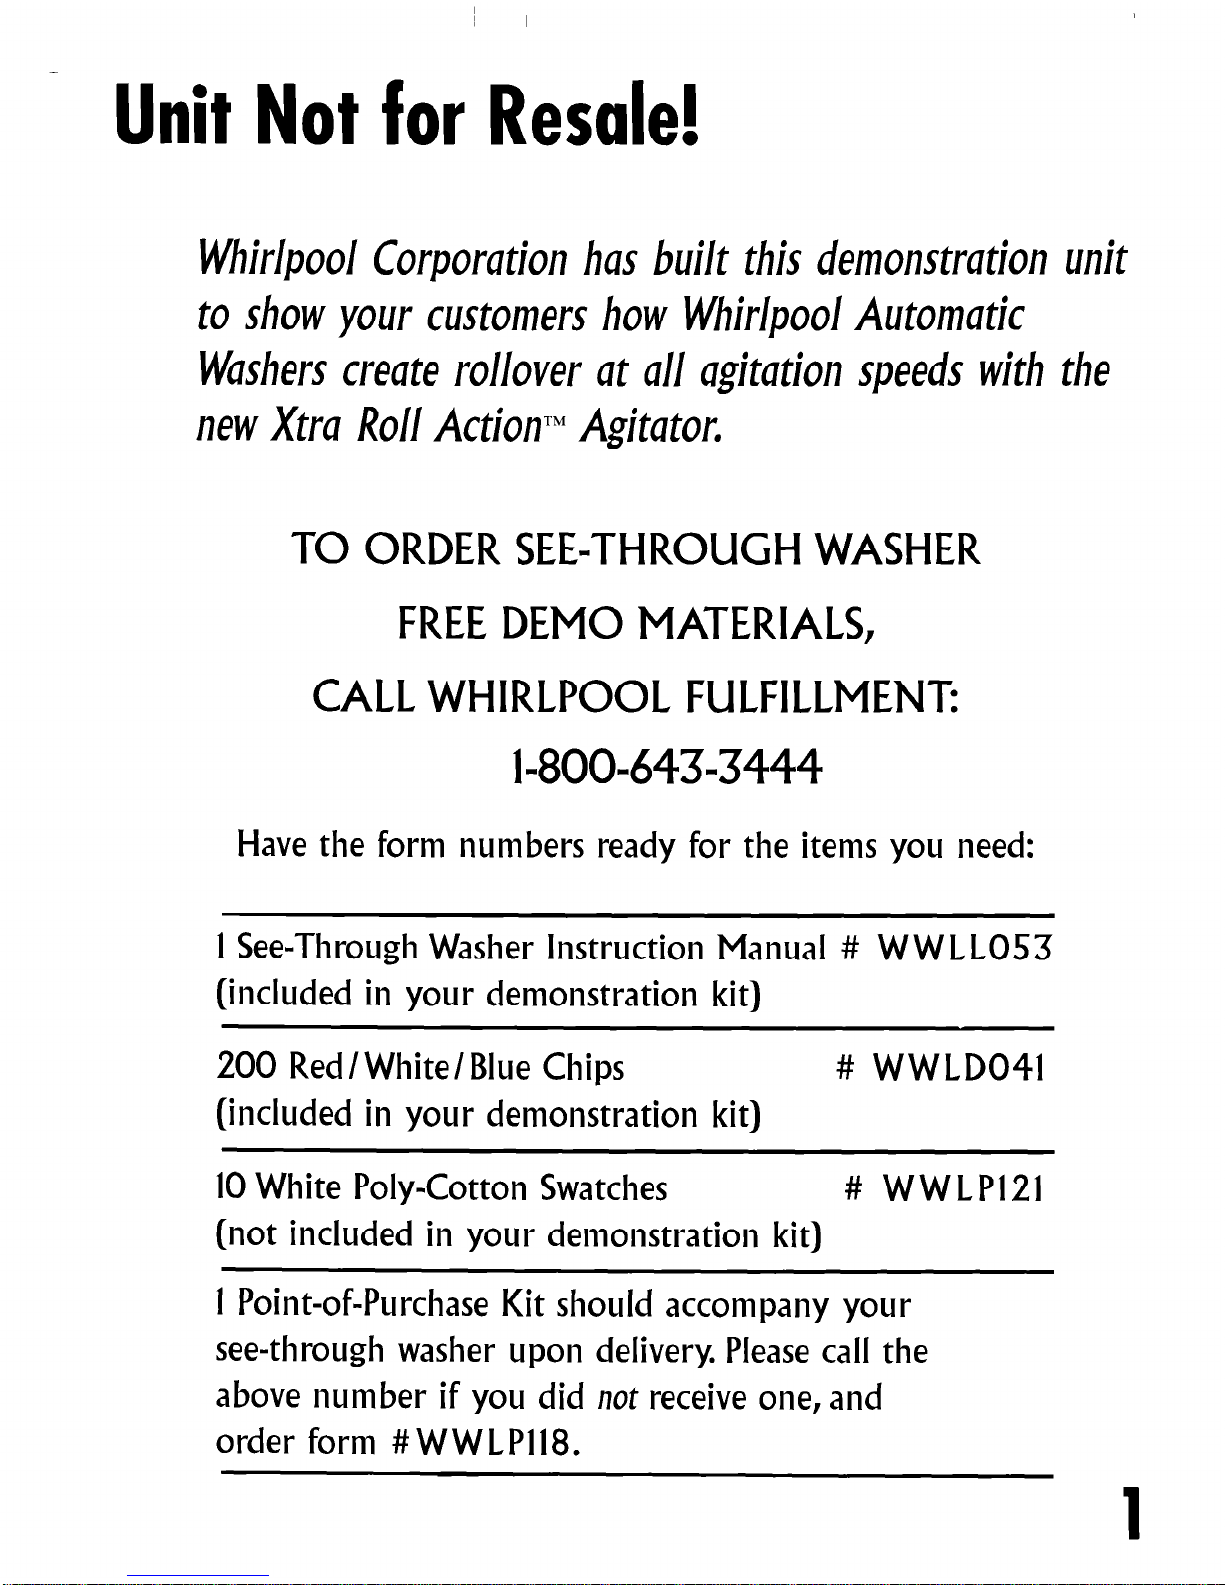
Unit Not for Resale!
Whir/pool Corporation has built this demonstration unit
to show your customers how Whir/pool Automatic
Washers create rollover at all agitation speeds with the
new Xtra Roll ActionTM Agitator.
TO ORDER SEE-THROUGH WASHER
FREE DEMO MATERIALS,
CALL WHIRLPOOL FULFILLMENT
l-800-643-3444
Have the form numbers ready for the items you need:
1 See-Through Washer Instruction Manual # WW LL053
(included in your demonstration kit)
200 Red I White/ Blue Chips
# WWLD041
(included in your demonstration kit)
10 White Poly-Cotton Swatches # WWLPl21
(not included in your demonstration kit)
1 Point-of-Purchase Kit should accompany your
see-through washer upon delivery. Please calI the
above number if you did not receive one, and
order form # WWLP118.
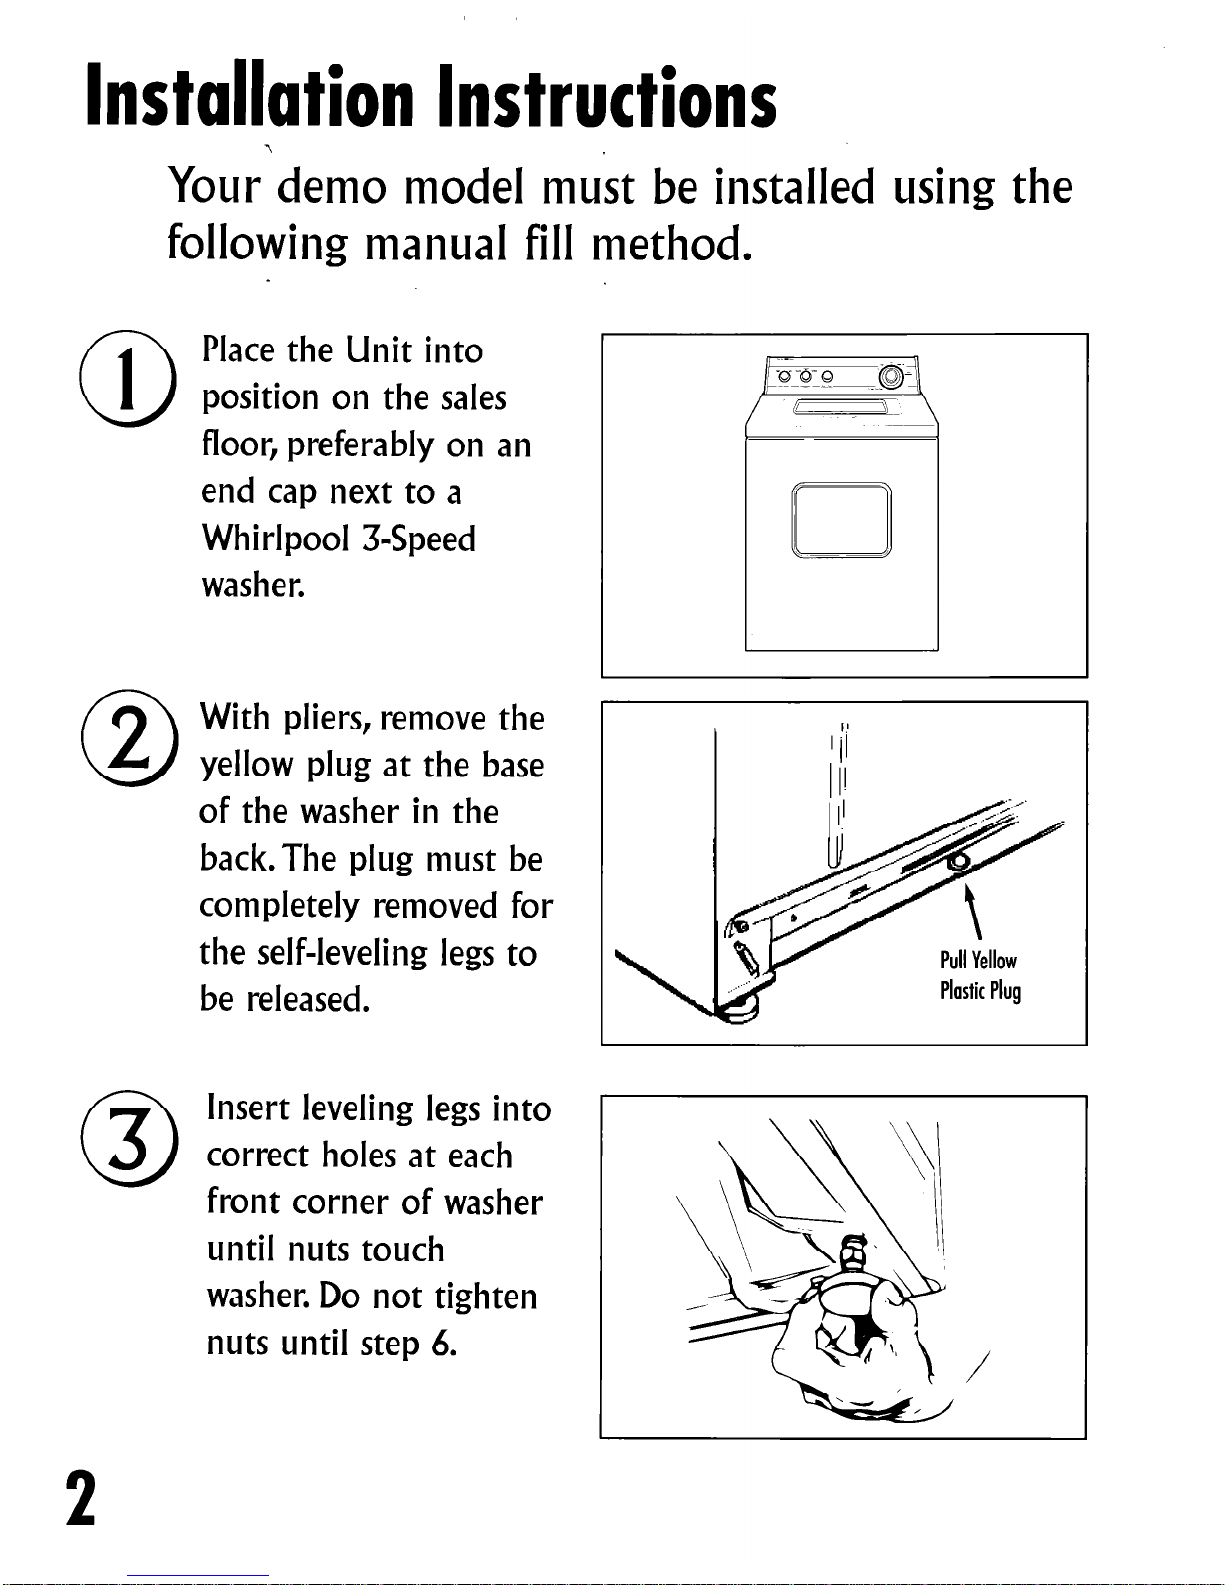
Installation Instructions
Your‘demo model must be installed using the
following manual fill
method.
Place the Unit into
position on the sales
floor, preferably on an
end cap next to a
Whirlpool 34peed
washer.
With pliers, remove the
yellow plug at the base
of the washer in the
back.The plug must be
completely removed for
the self-leveling legs to
be released.
Insert leveling legs into
correct holes at each
front corner of washer
until nuts touch
washer. Do not tighten
nuts until step 6.
I
r
2
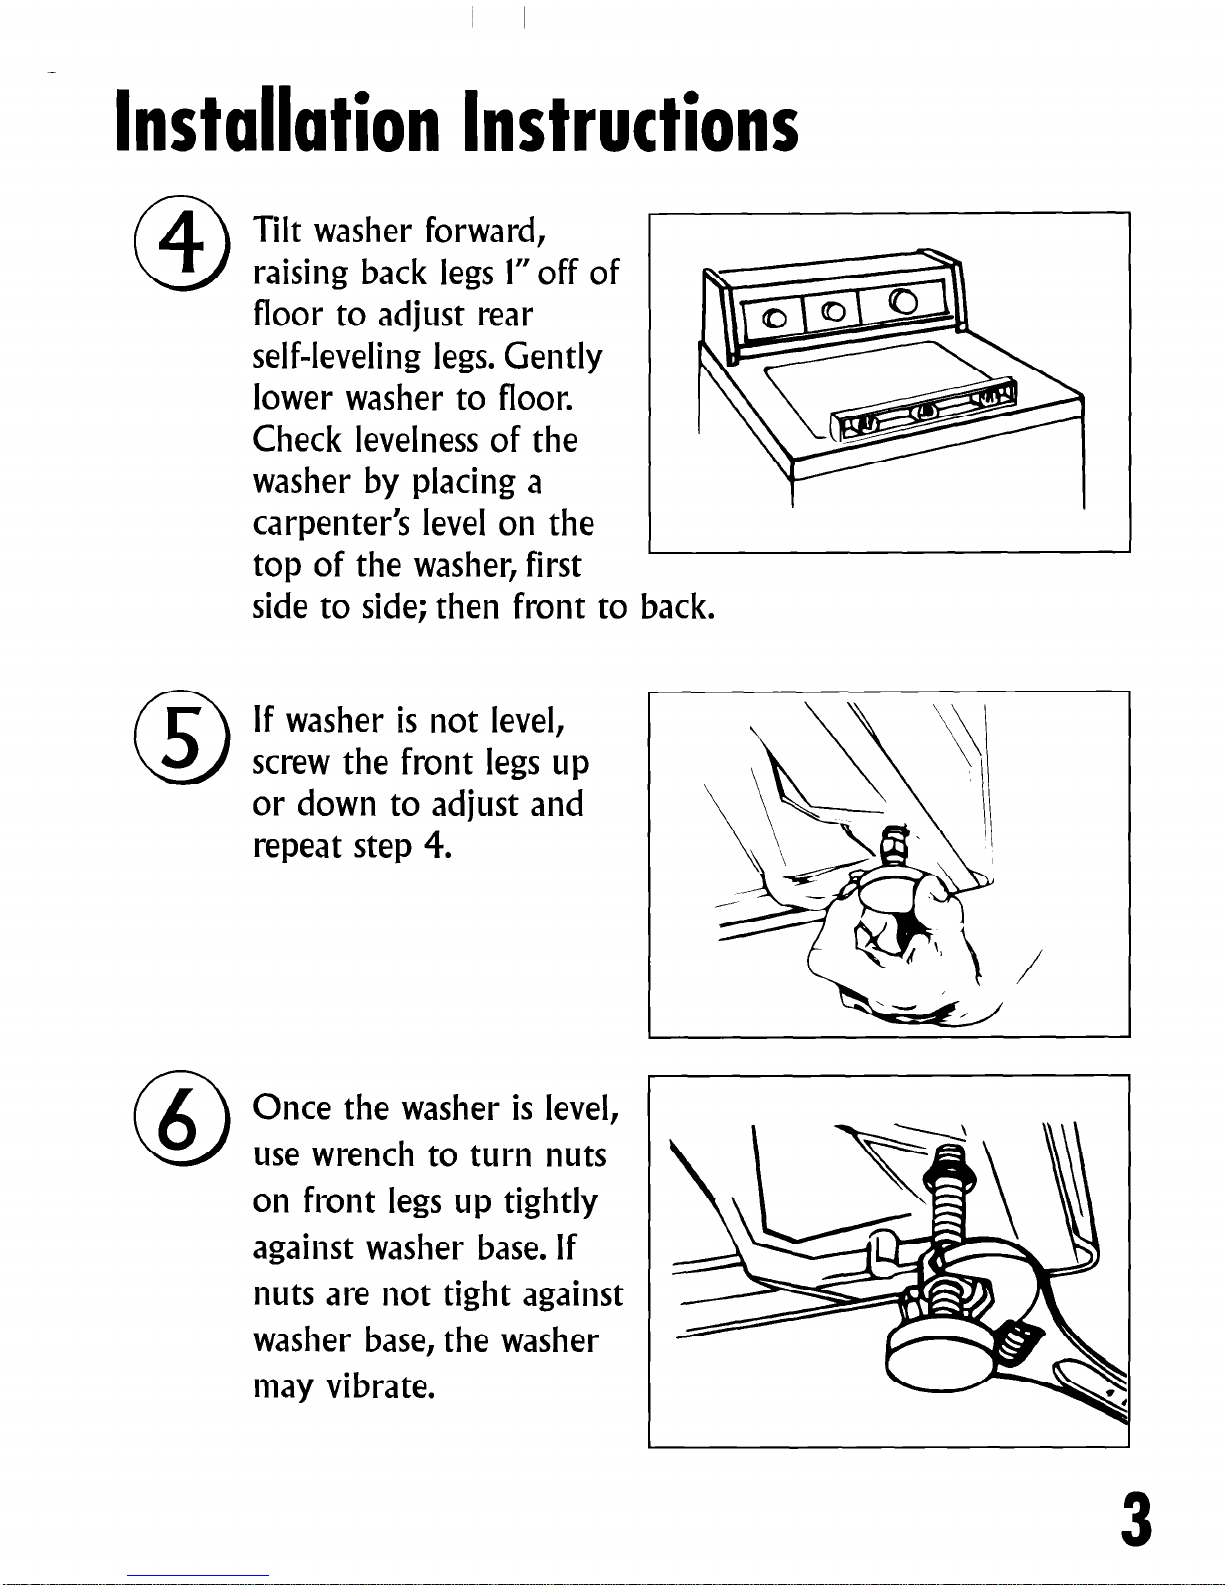
Installation Instructions
0
Tilt washer forward,
raising back legs 1” off of
floor to adjust rear
self-leveling legs. Gently
lower washer to floor.
Check levelness of the
washer by placing a
carpenter’s level on the
top of the washer, first
side to side; then front to back.
If washer is not level,
screw the front legs up
or down to adjust and
repeat step 4.
Once the washer is level,
use wrench to turn nuts
on front legs up tightly
against washer base. If
nuts are not tight against
washer base, the washer
may vibrate.
 Loading...