

Page 1
INTEGRAL ICEMAKER
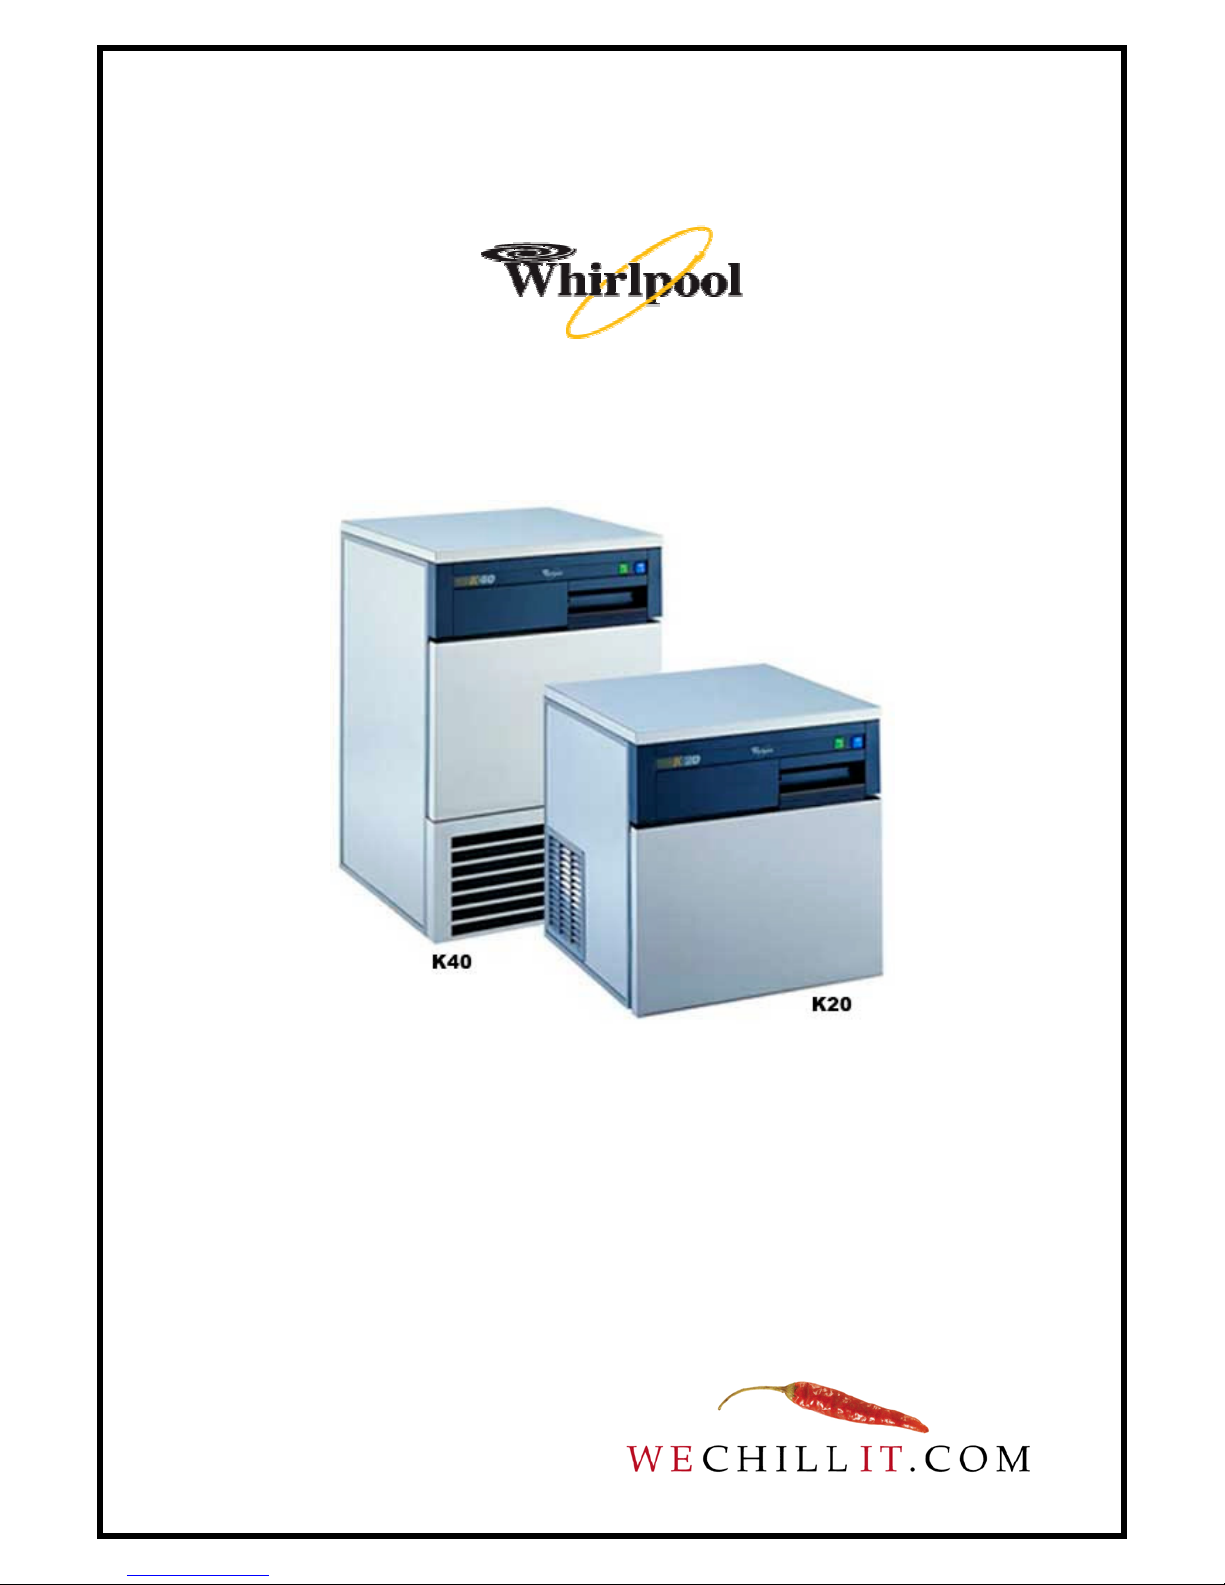
K20 – K40
INSTRUCTIONS FOR USE AND INSTALLATION
Page 2

K20 – K40 ICEMAKER INSTRUCTIONS
Environmental Hints
Packing
Do not throw the packing into the garbage: first sort out the different materials (i.e.:
steel, cardboard, polystyrene) following local regulations.
Conformity declaration
This appliance incorporates parts intended to come into contact with foodstuffs in
compliance with EEC directive 89/109/CEE.
INSTALLATION
In the ice bin of this appliance you will find the following accessories: instructions for
use, an envelope containing an ice pallet, a funnel with hose for periodical cleaning,
4 adjustable feet and washers.
- Fit the feet into the receptacles, proceeding as follows:
- Screw the 4 threaded supports on the bottom front and screw the adjustable
feet on the supports (Fig.1).
- Place the ice maker on a stable, level surface and adjust the feet if necessary.
- Do not install the unit close to a heat source, in a niche, or leaning against a
wall on one side; air must be free to circulate through the ventilation grids
(vicinity not less that 6cm).
- In rooms with an ambient temperature lower that +10 ºC or higher than +32
ºC, ice cubes production is not guaranteed. However, at ambient
temperatures from +16 ºC to +32 ºC, ice cubes production can be
guaranteed if a tropicalized unit is installed.
ELECTRICAL CONNECTION
Check that the voltage on the rating plate corresponds to the voltage in your home
(Fig.2).
Connect the appliance to the mains and ensure that it is working correctly before
storing food.
The earthing of this appliance is compulsory by law.
- The electrical and plumbing connection must be carried out by a qualified
technician, in compliance with local safety regulations. The manufacturer will
accept no liability for damage to persons or objects arising from nonobservance of this requirement.
Page 3

ELECTRICAL INFORMATION
“WARNING – THIS APPLIANCE MUST BE EARTHED”
(For Great Britain Only)
Fuse Replacement.
If the mains lead of this appliance is fitted with a BS 1363A 13 amp fused plug, to
change a fuse in this type of plug use an A.S.T.A. approved fuse to BS 1362 type and
proceed as follows:
1. Remove the fuse cover (A) and fuse (B).
2. Fit replacement 13A fuse into fuse cover.
3. Refit both into plug.
IMPORTANT: The fuse cover must be refitted when changing a fuse and if the fuse
cover is lost the plug must not be used until a correct replacement are identified
by the colour insert or the colour embossed in words on the base on the plug.
Replacement fuse covers are available from your local electrical store.
CONNECTION TO A REWIRABLE PLUG
If the fitted plug is not suitable for your socket outlet, then it should be cut off and
disposed of in order to avoid a possible shock hazard should it be inserted into a
13A socket elsewhere. A suitable alternative plug should then be fitted to the
cable. The wires in this mains lead are coloured in accordance with the following
code;
BLUE-“NEUTRAL” (“N”)
BROWN- “LIVE” (“L”)
GREEN AND YELLOW- “EARTH” (“E”)
1. The GREEN AND YELLOW wire must be connected to the terminal in the plug
which is marked with the letter “E” or by the Earth symbol ╧ or coloured green
or green and yellow.
2. The BLUE wire must be connected to the terminal which is marked with the
letter “N” or coloured black.
3. The BROWN wire must be connected to the terminal which is marked with the
letter “L” or coloured red.
For the Republic of Ireland only
The information given in respect of Great Britain will frequently apply, but a third type
of plug and socket is also used, the 2-pin, side earth type. In this case, the wire which
is coloured GREEN AND YELLOW must be connected to the EARTH contact, and the
other two wires to the two pins, irrespective of colour. The supply to the socket must
be fitted with a 16 amp fuse.
PLUMBING CONNECTION
- Connect the water and drain hoses through the rear wall of the unit (Fig. 3).
- Connect the water inlet hose to a cold water tap, having a 3/4” BSP thread.
The outlet hose is to be placed into a drain, preferably equipped with an S –
trap to prevent any odour back-up. The drain must be at a lower level than
the outlet of the hose from the appliance.
- The outlet hose should be inclined at least 10 degrees so the water can drain
naturally.
- If the water is very hard (rich in calcium and magnesium salts), insert a
softener- filter on the inlet connection between the tap and the hose. This filter
brings the water hardness to a normal value.
- Regenerate or replace the water-softener filter (according to the type) when
the ice cubes are not completely transparent or production time is increased.
This appliance conforms to EEC directive Nº 82/499/ECC on radio
interference.
Page 4

CONTROLS
Fig. 2:
A) Water drain connection
Fig. 6:
A) Grid fuse
B) Ice-cubes level thermostat
C) Ice-cubes thickness thermostat
D) Water inlet connection
Fig. 10:
A) On/Off switch (green)
B) Wash switch (blue)
OPERATION
Ice maker operation is completely automatic. Ice is formed by progressive
refrigeration of a film of water which flows on a refrigerated inclined plate (Fig.4).
When the ice film attains the required thickness, a thermostat automatically releases
the ice sheet which slides on to a cross-hatched network of low voltage wire (Fig.5).
This network melts the ice cutting the sheet into cubes. This continues until the ice
cubes bin is completely filled. A thermostat then automatically stops the ice cubes
production. When the level of the ice cubes in the bin decreases, because of melting
or use, the thermostat will automatically re-start the appliance. The water formed by
melting ice cubes accumulates in the bottom of the bin and is discharged through a
drain hole.
STARTING UP
Before using your ice maker for the first time, clean it thoroughly. Follow the
instructions in the “Maintenance” section of this booklet.
- Plug the appliance into the wall socket.
- Turn on the water supply.
- Press the green switch.
ADJUSTING THE ICE CUBE THICKNESS
Ice cube thickness is pre-set at the factory. The thickness can be increased or
decreased by turning the thermostat knob with a screwdriver. Turning the knob
clockwise increases the thickness (Fig.6). By means of the thermostat knob it is
possible to adjust the variations due to the ambient temperature, when it is higher
than 32 ºC and lower than 10 ºC.
- Never turn the thermostat knob outside the field indicated on the dial.
- Adjust the ice thickens thermostat only after a few hours operation and only
after the bin has half-filled with ice cubes.
- Non-observance of the thermostat setting rule could result in damage to the
ice maker, especially if the thermostat knob is left on a low setting in high
room temperature. In this case the ice could become so thick that the ice will
not be cut. On the other hand, the ice thickness could be reduced to a
minimum or none at all.
Page 5

ADJUSTING THE ICE CUBES LEVEL
The thermostat is pre-set at the factory. However, if the ambient temperature is higher
than +32 ºC it is necessary to adjust the thermostat knob position ☼, if the ambient
temperature is lower than +16 ºC, it will be necessary to adjust the thermostat knob to
position (Fig.7).
MAINTENANCE
Always pull out the plug and turn off the water before doing any work (cleaning or
repair) on the unit. Periodically clean the appliance (every 6 months) and the water
system, to keep the appliance operating at maximum efficiency and to ensure the
best ice cubes quality. When the ice cubes production time is increased, and the
cubes start to loose their transparency, it is time to clean the water system. How often
you clean this system depends on the hardness of the water. During freezing, the
calcium in the water deposited on the refrigerated plate. These deposits act as
insulation, decreasing the efficiency of the appliance’s performance. To clean the
water system, proceed as follows:
1) Turn off the water and switch of the appliance by pressing the green
switch.
2) Open the ice bin and remove all the cubes.
3) Remove the plug or the drain hose (if provided) inside the bin (Fig.8) to
drain the water from the bin.
4) Pour 1.5 l of water mixed with 1/10 litre of vinegar or 4 tablespoonfuls of
lemon juice or citric acid into the bin using the funnel provided. (Fig.9).
5) Press the two switches (green and blue) and operate the appliance
for 40 minutes approx.
6) Release the two switches (green and blue) and drain this water
mixture into the liner by inverting the position of the funnel.
7) Pour 1.5 l water and 2 tablespoonful of baking soda into the bin, press
the two switches (green and blue) and operate the appliance for 5
minutes approx.
8) Drain the water and repeat the operation, by rinsing with 1.5 l of water
and leaving the appliance operating for 5 minutes.
9) Remove the funnel with the hose after the water drain and replace
the plug or the drain hose.
10) Clean the inside of the bin reservoir and the door gasket with a soft
cloth dampened in the solution of warm water and baking soda.
11) Press the green switch and turn the water on: the ice maker will begin
to work again.
- We recommend you ask the intervention of the qualified technician to clean
periodically (once a year) the condenser and the motor compartment.
Important: To prevent odour contamination of the ice cubes, do not put foods or
beverages into the ice cube bin. When not in use for long periods of time
(holidays, etc) turn off the water, pull out the plug, remove all ice cubes, drain the
water tank by removing the plug or drain hose (Fig.8), and leave the door open to
prevent the formation of odours.
Page 6

SERVICE
If the ice maker does not work properly or does not work at all, before calling for
service, carry out the following checks (which are also listed on the sticker at the
back of the appliance Fig.2). This is very important as travel expenses and labour
costs will be charged to you if your call turns out to be unjustified. If the compressor
does not work and the ice bin is empty, check that:
- There is power at the outlet.
- The plug is connected correctly to the socket.
- One of the power cord wires is not disconnected.
The wash switch is pressed.
If the compressor works and the ice bin is empty, check that:
- The water is turned on.
- The thermostat is set according to the instructions given.
If the ice cubes are too thick or too thin, check that:
- The thermostat knobs are positioned according to instructions.
If ice cubes formation takes too long.
- It is possible that a calcium deposit has formed on the refrigerated plate. To
remove this deposit, clean the water system (as described in the
“Maintenance” section of this booklet). If the calcium builds up too rapidly,
install a water softener filter: if water softener filter is already installed, it is
necessary to replace or to regenerate it.
If there is no water in the ice bin, check that:
- The drain hose is well connected
- The drain hose us not clogged of kinked.
If the ice cubes are not transparent, check that:
- The water is not too hard. If it is, install the water softener filter. If already
installed, regenerate or replace it.
If after the above checks, the unit is still not working properly, contact your
dealer or service. Describe the nature of the fault and give the model of the
unit. The model number is printed on the rating plate at the back of the
appliance (Fig.2).
Page 7

REPLACEMENT OF THE SUPPLY CORD
If the replacement if the supply cord is required, please buy a similar supply cord by
one of our service centres. How to operate:
1) Disconnect the supply cord from the mains supply.
2) Remove the top. Unscrew the two rear screws and slide the top frontward’s to
disengage it from the front seats.
3) Release the supply cord from the clamp ® (Fig.2).
4) Disconnect the electrical connections from the front control panel and
remove the supply cord.
5) Mount the new supply cord and connect it electrically (Note: yellow-green
opposite symbol ╧). Position it between the water pump and the exterior wall,
and fix it by means of clamp ® (Fig 2.) Please make sure that the length of the
supply cord inside the appliance is sufficient,
6) Remount the top and fix it to the rear wall.
 Loading...