

Whirlpool EH070CFXCO User Manual
®
CHEST FREEZER
Use & Care Guide
For questions about features, operation/performance,
parts or service, call: 1-800-253-1301.
In Canada, call for assistance 1-800-807-6777,
www.whirlpool.com or www.whirlpool.com.ca
or visit our website at...
CONGÉLATEUR
COFFRE
Guide d’utilisation
et d’entretien
Au Canada, pour assistance, composez le 1-800-807-6777.
ou visitez notre site web à
www.whirlpool.ca
1-36132-002
Table of Contents/Table des matières.................. 2
Model/Modèle EH070CFXCQ

TABLE OF CONTENTS
TABLE DES MATIÈRES
FREEZER SAFETY .........................................................................2
Proper Disposal of Your Old Freezer or Refrigerator ..................3
INSTALLATION INSTRUCTIONS..................................................3
Unpacking ....................................................................................3
Location Requirements................................................................3
Electrical Requirements ...............................................................4
Defrost Drain Cover......................................................................4
FREEZER USE................................................................................4
Using the Control .........................................................................4
Key Eject Lock .............................................................................5
Sliding Basket ..............................................................................5
Indicator Light ..............................................................................5
FREEZER CARE .............................................................................5
Defrosting and Cleaning Your Freezer.........................................5
Changing the Light Bulbs.............................................................6
Power Interruptions......................................................................6
Moving Care.................................................................................6
TROUBLESHOOTING ....................................................................6
ASSISTANCE OR SERVICE...........................................................8
WARRANTY ....................................................................................8
FREEZER SAFETY
SÉCURITÉ DU CONGÉLATEUR....................................................9
Mise au rebut appropriée de votre vieux
congélateur ou réfrigérateur.........................................................9
INSTRUCTIONS D'INSTALLATION.............................................10
Déballage....................................................................................10
Exigences d’emplacement.........................................................10
Spécifications électriques ..........................................................11
Couvercle d’écoulement du dégivrage......................................11
UTILISATION DU CONGÉLATEUR.............................................11
Utilisation de la commande........................................................11
Serrure à clé séparée .................................................................12
Panier coulissant ........................................................................12
Témoin indicateur.......................................................................12
ENTRETIEN DU CONGÉLATEUR ...............................................12
Dégivrage et nettoyage du congélateur.....................................12
Remplacement des ampoules d’éclairage ................................13
Pannes de courant électrique ....................................................13
Déménagement..........................................................................13
DÉPANNAGE.................................................................................14
ASSISTANCE OU SERVICE.........................................................15
CONGÉLATEUR............................................................................16
Your safety and the safety of others are very important.
We have provided many important safety messages in this manual and on your appliance. Always read and obey all safety
messages.
This is the safety alert symbol.
This symbol alerts you to potential hazards that can kill or hurt you and others.
All safety messages will follow the safety alert symbol and either the word “DANGER” or “WARNING.”
These words mean:
You can be killed or seriously injured if you don't immediately
DANGER
WARNING
All safety messages will tell you what the potential hazard is, tell you how to reduce the chance of injury, and tell you what can
happen if the instructions are not followed.
follow instructions.
can be killed or seriously injured if you don't
You
instructions.
follow
2
IMPORTANT SAFETY INSTRUCTIONS
To reduce the risk of fire, electric shock, or injury when using your freezer, follow these basic precautions:
WARNING:
■ Plug into a grounded 3 prong outlet.
■ Do not remove ground prong.
■ Do not use an adapter.
■ Do not use an extension cord.
■ Disconnect power before servicing.
■ Replace all parts and panels before operating.
■ Use nonflammable cleaner.
SAVE THESE INSTRUCTIONS
Proper Disposal of
Your Old Freezer or Refrigerator
WARNING
Suffocation Hazard
Remove doors or lid from your old freezer or
refrigerator.
Failure to do so can result in death or brain damage.
■ Keep flammable materials and vapors, such as gasoline,
away from freezer.
■ Use two or more people to move and install freezer.
■ Keep key away from children.
■ Remove doors or lid from your old freezer or refrigerator.
■ Disconnect power before installing ice maker (on ice maker
kit ready models only).
IMPORTANT: Child entrapment and suffocation are not problems
of the past. Junked or abandoned freezers or refrigerators are still
dangerous... even if they will sit for “just a few days.”
BEFORE YOU THROW AWAY YOUR OLD FREEZER OR
REFRIGERATOR REMOVE THE DOORS OR LID.
INSTALLATION INSTRUCTIONS
Unpacking
WARNING
Excessive Weight Hazard
Use two or more people to move and install freezer.
Failure to do so can result in back or other injury.
Remove Packaging Materials
■ Remove tape and glue residue from surfaces before turning
on the freezer. Rub a small amount of liquid dish soap over
the adhesive with your fingers. Wipe with warm water and
dry.
■ Do not use sharp instruments, rubbing alcohol, flammable
fluids, or abrasive cleaners to remove tape or glue. These
products can damage the surface of your freezer. For more
information, see “Freezer Safety.”
When Moving Your Freezer:
Your freezer is heavy. When moving the freezer for
cleaning or service, be sure to protect the floor. Always pull
the freezer straight out when moving it. Do not wiggle or
“walk” the freezer when trying to move it, as floor damage
could occur.
Clean Before Using
After you remove all of the packaging materials, clean the inside
of your freezer before using it. See the cleaning instructions in
“Freezer Care.”
Location Requirements
WARNING
Explosion Hazard
Keep flammable materials and vapors, such as
gasoline, away from freezer.
Failure to do so can result in death, explosion, or fire.
1. Your freezer operates most efficiently when located in an area
where the temperature is normally between 32°F (0°C) and
110°F (43°C).
2. Keep flammable materials and vapors, such as gasoline,
away from freezer. Do not install the freezer near an oven,
radiator or other heat source.
3. Check the strength of the floor before installing your freezer. It
should hold the weight of a freezer fully loaded with food.
3
4. Level the freezer from side to side and front to back so that
the lid will seal properly. Use shims to level the freezer if
necessary.
5. Allow at least 3" (7.5 cm) of air space on both sides of the
freezer and 2" (5 cm) between the back of the freezer and the
wall. Leave room above the freezer to open the lid.
2" (5 cm)
➧
3" (7.5 cm)
6. It should not be necessary to remove the lid during
installation. If, for any reason, the hinges need adjustment,
contact a designated service company.
NOTE: Do not cover the freezer with items such as blankets,
sheets, tablecloths, etc. This reduces air circulation.
Electrical Requirements
WARNING
FREEZER USE
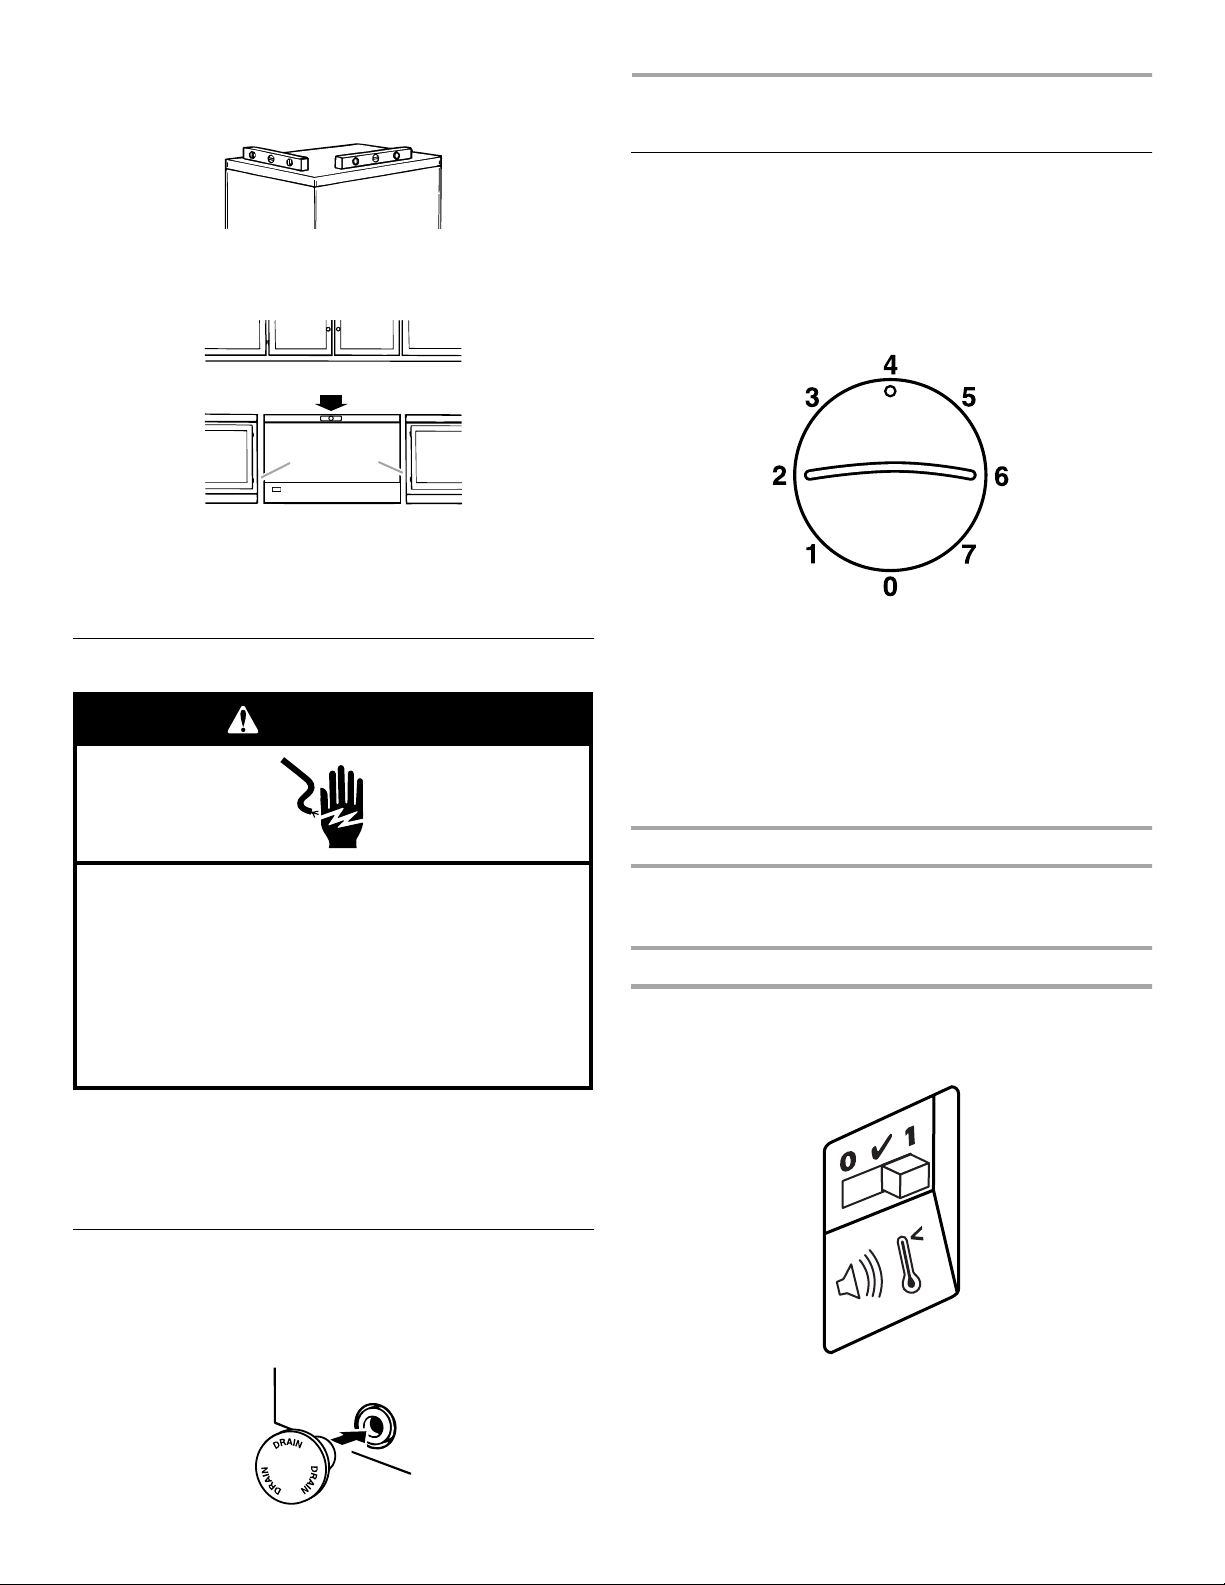
Using the Control
Turn the freezer temperature control to 4. This setting is designed
to maintain the temperature at or near 0°F (-17.8°C) under normal
operating conditions.
Allow the freezer to cool 6 to 8 hours before filling with frozen
food. Let the freezer cool overnight before adding large amounts
of unfrozen food. Never add more than 2 to 3 lbs (0.907 to
1.360 kg) of unfrozen food per cubic foot of freezer space.
NOTE: When the freezer is first started, the compressor will run
constantly until the cabinet is cooled. It may take 6 to 8 hours (or
longer), depending on room temperature and the number of times
the freezer lid is opened.
After the cabinet is cooled, the compressor will turn on and off as
needed to keep the freezer at the proper temperature.
The outside of your freezer may feel warm. This is normal. The
freezer’s design and main function is to remove heat from
packages and air space inside the freezer. The heat is transferred
to the room air, making the outside of the freezer feel warm.
Electrical Shock Hazard
Plug into a grounded 3 prong outlet.
Do not remove ground prong.
Do not use an adapter.
Do not use an extension cord.
Failure to follow these instructions can result in death,
fire, or electrical shock.
Recommended grounding method
A 115 Volt, 60 Hz., AC only 15- or 20-amp fused, grounded
electrical supply is required. It is recommended that a separate
circuit serving only your freezer be provided. Use an outlet that
cannot be turned off by a switch or pull chain. Do not use an
extension cord.
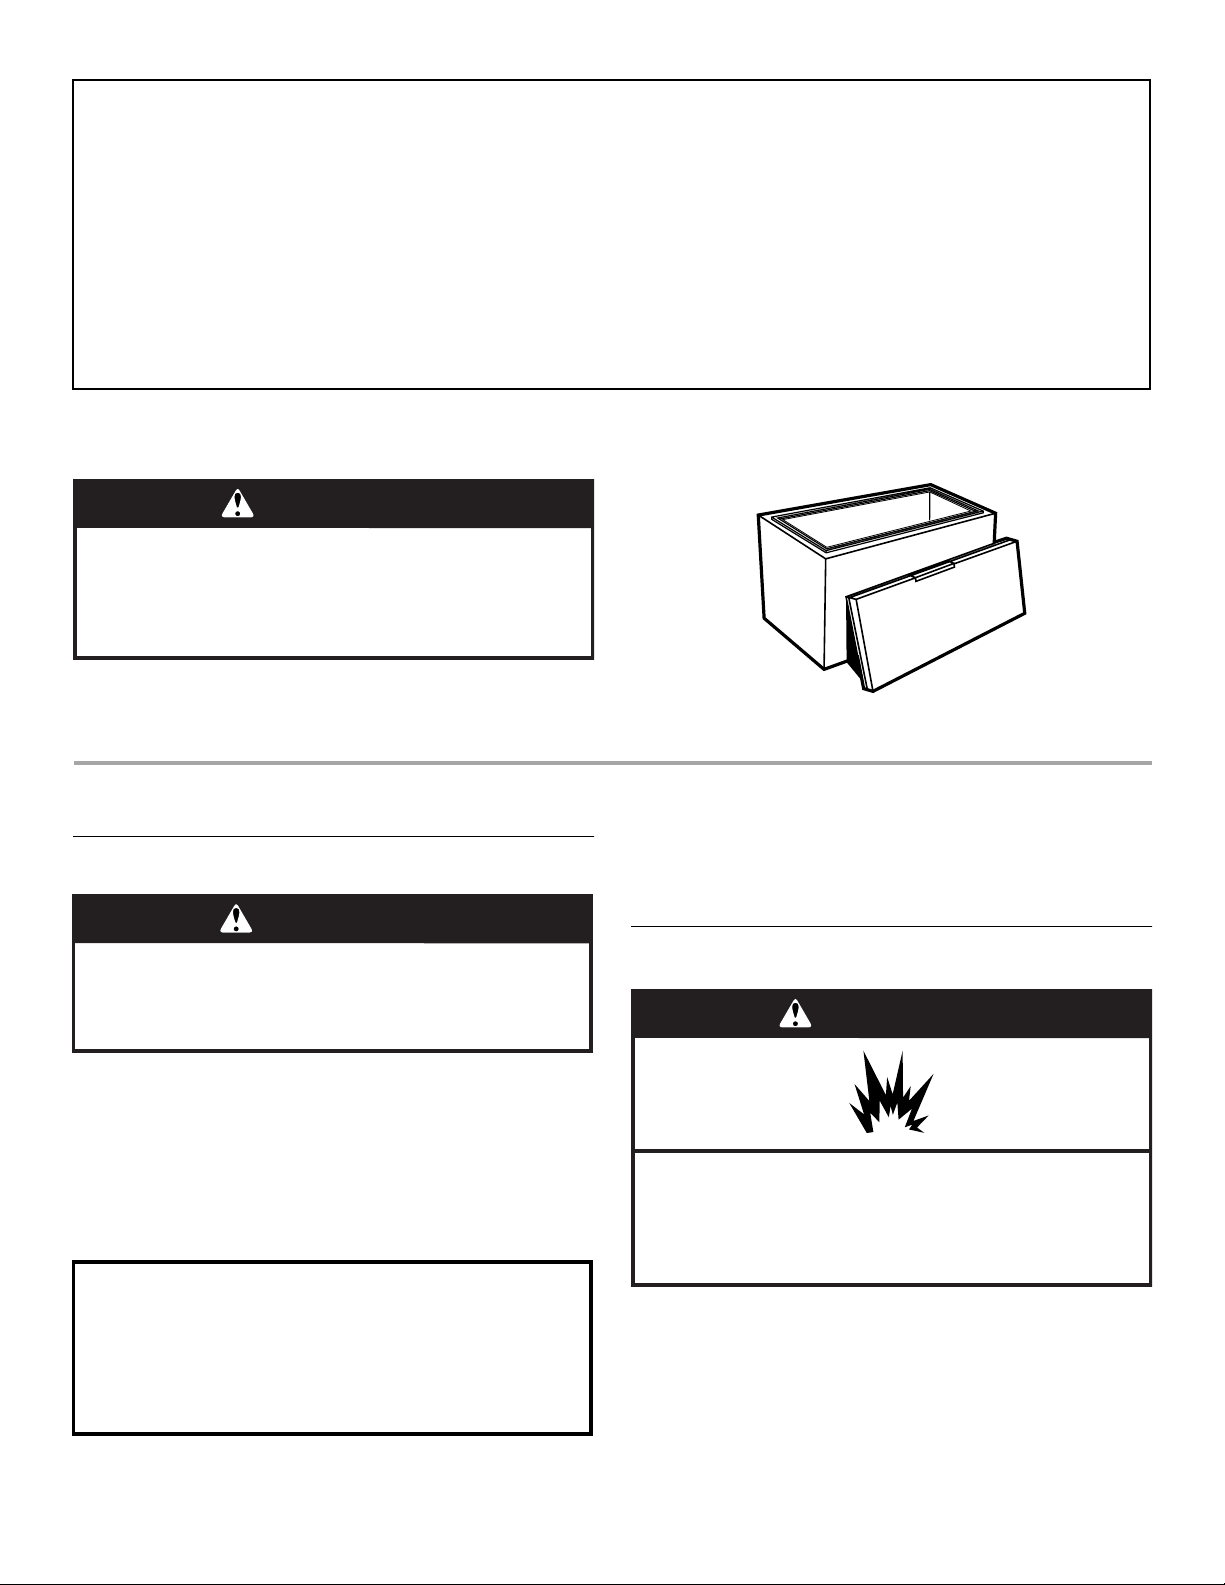
Defrost Drain Cover
(on some models)
1. Remove defrost drain cover from the literature package.
2. Push drain cover into drain hole as illustrated.
Adjusting the Control
■ Turn control to a higher number for colder temperatures.
■ Turn control to a lower number for less cold temperatures.
Temperature Alarm (on some models)
The temperature alarm is located above the temperature control
and sounds an audible alarm if the temperature reaches 10°F
(-12°C) or more above normal for the selected setting. The alarm
is controlled by a three position switch.
0 Prevents the alarm from sounding when the freezer
is warm, such during start-up or defrosting.
✔ Tests the alarm regardless of temperature.
1 The proper setting for normal freezer use.
To change the temperature alarm setting, move the switch from
one setting to another.
4

Key Eject Lock
(on some models)
To lock or unlock the freezer, you must hold the key in the lock
while turning. The lock is spring loaded, so the key cannot be left
in the lock.
If the key is lost, contact your dealer for a replacement. Always
give the model and serial number of your freezer when requesting
a replacement key.
Sliding Basket
Store small packages in the basket to avoid losing them in the
bottom of the freezer. The basket can then be moved from side to
side or it can be removed when loading or unloading the food
below it.
To remove basket, lift it straight up and out. To replace basket,
lower basket back into place.
Indicator Light
(on some models)
The indicator light assures you that your freezer is running. If the
indicator light is not glowing, immediately check for:
■ Power interruption.
■ An unplugged power cord.
■ An open circuit breaker or blown fuse.
■ A burned out indicator light.
FREEZER CARE
Defrosting and Cleaning Your Freezer
WARNING
Explosion Hazard
Use nonflammable cleaner.
Failure to do so can result in death, explosion, or fire.
Defrost and clean your freezer when frost has built up to about
¹⁄₄" (0.6 cm) thickness. Complete defrosting and cleaning should
be done at least once a year. In high humidity areas, a freezer
may need more frequent defrosting and cleaning.
Do not use abrasive cleaners on your freezer. Do not use cleaning
waxes, concentrated detergents, bleaches, or cleaners
containing petroleum on plastic parts. Damage can occur.
NOTE: For models with a defrost water drain, the drain cap must
be removed before defrosting the freezer and replaced securely
afterward.
1. Unplug freezer or disconnect power.
2. Remove all frozen food. Wrap frozen food in several layers of
newspaper and cover with a blanket. Food will stay frozen for
several hours. You may also store frozen food in a cooler,
additional refrigerator-freezer, or in a cool area.
3. Style 1 - Models with a drain system:
Remove the drain cover by pulling it straight out. Then insert
the hose adapter (provided) into the drain outlet. Remove the
rubber stopper from inside the bottom of the freezer. Place a
pan under the drain, or attach a hose to the threaded end of
the hose adapter and direct the water into a separate drain.
NOTE: Check the drain pan frequently to avoid water
overflow. Have a second pan handy for easier emptying.
Style 2 - Models without a drain system:
Remove water using a sponge or baster to remove excess
water from the freezer bottom and empty water into a large
pan.
4. Place pans of hot water in freezer with lid open to speed
melting. Directing air from an electric fan into freezer will also
help. Do not place fan or any electrical device in freezer.
5. Use a plastic scraper to remove frost.
NOTE: Do not use an ice pick, knife, or other sharp-pointed
tool to defrost freezer. Damage can occur.
6. Wipe water from walls with a towel or sponge.
5
 Loading...