

Whirlpool ARC4380, WTH4713 A M, WTH4713 A S, WTH4713A X, ARC 4330 INSTRUCTION FOR USE
...
63602042GB.fm Page 21 Monday, January 28, 2008 12:09 PM
INSTRUCTIONS FOR USE
BEFORE USING THE APPLIANCE ....................................PAGE 22
SAFEGUARDING THE ENVIRONMENT .........................PAGE 22
PRECAUTIONS AND GENERAL
RECOMMENDATIONS
PRODUCT DESCRIPTION...................................................PAGE 24
REFRIGERATOR COMPARTMENT ...................................PAGE 25
FREEZER COMPARTMENT .................................................PAGE 28
.........................................................PAGE 23
GUIDE TO STORAGE AND THAWING
OF FOOD
...................................................................................PAGE 30
CARE AND MAINTENANCE...............................................PAGE 32
INSTALLATION.......................................................................PAGE 32
VACATION................................................................................PAGE 35
TROUBLESHOOTING GUIDE / AFTER-SALES
SERVICE
.....................................................................................PAGE 36
AFTER SALES SERVICE ........................................................PAGE 37
ELECTRICAL CONNECTION..............................................PAGE 38
21
63602042GB.fm Page 22 Monday, January 28, 2008 12:09 PM
BEFORE USING THE APPLIANCE
• Your new appliance is designed exclusively for
domestic use.
To ensure best use of your appliance,
carefully read the operating instructions
which contain a description of the product
and useful advice.
Keep these instructions for future
reference.
1. After unpacking the appliance, make sure it is
not damaged and that the door closes properly.
Any damage must be reported to the dealer
within 24 hours of delivery of the appliance.
2.Wait at least two hours before switching the
appliance on, to ensure that the refrigerant
circuit is fully efficient.
3.Installation and the electrical connection must
be carried out by a qualified technician
according to the manufacturer’s instructions
and in compliance with the local safety
regulations.
4.Clean the inside of the appliance before using it.
SAFEGUARDING THE ENVIRONMENT
1. Packaging
The packing material is 100% recyclable and
bears the recycling symbol. For disposal, comply
with the local regulations. Keep the packing
materials (plastic bags, polystyrene parts, etc.)
out of the reach of children, as they are a
potential source of danger.
2. Scrapping/Disposal
The appliance is manufactured using recyclable
material.
This appliance is marked in compliance with
European Directive 2002/96/EC on Waste
Electrical and Electronic Equipment (WEEE). By
ensuring the correct disposal of this appliance,
you can help prevent potentially negative
consequences for the environment and the
health of persons.
The symbol on the appliance, or on the
accompanying documents, indicates that this
appliance should not be treated as domestic
waste but must be taken to a special collection
centre for the recycling of electrical and
electronic equipment.
When scrapping the appliance, make it unusable
by cutting off the power cable and removing the
doors and shelves so that children cannot easily
climb inside and become trapped.
Scrap the appliance in compliance with local
regulations on waste disposal, taking it to a
special collection centre; do not leave the
appliance unattended even for a few days, since
it is a potential source of danger for children.
For further information on the treatment,
recovery and recycling of this product, contact
your competent local office, the household
waste collection service or the shop where you
purchased the appliance.
Information:
This appliance does not contain CFCs.
The refrigerant circuit contains R134a (HFC) or
R600a (HC) (see the rating plate inside the
appliance).
Appliances with Isobutane (R600a): isobutane is
a natural gas without environmental impact, but
is flammable. Therefore, make sure the
refrigerant circuit pipes are not damaged.
This product may contain Fluorinated
Greenhouse Gases covered by the Kyoto
Protocol; the refrigerant gas is inside a
hermetically sealed system.
Refrigerant gas: R134a has a Global Warming
Potential of (GWP) 1300.
Declaration of conformity
This appliance has been designed for preserving
food and is manufactured in compliance with
Regulation (CE) No. 1935/2004.
This appliance has been designed, manufactured
and marketed in compliance with:
• safety objectives of the “Low Voltage”
Directive 2006/95/CE (which replaces
73/23/CEE and subsequent amendments);
• the protection requirements of Directive
“EMC” 89/336/EEC amended by Directive
93/68/EEC.
Electrical safety of the appliance can only be
guaranteed if it is correctly connected to an
approved earthing system.
22
63602042GB.fm Page 23 Monday, January 28, 2008 12:09 PM
PRECAUTIONS AND GENERAL
RECOMMENDATIONS
INSTALLATION
• The appliance must be handled and installed
by two or more persons.
• Be careful not to damage the floors (e.g.
parquet) when moving the appliance.
• During installation, make sure the appliance
does not damage the power cable.
• Make sure the appliance is not near a heat
source.
• To guarantee adequate ventilation, leave a
space on both sides and above the appliance
and follow the installation instructions.
• Keep the appliance ventilation openings free.
• Do not damage the appliance refrigerant
circuit pipes.
• Install and level the appliance on a floor strong
enough to take its weight and in a place
suitable for its size and use.
• Install the appliance in a dry and well
ventilated place. The appliance is arranged for
operation in places where the temperature
comes within the following ranges, according
to the climatic class given on the rating plate.
The appliance may not work properly if it is
left for a long time at a temperature outside
the specified range.
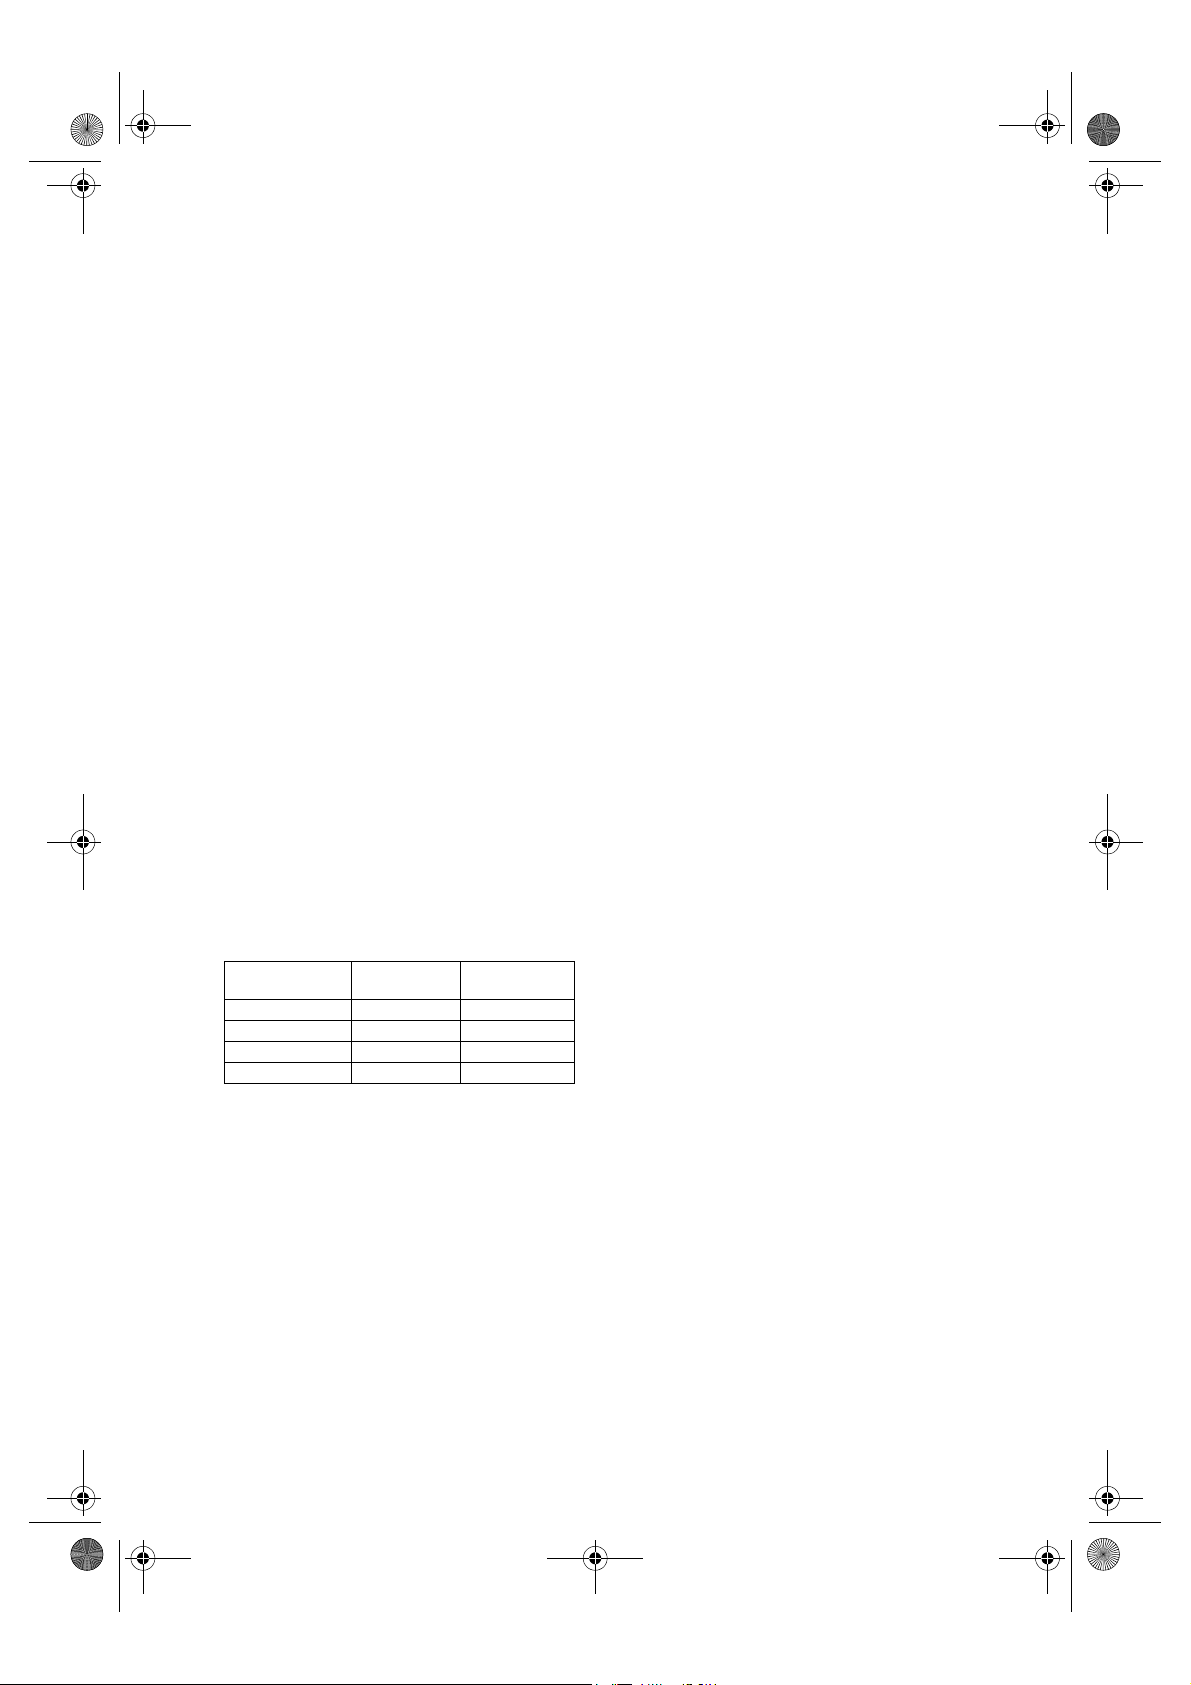
Climatic Class Amb. temp.
(°C)
SN From 10 to 32 From 50 to 90
N From 16 to 32 From 61 to 90
ST From 16 to 38 From 61 to 100
T From 16 to 43 From 61 to 110
• Make sure the voltage specified on the rating
plate corresponds to that of your home.
• Do not use single/multi adapters or extension
cords.
• For the water connection, use the pipe
supplied with the new appliance; do not reuse
that of the previous appliance.
• Power cable modification or replacement
must only be carried out by qualified
personnel.
• It must be possible to disconnect the
appliance from the power supply by
unplugging it or by means of a mains two-pole
switch installed upstream of the socket.
Amb. temp.
(°F)
SAFETY
• Do not store or use petrol, flammable liquids
or gas in the vicinity of this or other electrical
appliances. The fumes can cause fires or
explosions.
• Do not use mechanical, electric or chemical
means other than those recommended by the
Manufacturer to speed up the defrost
process.
• Do not use or place electrical devices inside
the appliance compartments if they are not of
the type expressly authorised by the
Manufacturer.
• This appliance is not intended for use by
persons (including children) with reduced
physical, sensory or mental capabilities or lack
of experience and knowledge, unless they
have been given supervision or instruction
concerning use of the appliance by a person
responsible for their safety.
• To avoid the risk of children becoming
trapped and suffocating, do not allow them to
play or hide inside the appliance.
• Do not swallow the contents (non-toxic) of
the ice packs (in some models).
• Do not eat ice cubes or ice lollies immediately
after taking them out of the freezer since they
may cause cold burns.
USE
• Before carrying out any maintenance or
cleaning operation, unplug the appliance or
disconnect it from the power supply.
• All appliances equipped with an automatic
icemaker and water dispenser must be
connected to a water supply that only delivers
drinking water (with mains water pressure of
between 0.17 and 0.81 Mpa (1.7 and 8.1
bar)). Automatic ice-makers and/or water
dispensers not directly connected to the
water supply must be filled with drinking
water only.
• Use the refrigerator compartment only for
storing fresh food and the freezer
compartment only for storing frozen food,
freezing fresh food and making ice cubes.
• Do not store glass containers with liquids in
the freezer since they may burst.
The Manufacturer declines any liability if
the above advice and precautions are not
respected.
23
63602042GB.fm Page 24 Monday, January 28, 2008 12:09 PM
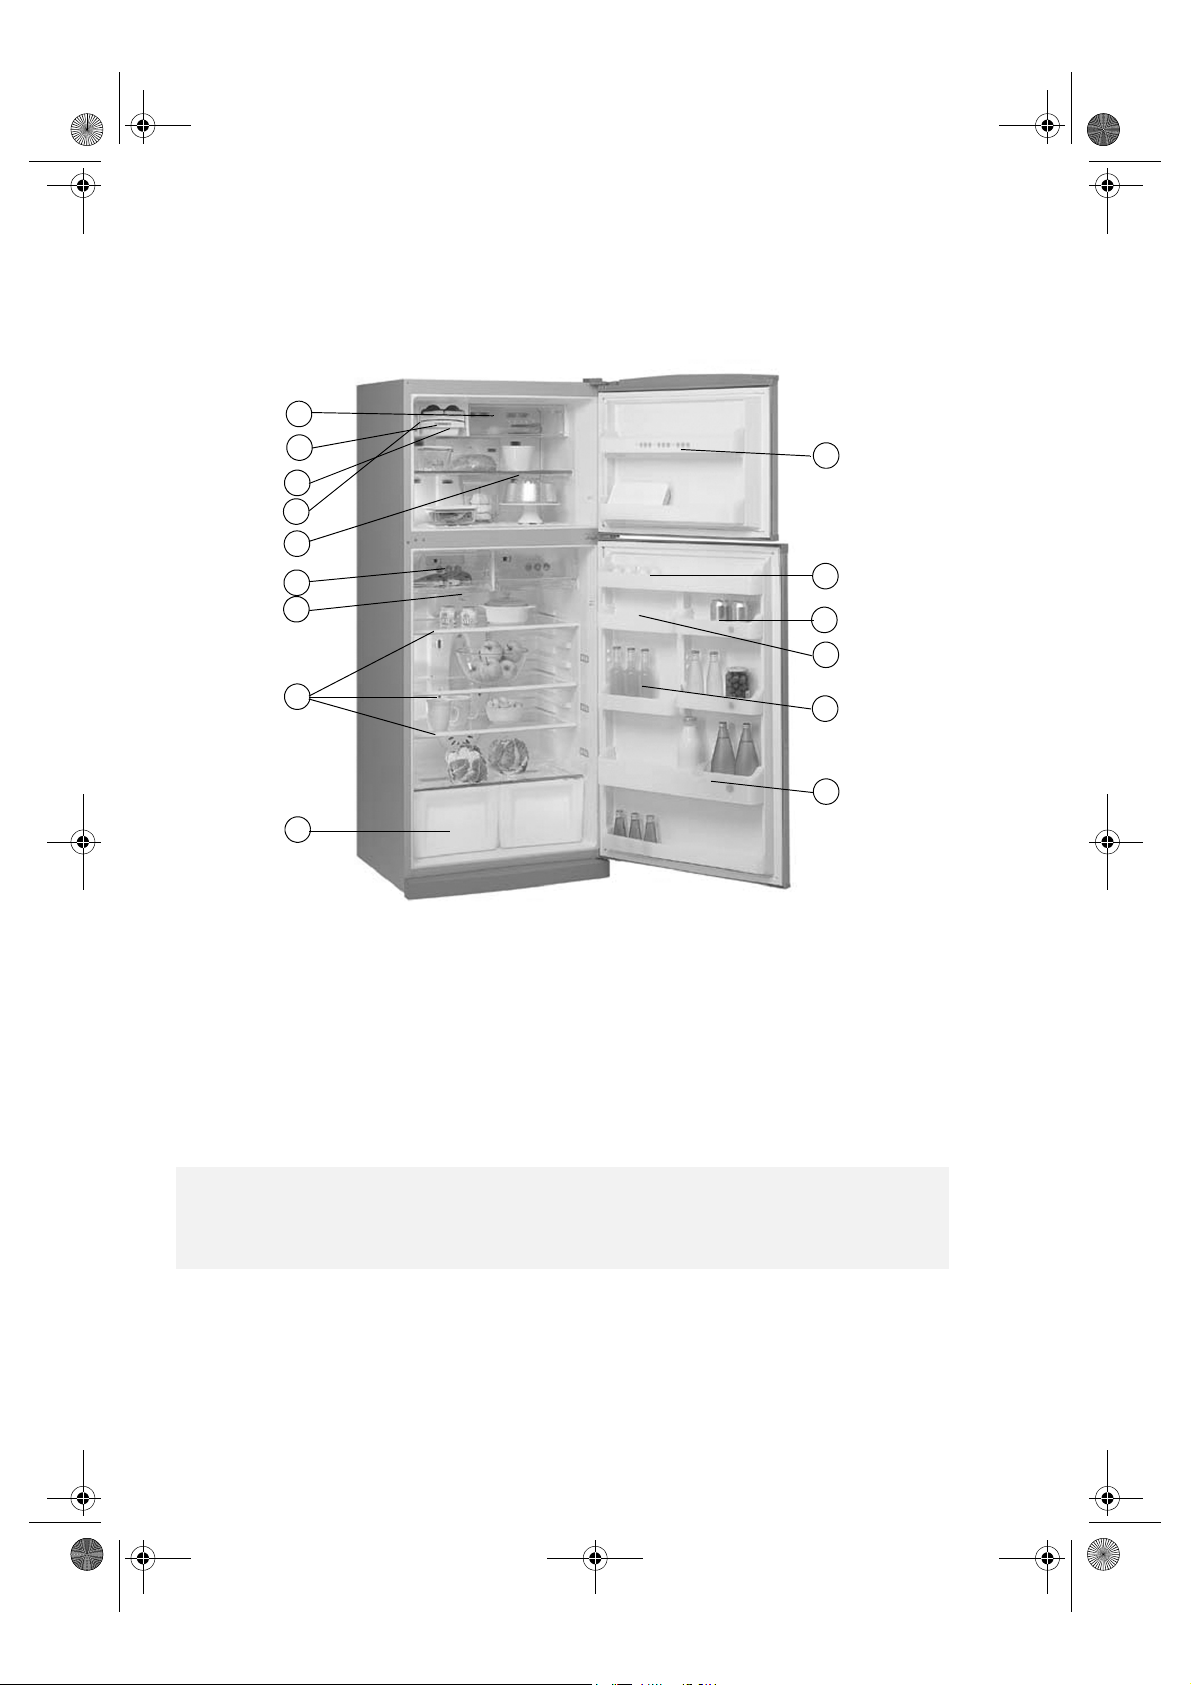
PRODUCT DESCRIPTION
1
2
3
4
5
6
7
10
11
12
13
8
9
1. Fast freezing compartment
2. Ice cube tray
3. Ice compartment
4. Freezer thermostat
5. Freezer shelf
6. Fresh control compartment
7. Refrigerator thermostat
(*) Optional
Note: The number of shelves and shape of accessories may vary, depending on the model.
All shelves, door trays and racks are removable.
DO NOT obstruct the fan intake area with food.
Attention: refrigerator/freezer accessories must not be washed in a dishwasher.
8. Refrigerator shelves
9. Crisper drawer
10. Freezer shelf
11. Egg tray
12. Top shelf
13. Spice rack (*)
14. Bottle rack
15. Bottle holder
14
15
24
63602042GB.fm Page 25 Monday, January 28, 2008 12:09 PM
REFRIGERATOR COMPARTMENT
This appliance is equipped with a No Frost system that does not require manual defrosting.
The appliance is also provided with a ventilated system, thanks to which the internal temperature is to all
intents and purposes uniform.
Food can be arranged on any shelf inside the appliance. However, take care not to obstruct the air vents
in order to allow air to circulate freely.
Optimal performance is obtained at temperatures between +18°C and +43°C.
SWITCHING ON THE APPLIANCE
• The appliance will switch on automatically when it is plugged in.
• The inside light switches on when the refrigerator door is opened
USING THE REFRIGERATOR
• Temperature Adjustment
For correct operation and optimum storage of food, adjust the temperature in the refrigerator and
freezer compartments separately.
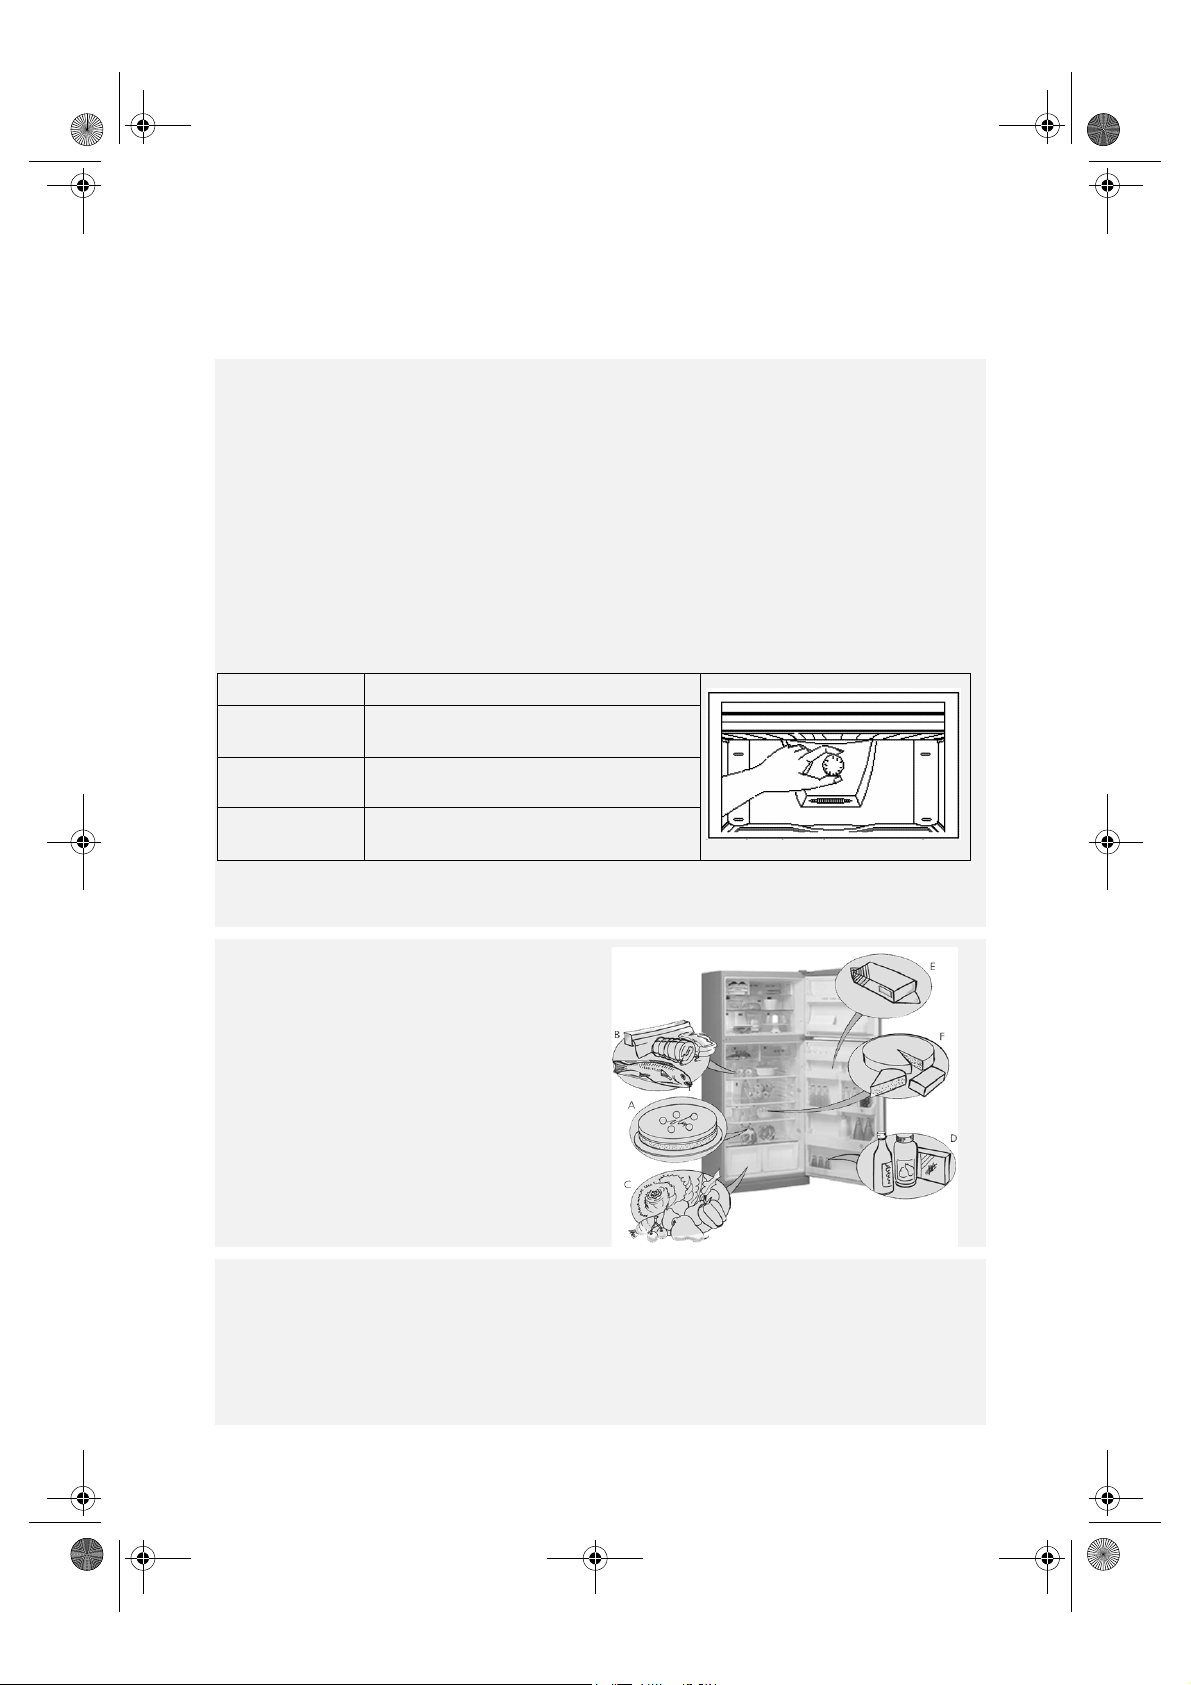
REFRIGERATOR THERMOSTAT
To adjust the temperature in the refrigerator compartment, turn the thermostat knob to the desired
position.
Temperature Type of use
Minimum
1-2
Medium
3-4
Maximum
5
• Small amounts of food stored
• The door is seldom opened
• Normal use
• Large amount of food stored
• The door is opened frequently
• After being switched on, the refrigerator needs approximately 2 hours to reach the correct
temperature to store a typical volume of food in the refrigerator compartment.
Storing food in the refrigerator compartment
Position the food as shown in the figure.
A. Cooked food
B. Fish, meat
C. Fruit and vegetables
D. Bottles
E. Butter
F. Dairy products, cheese
To maintain the vitamins, aroma, substance and
freshness of the food to be stored, it is advisable to
wrap food in aluminium foil, cling film or place it in
special freezer containers with lids. This will
prevent odours from mixing.
NOTES:
• The space between the shelves and the rear wall must be unobstructed to allow circulation of air.
• Do not place food in direct contact with the rear wall of the refrigerator compartment.
• Do not place hot food in the refrigerator.
• Store liquids in closed containers.
• Storing vegetables with a high water content can result in condensation in the crisper drawer: this will
not affect the correct operation of the appliance.
• Defrosting of the refrigerator compartment is completely automatic.
• The refrigerator can operate at ambient temperatures between +16°C and +43°C.
25
63602042GB.fm Page 26 Monday, January 28, 2008 12:09 PM
FRESH CONTROL COMPARTMENT
This sliding compartment stays colder than the rest of the refrigerator compartment to keep daily foods
fresh longer.
It is proper for keeping dairy products, cold cuts, sausage and meat.
If necessary, remove the fresh control compartment for cleaning.
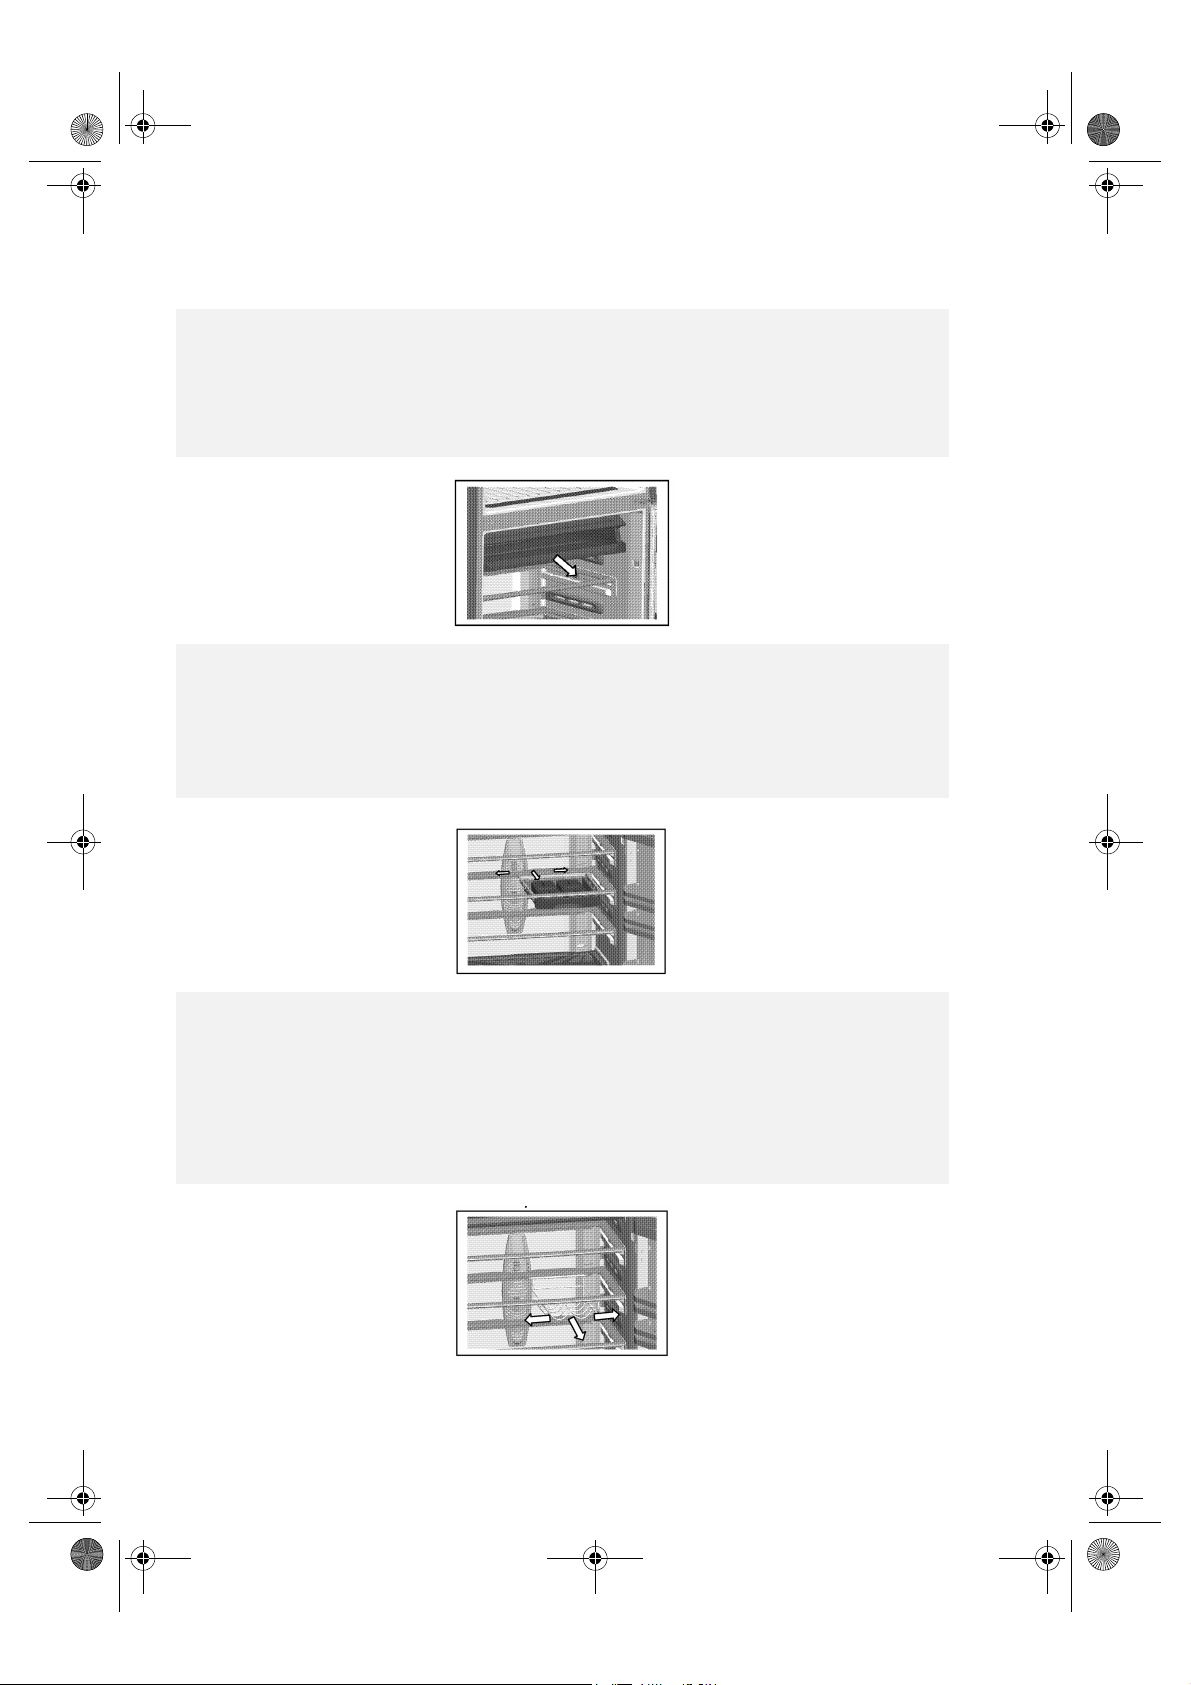
DRAWER (depending on the model)
The drawer has four containers which can be used to store small food items.
For ease of use and optimum food storage, you can move the drawer to the right or left.
Furthermore, you can easily remove the drawer if necessary.
Note: close the drawer lids to prevent food from drying out and odours from mixing.
BOTTLE RACK (depending on the model)
Designed to hold bottles in the horizontal position.
The shelf beneath the bottle rack can be easily fitted by simply moving the rack to the right or left.
The bottle rack is easy to remove: simply pull the glass shelf outwards, slide the bottle rack to the right or
left and remove it.
The bottle rack can be fitted on any glass shelf.
Note: make sure bottles are tightly closed to avoid spills.
26
 Loading...