

Westinghouse WVE645 User Manual
Quick Start Guide
WVE645 oven series
Dear Customer,
Thank you for purchasing a Westinghouse oven. You have chosen a product that comes
from a history of durable and reliable products loved by many families. We look to help
you make the most of your time at home, so you can spend your time doing what you
really love, with the ones you love.
Welcome to Westinghouse.
Ready
This is a Quick Start Guide. Please refer to user manual
online for detailed information and installation
To access your detailed user manual online, simply scan the QR code on your smart phone.
For more detailed information and installation guide refer to user manuals
at westinghouse.com.au/manuals
Before you start, please make sure:
Your oven has been correctly installed by a qualified person.
Your oven has power and is switched on.
You’ve removed all relevant packaging.
Set...
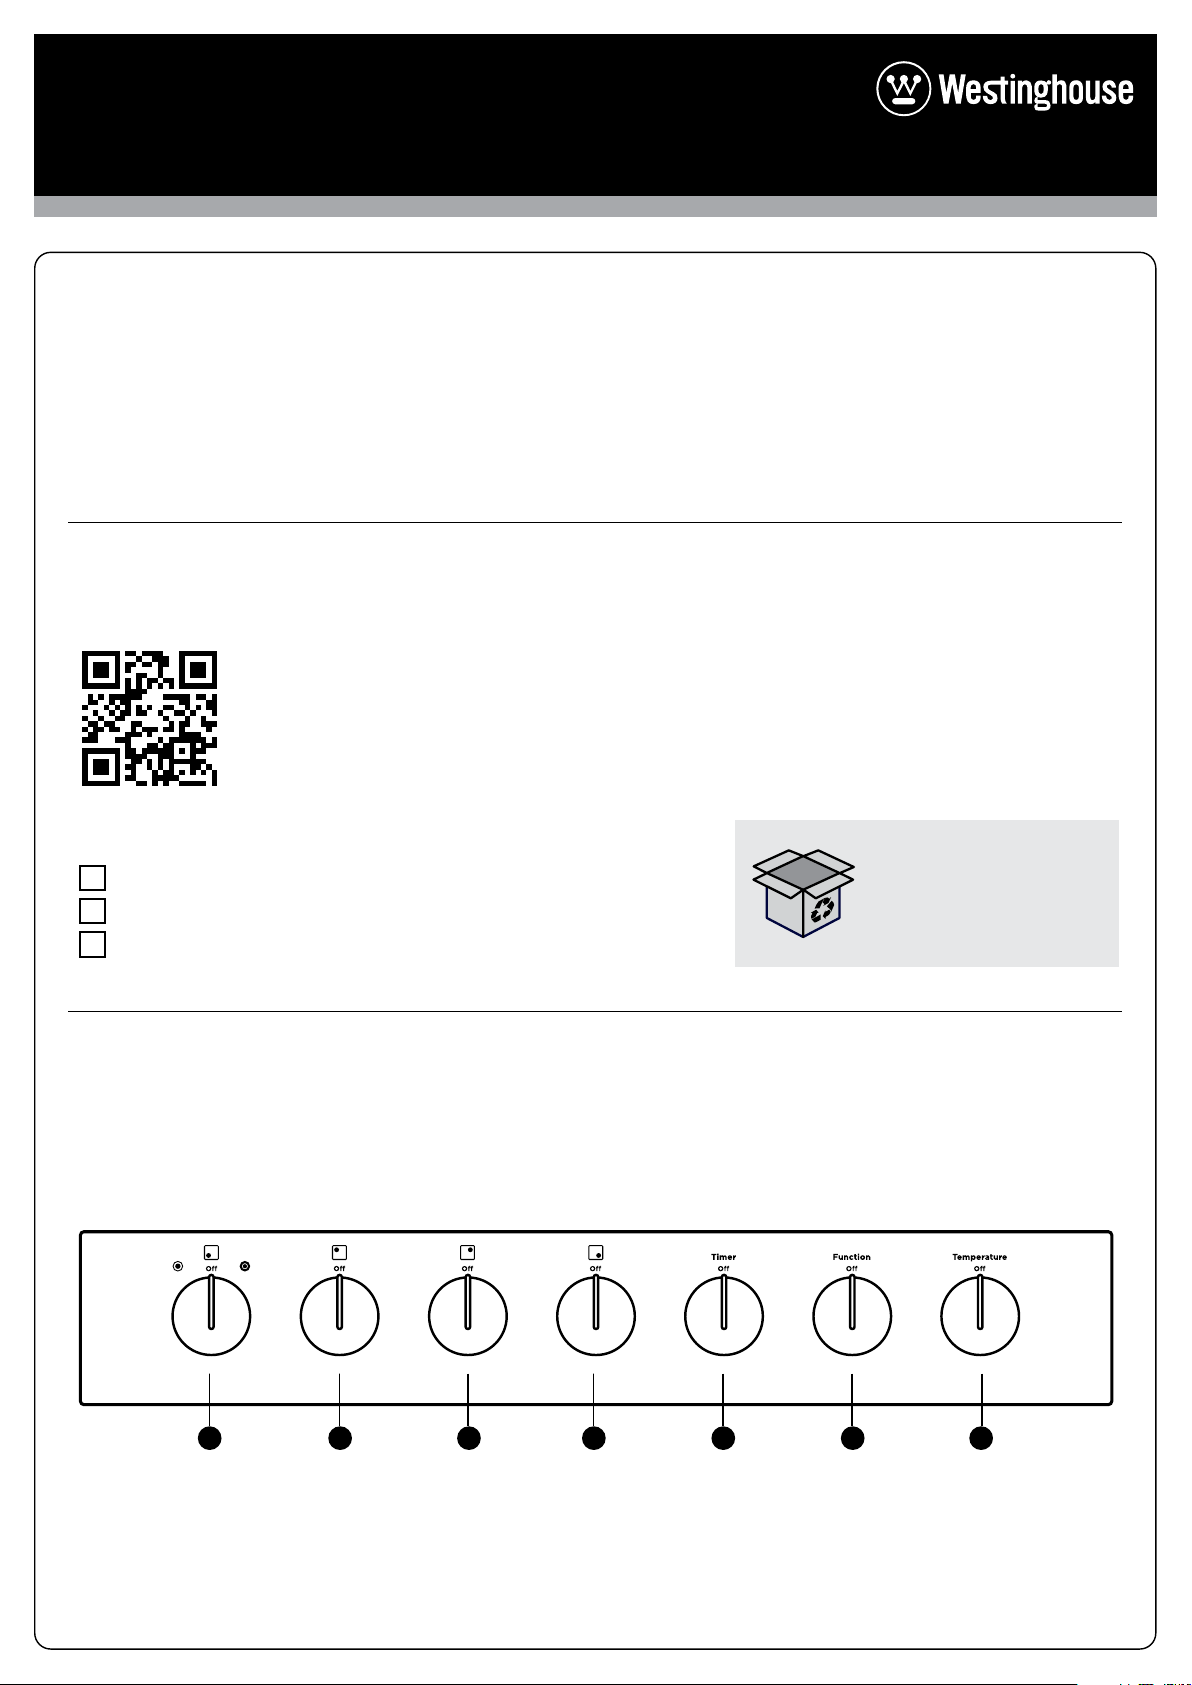
Get to know your oven control panel:
Most of the packaging
materials can be recycled.
Please dispose of them at
your local recycling centre
or in your own recycling bin.
1 2 3 4 5 6 7
1 Bottom left hob full and half
on/off/temperature
2 Top left hob on/off/
temperature
3 Top right hob on/off/
temperature
4 Bottom right hob on/off/
temperature
5 ‘Auto-off’ timer
6 Oven/grill function selector
7 Oven/grill temperature
selector
Set...
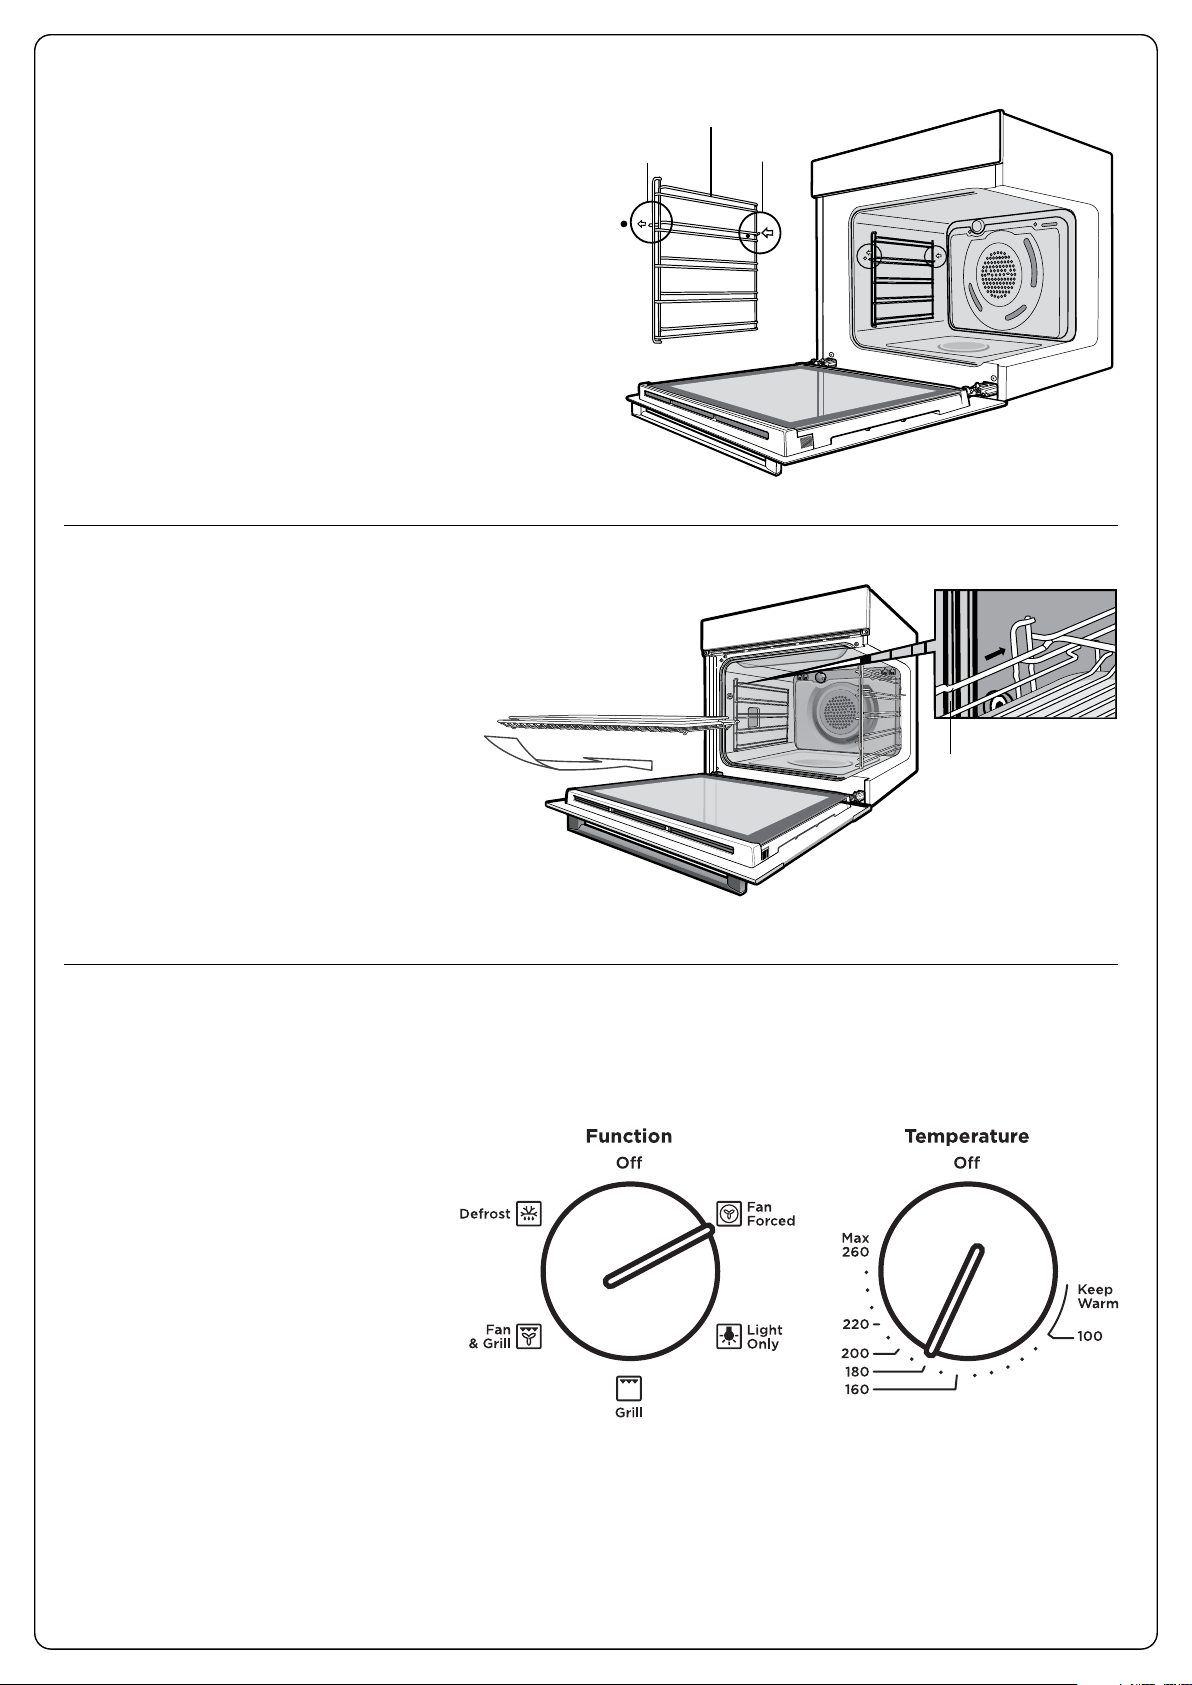
Left hand side rack
Installing the oven accessories
1. Insert side racks
There is a left hand and right hand version
(see image for details).
1. Insert the rear peg into the rear access
hole provided,ensuring that the peg is
fully inserted.
2. Then locate the front peg into the
front access hole and push in firmly.
Telescopic slides can be purchased
seperately.
2. To fit a shelf or tray to side racks:
1. Locate the rear edge of the
shelf/tray in between 2 guide
rails of the side rack - see
diagram.
front peg
rear peg
2. Align the shelf to the same rail
positions on both sides, with
the front edge raised, begin to
slide the shelf into the oven.
3. When fully inserted the shelf/
tray should not interfere with
the closed oven door.
Condition the oven
(to burn o any residue)
New appliances can have oil or
residue left from manufacturing.
You will need to heat your oven
for 30 minutes before using it for
the first time.
1. Ensure the “Auto O” timer is
set to “O”.
2. Turn the function selector dial
to FAN FORCED
Detent
3. Using the temperature selector,
set the oven at 180°C for
approximately 30 minutes.
Please ensure that the room
is well ventilated during this
process.
 Loading...