

Westinghouse RO-29 User Manual
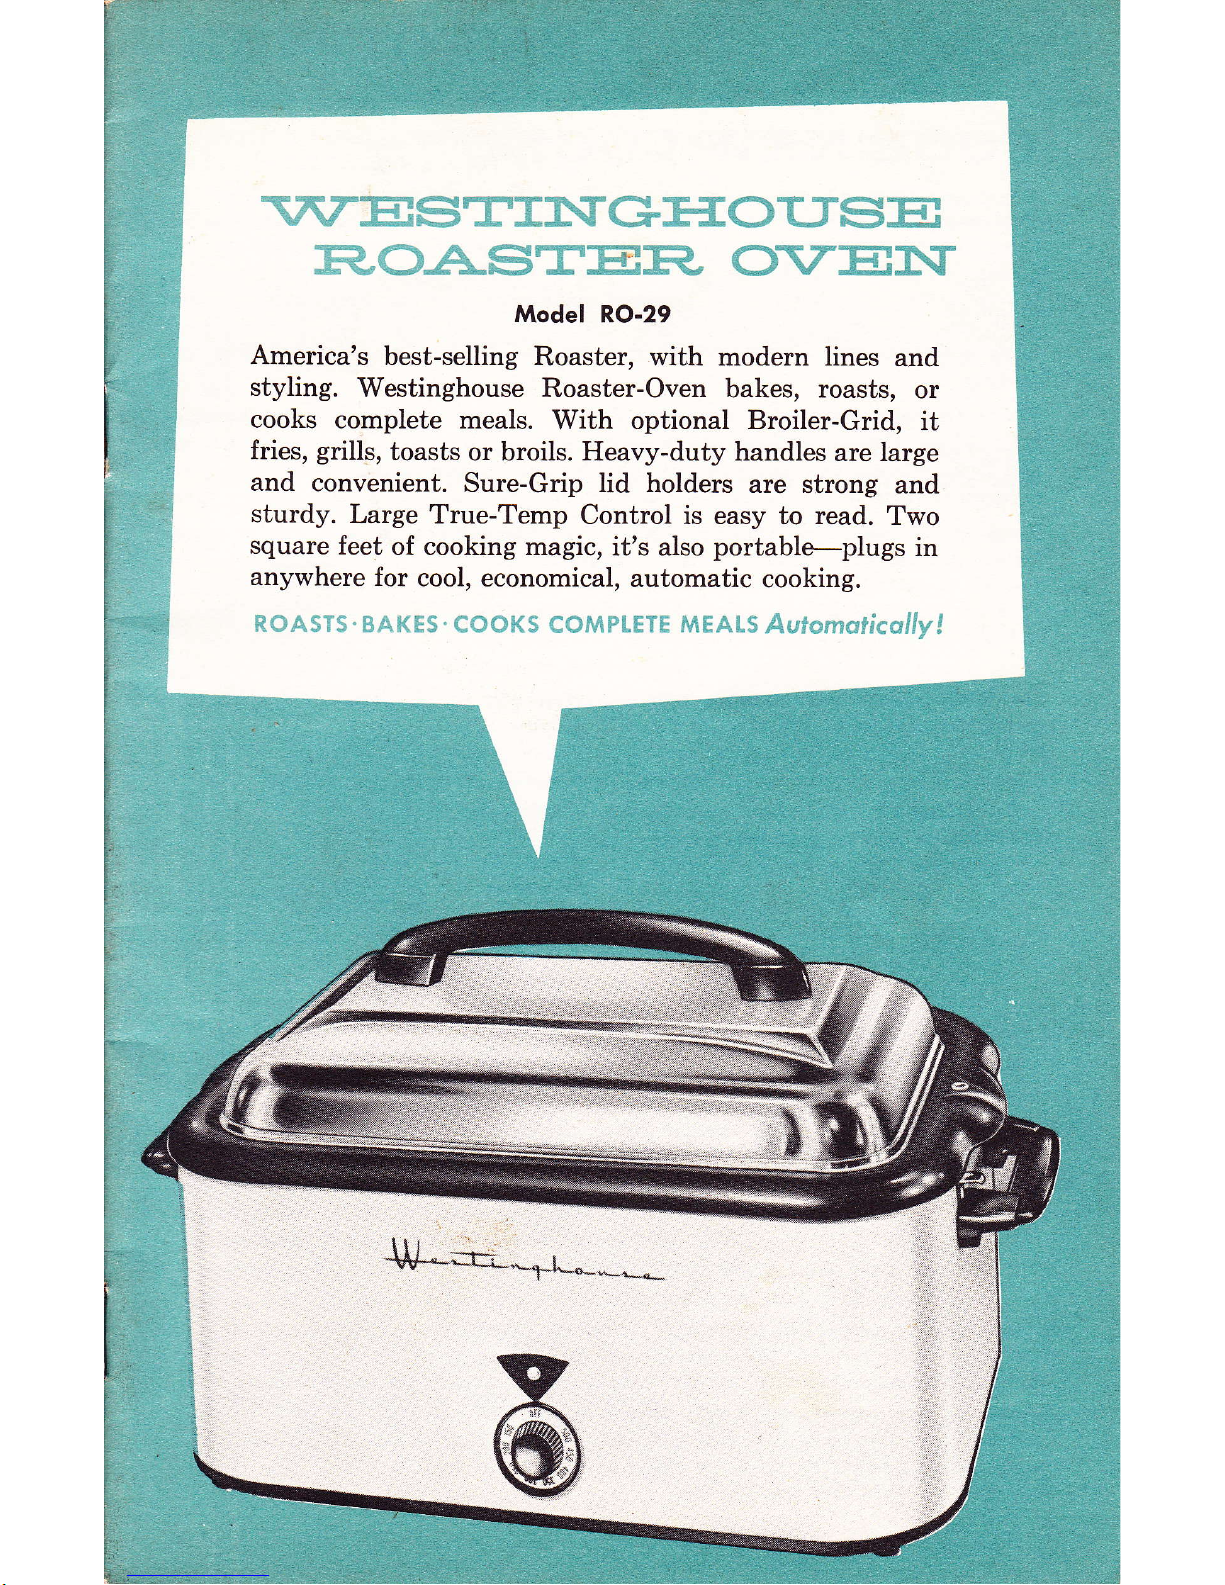
Model
RO-29
America's
best-selling
Roaster, with modern lines
and
styling.
Westinghouse Roaster-Oven bakes, roasts,
or
cooks
complete meals.
With optional Broiler-Grid,
it
fries,
grills,
toasts
or broils. Heavy-duty handles
are large
and
convenient.
Sure-Grip lid holders
are strong
and
sturdy.
Large
True-Temp
Control is easy to read.
Two
square
feet
of cooking magic,
it's also
portabl+-plugs
in
anywhere
for
cool, economical,
automatic cooking.
111
*tL*;r*,rL*.*r*
Here's
your
COOL
NEW
COOKI
You're
all
set for
lots
of
cooking
plxure
wilt
yw
nr
westinghouse
Roaster-
oven.
This
handy portable
ovea.
- -
with
its
mrdy
@tootr;
b€t
and
big
cooking
capacity.
. . will
bake,
roast ad
cook
cmple*e
meals
to
perfetion.
with
the
rnfra-Red
Broiler-Grid (an
optionar
a.-.*otyl,
y."r
can
t""ir"
ear,
frv
and
toast,
too-
And
with
the
Timer-clock
(also
an
optbmr
--c".sory)"
ym
can
mok
foods
automaticatly..
-
even
tlough
yon
:rne
d
@
hrEt
to
$art
;d
6froe
the
cooking.
The
instructions
and
typicaf
recipes
1o
'\is
booHct
rerc
prelnred
ty 6e
Wedfut_
house
r{ome
Economics
rnstifirte
to help
yo roke
full
ue
of
ywr
Rester-oven
and
Broiler-Grid.
You
can
also
use
yonr
fuvorite
recipes
in
this versatile
cooking
appliance.
Please
read
this
booklet
carefully
so
youll
have
good
results
every
time.
Keep
your
Roaster-oven
on
a handy
table,
cart
or cabinet
where
it will
be ready
for
use
any
time.
USe it every
day.
. . enjoy
it.
. .
TABLE
OF'
CONTENTS
How
to
Use
Generol
Cooking
Hints
Meots.....
Fish
.........
Fowl
.......
Vegetobles
Soups ond
Chowders
Breods
...................
Poge
.........3
''.,,.,..4
.........
5
.,....... 7
Poge
.12
Cokes
.....,.-........
Cookies ....-...
7
...... 9
......10
......I I
Postry
.............-..-...
Puddings
Quonrity Coolery
Accessories
How
lo
Use Your
Brnibr€rid
Guqrqnte
ond
Specificotions
Reody to
serve
you
.
.
. lhe
n,OASTER
OVEN
o
Cooks dinner
for
8
-
oll st
one iime.
.
Roosts meot
ond
fowl
to
perfiection.
r
Bokes
breod, rolls,
coke,
pie
ond
cookies.
You'll
save time,
work
ad
mone5r
by using
your
versatile
Roaster-Oven
f6r1
nmy,
meny
tasks.
No
watching,
no worrying
vibile
your
food
is cooking.
It
uses little
more
cunent
than
a
modern
electric
iron,
so is very
econonical
in
operation!
Prepore
complel"
-.o13-pqf
your
meat,
potatoes,
vqetabiles
axl
hot
dessert
in
the
Roaster-oven.
.
. and
set
the heat
conirol
dial.
Tben
relax
mtil
yoo,
aioo."
i"
done!
Just
be
sure
the foods you
choose
take
approximately
the
sme
cooking
tine_
Portoble
for
exrro
convenience-You'll
delight
at
the
way
yorr
ca'
just
pick
up
your
Roaster-oven
and
carry
it
to
the
spot where
you're
joing
to
eai
rtjst
haodsome
1'ou'll
put
it
right
on
the
tabre
for
bufret
suppeni...
to
keep
food
hot
Fine
feature
for
porch
suppers
and
picnics,
too.

v
*@
HOW
TO
USE
O
"
.
Connect
to dny
wqll
outlet.
. .
never
to o ceiling
light socket'
t.
Attach the
cord
to the
terminals
at
the
end of
the
Roaster-Oven,
then
connect
to
any 110-120-volt,
a-c
wall
outlet-
2. set the
heat control
dial
to the
correct
temperature
given
in
the cooking
in-
structions.
The
signal
light will
glow
and
will
remain
on
until the
Roaster-oven
reaches the
correct
temPerature.
3.
If the
recipe calls
for a
preheated oven,
wait until
light
shuts
off
to
place
food
in the
Roaster-oven.
The
light
will
flash
on and
off at
intervals
during
the
cooking
period
as the
current
is used
to
maintain
proper
temperature-
The same
t"*p"rairrte
settings
recommended
for
your
range
recipes
can be
made
on
this
dial.
c. When through
cooking,
turn
the
heat control
dial
to
"OFF"
position'
o
cAUTION:
In
shipping,
a
protective cardboard
packing
strip
is
placed between
the
large
inset
pan
r.rd
ttr"
well
of
the
Roaster-oven.
REMOVE
this
before
using
the
Roaster-oven'MpERATuRE
coNTRot
. . . brings
Roaster-oven
to
desired
temperature
and
keeps
it there
through
entire
cooking
time.
Turn
dial
so
that
temperatures
called
for
in
recipe
is
dirbctly
under
pointer above
dial.
Roaster-Oven
tempera-
tures
have
been
adjusted
so
that
you
can
use
standard
recipe
temperatures.
TO
REPIACE
slGNAt
llGHI...
disconnect
Roaster-Oven
from
outlet.
Invert
Roaster-Oven
-.
.
take out
4 screws
to
re-
move
bottom,
insulation
pad
and
bulb.
Replace
bulb with
new
T-43
lamp.
Reassemble.
tlD HOLDERS
.
. .
provide
two
handy
places
for
lid when
you
remove
it. Holders
are on
both
ends
of
the Roaster-Oven
. . .
and
lid
may
be
held
by
any
one of
its four
sides'
HOW
TO USE ond
REMOVE
INSERI
PAN
The
insert
pan
should
be
in
the
Roaster-Oven
for
all
preheating and
cooking.
This
is
true,
whether
the
cooking
is done
in
separate
pans
or
in the
inset
pan
itself.
Recessed
groove
prevents
grease
and
mois-
ture
from running
down
the
outside
of
the
Roaster'
To remove
inset
pan
for
cleaning,
place fingers
under
extended
portion of rim
and
lift
upward'
It
then
may be
taken
to
the
sink
and
washed
the
same
as any
other
kitchen
utensil.
Rounded
corners
help
make
cleaning
easy.
ouTslDE
suRFAcES
AND
WErt
are
cleaned
by
wiping
with
a
damp
cloth
and
polishing
with
a soft,
dry
cloth-
Wipe
off
spillovers
promptly
so
they
won't
harden'
cAUTION:
The
body
of
the
Roaster-ouen
should
neuer
be
put
into
water,
as
this
utould
ruin
the
electrical
insulation'
USE
STANDARD
UTENSITS
IN
YOUR
ROASTER-OVEN
The rectangular
shape
of
the
Roaster-oven
enables
you
to
use
standard
cooking
utensils.
A
Roaster-Ouen
Pyrex
d,ish
set
is auailable
as
an
optional
accessory.
Yolu
_uy
lrr" an
uncovered
prrr"fo"
meat,
covered
pans
for
vegetables,
standard
8-inch
cake
and
pie
tins
or
a
10 x
l4-inch
cookie
sheet'
B
 Loading...