

Page 1
Dear Customer,
JE45WW2A-DS
USE & CARE
MANUAL
Congratulations! On the purchase of
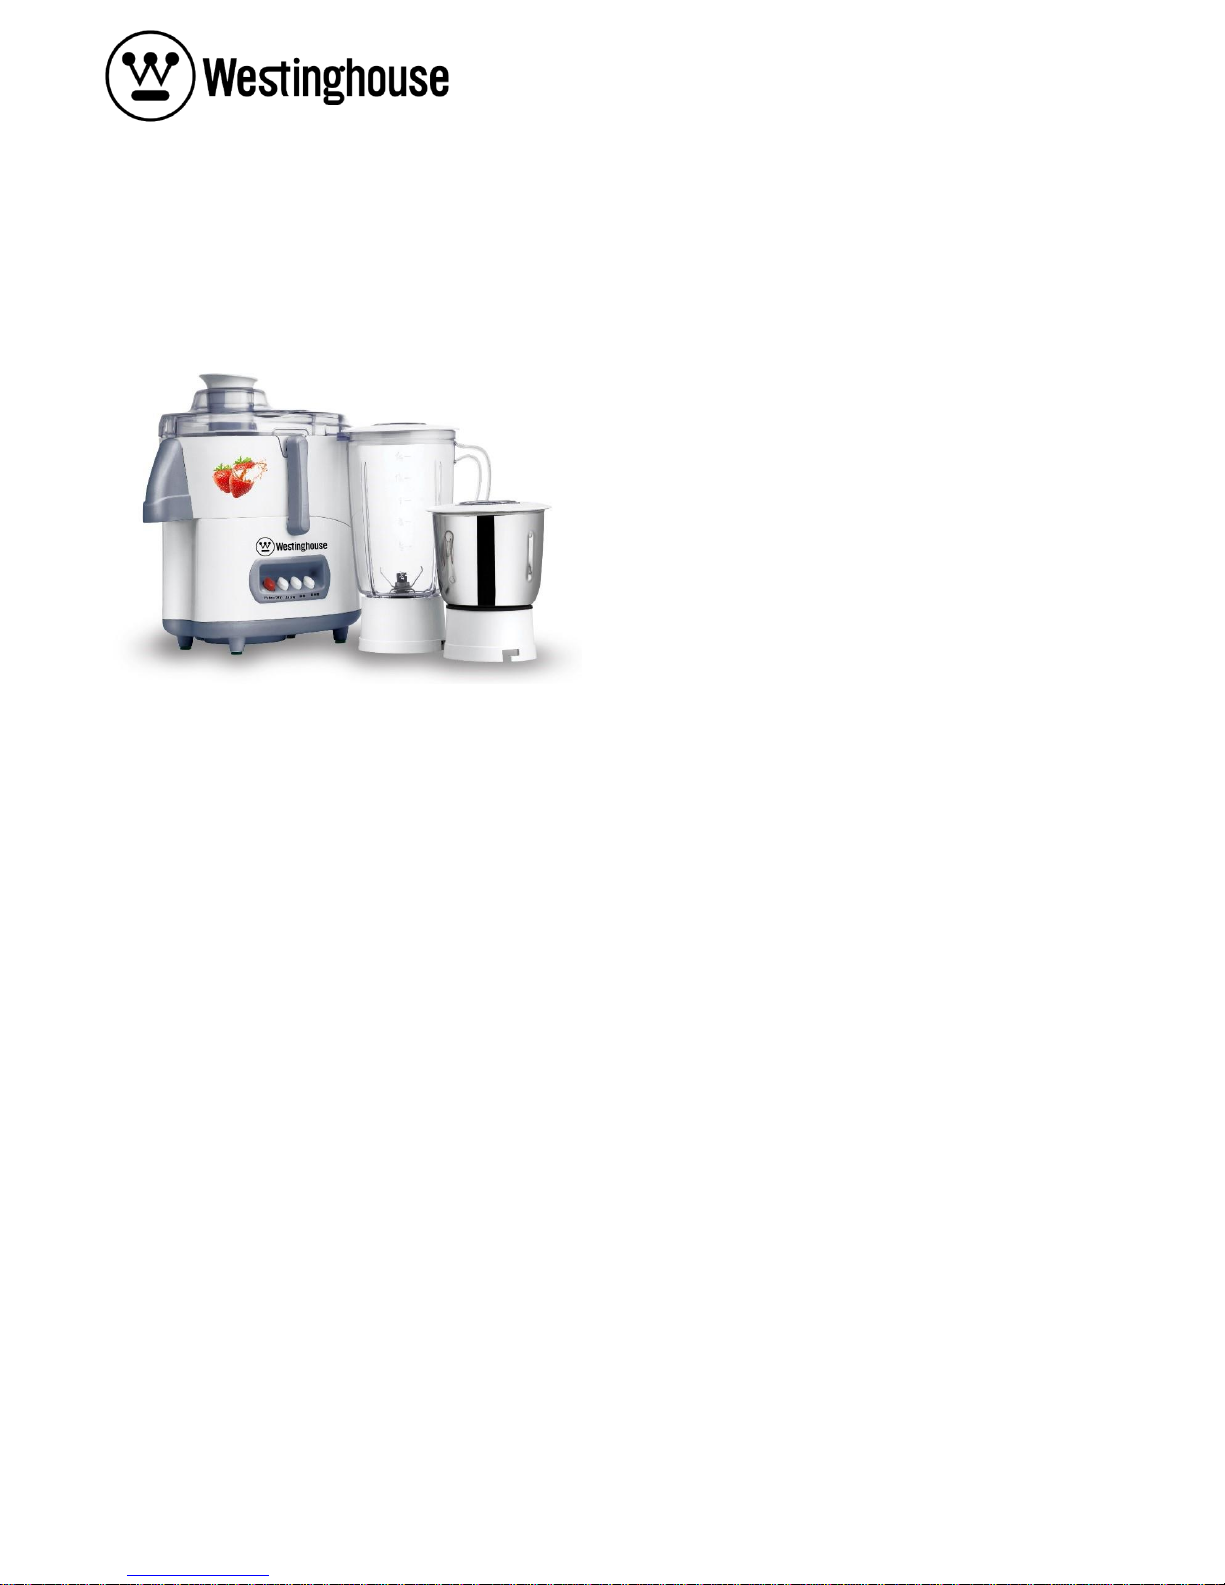
your Westinghouse Juicer Mixer
Grinder, this is designed to include
many superior features that permit you
the fullest expression of your juicing skill
and enthusiasm. You are now on the
threshold of a whole new world of
juicing pleasure.
At Westinghouse, we have a reputation
of manufacturing innovative, high
quality appliances such as Food
Processors, Mixer Grinders, Juicer
Mixer Grinders, Cooking Ranges, Juice
Extractors, Cooktops, Microwave
Ovens, Oven Toaster Grillers, Hand
Blenders, Electric Kettles, Rice
Cookers, and Electric Chimneys. Your
newly acquired Westinghouse Juicer
Mixer Grinder bears the same
distinctive hallmark of excellence.
It is all the result of vigorous quality
consciousness in Westinghouse’s
design and development where
uncompromising standards are
maintained and rigid quality control
measures are exercised on raw
materials, components and finally, the
finished product.
Your Westinghouse Juicer Mixer
Grinder has a lot of thoughtful features
built in to make your juicing convenient.
Please read these instructions carefully,
so that you may get the best out of the
power packed features in your
Westinghouse Juicer Mixer Grinder.
Page 2
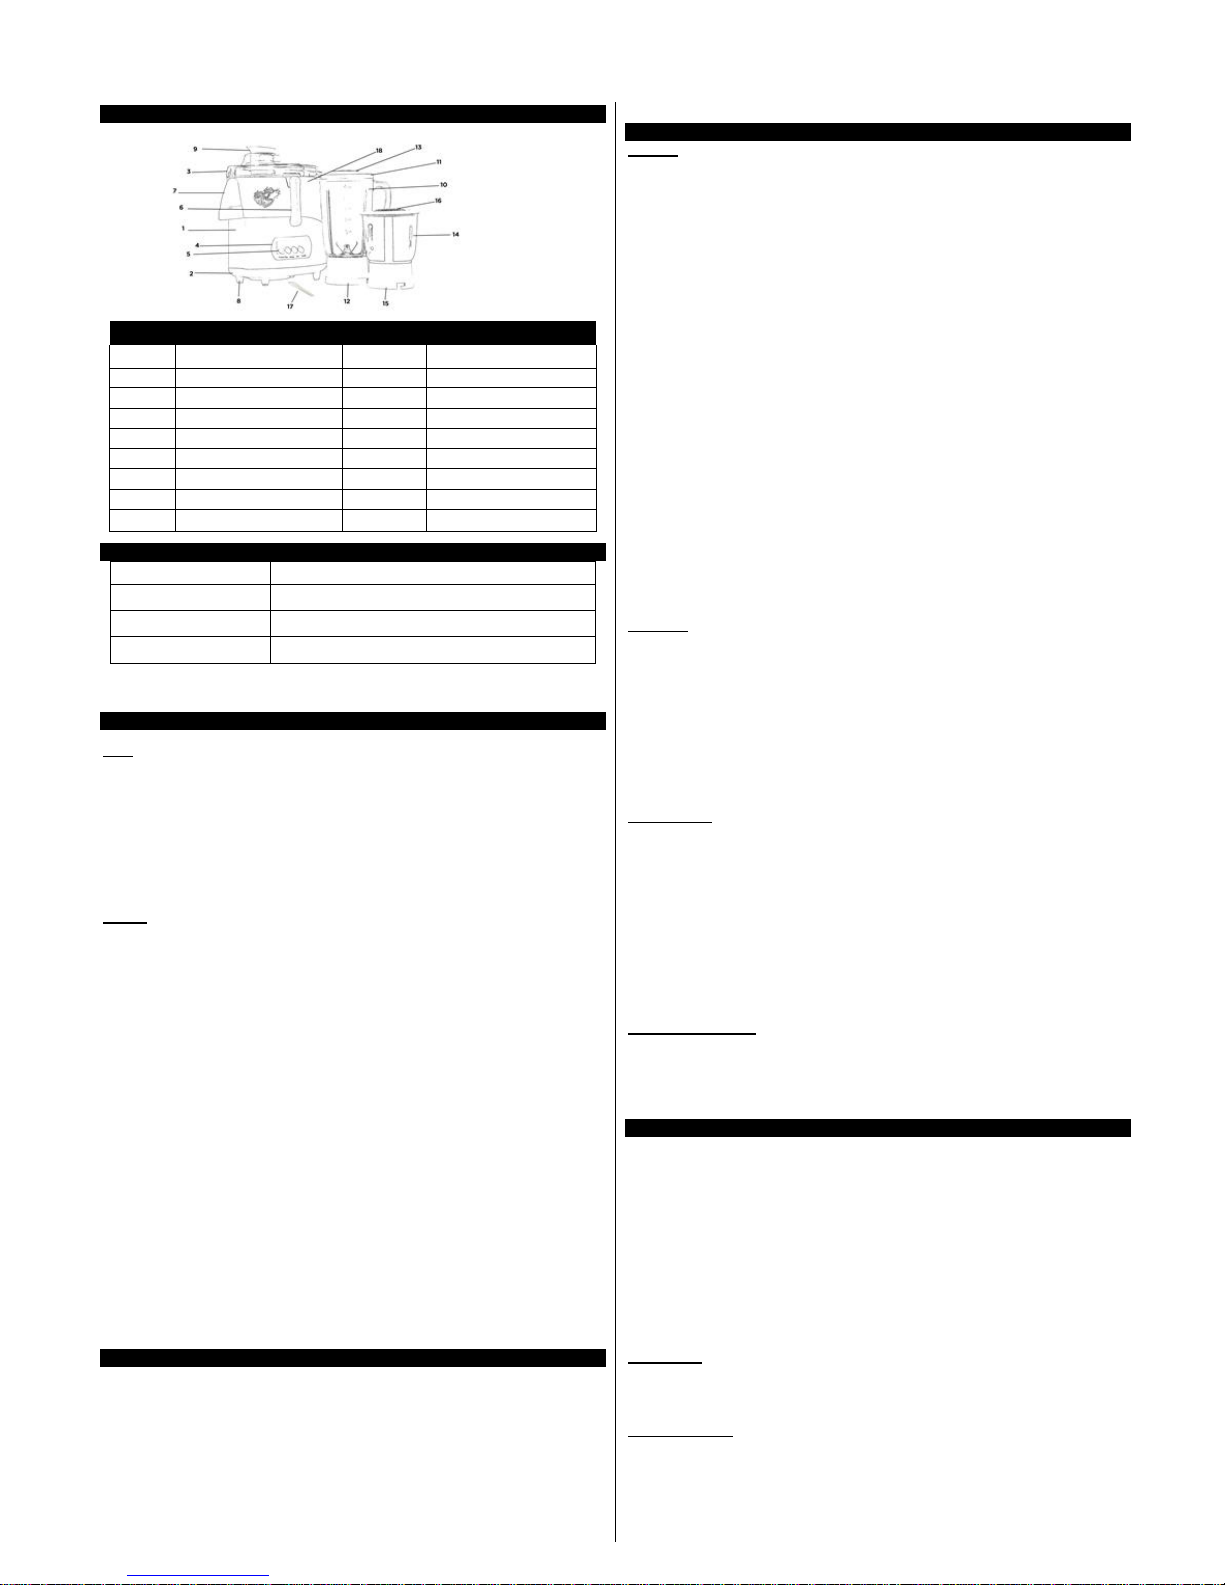
Part's Identifications
Technical Specification*
*Due to continuous improvements in product, specifications are subject to change
without prior notice.
Important
Do's
1. Before connecting the appliance make sure that the mains voltage complies
with the voltage specified.
2. Clear out some space around the machine and keep juicer mixer grinder
away from direct heat and sun.
3. Before operating the juicer ensure that the mesh assembly is properly seated.
4. Ensure that the juicer cover is properly clamped to the juicer body.
5. Use 1st speed for juicing.
Don'ts
1. Do not use fruits such as bananas & peaches that produce a thick paste that
can clog the juicer mesh.
2. For extracting the juice from citrus fruits like orange, mousmi etc. it is
advisable not to use the food pusher so that seeds pop out automatically.
For best results, it is advised to cut the fruits into two halves and remove
seeds before extracting the juice.
3. Do not feed large sized fruits into the feeder tube by force. This can overload
the motor and juicer mesh may get unbalanced.
4. Do not overload the motor.
5. Never lay a thin plastic sheet or cloth under the basic unit. It may get sucked
up and block the ventilation holes in the base.
6. Do not use any metal object, like knife etc. to clean juicer mesh as it may get
damaged.
7. Do not push fruits into the feeder tube by fingers while it is in operation. If fruit
become clogged in the feeder tube, use pusher to push it down. If it doesn't
work, turn off the motor, unplug the unit, then disassemble the juice to
remove remaining food.
8. The filter mesh is very fine, precisely balanced component and it should not
be subjected to any undue pressure.
9. Do not attempt to repair the juicer at home or allow any unauthorized person
to do it either, in the event of juicer mixer grinder needing attention take it to
the nearest service center.
Before First Use
1. After unpacking the unit and before any use, make sure the mechanical parts
of the unit and all its attachments are not damaged.
2. Before first use wash the parts of the appliance which comes into contact with
the food material multiple times with warm and soapy water, especially both
the jars by pouring the warm soapy water into the jar followed by closing the
lid and running the main unit at first speed.
How to Use
Juicing
1. Take the main unit and put juicer body (18) on the main unit.
2. Press fit the juicing mesh on the motor coupler by slight rotation until you
hear a click sound.
3. Fit the juicer cover (3) on the juicer body (18)
4. Lock both side swing locks (6).
5. Fit spout cover (7) by sliding on juicer body (18).
6. Place a container below the spout outlet (7) for collecting juice.
7. Wash fruits and vegetables and cut it into small pieces so that they can be
inserted into the feeder tube easily.
8. Plug cord into the AC outlet. Always ensure that the supply voltage is in
accordance with the rated voltage. Before plugging unit into the power
source make sure that the switch is at off position and the mesh is securely
placed and the juicer cover is securely clamped on the juicer body by swing
locks.
9. Use 1st speed for juicing. For short operation turn the speed control to pulse
position.
10. Insert the fruits into the feeder tube and press them down gently with the
help of food pusher.
11. Once the juicing operation is over, press the switch to “0” position and
unplug the unit
NOTE :
To have maximum juicing efficiency from the juicer, it is advisable to :
Run the juicer at first speed
Clean the juicing mesh frequently under running water with a brush.
In addition for soft and citrus fruits it is advisable to insert fruits slowly and
not pressing these by food pusher.
Blending
1. This jar can be used for liquidizing of fruit juices, soups, cocktails, milk
shakes, purees etc. the minimum capacity of the jar is 1/3 jar and maximum
capacity is 2/3 jar.
2. Fill the jar with the solids to be liquidized such as tomatoes. Fit the jar on to
the main unit.
3. Place the lid on the jar.
4. If needed water can be added. Now switch on the mixer for one minute and
you will get finally blended juices and purees.
5. If ingredients need to be stirred during wet grinding of rice and dal batter.
Stop mixer, insert spatula and stir.
Dry grinding
1. This jar can be used for grinding black pepper, roasted coffee seeds,
turmeric, coriander, red chilies etc. the jar should not be filled more than %
of the total capacity.
2. Ensure that the jar is absolutely clean and dry.
3. Fill the jar with the ingredients. Place the lid on the top of the jar and fit the
jar on the main unit.
4. During turmeric grinding first break it into smaller pieces before starting
grinding operation.
NOTE: Ingredients can be added during liquidizing, wet / dry grinding
operations by removing the RC cap (13) on the lid.
Overload Protector
The juicer mixer grinder is protected against the sudden overloads. In case
such a situation does occur, your juicer mixer grinder will automatically turn
off. To restart the unit, please wait for 2-3 minutes to allow the motor to cool
down and also remove the cause of overload. Press the button located at
the bottom of the juicer mixer grinder to restart the unit.
Cleaning and Maintenance
Juicer assembly
1. Make sure the juicer is at “off’ position and the plug is disconnected from
outlet before putting on or taking off any part.
2. Release the swing lock downwards and lift the juicer cover.
3. Remove juicer mesh assembly by pulling it up from the base of the juicer
body, holding juicer body with both hands lift it up from the basic unit.
4. Remove spout cover and the juicer body. Remove the pulp collected in the
pulp collector of the juicer body.
5. Clean juicer mesh under the running water.
6. Motor must always be kept dry. Use a damp cloth to clean the motor housing.
7. Do not use abrasive cleaners or scouring pads on appliance.
8. Dry all parts.
9. Reassemble all parts in proper order and store the appliance in a dry place.
Blender jar
1. Pour a little soap and water into the jar, close the lid and run it on the main
unit at 1st position. This dislodges the food particles lodged inside the jar.
2. Wipe the area along the blades with a wet cloth and then dry.
Dry grinding jar
After dry grinding, remove the contents and wipe the jar with a dry cloth.
Part No.
Part Name
Part No.
Part Name
1.
Main body
10.
Blender jar
2.
Bottom
11.
Blender jar lid
3.
Juicer cover
12.
Blender jar socket
4.
Switch housing
13.
B.L. stopper
5.
Switch buttons
14.
Dry grinder jar
6.
Swing locks
15.
Dry grinder jar socket
7.
Spout cover
16.
Dry grinder jar lid
8.
Bottom pad
17.
Spatula
9.
Food pusher
18.
Juicer body
Voltage
230V, 50Hz AC
Wattage
450W
Cord plug
2 Core PVC cord with 2 Pin, 6A, 250V plug
Speed control
Piano, type two speed control with pulse
Page 3
Name and address of Customer
Stamp Here
Bill No :
Date of Purchase
Name and address of Dealer
Ph No
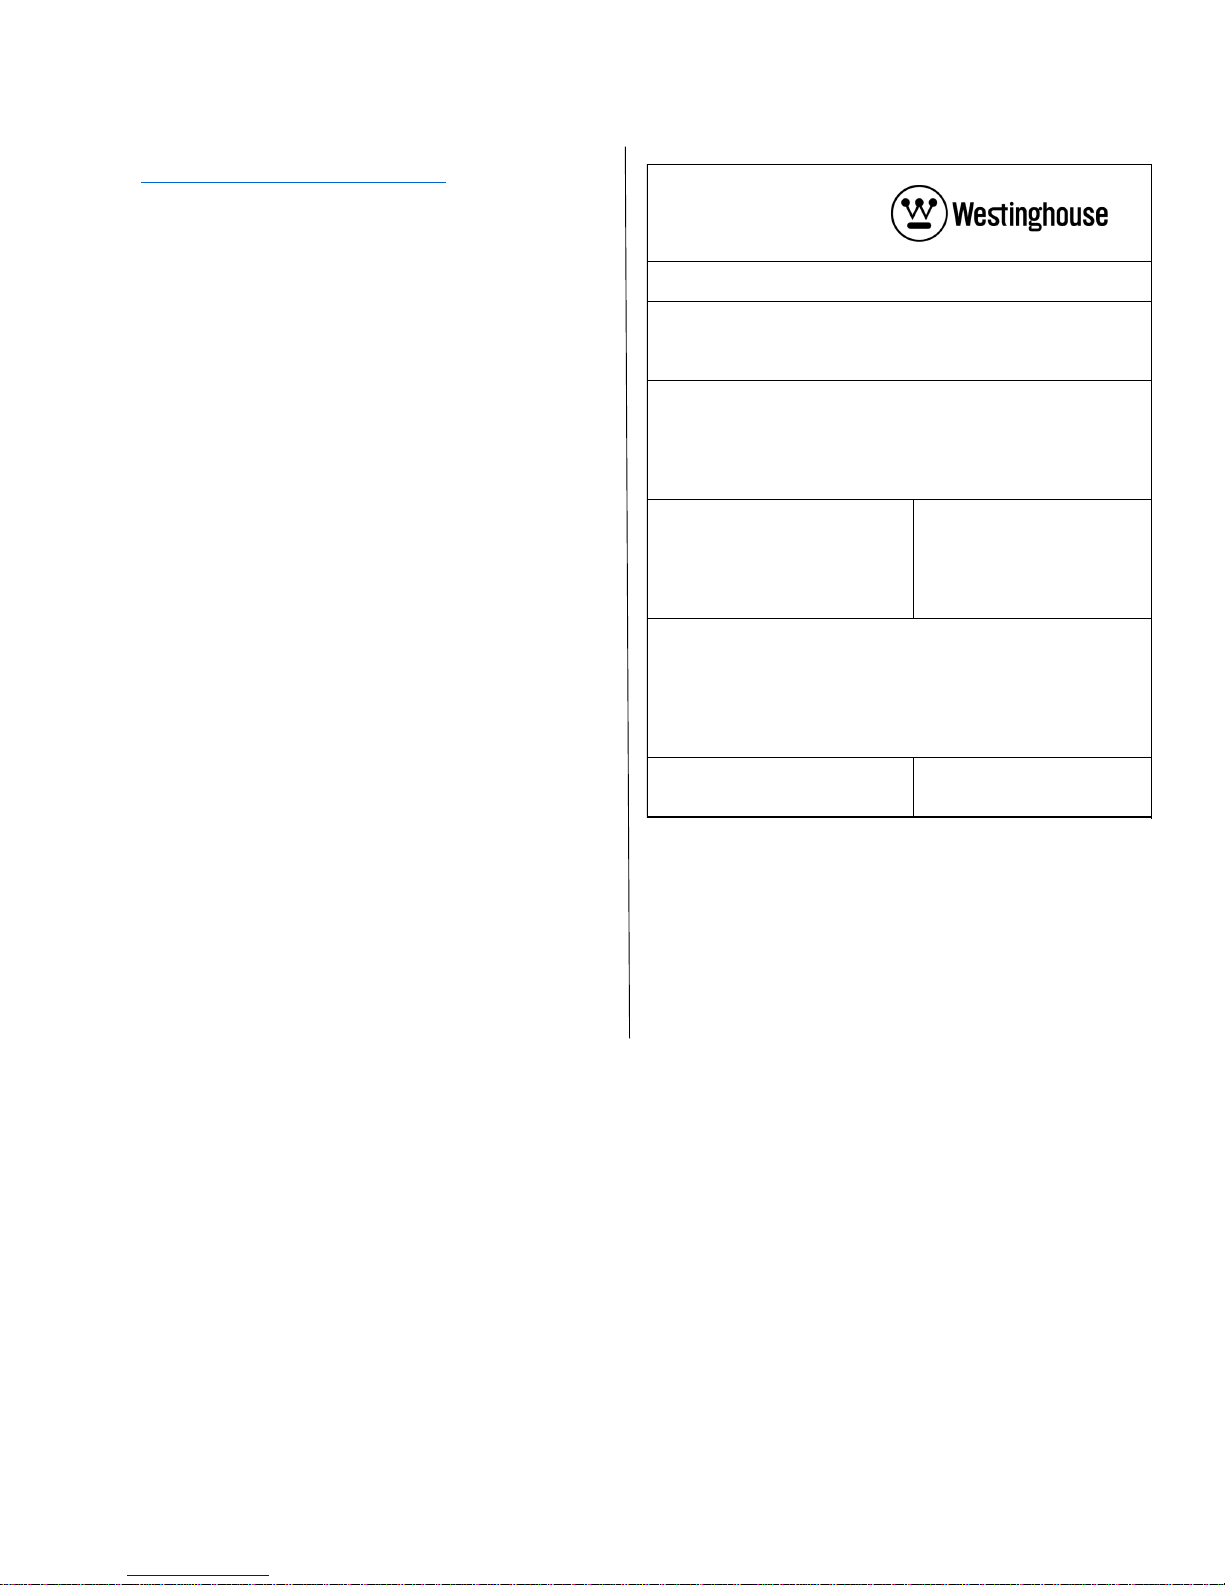
WARRANTY CARD
Please retail the product invoice with your personal record
Product Serial No.
Product Name and Model No.
Register your product at
www.westinghousesa.in/register
Warranty and Service
For any information or problem, contact your
local Westinghouse dealer or authorized service
center. For a list of authorized Westinghouse
service centers visit www.westinghousesa.in or
contact our consumer care at 1800-120-0403
(Toll free). Email ID : [email protected]
The Product limited warranty is restricted only to
the territorial boundaries of India.
Warranty Card
This apparatus is covered under warranty against
any defect due to defective material or
workmanship for _____YEARS from the date of
purchase. Should a defect develop during the
period of warranty,
WESTINGHOUSE INDIA undertakes to repair the
apparatus FREE OF CHARGE through the dealer
from whom it has been purchased or at any of the
Westinghouse authorized Service Centers.
The warranty is not valid in case:
1. Apparatus is not used according to user
manual.
2. Defects caused by improper or reckless use
3. Repairs done by persons other than
Westinghouse Authorized service center.
4. Modifications of any nature made in the
apparatus.
5. Tampered serial number.
6. Incomplete warranty card after purchase.
7. Product if used for commercial purpose (i.e.
other than domestic use).
8. Usage of parts not recommended by
Westinghouse or those made by other
manufacturers.
All consumables and parts susceptible to
normal wear and tear are not covered under
warranty.
 Loading...