

West Bend 76220Z, 76220 Owner's Manual
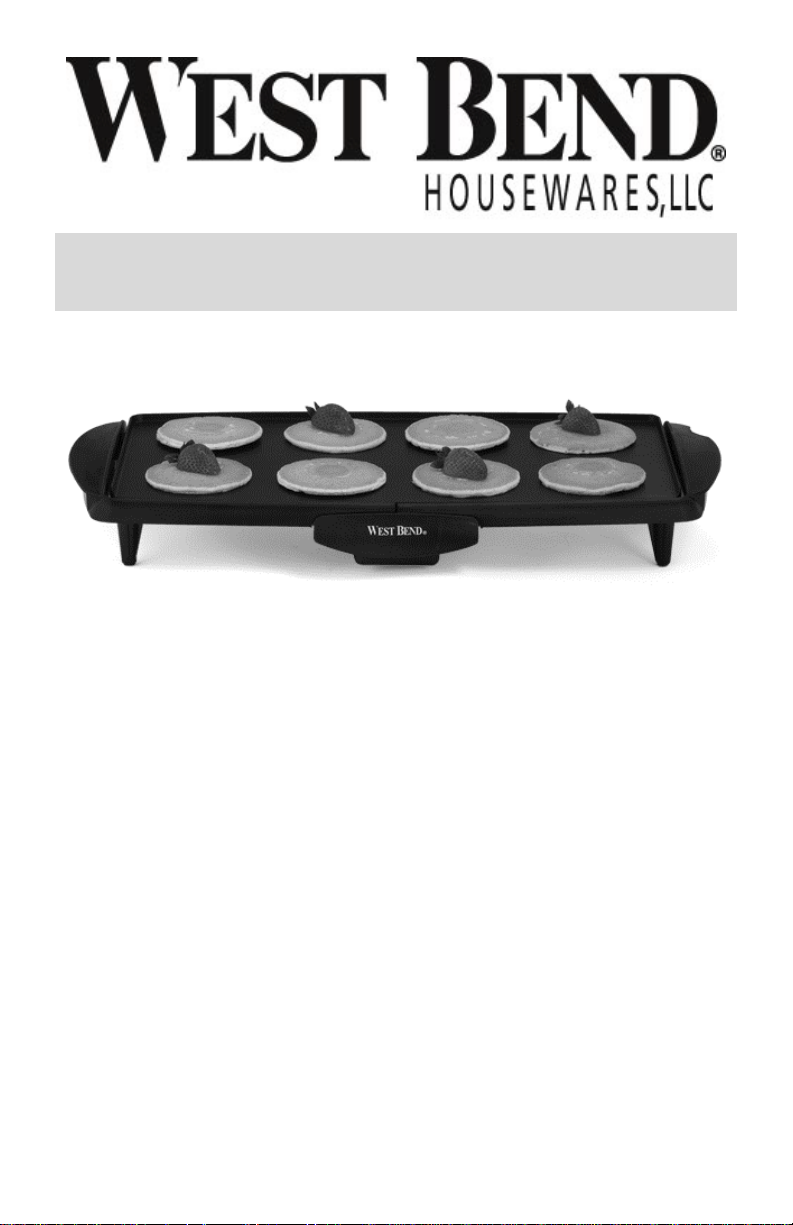
Cool Touch Electric Griddle
Instruction Manual
Register this and other West Bend® Housewares products through our website:
www.westbend.com
Important Safeguards...............................................................................................2
Precautions For Use Around Children...................................................................... 2
Electricity Precautions.............................................................................................. 3
Heat Precautions...................................................................................................... 4
Using Your Griddle................................................................................................4-5
Cleaning Your Griddle...........................................................................................5-6
Temperature Guide...............................................................................................6-7
Warranty...................................................................................................................8
SAVE THIS INSTRUCTION MANUAL FOR FUTURE REFERENCE

IMPORTANT SAFEGUARDS
To prevent personal injury or property damage, read and follow all instructions
and warnings.
When using electrical appliances, basic safety precautions should always be
followed including:
• Read all instructions, including these important safeguards and the care and use
instructions in this manual.
• Do not use appliance for other than intended use.
• Do not place on or near a hot gas or electric burner, in a heated oven, or in the
refrigerator or freezer.
• Do not operate when the appliance is not working properly or when it has been
damaged in any manner. For service information see warranty page.
• The use of accessory attachments not recommended by West Bend®
Housewares may cause injuries.
• Do not attempt to repair this appliance yourself.
• For household use only.
To prevent burns or other personal injuries to children, read and follow all
instructions and warnings.
PRECAUTIONS FOR USE AROUND CHILDREN
• Always supervise children.
• Do not allow children to operate or be near the appliance, as the outside surfaces
are hot during use.
• Do not allow cord to hang over any edge where a child can reach it. Arrange
cord to avoid pulling, tripping or entanglement.
2
To prevent electrical shock, personal injury or property damage, read and
follow all instructions and warnings.
ELECTRICITY PRECAUTIONS
• To protect against electric shock, do not immerse cord, plugs, or other electric
parts in water or other liquids.
• Do not operate any appliance with a damaged cord or plug.
• Do not use this appliance outdoors.
• Always check to ensure handles/egs are assembled and fastened properly.
Overtightening can result in stripping of screws or cracking of handles/legs.
• Always attach plug to appliance first, then plug cord into the wall outlet. To
disconnect, turn any control to “off”, then remove plug from wall outlet.
• Always unplug from outlet when not in use and before cleaning. Allow to cool
before putting on or taking off parts and before cleaning.
• Your appliance has a short cord as a safety precaution to avoid pulling, tripping
or entanglement. Position the cord so that it does not hang over the edge of the
counter, table or other area or touch hot surfaces.
• While use of an extension cord is not recommended, if you must use one, make
sure the cord has the same or higher wattage as the griddle (wattage is stamped
on the underside of the plug protector). To avoid pulling, tripping or
entanglement, position the extension cord so that it does not hang over the edge
of the counter, table or other area.
• Use an electrical outlet that accommodates the polarized plug on the appliance.
On a polarized plug, one blade of the plug is wider than the other. If the plug
does not fit fully into the outlet or extension cord, reverse the plug. If the plug still
does not fit, contact a qualified electrician. Do not attempt to modify the plug in
any way.
• Do not use an outlet or extension cord if the plug fits loosely or if the outlet or
extension cord feels hot.
• Keep the cord away from hot parts of the appliance and hot surfaces during
operation.
3

To prevent burns, personal injury or property damage, read and follow all
instructions and warnings.
HEAT PRECAUTIONS
• Do not touch hot surfaces. Use handles or knobs and hot pads or oven mitts.
• Extreme caution must be used when moving an appliance containing hot oil or
other hot liquids.
SAVE THESE INSTRUCTIONS
USING YOUR GRIDDLE
BEFORE USING THE FIRST TIME:
1. Wash griddle and grease cup thoroughly in hot soapy water with a dishcloth or
sponge to remove any manufacturing oils. Rinse thoroughly and dry. Be sure
temperature control socket is completely dried. Slide grease cup securely in
place below drain hole on griddle surface. Always use griddle with grease cup
in place to collect grease that drains from foods while cooking.
2. Condition the non-stick finish by lightly wiping two teaspoons of cooking oil with
paper toweling or a soft cloth over the entire cool surface. Let cooking oil
remain on the finish. Do not use butter or shortening to condition the non-stick
surface.
3. Check to ensure handles/legs are secured tightly to the griddle base. To
tighten, place griddle upside down on tabletop. Turn handle/leg screws by
turning in a clockwise direction using the appropriate screwdriver. Do not
overtighten as stripping of the screws can occur. Your griddle is now ready for
use.
DAILY USE:
1. Always use griddle on a dry, level, heat-resistant surface. Do not operate
griddle when hands are wet. Attach temperature control to griddle. Be sure dial
is set to OFF. Plug cord into a 120-volt AC electrical outlet ONLY. Be sure
grease cup is securely in place below drain hole on griddle surface. Do not
block airflow under griddle. Check to ensure handles/legs are secured tightly to
the griddle base.
2. Refer to the Temperature Guide in this booklet for selecting correct heat
settings. (If food is taken directly from freezer, use heat setting as indicated on
guide, but allow longer cooking timer.) Most foods require a preheat period.
See cooking chart.
3. The signal light on the temperature control will go out when the cooking
temperature has been reached; add food. Heat may be increased or
decreased, depending upon personal preference and the type or amount of food
4

being prepared. The signal light will go on and off periodically to indicate that
proper temperature is being maintained.
4. Foods may be prepared with or without fats. When frying, the use of a small
amount of butter, fat or oil will improve the flavor, color and crispness of foods.
When frying fatty foods such as bacon or sausage, excess grease will drain into
the grease cup attached to the griddle below the drain hole on surface of
griddle. Do not remove the grease cup during cooking. Always allow griddle
to cool completely before removing grease cup.
5. Nylon, plastic, wooden or rubber cooking tools are recommended for use on the
non-stick surface. Smooth-edged metal cooking tools may be used with care.
Do not use sharp-edged cooking tools such as forks, knives or food choppers as
scratching may occur. Minor scratching will affect only the appearance of the
finish; it will not harm its non-stick property.
6. When cooking period is completed, set the temperature control dial at WARM
for later serving, or set dial at OFF if food will be removed immediately from
griddle. After the dial is set at OFF, disconnect cord from wall outlet. Let griddle
cool before removing temperature control and grease cup.
• A small amount of smoke and/or odor may occur upon heating due to the
release of manufacturing oils – this is normal.
• Some minor expansion/contraction sounds may occur during heating and
cooling – this is normal.
CLEANING YOUR GRIDDLE
1. Clean griddle thoroughly after each use. Do not immerse griddle in cold water
when it is hot. Let griddle cool completely, then remove temperature control and
grease cup. Dispose of grease. Immerse griddle and grease cup in hot soapy
water. Wipe temperature control with a damp cloth if necessary. Wash grease
cup with dishcloth, rinse and dry.
2. Clean the non-stick surface of the griddle with hot soapy water, using a non-
metal cleaning as such as Scrunge® scrubber sponge Dobie® or Scotch-Brite
Cookware Scrub’n Sponge.® A dishcloth or sponge may give the non-stick
surface a clean look, but will not remove the tiny good particles that can settle in
the finish. Do not use metal scouring pads or harsh scouring powders.
3. Clean the non-coated aluminum underside of the griddle with hot soapy water
and a soap-filled steel wool scouring pad. Remove stains with household
cleanser. Remove burned-on grease with a special cleanser for appliances,
such as Wantz™Frypan and Grill Cleaner, Afta™Fry Pan Cleaner, Whink™Metal
Cleaner or SS-T®Metal Cleaner.
4. After washing, rinse griddle thoroughly with hot water and dry completely,
including temperature control socket area. Replace grease cup.
5. Your griddle and grease cup (with temperature control removed) may be
cleaned in an automatic dishwasher. Clean grease cup in top rack only. The
under side of griddle will discolor due to the mineral in water and the high heat
of drying cycle. This will not affect the cooking ability of griddle. Each time
griddle is cleaned in a dishwasher; the non-stick surface should be
reconditioned with cooking oil to ensure stick-free cooking. Replace greas e cup.
5

SPECIAL CARE:
1. A spotted white film may form on the non-stick surface. This is a buildup of
minerals from foods or water and is not a defect in the surface. To remove,
soak a soft cloth in lemon juice or vinegar and rub on finish. Wash the non-stick
surface thoroughly, rinse and dry. Recondition the non-stick surface with
cooking oil.
2. The non-stick surface may also become stained from improper cleaning or
overheating. To remove stains, clean the non-stick surface by the following
method. Combine 1 cup of water and 1 tablespoon of ONE of the following
cleaners: Dip-It® coffee pot destainer, automatic dishwasher detergent or dry
oxygen bleach crystals. USE ONLY ONE OF THE ABOVE CLEANERS; DO
NOT COMBINE. Make sure grease cup is in place. Preheat griddle to 225°F.
Wearing rubber gloves, dip sponge into water mixture and wipe over surface.
Continue cleaning procedure until mixture is gone. T urn griddle OFF and allow
to cool. Then remove temperature control and grease cup. Scour the non-stick
surface with hot soapy water and a non-metal scouring pad. Rinse thoroughly
and dry. Wash grease cup in hot soapy water and dry. Place grease cup back
into griddle. Recondition the non-stick surface with cooking oil before using.
TEMPERATURE GUIDE
Allow griddle to preheat to temperature shown, unless otherwise noted. Griddle has
reached desired temperature setting when temperature control indicator light goes
off. The quantities of food listed on the following pages are the maximum amount
that can be grilled at one time.
FOOD TEMP FOOD TEMP FOOD TEMP
Bacon 300°F Ham 325°F Sandwiches 375°F
Eggs 250°F Hamburgers 325°F Sausage 300°F
Fish 350°F Pancakes 350°F Steak 400°F
Frankfurters 300°F Potatoes 350°F Warm/Serve-Warm/Simmer
French Toast 350°F Pork Chops 325°F
FOOD SETTING COMMENTS
BACON (up to 1 lb.)
EGGS (fried, up to 6)
FRENCH TOAST (4-6
slices)
300°F
250°F
350°F
Place bacon on cold griddle. Set heat at
300°F. Turn and separate as bacon cooks,
or separate cold slices with tongs. Fry 5 to
8 minutes per side.
Fry with or without cooking oil or butter. Fry
about 3 minutes per side.
Dip bread in milk-egg mixture. Place bread
on ungreased griddle or sauté in butter.
Bake 2 minutes per side.
6

FOOD SETTING COMMENTS
FISH (up to 1.5lbs.)
FRANKFURTERS
(1.5 lbs)
HAM (2-3 slices)
HAMBURGERS (4-6
patties, ½-inch thick)
PANCAKES (4-6)
PORK CHOPS (4-6)
POTATOES (fried) (up to
1-1/2 lbs.)
SANDWICHES (4-6)
SAUSAGE (up to 1.5 lbs)
STEAK (3-4 T-bone
steaks)
STEAK (cubed) (4-6)
WARMING/ SERVING
350°F
300°F
325°F
325°F
350°F
325°F
350°F
375°F
300°F
400°F
400°F
WARM
(150°F to
175°F)
Melt 2 Tbsp. cooking oil or butter on grill.
Start frying skin side up. Fry 4 to 6 minutes
per side.
May be placed on griddle while it is
preheating. Turn with tongs to prevent
bursting. Total grilling time: 10 to 12
minutes.
Have slices cut ½” to 1” thick. Score fat
and grill 10 minutes on each side. Add
canned peach halves or pineapple slices
last 5 minutes.
Grill 4 minutes each side (rare), 6 minutes
each side (medium), or 8 minutes each
side (well done).
Add 2 Tbsp. melted butter or cooking oil to
package mix batter. Bake until bubbles
appear, turn and brown otherside (about 1
minute per side).
Brown chops about 10 minutes per side.
Pork should always be served well done.
Slice or shred raw or parboiled potatoes.
Add 2 Tbsp. shortening or butter to grill.
Brown potatoes, stirring and turning
occasionally.
Place filling between slices of bread.
Spread outside of sandwich with softened
butter or dip in French toast batter. Grill 3
to 4 minutes per side.
Brown about 8 to 10 minutes per side.
Pork should always be served well done.
Score fat on sirloin, porterhouse, club,
tenderloin or T-bone steak. Grill steak 1”
thick 4 to 6 minutes each side (rare), 5 to 8
minutes (medium), or 8 to 10- minutes
(welldone). Turn with tongs.
Brown about 2 minutes per side.
Place hors d’ oeuvres or canapés on
griddle to warm. To keep chops, ham
slices, French toast, etc., warm until
serving time, turn heat control down to
WARM about 1 minute before cooking is
completed.
7

PRODUCT WARRANTY
Appliance 1 Year Limited Warranty
West Bend® Housewares, LLC warrants this appliance from failures in the material and
workmanship for 1 year from the date of original purchase, provided the appliance is operated
and maintained in conformity with the West Bend® Housewares, LLC Instruction Manual. Any
failed part of the appliance will be repaired or replaced without charge at West Bend®
Housewares, LLC discretion. This warranty applies to indoor household use only.
The West Bend® Housewares, LLC warranty does not cover any damage, including
discoloration, to any non-stick surface of the appliance. The West Bend® Housewares, LLC
warranty is null and void, as determined solely by West Bend® Housewares, LLC, if the
appliance is damaged through accident, misuse or abuse, scratching, overheating, or if the
appliance is altered in any way or if used outside of an indoor household setting.
This warranty gives you specific legal rights. You may also have other rights, which may vary
from state to state.
THIS WARRANTY IS IN LIEU OF ALL IMPLIED WARRANTIES, INCLUDING WARRANTIES
OF MERCHANTABILITY, FITNESS FOR A PARTICULAR PURPOSE, PERFORMANCE, OR
OTHERWISE, WHICH ARE HEREBY EXCLUDED. IN NO EVENT SHALL WEST BEND®
HOUSEWARES, LLC BE LIABLE FOR ANY DAMAGES, WHETHER DIRECT, IMMEDIATE,
INCIDENTAL, FORESEEABLE, CONSEQUENTIAL, OR SPECIAL, ARISING OUT OF OR IN
CONNECTION WITH ITS APPLIANCE.
If you think the appliance has failed or requires service within its warranty period, return it to the
original place of purchase. For further details please contact the West Bend® Housewares
Customer Service Department at (262) 334-6949 or e-mail us at housewares@westbend.com.
Return shipping fees are non-refundable. Hand-written receipts are not accepted. West Bend
Housewares, LLC is not responsible for returns lost in transit.
Valid only in USA and Canada
REPLACEMENT PARTS
Replacement parts, if available may be ordered direct from West Bend® Housewares, LLC by
ordering online at www.westbend.com: Replacement Parts. Or you may call or e-mail the
service department at the number/e-mail address listed above, or by writing to us at:
West Bend Housewares, LLC
Attn: Customer Service
P.O. Box 2780
West Bend, WI 53095
Be sure to include the catalog/model number of your appliance (located on the bottom/back of
the unit) and a description and quantity of the part you wish to order. Along with this include
your name, mailing address, Visa/MasterCard number, expiration date and the name as it
appears on the card. Checks can be made payable to West Bend Housewares, LLC Call
Customer Service to obtain purchase amount. Your state’s sales tax and a shipping/processing
fee will be added to your total charge. Please allow two (2) weeks for delivery.
This manual contains important and helpful information regarding the safe use and care of your new West
Bend® Housewares, LLC product. For future reference, attach dated sales receipt for warranty proof of
purchase and record the following information:
Date purchased or received as gift: _______________________________________________________
Where purchased and price, if known: ____________________________________________________
Item Number and Date Code (shown bottom/back of product): ___________________________________________
L5619A 03/06 West Bend® Housewares, LLC. A Focus Products Group Company Printed in China
8
 Loading...