

Page 1
Page 2

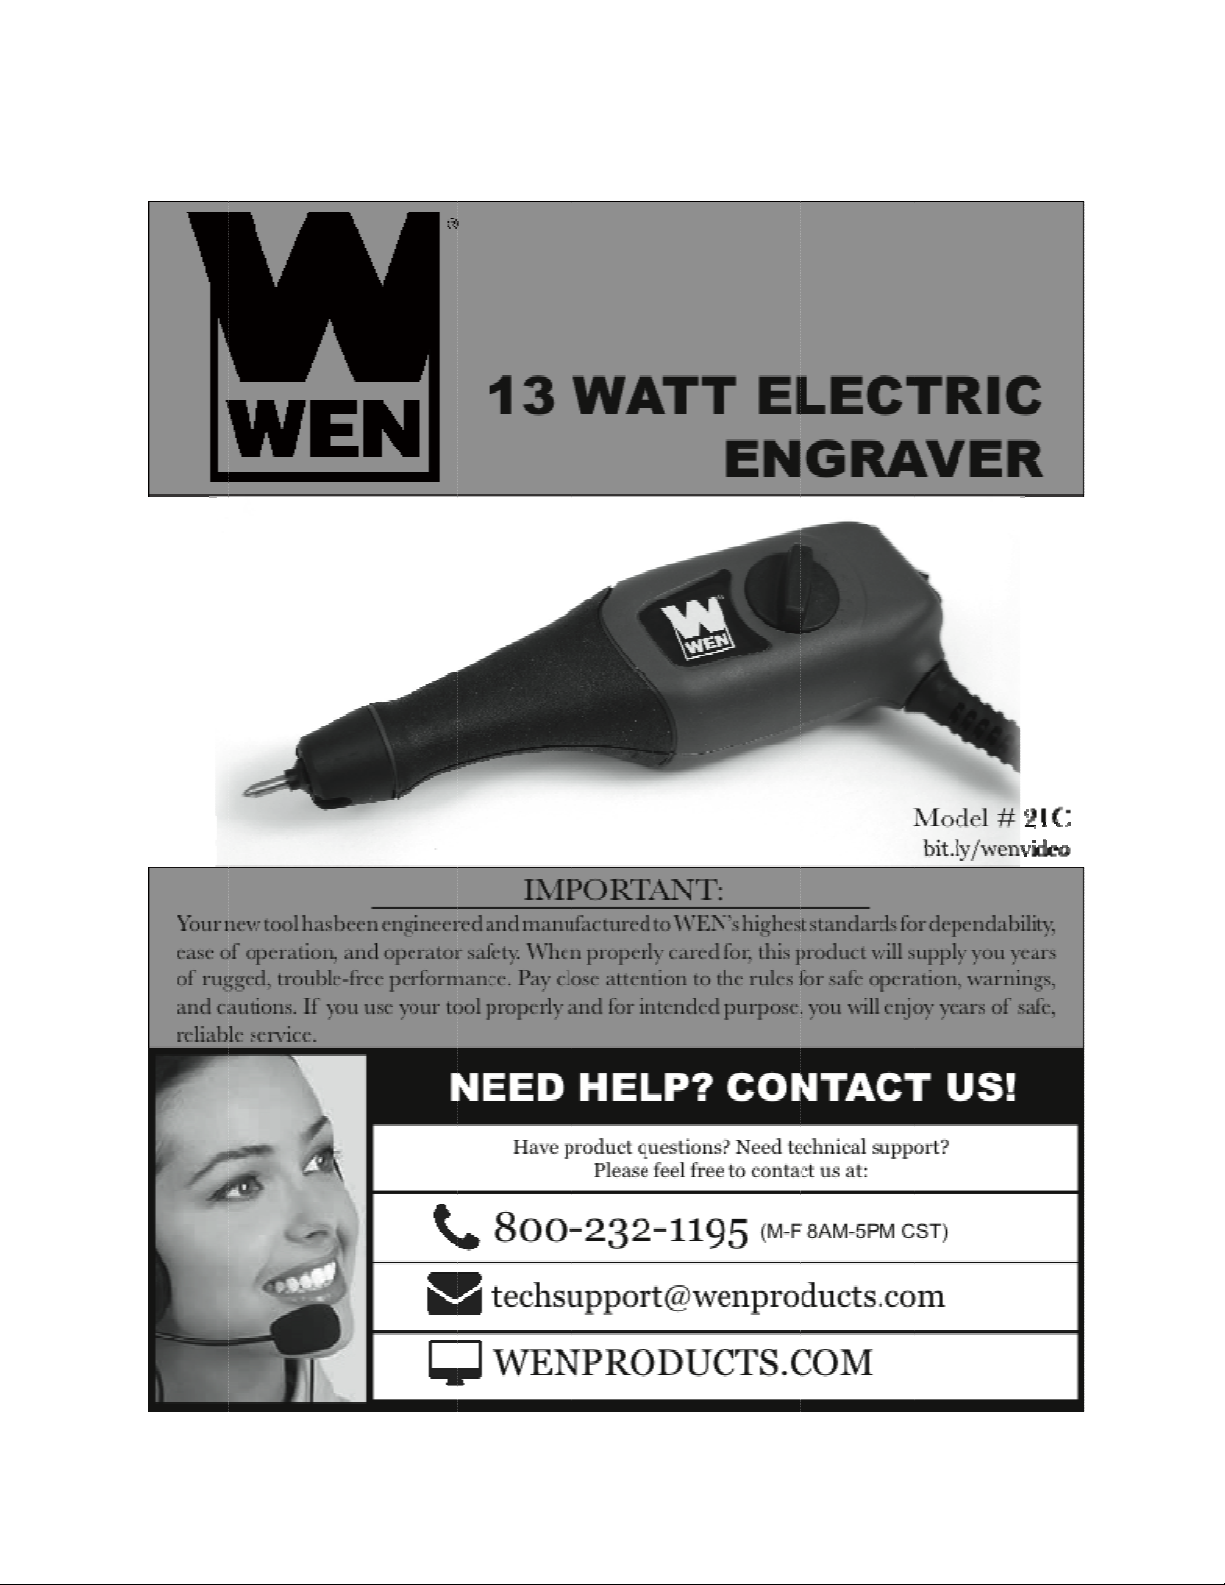
Specifications
Input power: 13W
Power supply: 120V, 60 Hz
No-load speed: 7,200 SPM (stroke per minute)
Engraving tip: Tungsten Carbide Tipped Steel
Weight: 12 oz
Includes
Engraver, Tungsten carbide tip, 2 pieces Stencils, Allen wrench, instruction manual.
Safety instructions
Safety is a combination of common sense, staying alert, and knowing how your engraver works.
SAVE THESE SAFETY INSTRUCTIONS.
1. READ and become familiar with this entire instruction manual. LEARN the tool’s
applications, limitations, and possible hazards.
2. AVOID DANGEROUS CONDITIONS. Do not use power tools in wet or damp areas or
expose them to rain. Keep work areas well-lit.
3. DO NOT use power tools in the presence of flammable liquids or gases.
4. ALWAYS keep your work area clean, uncluttered, and well-lit.
5. KEEP BYSTANDERS AT A SAFE DISTANCE from the work area, especially when the
tool is operating. NEVER allow children or pets near the tool.
6. DO NOT FORCE THE TOOL to do a job for which it was not designed.
7. ALWAYS remove the power cord plug from the electric outlet when making adjustments,
changing parts, cleaning or working on the tool.
8. AVOID ACCIDENTAL START-UPS. Make sure the power switch is in the OFF position
before plugging in the power cord.
9. NEVER LEAVE A RUNNING TOOL UNATTENDED. Turn the power switch to OFF. Do
not leave the tool until it has come to a complete stop.
10. DO NOT operate the tool if you are under the influence of drugs, alcohol, or medication that
could affect your ability to use the tool properly.
11. DO NOT attempt to use on anything other than the following materials: wood, glass, leather,
ceramic, metal and plastic.
12. ALWAYS wear safety goggles to prevent any loose pieces from flying into your eyes.
Page 3

Installing an engraver tip
WARNING: Disconnect the engraver from the power supply before making any
adjustments or maintenance procedures.
1. Loosen the tip release screw by turning it counterclockwise with the included Allen wrench.
2. To fit the new engraving tip, insert the tip through the center of the hole of the engraver,
ensuring the tip fully enters the housing. A new tip should protrude from the end of the
housing by approximately 8.5mm.
3. Tighten the tip release screw fully by rotating in a clockwise direction.
Operation
Warning: Thoroughly read and understand all instructions before using this product.
Save this manual.
Warning: Allow time for a complete cool down of the tool after operating the tool
for 30 minutes on full load.
WARNING: Disconnect the engraver from the power supply before making any
adjustments or performing any maintenance
The engraver can be used to permanently mark metal, glass, plastic, wood, ceramics and much
more.
1. Before using the engraver you must ensure the engraving tip is installed.
2. Connect the engraver plug to the power supply. While firmly holding the engraver, push up
on the on/off switch with your thumb.
NOTE: To turn the tool on, press the ON/OFF Switch to the (I) position. To turn the tool off,
push the ON/OFF Switch to the (O) position.
3. Hold the engraver at an angle, like you would hold a pen. Do not press down hard while
engraving, use light pressure while guiding the point over the work to be completed.
.
Adjusting the depth of engraving
1. The stroke adjustment dial located on the side of the engraver controls the stroke length and
therefore the depth of engraving.
2. For a fine mark turn the stroke adjustment dial counterclockwise to position ‘1’.
3. For a deeper, thicker mark turn the stroke adjustment dial clockwise to position ‘5’.
NOTE: It is recommended that you practice on scrap material before you start.
Page 4

One (1) Year Limited Warranty
WEN® is committed to building tools that are dependable for years. Our warranties are consistent with our
commitment and dedication to quality.
ONE (1) YEAR LIMITED WARRANTY OF WEN PRODUCTS FOR HOME USE.
GREAT LAKES TECHNOLOGIES, LLC (“Seller") warrants to the original purchaser only, that all WEN consumer
power tools will be free from defects in material or workmanship for a period of one (1) year from date of purchase.
Ninety (90) days for all WEN Products, if the tool is used for professional or commercial use.
SELLER’S SOLE OBLIGATION AND YOUR EXCLUSIVE REMEDY under this One (1) Year Limited Warranty
and, to the extent permitted by law, any warranty or condition implied by law, shall be the repair or replacement of
parts, without charge, which are defective in material or workmanship and which have not been misused, carelessly
handled, or misrepaired by persons other than Seller or Authorized Service Center. To make a claim under this
Limited Warranty, you must return the entire power tool product; transportation prepaid, to Great Lakes
Technologies, LLC-1675 Holmes Road, Elgin IL 60123. Include a legible copy of the original receipt, which lists
the date of purchase (month and year) and the name of the company purchased from.
THIS LIMITED WARRANTY DOES NOT APPLY TO ANY ACCESSORY ITEMS INCLUDED WITH THE
TOOL SUCH AS CIRCULAR SAW BLADES OTHER RELATED ITEMS OR TO ANY REPLACEMENT
PARTS LISTED UNDER MAINTENANCE.
ANY IMPLIED WARRANTIES SHALL BE LIMITED IN DURATION TO ONE (1) YEAR FROM DATE OF
PURCHASE. SOME STATES IN THE U.S. AND SOME CANADIAN PROVINCES DO NOT ALLOW
LIMITATIONS ON HOW LONG AN IMPLIED WARRANTY LASTS, SO THE ABOVE LIMITATION MAY
NOT APPLY TO YOU.
IN NO EVENT SHALL SELLER BE LIABLE FOR ANY INCIDENTAL OR CONSEQUENTIAL DAMAGES
(INCLUDING BUT NOT LIMITED TO LIABILITY FOR LOSS OF PROFITS) ARISING FROM THE SALE OR
USE OF THIS PRODUCT. SOME STATES IN THE U.S. AND SOME CANADIAN PROVINCES DO NOT
ALLOW THE EXCLUSION OR LIMITATION OF INCIDENTAL OR CONSEQUENTIAL DAMAGES, SO THE
ABOVE LIMITATION OR EXCLUSION MAY NOT APPLY TO YOU.
THIS LIMITED WARRANTY GIVES YOU SPECIFIC LEGAL RIGHTS, AND YOU MAY ALSO HAVE
OTHER RIGHTS WHICH VARY FROM STATE TO STATE IN THE U.S., PROVINCE TO PROVINCE IN
CANADA AND FROM COUNTRY TO COUNTRY.
THIS LIMITED WARRANTY APPLIES ONLY TO PORTABLE ELECTRIC TOOLS, BENCH POWER TOOLS,
OUTDOOR POWER EQUIPMENT AND PNEUMATIC TOOLS SOLD WITHIN THE UNITED STATES OF
AMERICA, CANADA AND THE COMMONWEALTH OF PUERTO RICO. FOR WARRANTY COVERAGE
WITHIN OTHER COUNTRIES, CONTACT WEN CUSTOMER SUPPORT.
 Loading...