

Weldex WDN-5777C, WDAC-5777C Operation Manual
Operation Manual
High Resolution
Digital OSD Camera
WDN-5777C
WDAC-5777C
Please read carefully before using and keep in a safe place.
Design and specifications are subject to change without notice.
V.06G
Global Head Office & Sales Office in North America
6751 Katella Ave. Cypress, CA 90630
Phone: 1-714.761.2100
Fax: 1-714.761.3811
http://www.weldex.com
oem@weldex.com
Sales Branch Office in Germany
Graf-Adolf street 71 40210 Dusseldorf Germary
Phone: 49(0)211.600.7115
Fax: 49(0)211.600.6957
http://www.weldex.com
Sale Branch Office & Factory in Korea
Hansol Bldg, 6th Fl. 322. Ha-an 1Dong,
KwangMyoung City, Kyung Ki-Do, Korea.
Phone: 82-2.899.6030
Fax: 82-2.899.6131
http://www.jwelectronics.co.kr
Digital OSD Camera Installation Guide2
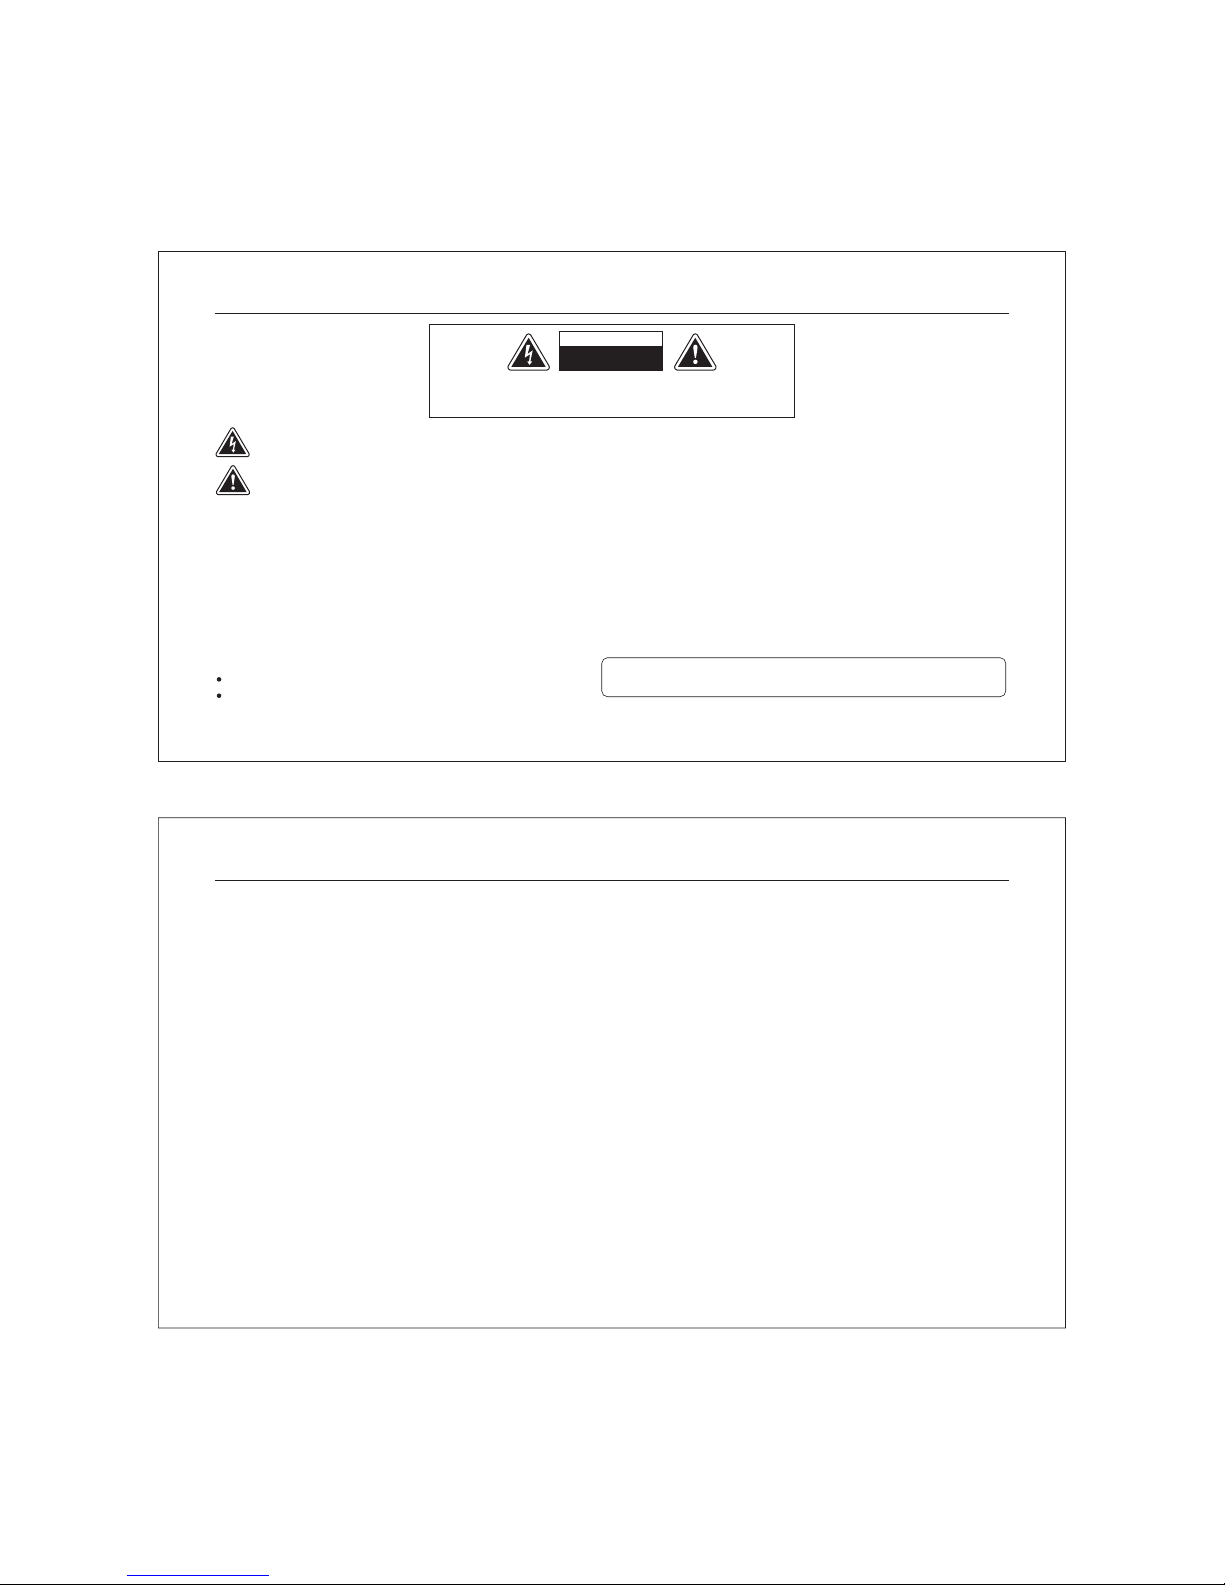
CAUTION
RISK OF ELECTRIC SHOCK
TO REDUCE THE RISK OF ELECTRIC SHOCK, DO NOT REMOVE COVER (OR BACK),
REFER SERVICING TO QUALIFIED SERVICE PERSONNEL.
The lightning flash with an arrowhead symbol, within an equilateral triangle is intended to alert the user to the presence of uninsulated
dangerous voltage within the product’s enclosure that may be of sufficient magnitude to constitute a risk of electric shock to persons.
The exclamation point within an equilateral triangle is intended to alert the user to the presence of important operating and maintenance
(servicing) instructions in the literature accompanying the appliance.
DO NOT OPEN
NO USER SERVICEABLE PARTS INSIDE.
INFORMATION- This equipment has been tested and found to comply with limits for a Class A digital device, pursuant to part 15 of the
FCC Rules. These limits are designed to provide reasonable protection against harmful interference when the equipment is operated in
a commercial environment.
This equipment generates, uses, and can radiate radio frequency energy and, if not installed and used in accordance with the instruction
manual, may cause harmful interference to radio communications. Operation of this equipment in a residential area is likely to cause
harmful interference in which case the user will be required to correct the interference at his own expense.
WARNING- Changes or modifications not expressly approved by the manufacturer could void the users authority to operate the equipment.
CAUTION- To prevent electric shock and risk of fire hazards:
Do NOT use power sources other than that specified.
Do NOT expose this appliance to rain or moisture.
Digital OSD Camera Installation Guide 3
This installation should be made by a qualified service person and
should conform to all local codes.
1.0 Features
Horizontal Resolution 540 TV Lines
Clear image quality has been achieved by employing a SONY CCD with 410,000 (effective) pixels, which provides a horizontal
resolution of 540 TV lines.
DAY & NIGHT
This camera has a function that automatically selects the mode that is appropriate for daytime or night-time conditions. The
COLOR mode operates in daytime conditions to provide optimum colors, and BW mode operates in nighttime conditions to
enhance the definition of the image.
Electronic IRIS
The electronic IRIS function enables continuous automatic control of the shutter between 1/60~1/120,000 seconds.
PRIVACY Function
The PRIVACY function enables you to select and record only choosen area among four areas.
VIDEO/DC Drive Lens
The video drive lens and the DC drive lens can be selected by the touch of a switch.
High Sensitivity
The built-in high sensitivity SONY COLOR CCD enables a clear image even in 0.3Lux(0.1Lux B/W) or lower illumination.
DNR (Digital Noise Reduction)
The amount of low illuminance noise has been significantly reduced, and the signal-to-noise ratio (S/N ratio) as well as horizontal
resolution have been improved, resulting in a clear and sharp image display even in the dark.
Controlled by OSD Menu
The camera can be controlled by selecting text displayed on the monitor screen.
Additional Functions
SENS-UP, MOTION DETECTION, MIRROR, SHARPNESS and SYNC(INT/LL) functions are also available.
Digital OSD Camera Installation Guide4
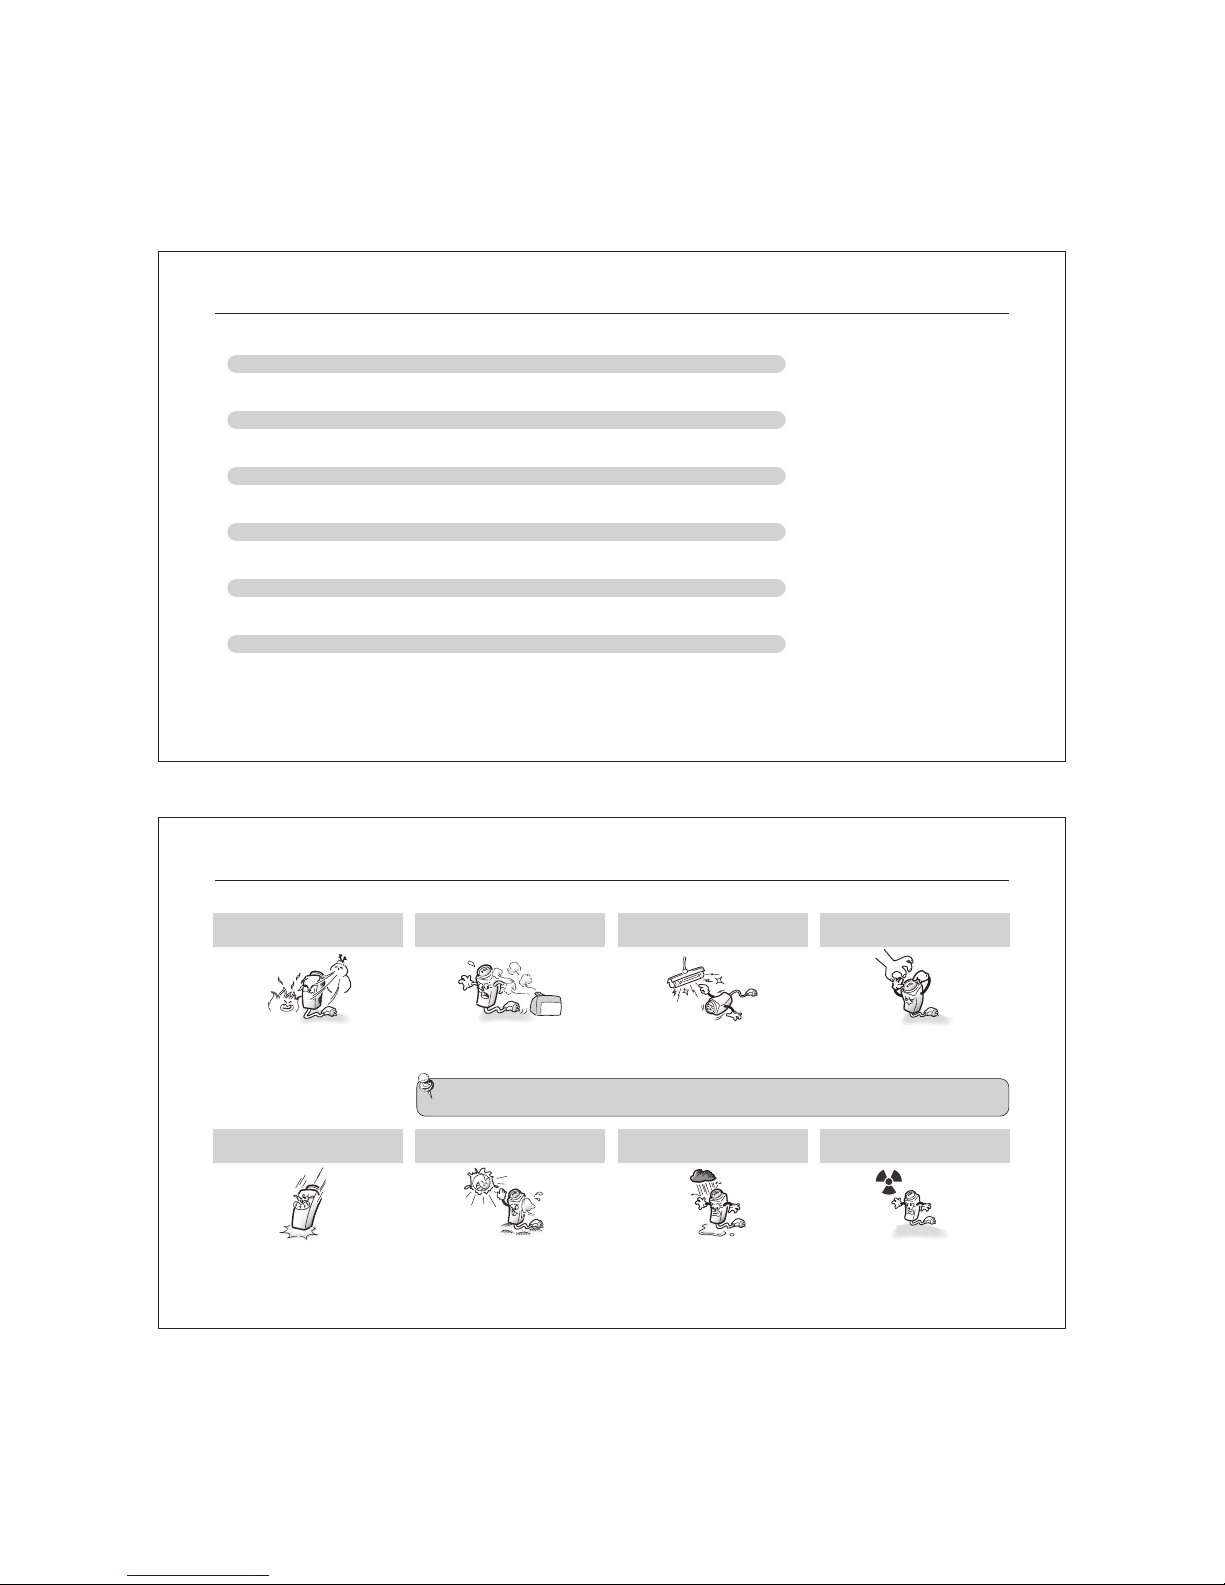
2.0 Warnings
The camera needs periodic inspection.
Contact an authorized technician for inspection.
Stop using your camera when you find a malfunction.
If you use your camera around smoke or unusual heat for a long time, fire may be caused.
Do not Install the camera on a surface that can not support it.
Unless the surface is suitable, it could cause falling or other hazards.
Do not hold plug with wet hands.
It could cause an electric shock.
Do not disassemble the camera.
It may result in fire, electric shock or other hazards.
Do not use the camera close to a gas or oil leak.
It may result in fire or other hazards.
Digital OSD Camera Installation Guide 5
3.0 Precautions
Do not install the camera in extreme
temperature conditions.
Do not install or use the camera in an
environment where the humidity is high.
Do not install the camera under
unstable lighting conditions.
Do not touch the front lens of the
camera.
Only use the camera under conditions
where temperatures are between -10
Deg. C and +50 Deg. C.(14 Deg. F and
122 Deg. F) Be especially careful to
provide ventilation when operating
under high temperatures.
Do not drop the camera or subject
them to physical shocks.
It can cause malfunctions to occur.
It can cause the image quality to be
poor.
Note
Never keep the camera face to
strong light directly.
If the camera is exposed to spotlight or object reflecting strong light, smear or blooming may occur.
Please check that the power satisfies the normal specification before connecting the camera.
It can damage the CCD.
Severe lighting change or flicker can
cause the camera to work improperly.
Do not expose the camera to rain
or spill beverage on it.
If it gets wet, wipe it dry immediately.
Liquids can contain minerals that
corrode the electronic components.
It is one of the most important parts
of the camera. Be careful not to be
stained by fingerprint.
Do not expose the camera to
radioactivity.
If it is exposed to radioactivity, For
heated CCD, it will be out of order.
Digital OSD Camera Installation Guide6
Contents
1.0
Warnings
2.0
Precautions
3.0
Components
4.0
Names and Functions of Parts
5.0
Front
5.1
Side
5.2
Bottom
5.3
Back
5.4
Installation
6.0
Lens
6.1
Connecting to a Monitor
6.2
Connecting to Power
6.3
Digital OSD Camera Installation Guide 7
.....................................................................
.................................................................
................................................................
....................................
............................................................................
.............................................................................
.........................................................................
............................................................................
..................................................................
.............................................................................
..............................................
..................................................
......................................................................
Features
3
4
5
7
8
8
9
9
10
11
11
12
12
Camera Operation
7.0
7.1
7.2
7.3.1
7.3.2
7.3.3
7.3.4
7.3.5
7.3.6
7.3.7
7.3.8
7.3.9
8.0
9.0
........................................................................
Menu
Settings
LENS (Selection)
SHUTTER (Condition and Speed Control)
WHITE BALANCE control
BACKLIGHT (Backlight Compensation)
AGC (Auto Gain Compensation)
DNR (Digital Noise Reduction)
SENS-UP (Low Illuminance)
SPECIAL
.........................................................................
EXIT
Troubleshooting
Specifications
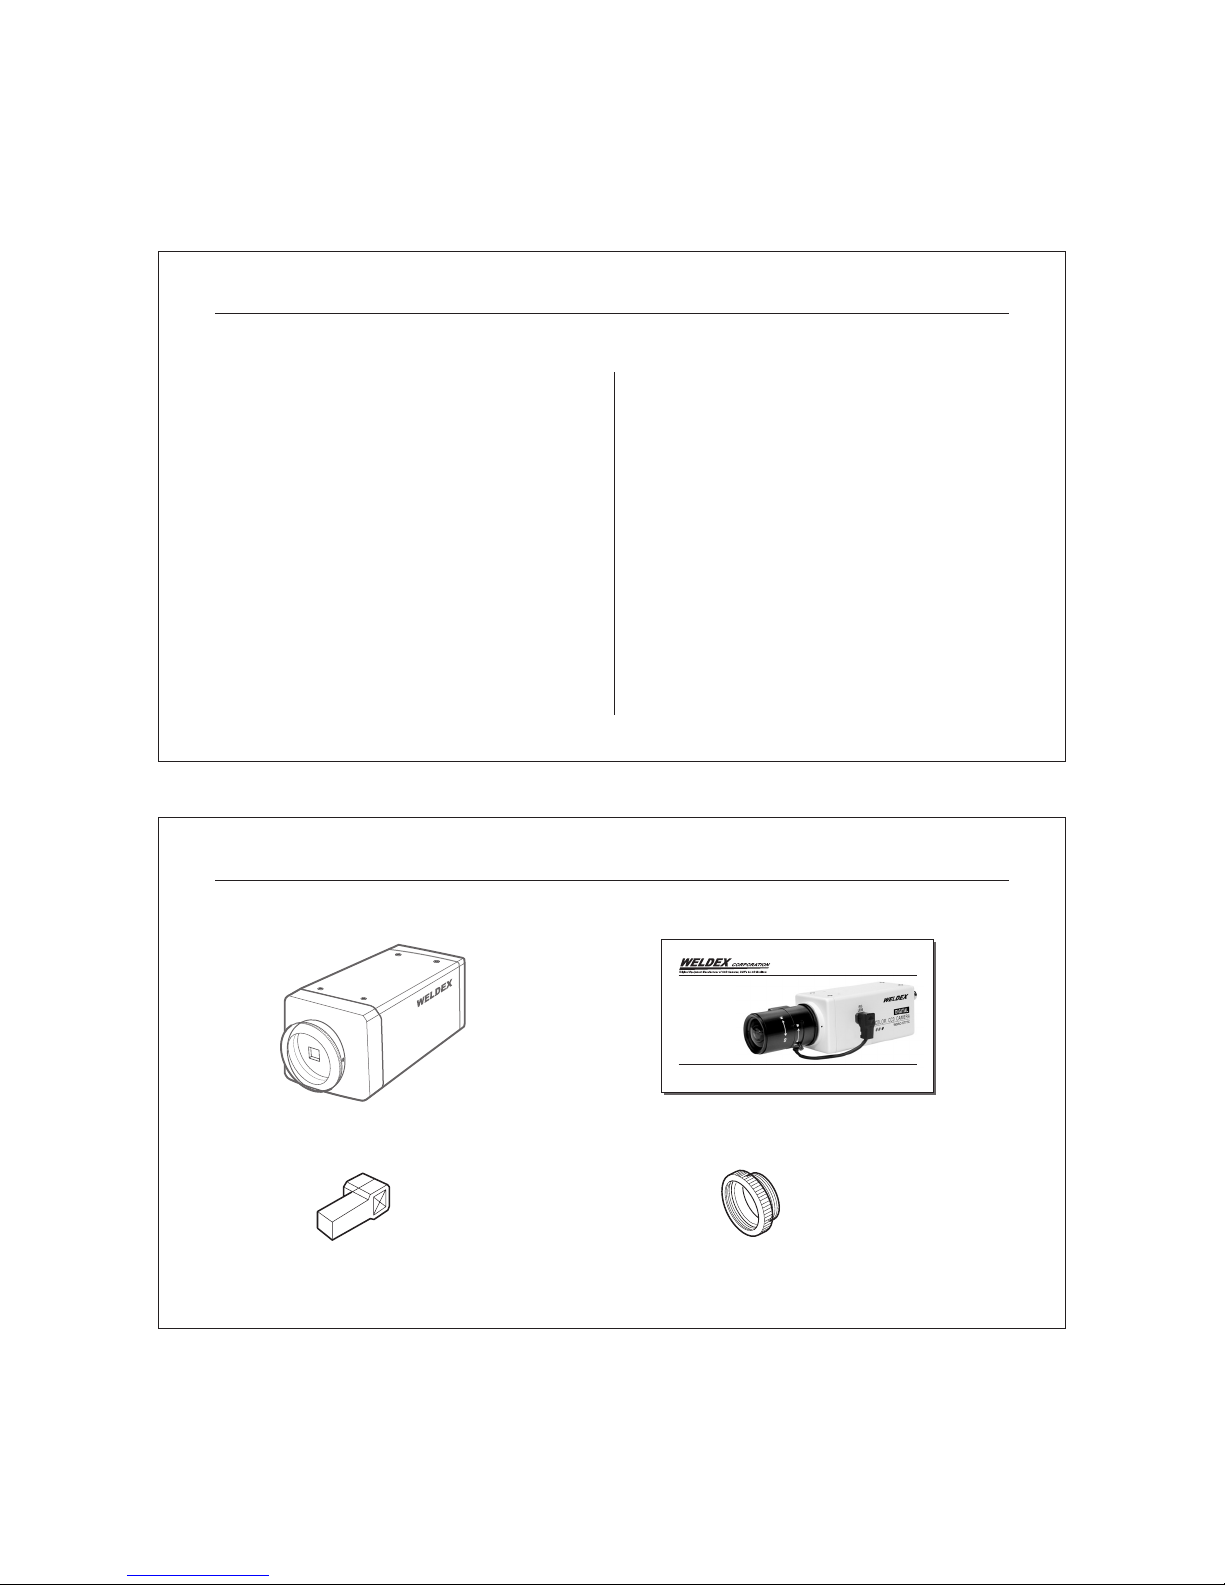
4.0 Components
....................................................
13
13
...................................................................
.....................................................
................
........................................
...................
...............................
.................................
....................................
..................................................................
14
15
16
17
18
19
20
21
22
27
.......................................................
..........................................................
28
30
Operation Manual
High Resolution
Digital OSD Camera
WDN-5777C
WDAC-5777C
Please read carefully before using and keep in a safe place.
Design and specifications are subject to change without notice.
V.06G
COLOR CCD CAMERA
WDN-5777C / WDAC-5777C
Operation Manual
Auto iris lens connection plug C-Mount adaptor
Digital OSD Camera Installation Guide8
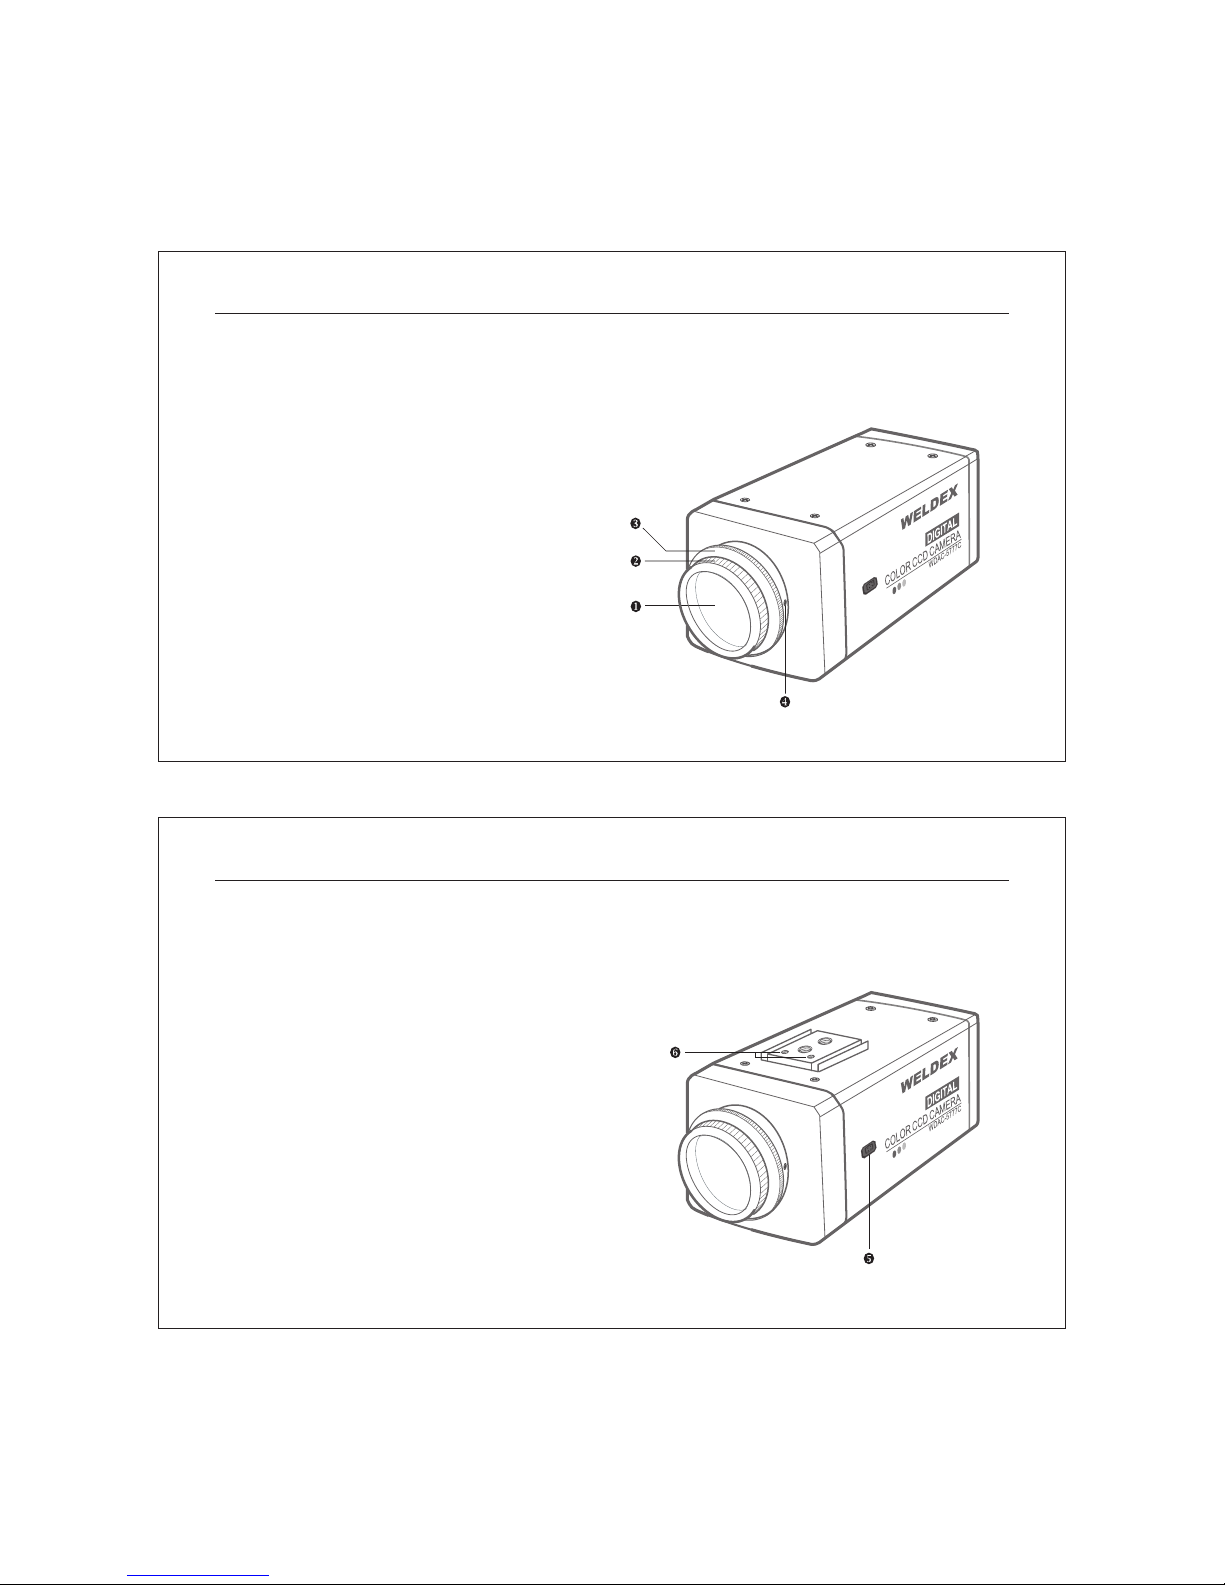
5.0 Names and Functions of Parts
5.1 Front
Lens protection cap
Please cover the lens when not using it.
C-Mount lens adaptor
Please attach the C-Mount lens here.
CS-Mount lens adaptor
Please remove the C-MOUNT lens adaptor and then attach it.
Back Focus clamp screw
Please loosen the clamp screw with a screwdriver
before adjusting the Back Focal length.
Digital OSD Camera Installation Guide 9
5.2 Side
Auto iris lens connector
This is the connection terminal for the auto iris lens.
5.3 Bottom
Mounting bracket screw hole
Please use the screw hole when fixing the camera onto the mounting bracket.
Please use the clamp screw as specified below.
The mounting bracket can be separated
and attached to the top of the camera.
In this instance please do not tighten
the screw to a depth of more than 5mm,
otherwise serious damage can occur
to the inside of the camera.
 Loading...