

Page 1
TRANSMITTER
MODEL:
:REPEATER
::
V1.0.2
Page 2

REPEATER
Contents
TRANSMITTER PROGRAMMING SOFTWARE
Contents
GETTING STARTED............................................................................................................................................................. 1
INSTALLING PROGRAMMING SOFTWARE..................................................................................................................2
S_RSSI SETTING...................................................................................................................................................................6
REPEATER PROGRAMMING............................................................................................................................................7
I
NTRODUCTION
S
TARTING THE PROGRAMMING
Menu bar............................................................................................................................................................................. 11
Serial Setting.......................................................................................................................................................................12
Frequency...........................................................................................................................................................................12
Channel Setting...................................................................................................................................................................13
Configuration......................................................................................................................................................................16
......................................................................................................................................................................7
..............................................................................................................................................8
July 16, 2009
Page 3

REPEATER
TRANSMITTER PROGRAMMING SOFTWARE
Getting Started
Getting Started
The REPEATER Programming Software provides the flexibility to program REPEATER to
meet individual requirements. To obtain the best results from the product, please take a few
minutes to read this instruction guide.
Equipment Required
To install and operate the programmer, you need a system that meets the following minimum
requirements:
A personal computer (PC), or compatible
Windows 2000 or above operating system (XP Recommended)
256 MB of RAM
A serial output port with DB9 connector
Programming Interface
The Programming interface kit, shown in following Figure, supports REPEATER
programming Items included with the interface kit consist of the following:
REPEATER Programming software
AD/DC adapter/power supply
DB9 male-DB9 female connector or USB to Serial Port Adapter (Suggest you to use
Prolific PL2303 USB to serial adaptor)
July 16, 2009 1
Page 4
REPEATER
TRANSMITTER PROGRAMMING SOFTWARE
Installing Programming Software
Installing Programming Software
Installation
Install the programmer software into a PC as follows:
1. Uncompress the Repeater_Setup.zip and save them in a temporary directory.
2. Double click the setup.exe file. Click on “Y”.
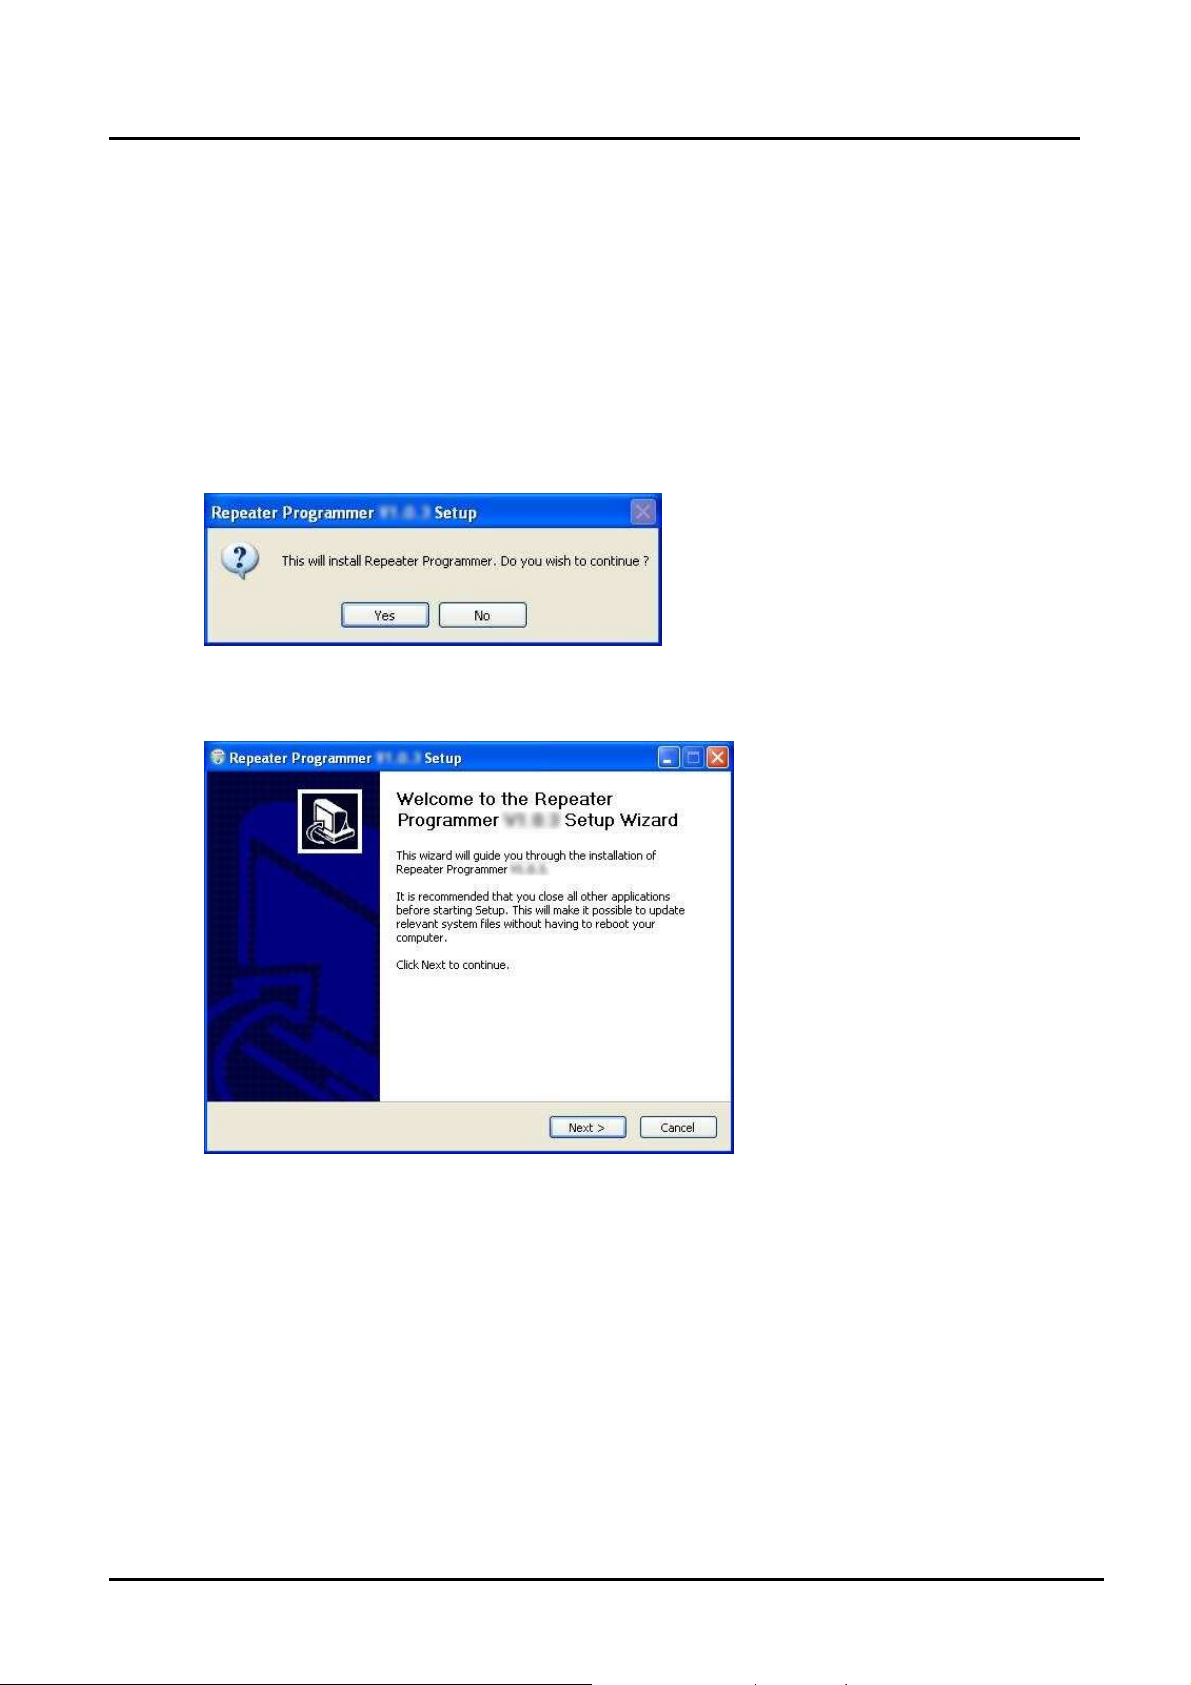
3. Click “Next” on the Welcome screen.
July 16, 2009 2
Page 5
REPEATER
TRANSMITTER PROGRAMMING SOFTWARE
Installing Programming Software
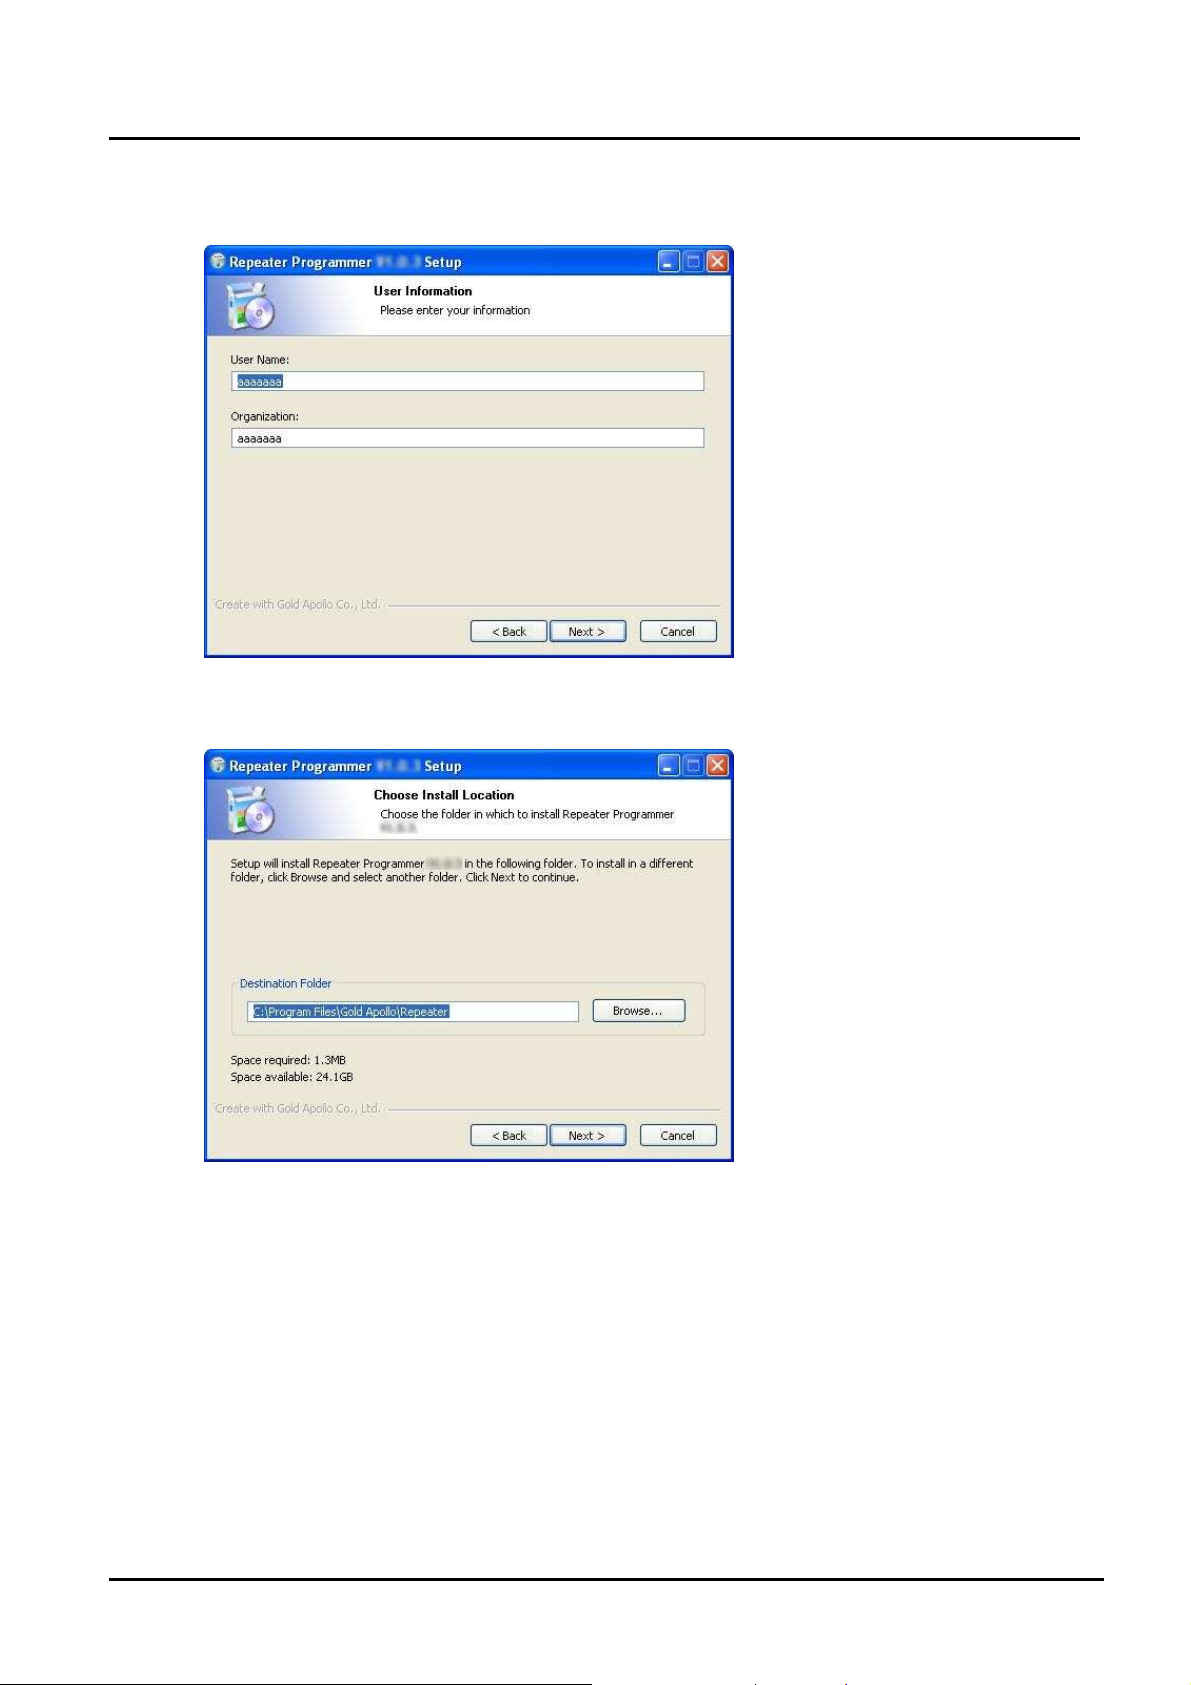
4. Enter your user information and click “Next”. (Note: you must enter at least a single
character "into the company field)
5. Choose where the program should be installed and click “Next”.
July 16, 2009 3
Page 6
REPEATER
TRANSMITTER PROGRAMMING SOFTWARE
Installing Programming Software
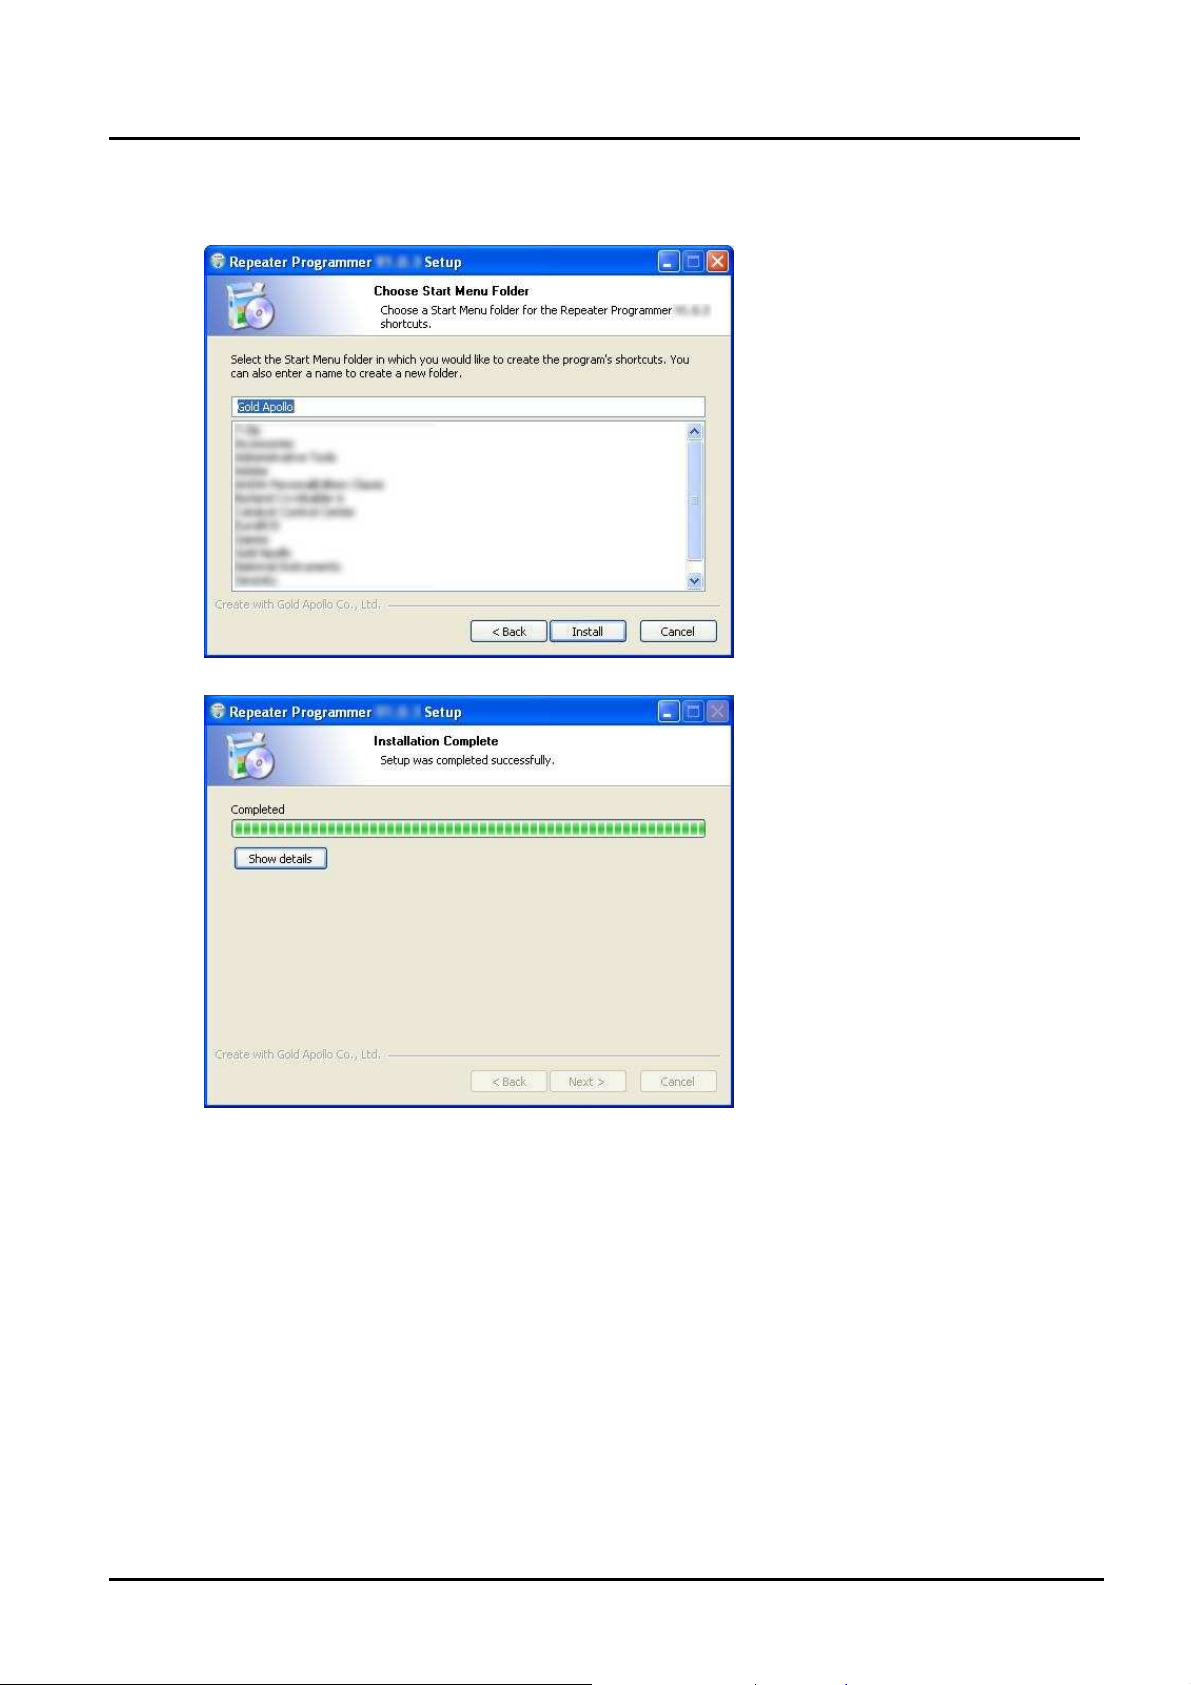
6. On the Select Program Folder screen, choose where you would like the program to
show up in your start menu and click “Install”.
July 16, 2009 4
Page 7

REPEATER
7. Click “Finish” on the Setup Complete screen.
TRANSMITTER PROGRAMMING SOFTWARE
Installing Programming Software
Running
You now have the program installed. To run it from the Start menu/ Programs/ Gold
Apollo /Repeater Programmer.
July 16, 2009 5
Page 8

REPEATER
TRANSMITTER PROGRAMMING SOFTWARE
S_RSSI Setting
S_RSSI Setting
Please make sure to configure the S_RSSI setting before programming your repeater.
After turning on the repeater, connect the RS-232 cable to your PC. Please be sure to run
the program "Read Repeater RSSI" within 3 minutes. After you requested number of times
for reading, you’ll get the average offset value of the repeater.
For example, you put “50” in Read RSSI(s), then the software will read the RSSI value for 50
times and get the average offset value. If the average offset value is 76, then add 10. The
S_RSSI value for programming will be 86.
July 16, 2009 6
Page 9

REPEATER
TRANSMITTER PROGRAMMING SOFTWARE
Repeater Programming
Introduction
Please follow the below steps for programming Repeater:
1. Connect Repeater to a PC
2. Identify the COM Port that is being connected to.
♦ If you are using a Serial Port as your connection to the PC, please make sure it is
connected to COM1 or COM2.
♦ If you are using a USB-to-Serial connection and have installed the driver for
USB-to-Serial connection, the 「Prolific USB-to-Serial Comm Port」 will appear
under Ports (COM&LPT). The following screen gives an example of the systems
Repeater Programming
detects a USB-to-Serial connection is being connected to COM3. It appears
Prolific USB-to-Serial Comm Port (COM3).
♦ If 「Prolific USB-to-Serial Comm Port」 does not appear, please refer to the
instruction for installation on USB connection.
July 16, 2009 7
Page 10

REPEATER
TRANSMITTER PROGRAMMING SOFTWARE
Repeater Programming
Starting the Programming
1. The application can be launched from Start → Programs → Gold Apollo →Repeater
Programming. The Main Menu appears:
July 16, 2009 8
Page 11

REPEATER
TRANSMITTER PROGRAMMING SOFTWARE
Repeater Programming
2. Choose your Com Port, then click “Link”. Wait for Repeqter to establish
connection to the PC.
3. Turn on the power for REPEATER, wait for REPEATER to establish connection to the
PC. If it is successfully connected, the following screen will appear.
July 16, 2009 9
Page 12

REPEATER
4. If any questions, the following window appears:
TRANSMITTER PROGRAMMING SOFTWARE
Repeater Programming
Please re-check the REPEATER and COM port are well installed or not.
July 16, 2009 10
Page 13

REPEATER
Main Menu
TRANSMITTER PROGRAMMING SOFTWARE
Repeater Programming
Menu bar
In the menu bar, there are main menus with submenus like those conventionally used
in Windows applications.
File | Open
Open a REPEATER code-plug file. The file has the extension “.tbl”.
File | Save
Save the current code-plug data to a file. If the code-plug data file has already been
saved, REPEATER suggests the same filename to you click on Save, the file is
overwritten.
July 16, 2009 11
Page 14

REPEATER
File | Save As
Save the current code-plug data to a file with different filename. If you saved the
code-plug data file previously and don’t need to change the file name, you can used
the Save command instead.
Program | Write
Write the current code-plug data to the REPEATER.
Program | Read
Read code-plug data from the REPEATER.
About
Information about the REPEATER programming version.
Serial Setting
TRANSMITTER PROGRAMMING SOFTWARE
Repeater Programming
COM Port
After the program is executed, the system will automatically load the available COM
Port into the menu and set COM1 as the primary COM Port.
Link
Press "Link" to wait for the connection between REPEATER and PC.
Reset
Note that all the changes will only be effected after the REPEATER is being reset. To
rest REPEATER, press “Reset” after it is successfully programmed.
Frequency
Ranger Of Frequency
Select your desired frequency range.
.
July 16, 2009 12
Page 15

REPEATER
Channel Setting
TRANSMITTER PROGRAMMING SOFTWARE
Repeater Programming
Channel 0
RX
Enter the receiver frequency.
TX
Enter the transmit carrier frequency.
Source
Select one of the source. The option has WB_MOD (deviation 4 K) and NB_MOD
(deviation 2K).
Hi-Lo Power
Select High Power (5W) or Low Power (1W)
July 16, 2009 13
Page 16

REPEATER
Blocking Address
Addr #1
You can block the repeating of signals for up to 12 capcodes.
Upper / Lower Limit Address
TRANSMITTER PROGRAMMING SOFTWARE
Repeater Programming
The signals will only repeat for the capcodes within this range.
Command Address
To set the layer for Multi-layer repeating.
Delay
Delay #1
To set the time delay for repeating after receiving a signal. The unit is based on
250ms. For example, if you would like to delay the repeating for 1 second, then
enter “4”.
July 16, 2009 14
Page 17

REPEATER
Layer
S_RSSI
TRANSMITTER PROGRAMMING SOFTWARE
Repeater Programming
To set the capcode for Multi-layer repeating. Enter “0” for single layer and “1~7”
for multi-layer repeating.
For multi-layer repeating, “1” means the first layer is the master repeater. Only
the master repeater can receive signals from the transmitter. Then it will repeat
the signals to the next layer “2” and so on.
Note: after rebooting your repeater, the TX LED will flash according to the
number of the layers of the repeater.
S_RSSI
It will trigger repeating when the RSSI is below this value. Please refer to pager 6
for instructions on how to set the S_RSSI value.
Setting
Invert Polarity (TX/RX)
Choose to Invert Polarity.
Baud Rate (TX/RX)
POCSAG Signal Baud Rate.
July 16, 2009 15
Page 18

REPEATER
Configuration
TRANSMITTER PROGRAMMING SOFTWARE
Repeater Programming
Config
UART_baud
The baud rate is on which the Transmitter operates.
UART_data
The data format is on which the Transmitter operates.
July 16, 2009 16
 Loading...