

Page 1
[ Care and Use ManUal ]
ostro sample preparation plate
Contents
I. INTRODUCTION
II. PROCEDURE
III. ORDERING INFORMATION
I. INTRODUCTION
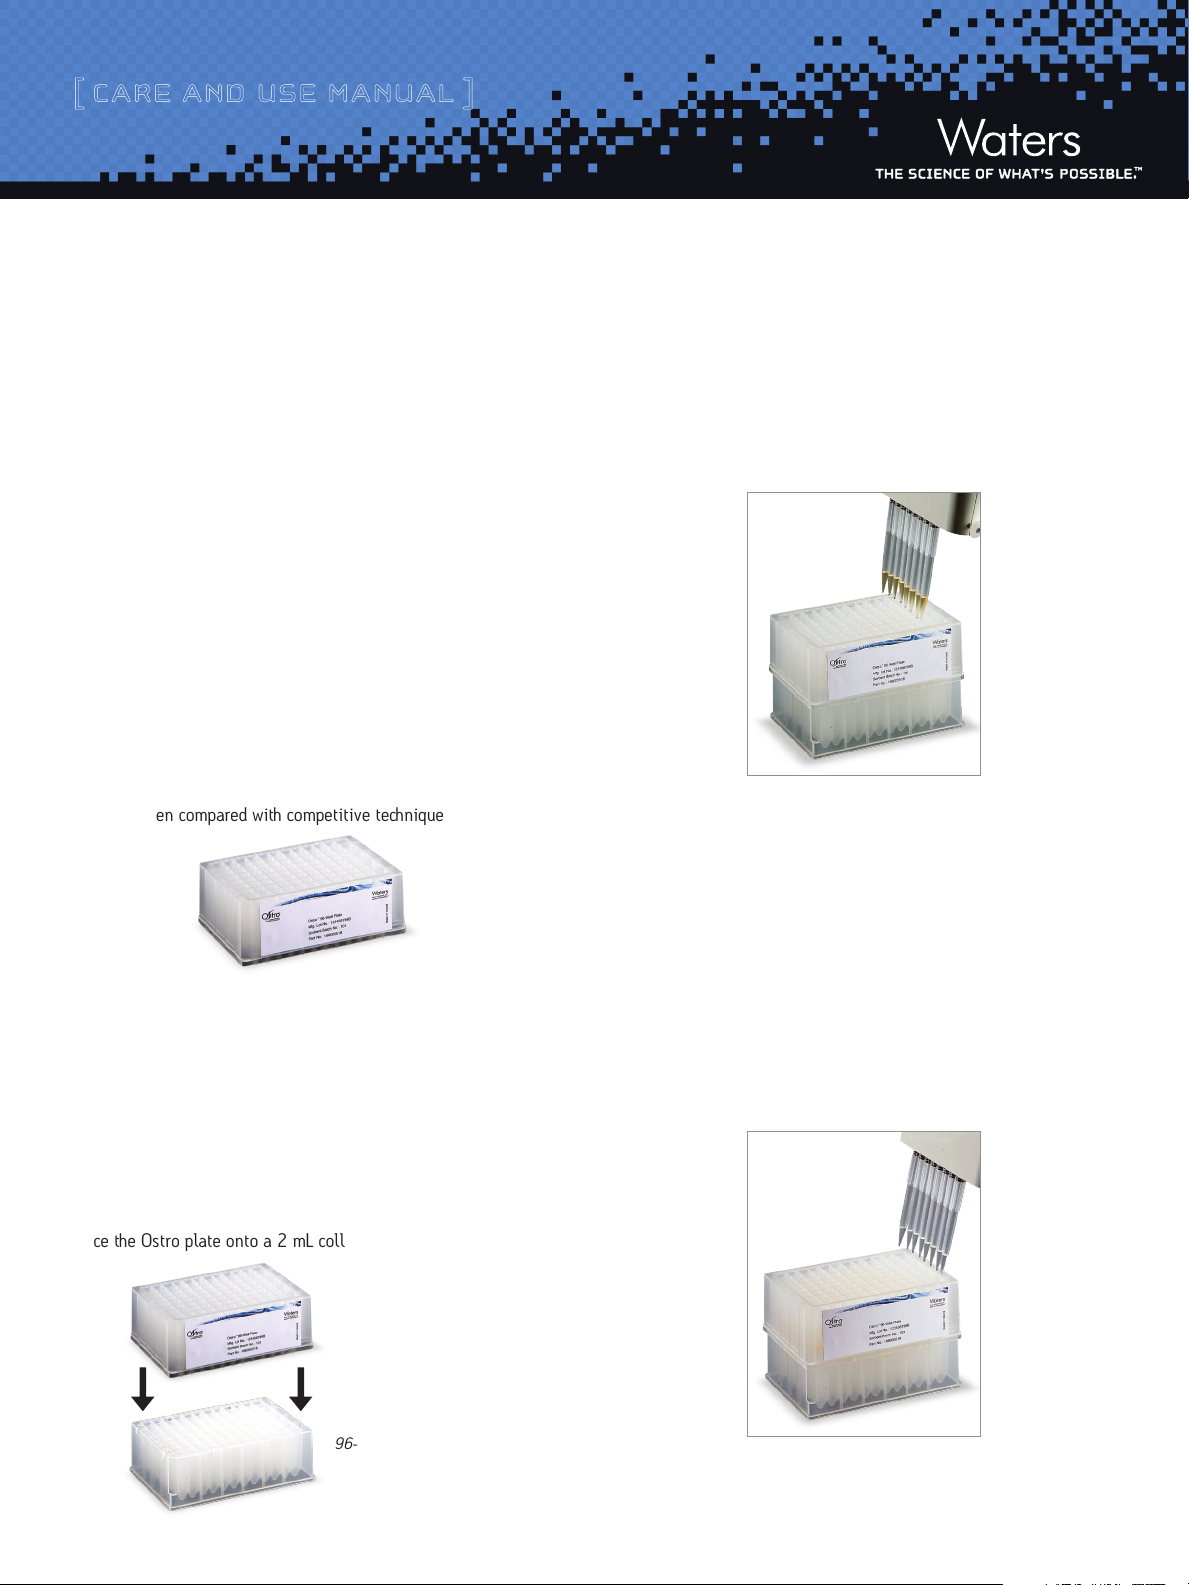
Ostro™ sample preparation plates provide a novel approach for the
removal of phospholipids from biological samples. The Ostro 96-well
plate design uses an in-well protein precipitation in combination
with a single, rapid, pass-through method that provides consistent,
high extraction recoveries for acids, bases, and neutrals. Designed
specifically to meet the needs of the bioanalytical scientist, Ostro
enhances a laboratory’s performance by providing greater repro-
ducibility, improved recovery, and increased phospholipid
removal when compared with competitive techniques.
Step 2: Plasma Loading
Add between 50 and 200 μL of plasma sample into the wells. The
Ostro plate is designed to prevent plasma samples from leaking
through the plate.
Step 3: Precipitation
Solvent Loading
Forcefully/rapidly add 1% HCOOH (formic acid) in acetonitrile to the
wells in a ratio of 3:1 solvent to plasma.
A straightforward 6-step procedure was designed to facilitate in-well
protein precipitation and produce filtrates free of proteins and other
endogenous components. These filtrates are then suitable for high-
throughput LC/MS/MS analysis.
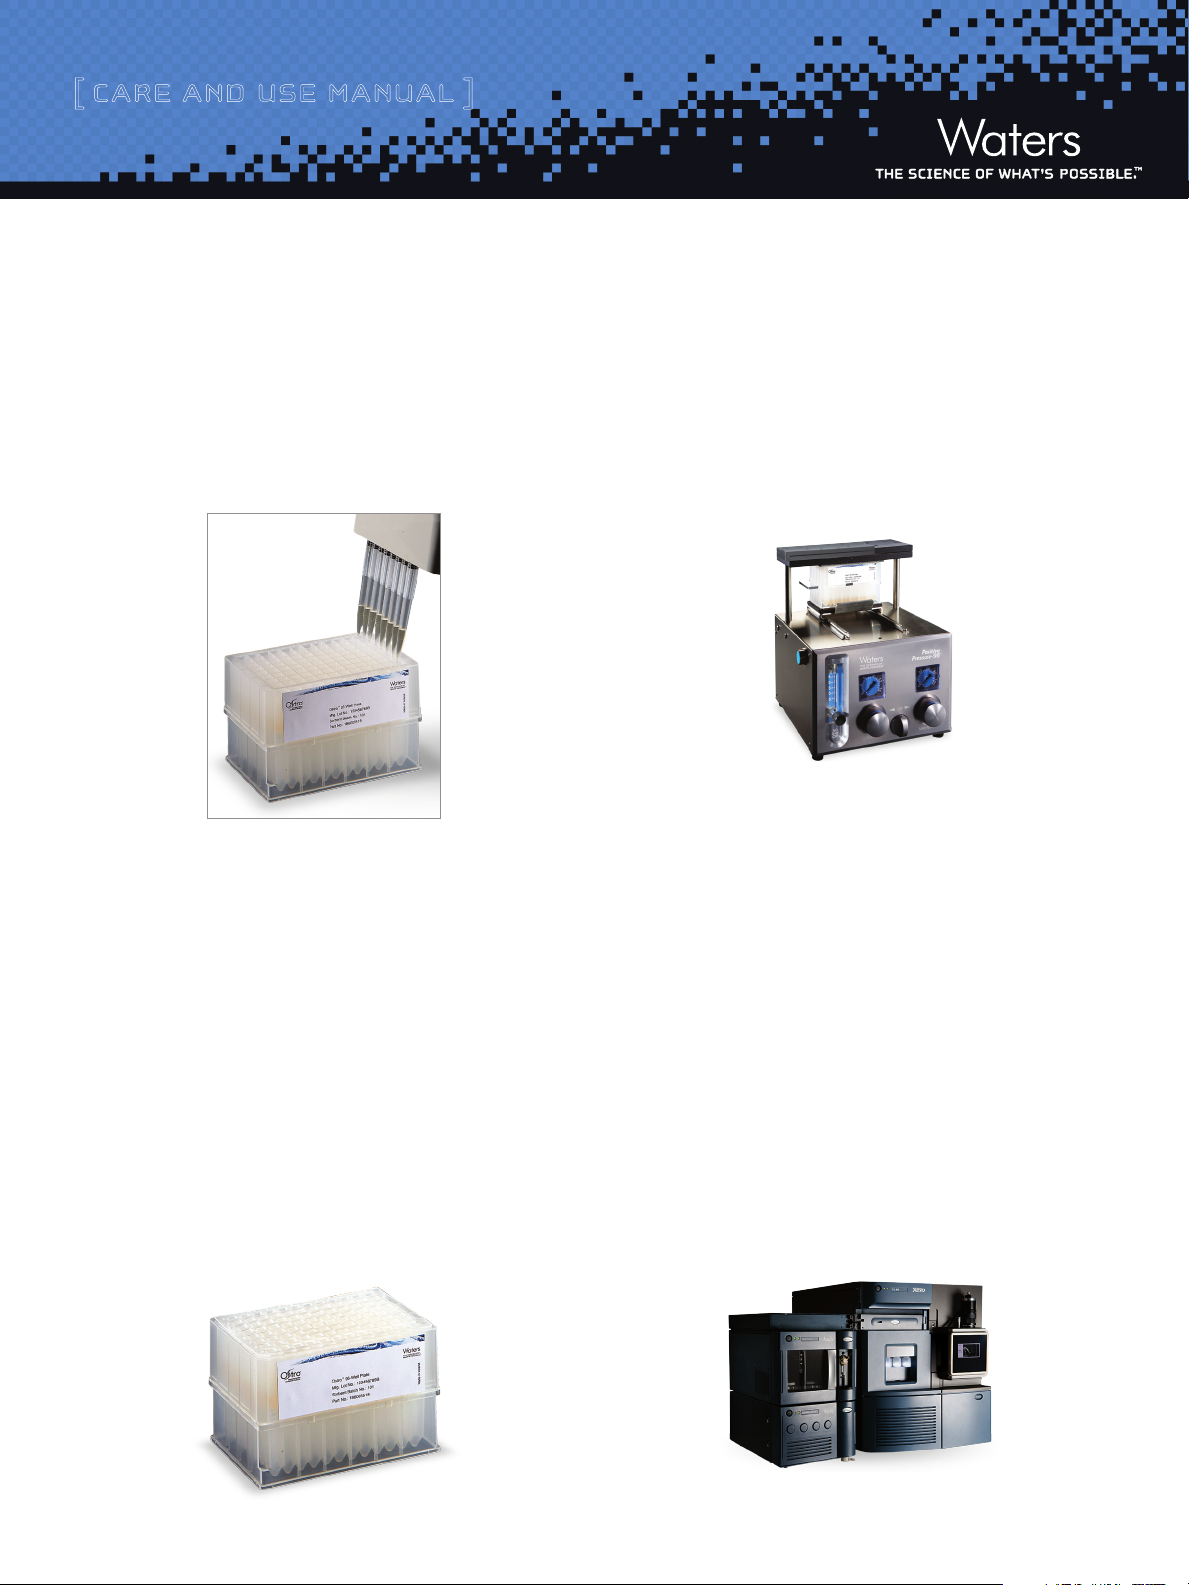
II. PROCEDURE
Step 1: Preparation
Place the Ostro plate onto a 2 mL collection plate for processing.
Ostro Plate
96-Well 2 mL Collection Plate
Note: The forceful/rapid addition of the solvent aids in mixing the
plasma with this solvent.
Note: Take care to ensure that all of the pipette tips are properly
positioned in the samples well to prevent any loss of mixing of samples.
1Ostro Sample Preparation Plate
Page 2
[ Care and Use ManUal ]
Step 4: Mixing
Aspiration (Preferred)
Aspirate the samples up and down 3X by a manual pipette, or an
automated sample handler may be used to ensure complete mixing.
Aspiration is the preferred mixing mode which will provide complete
mixing and a clear filtrate. Alternatively, an automated sample han-
dler may be used.
Step 5: Sample Filtration
Positive Pressure (Preferred)
After mixing, place the Ostro plate/collection plate on a positive
pressure processor and set the flow for 60 psi for 5 minutes. A higher
pressure can be applied if flow does not occur.
Note: The Ostro plate’s proprietary design prevents liquid flow
through the device until force has been applied.
Vacuum
Vortexing
If vortexing is chosen for mixing, it is critically important to vortex
vigorously and thoroughly to observe the best product performance.
Apply a cap mat and securely seal (e.g. use a cap roller). This will
prevent leakage and cross talk during mixing. Shake (mix) the loaded
Ostro plate/collection plate assembly on a vortexer.
Note: There is no need to remove the cap mat from the Ostro plate
before applying vacuum. If positive pressure is to be used, remove the
cap mat, carefully.
Note: Excessive mixing at too high a setting (e.g., setting 8 on a
1-10 scale) could cause cross talk. Under-mixing (e.g., setting 2 on
a 1-10 scale) may cause clogging or a cloudy filtrate.
After mixing, place the Ostro plate/collection plate assembly on a
vacuum manifold (e.g. Waters Vacuum Manifold P/N 186001831),
and apply 15” Hg of vacuum for 5-10 minutes. A higher vacuum set-
ting can be use if flow does not occur at 15” Hg.
Step 6: Analysis
Discard the Ostro plate and remove the collection plate containing
clear filtrate from the vacuum device or positive pressure manifold.
Seal the collection plate and transfer it to the LC/MS/MS autosampler
or store for later analysis. Extracts may be directly injected, diluted
prior to injection, or evaporated and reconstituted with an appropriate
solvent.
2Ostro Enhanced Protein Precipitation Plate
Page 3

[ Care and Use ManUal ]
III. ORDERING INFORMATION
Sales Offices
Description Volume Qty/Pkg Part Number
Ostro 96-Well Plate, 25 mg 1 186005518
96-Well Sample Collection Plate,
Polypropylene
96-Well Sample Collection Plate,
Polypropylene
Sealing Cap for 2 mL Collection Plate 50 186002484
Sealing Cap for 1 mL Collection Plate 50 186002483
Extraction Plate Manifold 1 186001831
Waters Positive Pressure-96 Processor 1 186005521
2 mL 50 186002482
1 mL 50 186002481
Austria and European Export
(Central South Eastern Europe, CIS
and Middle East) 43 1 877 18 07
Australia 61 2 9933 1777
Belgium 32 2 726 1000
Brazil 55 11 5094-3788
Canada 1 800 252 4752 x2205
China 86 21 6879 5888
CIS/Russia +497 727 4490/290 9737
Czech Republic 420 2 617 1 1384
Denmark 45 46 59 8080
Finland 09 5659 6288
France 33 1 30 48 72 00
Germany 49 6196 400600
Hong Kong 852 2964 1800
Hungary 36 1 350 5086
India and India Subcontinent
91 80 2837 1900
Ireland 353 1 448 1500
Italy 39 02 265 0983
Japan 81 3 3471 7191
Korea 82 2 6300 4800
Mexico 52 55 5524 7636
The Netherlands 31 76 508 7200
Norway 47 6 384 60 50
Poland 48 22 6393000
Puerto Rico 1 787 747 8445
Singapore 65 6593 7100
Spain 34 936 009 300
Sweden 46 8 555 11 500
Switzerland 41 56 676 70 00
Taiwan 886 2 2543 1898
United Kingdom 44 208 238 6100
All other countries:
Waters Corporation U.S.A.
1 508 478 2000
1 800 252 4752
www.waters.com
© 2010 Waters Corporation. Waters, The Science of W hat’s
Possible, and Ostro are trademarks of Waters Corporation.
720003672EN Rev A KK -PDF
3Ostro Sample Preparation Plate
Waters Corporation
34 Maple Street
Milford, MA 01757 U.S.A.
T: 1 508 478 2000
F: 1 508 872 1990
www.waters.com
 Loading...