

WANHAO DUPLICATOR 9 Getting Started Manual
DUPLICATOR 9
GETTING
Thanks for choosing Wanhao 3D Printer products. You’re just moments away from printing your rst 3D
model. It’s important that you follow these steps carefully to ensure correct setup of your 3D Printer.
STARTED
GUIDE
You can also visit
www.wanhao3dprinter.com/Video/D9 video/wanhao D9 unboxing
for step by step guide on unboxing and setup, levelling, lament installation and printing.
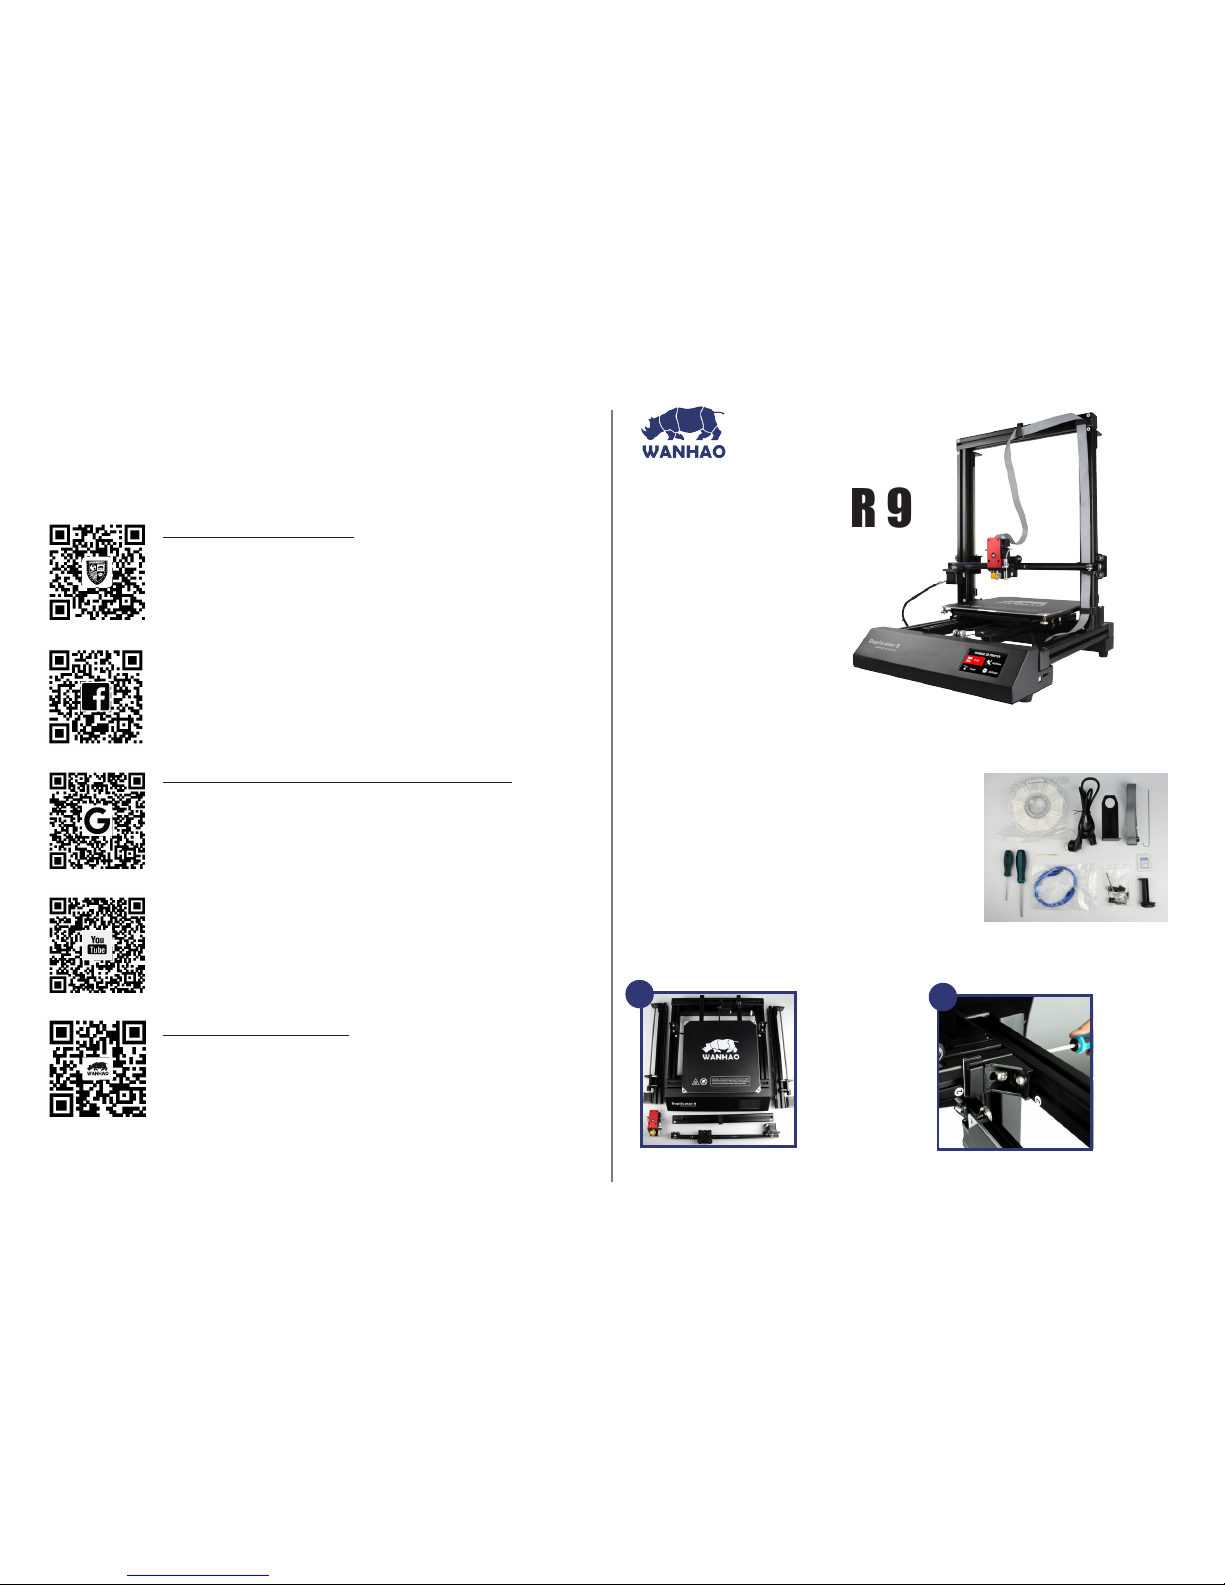
Package Contents:
1 x WANHAO 3D Printer
1 x Filament Spool Holder
1 x Filament Spool Stand
1 x Power Cable
1 x USB Cable
1 x 8GB SD Card
2 x Hex Screw Driver
1 x Hex Key Set
6 x Hex Bolts
2 x Plastic belts
1 x 1.75mm PLA Filament
1 x Instruction manual
1 x Getting Started Guide
1 x Needle for unclugging nozzle
ASSEMBLING AND MOUNTING
1
Take out all components
from the box and
place them on the at
ground.
1-Base
2-Z axis Tower Pillar*2
3-X axis rail
4-X axis gantry
5-MK12 Extruder
Place the Base on
it’s side. Find the Z
axis pillar with sticker
No.2. Slide the No.2
pillar into the base
vertical locker. Then
tighten the bolt at
bottom of base.
2
A
Search WANHAO on Youtube.
There are over 60K video cover all topic from unboxing, noob guidance,
installation, repairing and so on.You can almost find all topic you are
interested in.
https://groups.google.com/forum/#!forum/wanhao-printer-3d .
WANHAO Google forum is a large technician communication forum which
provide communication platform for enthusiast and technician. You can nd
many interesting topic here. And you can nd most printer issue topic and
solution here. You can’t miss it.
Search WANHAO on Facebook.
WANHAO Facebook community groups provide real time communication
between WANHAO USERS and WANHAO SUPPORT TEAM. . There are many
discussions, troubleshooting, modications and users experience sharing. You
would make a lot friends and lean a lot in these groups.
WWW.WANHAOUNIVERSITY.COM
WANHAO university is a comprehensive online education platform that has
free 3D Printing courses, forum, model database, 3D printer technical support,
online video broadcast that you can have face to face communication with 3D
printing experts. Join us and improve your skill in 3D printing.
WELCOME TO JOIN US
D
WWW.WANHAO3DGROUP.COM.
Find your local distributor and reseller. Speak with your own language and
get local service worldwide.
CONSTRUCT AND CONNECT [
CONT.]
3
Tighten the locking
bolt clockwise. Then
install the other Z
axis pillar onto the
Base.
Loose the two locking
bolt on No.3 and No.4
Z axis pillar by around
5mm. So there will be
sufcient space for X axis
pillar to slide in.
4
5
Slide the X axis pillar into
the No.3 and No.4 bolts. If
there’s not enough space,
you may need to re-loose
the locking bolt.
To tighten the locking
bolt through the hole on
top of the X axis pillar.
Lock both No.3 and No.4
pillar.
6
7
Insert the plastic cover
onto the two ends of X
axis pillar.
Note: Please double
check the Z axis and X
axis pillars. If any bolt
not secured. You need
to secure the screws to
ensure the gantry are
steady and tight.
Rotate the cylinder holder
for a bit but not too close.
Tight enough that can not
slide into pillar freely.
This is also same to the
other side with stickers
No.6.
8
9
Mount the X axis rail.
Align the right and left
side holders rst. Please
make sure the rail is
located in the middle
of the X axis. You may
need to adjust the
distance to both ends
through the cylinder
holders.
Then tighten the bolts
on both end of No.5 and
No.6.
10
11
Mount the MK12
extruder onto the
X axis holder. Make
sure the locking holes
match to the holder
holes.
A total of 4 bolts need
to be tightened, but the
rst bolt should not be
too tight until the other
three bolts are mounted,
then tighen all the bolts
together.
12
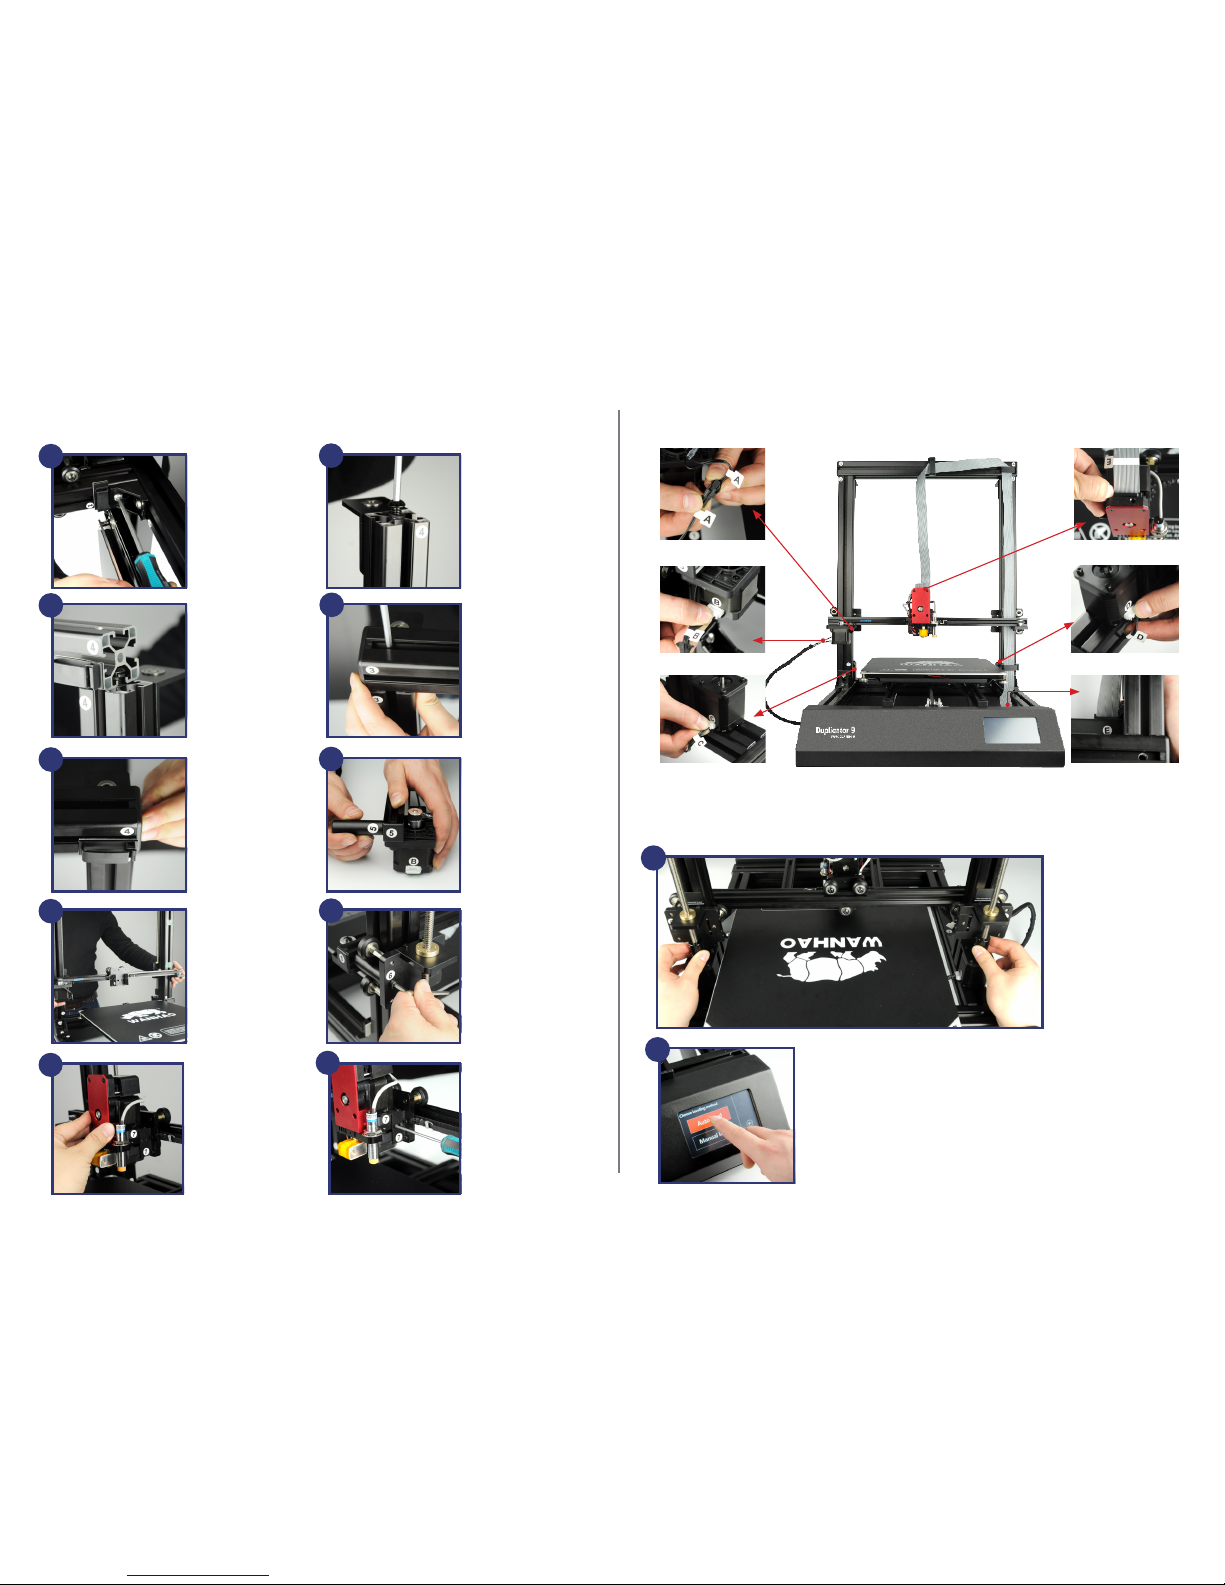
WIRING INSTRUCTION
B C
LEVELING BEFORE PRINTING
2
Please go to home page and select “ LEVEL---AUTO LEVEL”, this function would
auto level the bed.
NOTE: Once you have done the auto leveling. The printer would memorize the
leveling data for the next printing. You don’t have to level the printer every time,
unless you feel the printer is not not leveled. Auto leveling is for general printing
purpose, if you need some special layer thickness or special purpose, you may
need to adjust the 4 bolts under bed to achieve more precise distance.
Manual leveling. If the Auto leveling can not meet your needs, you may try
manual leveling. Click “LEVEL—MANUAL LEVEL”, the instruction would guide
you to check 4 bed points.
1
Turn the couple to lower the
two Z axis in order to level
the two Z axis at same height.
Note: The ruler or height
gauge would provide more
accurate height for both two
Z axis. The two axis need to
be at same height.
 Loading...