

Page 1
W100 Programming
Programming the W100 controllers
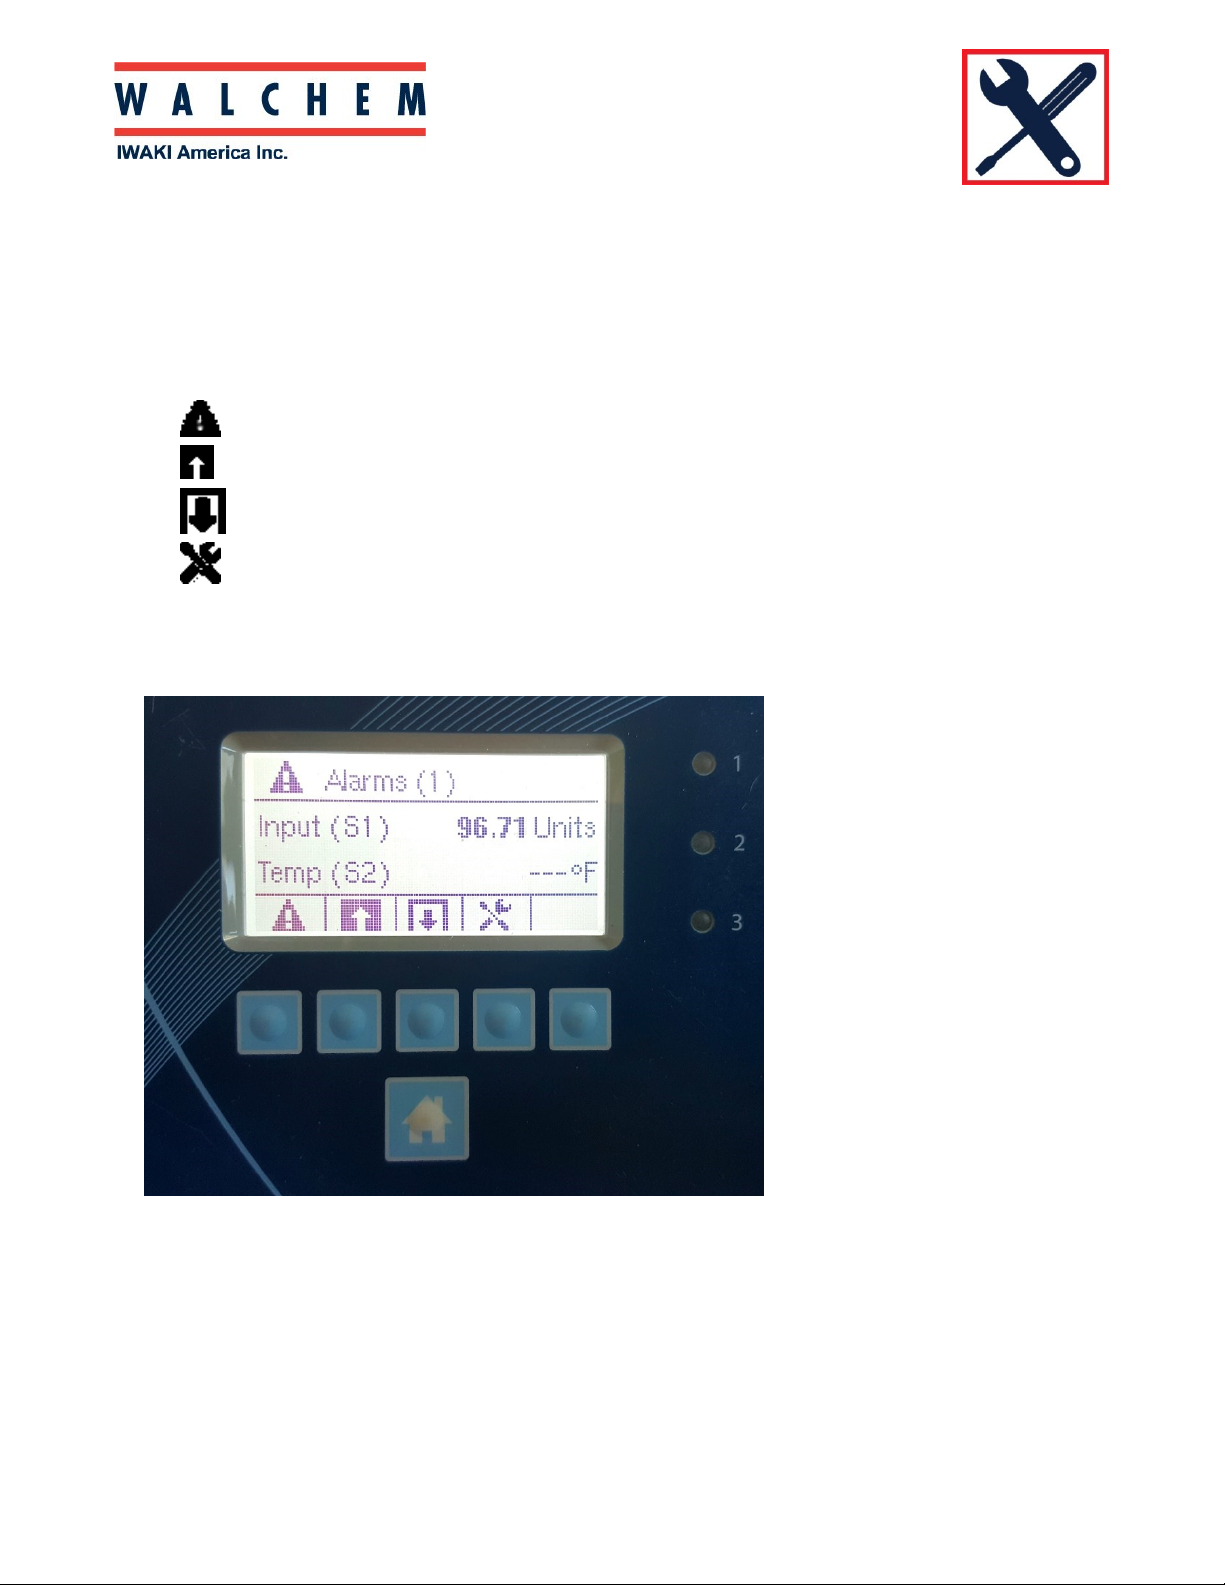
The W100 controller is menu-driven programming, with 4 major icons.
Theses icons appear on the Home screen from left to right:
Alarm Menu
Inputs Menu (Direct sensors, analog, digital inputs)
Outputs Menu (Relays)
Configurations menu
Press the key below the icon to get to the main menu selections. The UP Arrow will get you to the
Inputs Menu; The DOWN Arrow will get you to the Relays Menu.
Pressing the HOME (bottom) button at any time will return you to the page above.
Page 2
W100 Programming
Setting up and programming a direct sensor:
First, you need to select which type of sensor you’re using:
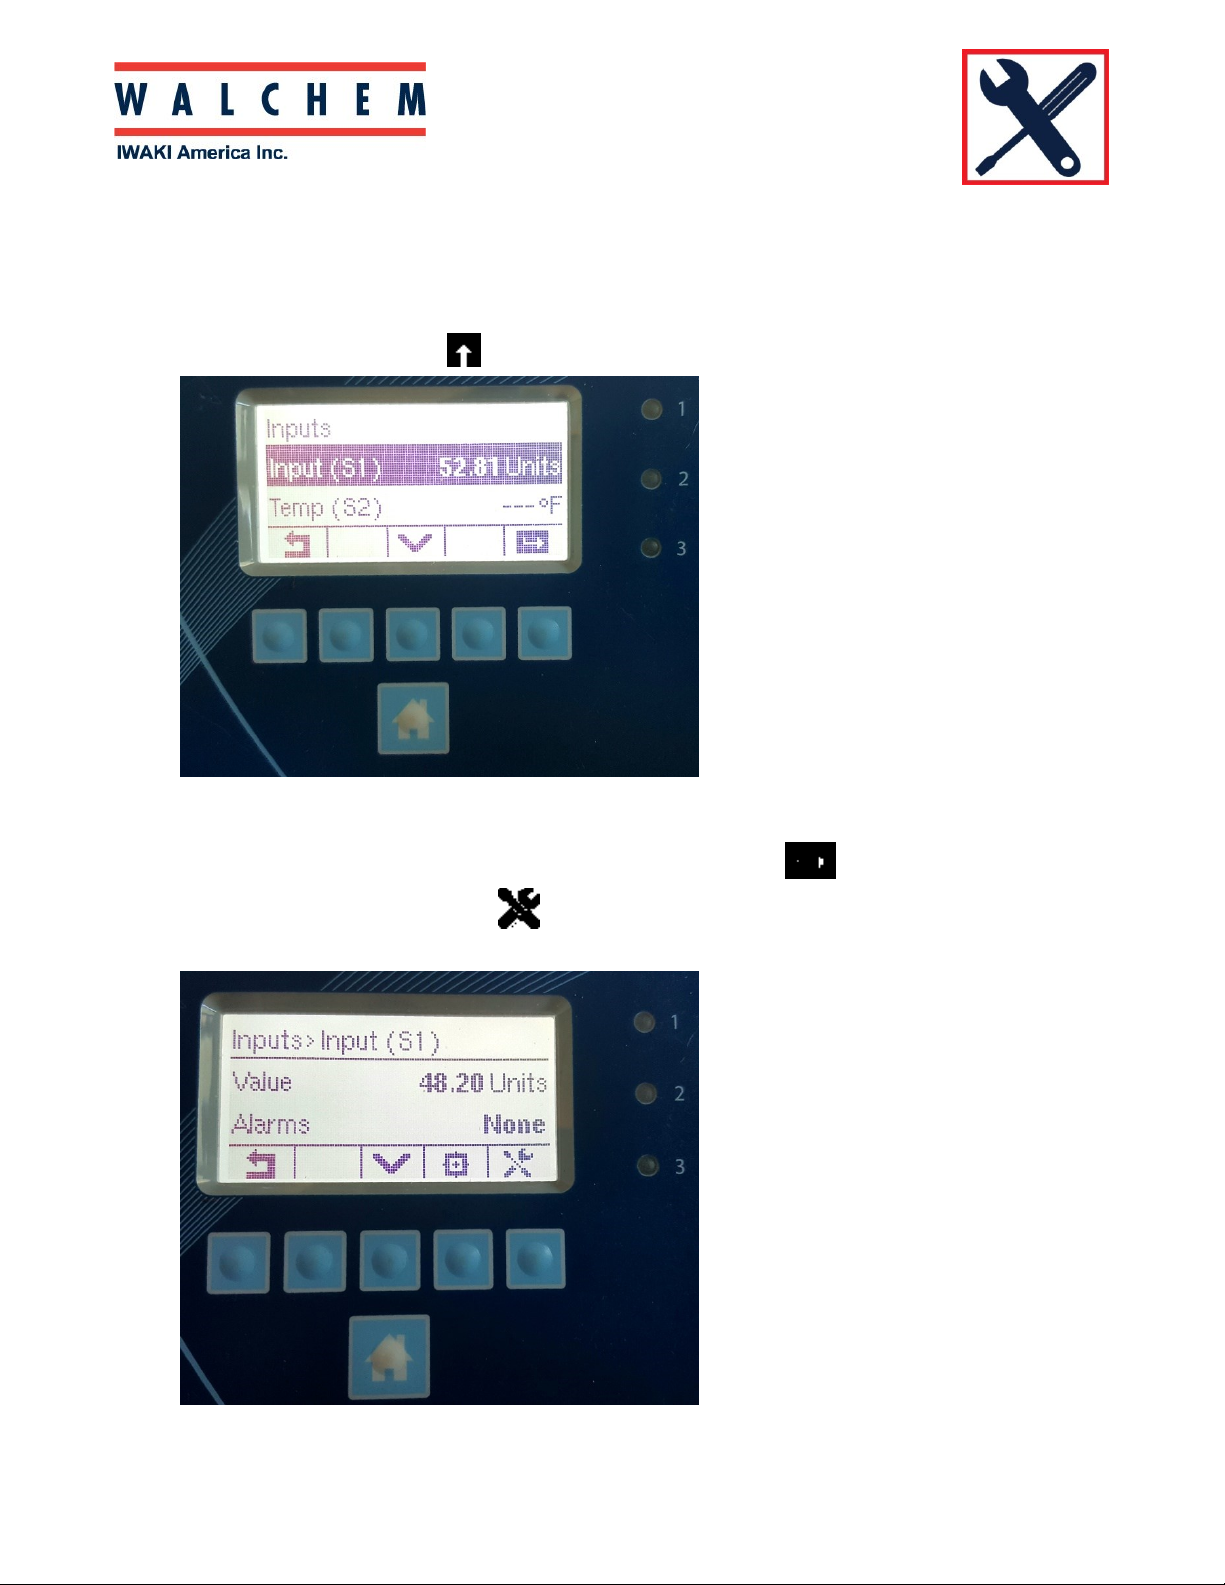
From the Home screen, Press (Inputs) key, bringing you to the Inputs screen:
The W100 has only one sensor input. Input (S1) is for the sensor’s reading, and Temp (S2) is for the
temperature input (if the sensor has temp-comp). Press the ENTER Key to enter the Input (S1)
menu. Press the Configuration Key .
Page 3

W100 Programming
Setting up and programming a direct sensor (con’t):
After pressing the Configurations key , press the DOWN Arrow until TYPE is highlighted,
then press ENTER to enter the Type menu:
Once in the Type menu you can use the down arrow to scroll through the sensor types. Select
the desired sensor type and press the Check to accept. You can also name the sensor in this
menu.
Page 4

W100 Programming
Setting up and programming Relay outputs:
Before you start programming set points, you need to select the relay mode. From HOME:
Press OUTPUTS . This will bring you to the OUPUTS page:
Press the DOWN arrow to scroll through the 3 relay outputs.
Page 5

W100 Programming
Setting up and programming Relay outputs:
Once you’ve selected your relay, press ENTER to enter the relay menu:
And then the Configuration Key to get
into the settings
Page 6

W100 Programming
Press the DOWN Arrow until you get to the MODE. At MODE, press ENTER .
Use the Down Arrow to scroll through the modes. Highlight the desired mode, and press the
ENTER to set the mode.
 Loading...