

Instruction Manual
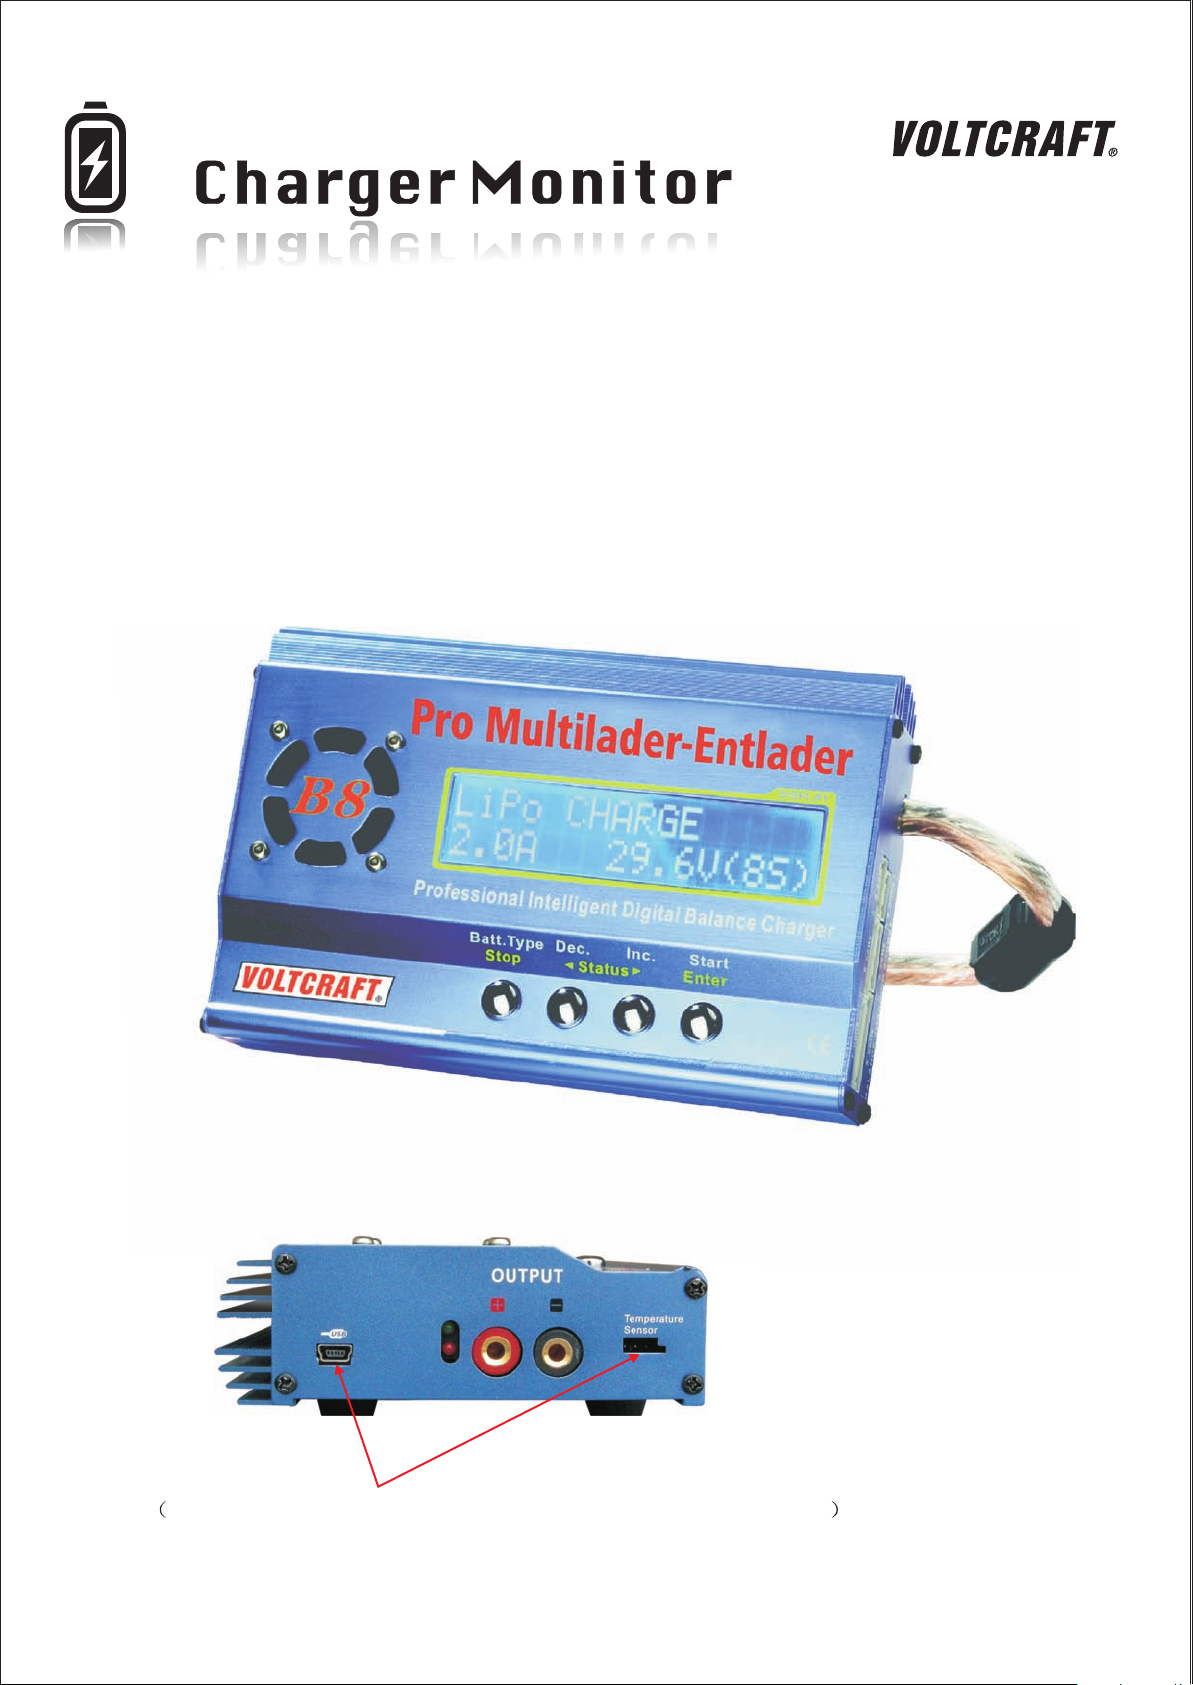
Professional Intelligent Digital Balance Charger
This instruction manual is for the VOLTCRAFT B8 charger.This instruction manual is for the VOLTCRAFT B8 charger.
Separate ports for Temperature sensor and Charger to PC port
Installation of the VOLTCRAFT Intelligent Digital Balance Charger DriveInstallation of the Intelligent Digital Balance Charger DriveVOLTCRAFT
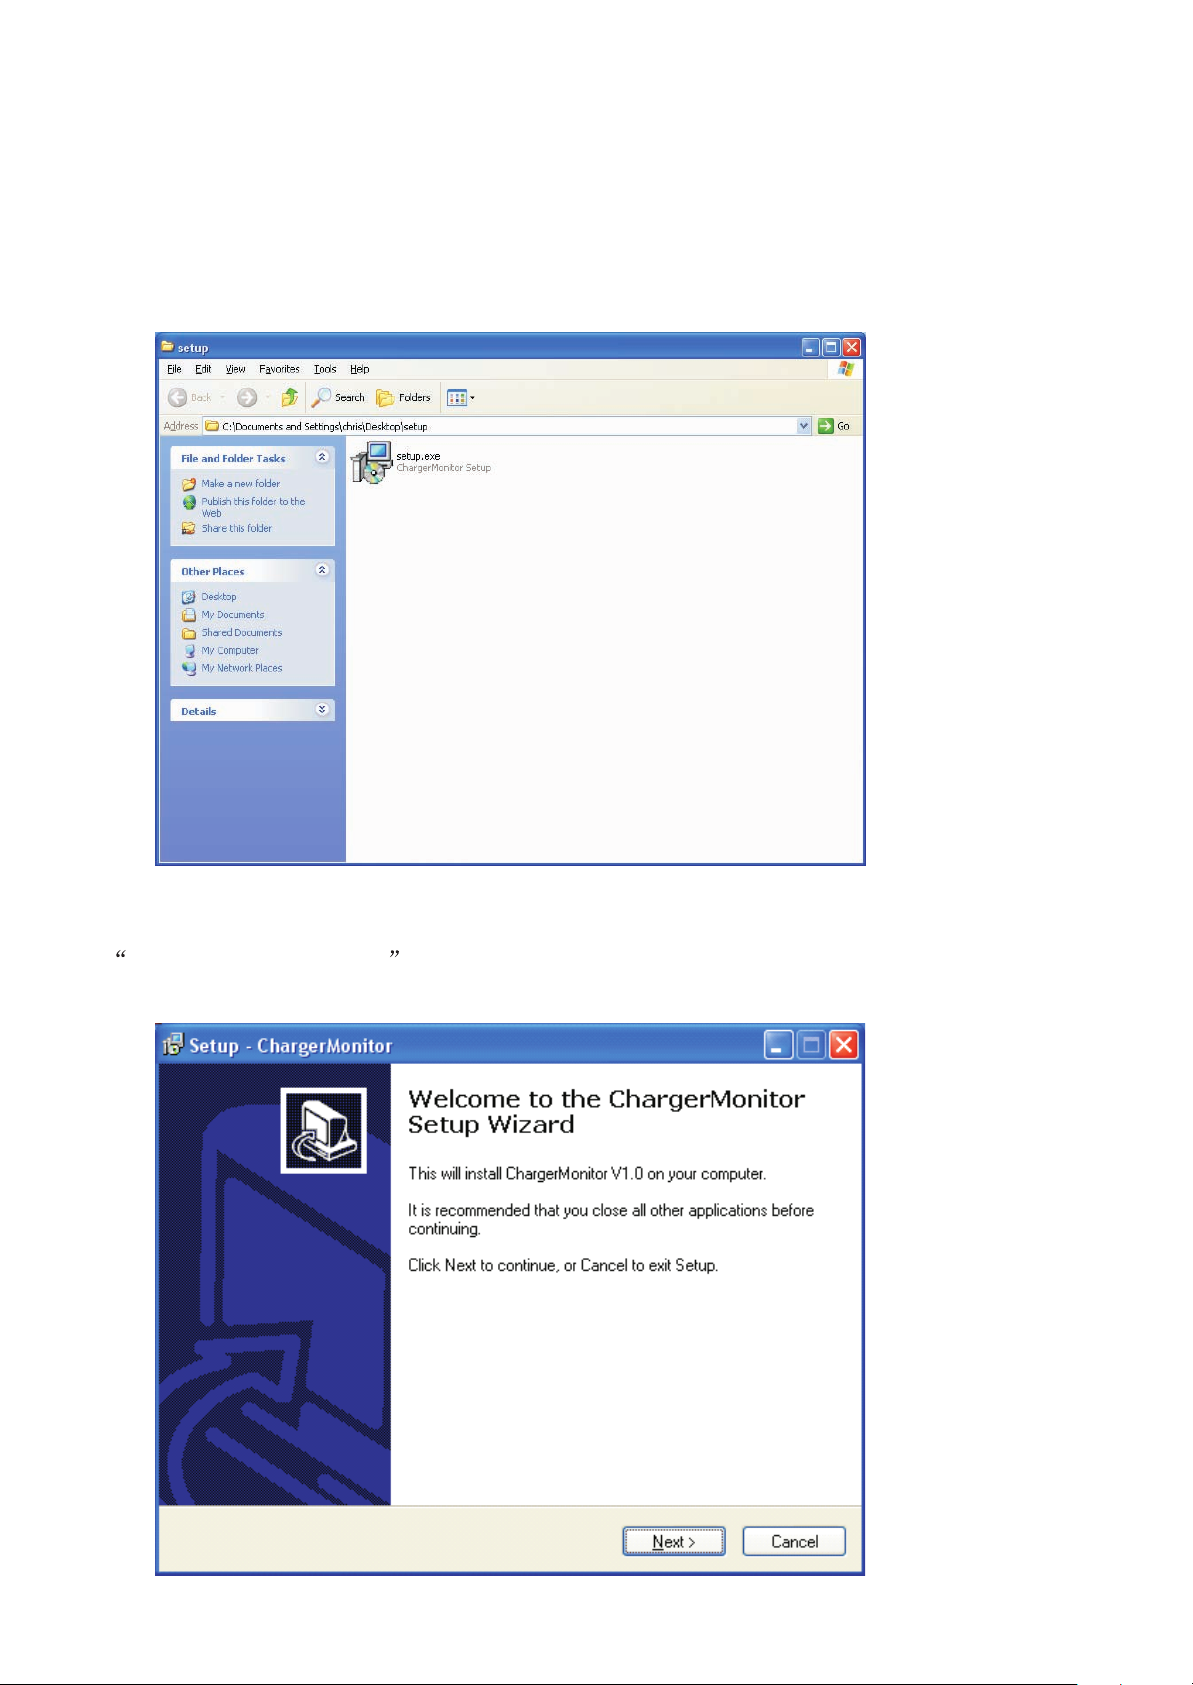
Step 1
Insert the CD into the CD/DVD drive. Double click the drive icon to open it. You should
come to a window like the one Shown below.
Step 2
Double click the Setup.exe icon.
Setup Icon
Step 3
The Setup-chargerMonitor window will come up. Please follow the rest of the setup
procedure to complete the installation. Click next.
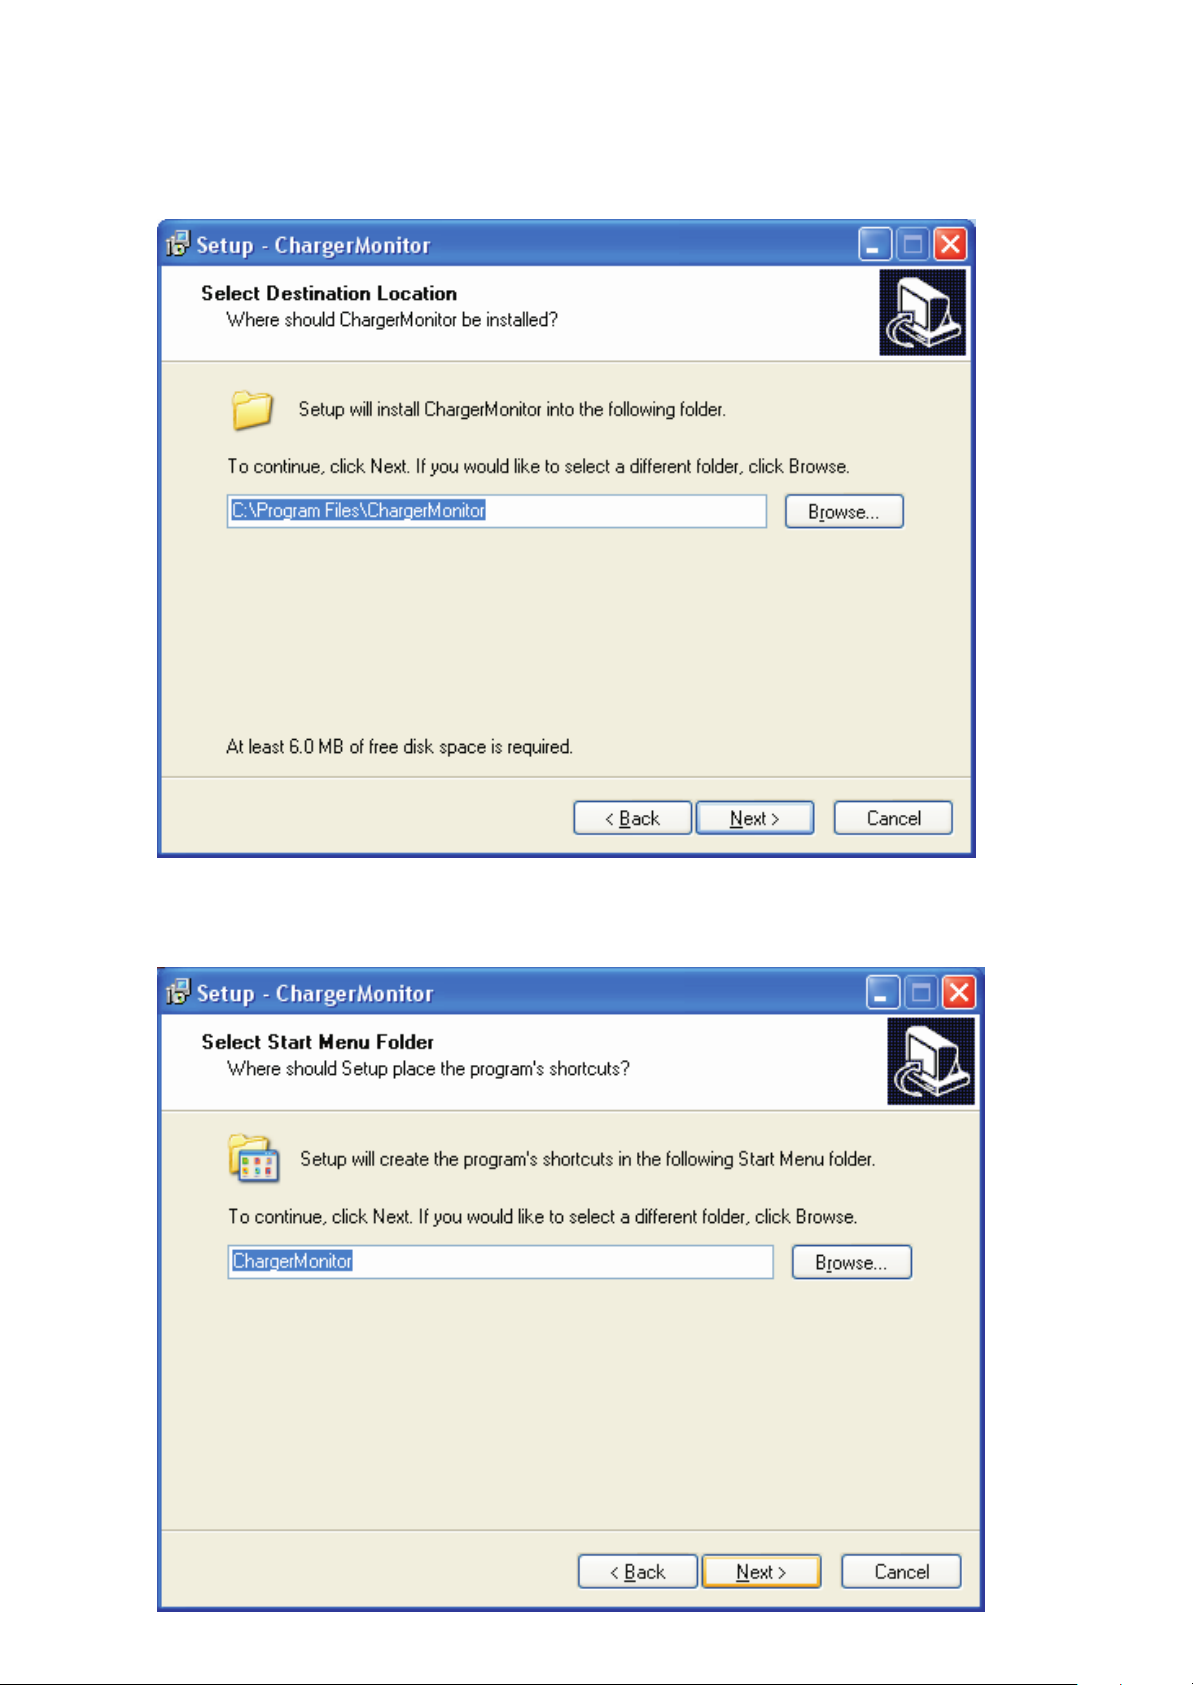
Step 4
In Case you want to install in another partition other than C, you can use the next window to do
so.
Step 5
Click Next
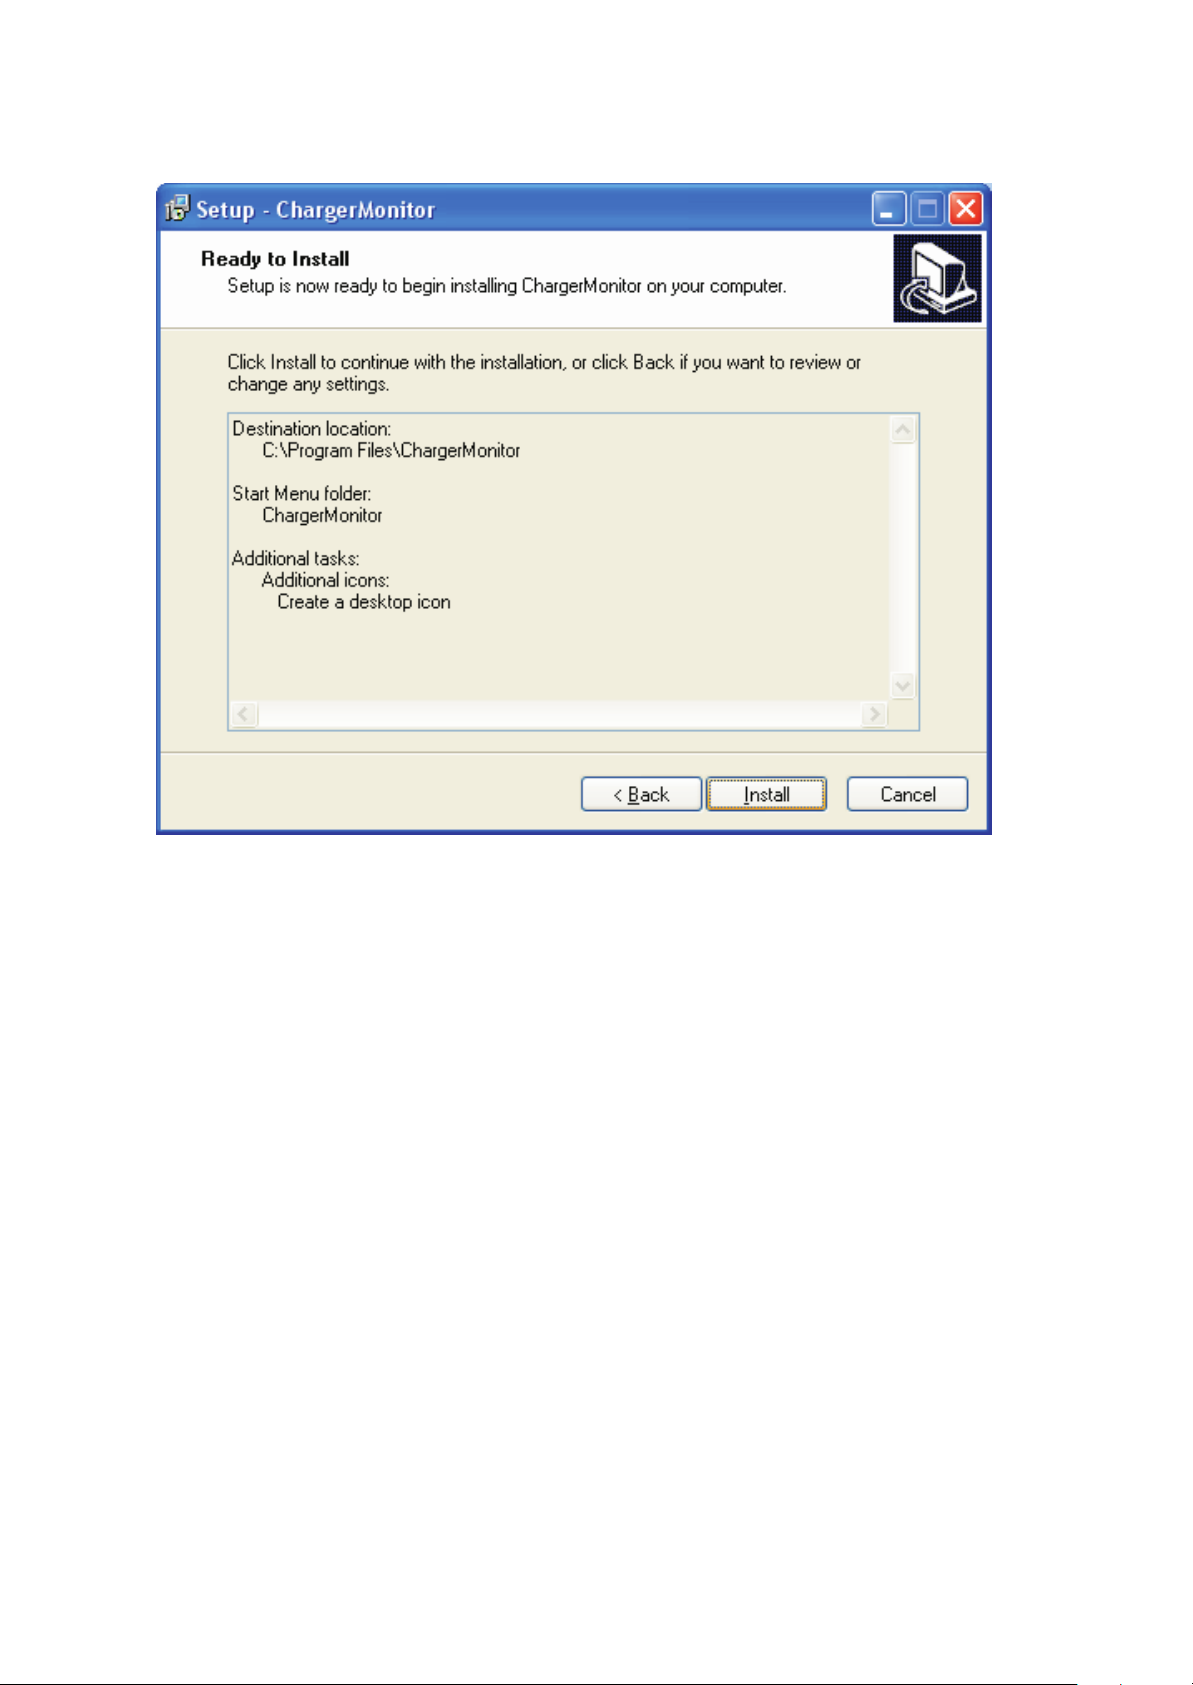
Step 6
Click Install
Step 7
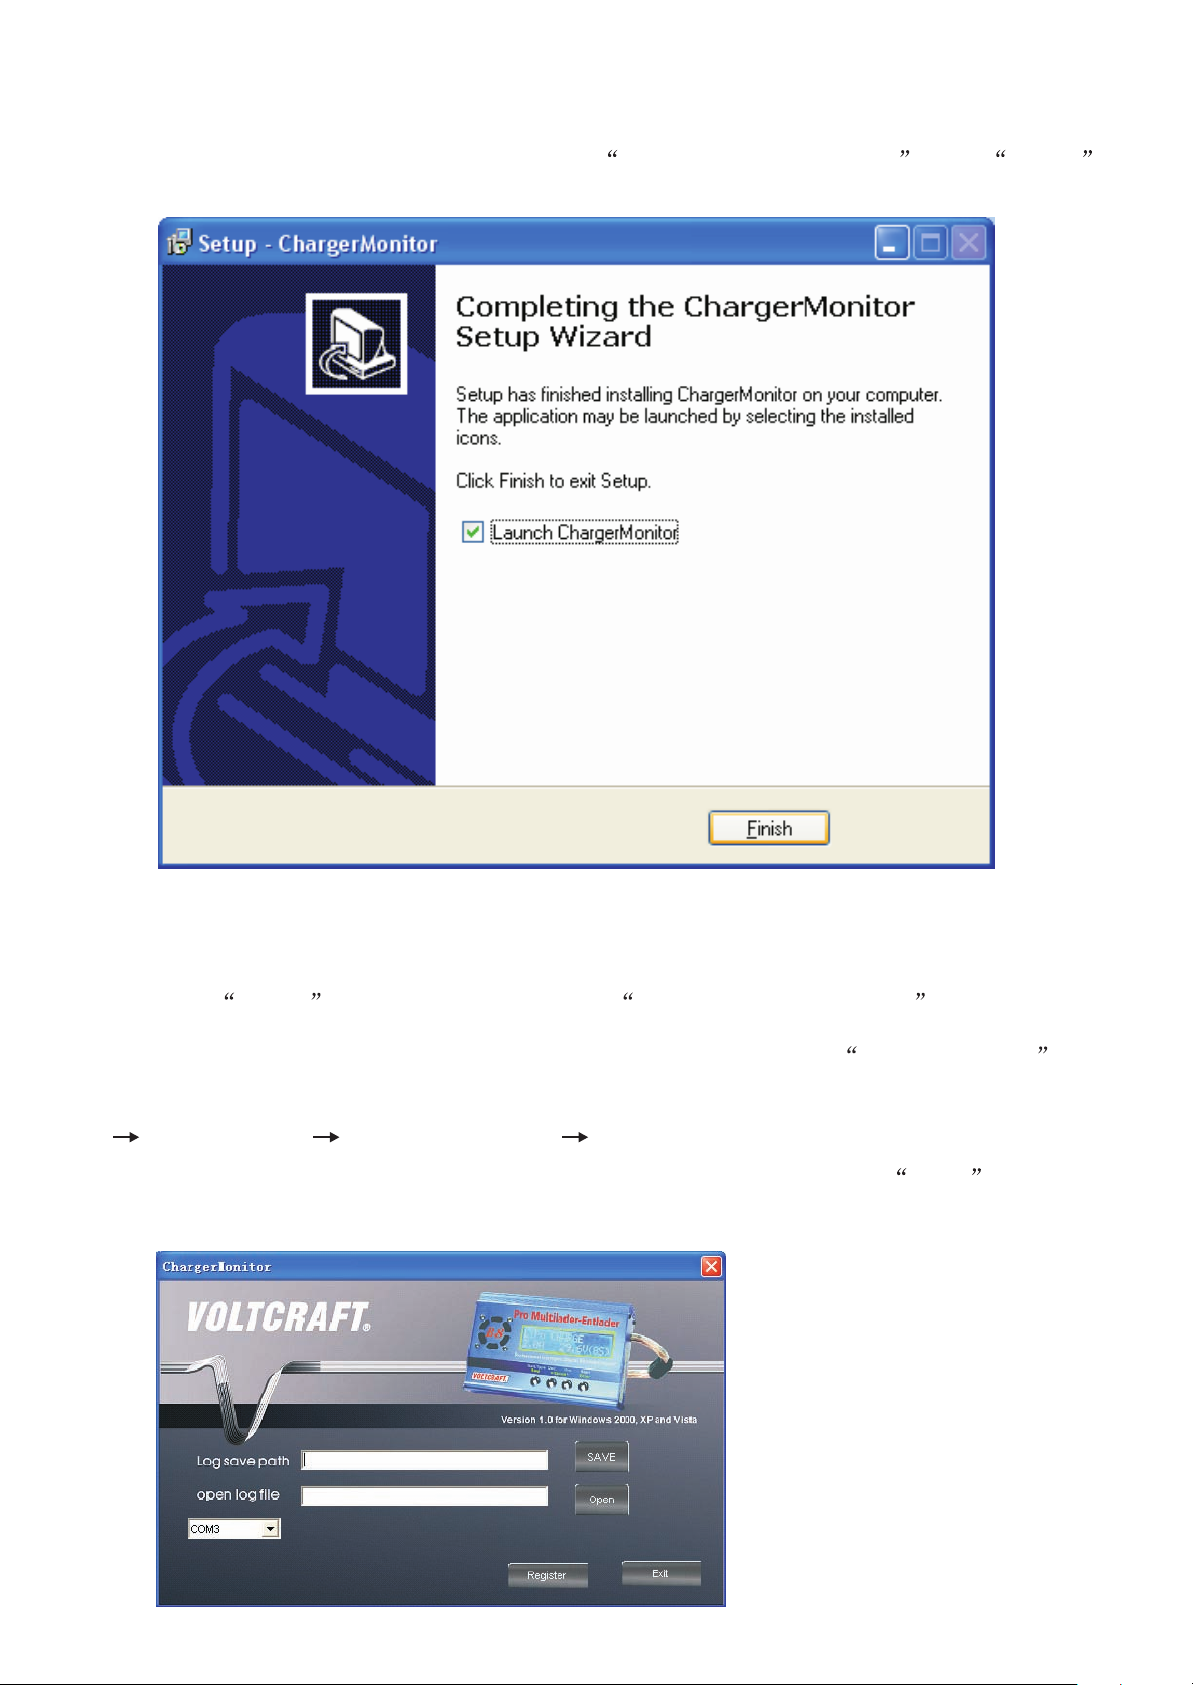
Click Finish to launch the software. Or recheck Launch ChargerMonitor then Finish to
launch the program at some other time.
Operation of the softwareOperation of the software
Step 1
If you clicked Finish without unchecking the Launch ChargerMonitor , you should
come to the window below.
Alternatively, you can also open the software by double clicking the ChargeMonitor icon
on the desktop or from the start button.
Start All Programs ChargerMonitor ChargerMonitor
To create a folder and file for your immediate charging session, Click on Save
Step 2

Please register by inputting the serial number which you can find on a label on the CD
sleeve .
VOLTCRAFT
UCT100-6
Version 1.0 for Windows 2000, XP and Vista
Log save path
Log save path
open log file
open log file
Start
Read
Save
Open
Step 3
You should come to a window like the one below.
Click on the Create New Folder icon to create a new folder. (Other sessions can also
make use of this same folder)

Step 4
Give the folder a new name to identify it. In this case, we call it Charger To PC Interface.
Step 5
Double Click the folder, in this case Charger To PC Interface to open it.
The opened folder

Step 6
Create a file for this session by typing a name in the File name box.
In this case, we name this session File 1
Click Save.
Step 7
You should come to the window below.

Step 7
To make sure that the charger will operate on the right port number, please do the following.
a) Right click My Computer
b) Then right click Manage . You should come to Computer Management window.
c) Left Click Device Manager .
d) Locate Ports (COM & LPT) and click the box on its left.
e) Take note of the following port number Silicon LabsCP210 x USB to UART Bridge
COM3 (In this case COM3)
Diagram step by step illustration

Computer Management (Local)
Device Manager shown

Ports (COM & LPT) Shown
What you should see after Clicking the + Box close to Ports (COM & LPT). In this case,
we have COM3. Close the window.
Step 8
Click on the Com option s down arrow and select the appropriate Com setting.

Step 9
Connect your charger to the power supply and connect the Charger to PC interface cable to the
charger and USB port of the PC. Then Click on start.
A program window like the one below will come up.
Program Window

Charging ProcessCharging Process
Step 1
After connecting your batteries, and start charging them, you should see some information
in the overview window.
Note: Please confirm that the number of batteries on the top right of the overview window
is the same with the actual number of batteries connected to the charger.
Overview window

Step 2
Please click on Detail Window to view more information.
Detail window: Voltage

Step 3
To see the exact figures at a particular point in time on the overview window, right click on
the point you want to check. You should see an intersection of two lines at the clicked point.
Illustrating how to view the actual figures for a certain point

Step 4
When the battery is fully charged, you should see the notification window below.
Click ok to confirm.
Charging successfully completed
All Rights Reserved. 2008All Rights Reserved. 2008
 Loading...