


Installation guide and user manual
Broadband Complete

1. Introduction
1.1 Contents in the Package
1.2 The Front and Rear Panel of your Vodafone Broadband Complete
1.3 The Side Panels of your Vodafone Broadband Complete
1.4 Description of the Indicators on the Front and Rear Panels
2. Installation guide
2.1 Connecting your Vodafone Broadband Complete to the Fixed Network
2.2 Connecting your computer to your Vodafone Broadband Complete using the PC/LAN cable
2.3 Connecting a computer to your Vodafone Broadband Complete using a wireless connection
2.4 Entering in your Vodafone broadband authentication details
2.5 Using Vodafone Mobile Broadband with your Vodafone Broadband Complete.
3. User manual
3.1 Introduction
3.2 Features of your Vodafone Broadband Complete
3.3 Requirements of Computer Confi guration
3.4 Management of yourVodafone Broadband Complete
3.4.1 Home Page
3.4.2 Applications
3.4.3 Router
3.4.4 Wi-Fi
3.4.5 HSPA
3.4.6 Administration
3.4.7 Printer
3.4.8 FTP
3.4.9 Box Diagnostics
3.4.10 ADSL Statistics
3.4.11 Settings
3.4.12 Setup Wizard
3.4.13 Changing your authentication details
3.5 Functions
3.5.1 Home Storage Function
3.5.2 USB Printer Function
3.5.3 Wireless Function
3.6 Troubleshooting
3.7 Glossary
by

1. Introduction
1.1 Contents in the package
Broadband Complete
Bracket and Screws
Power adapter
PC/LAN cable
2 x Line fi lters
User CD
DSL/Line cable

1.2 The front and rear panel of your Vodafone Broadband Complete
Indicators on the front panel of your Vodafone Broadband Complete
HSPA
Indicator
Wi-Fi
Indicator
DSL
Indicator
POWER
Indicator
The rear panel of your Vodafone Broadband Complete provides the following interfaces
and buttons:
Interface or Button
Meaning
DSL
LAN1–LAN4
Diagnostic button, press this button to check the status of the four LAN
indicators.
Connects PCs, switches, or other equipment.
USB
RESET
Connects a USB storage device, such as a USB disk, a printer etc.
Restores the factory settings if this button is pressed and hold more than
5 seconds.
NOTE: After you restore the factory settings, the customized data will be
lost. Therefore, press the RESET button with caution.
POWER
RESTART
Connects a power adapter.
Restarts the Vodafone Broadband Complete device if this button is
pressed and held for more than 0.5 seconds.
Note for the four LAN indicators:
The four LAN indicators are normally off. When the diagnostic button is pressed, the four LAN indicators turn red
or green, see 1.4 Description of the indicators on the Front and Rear Panels.
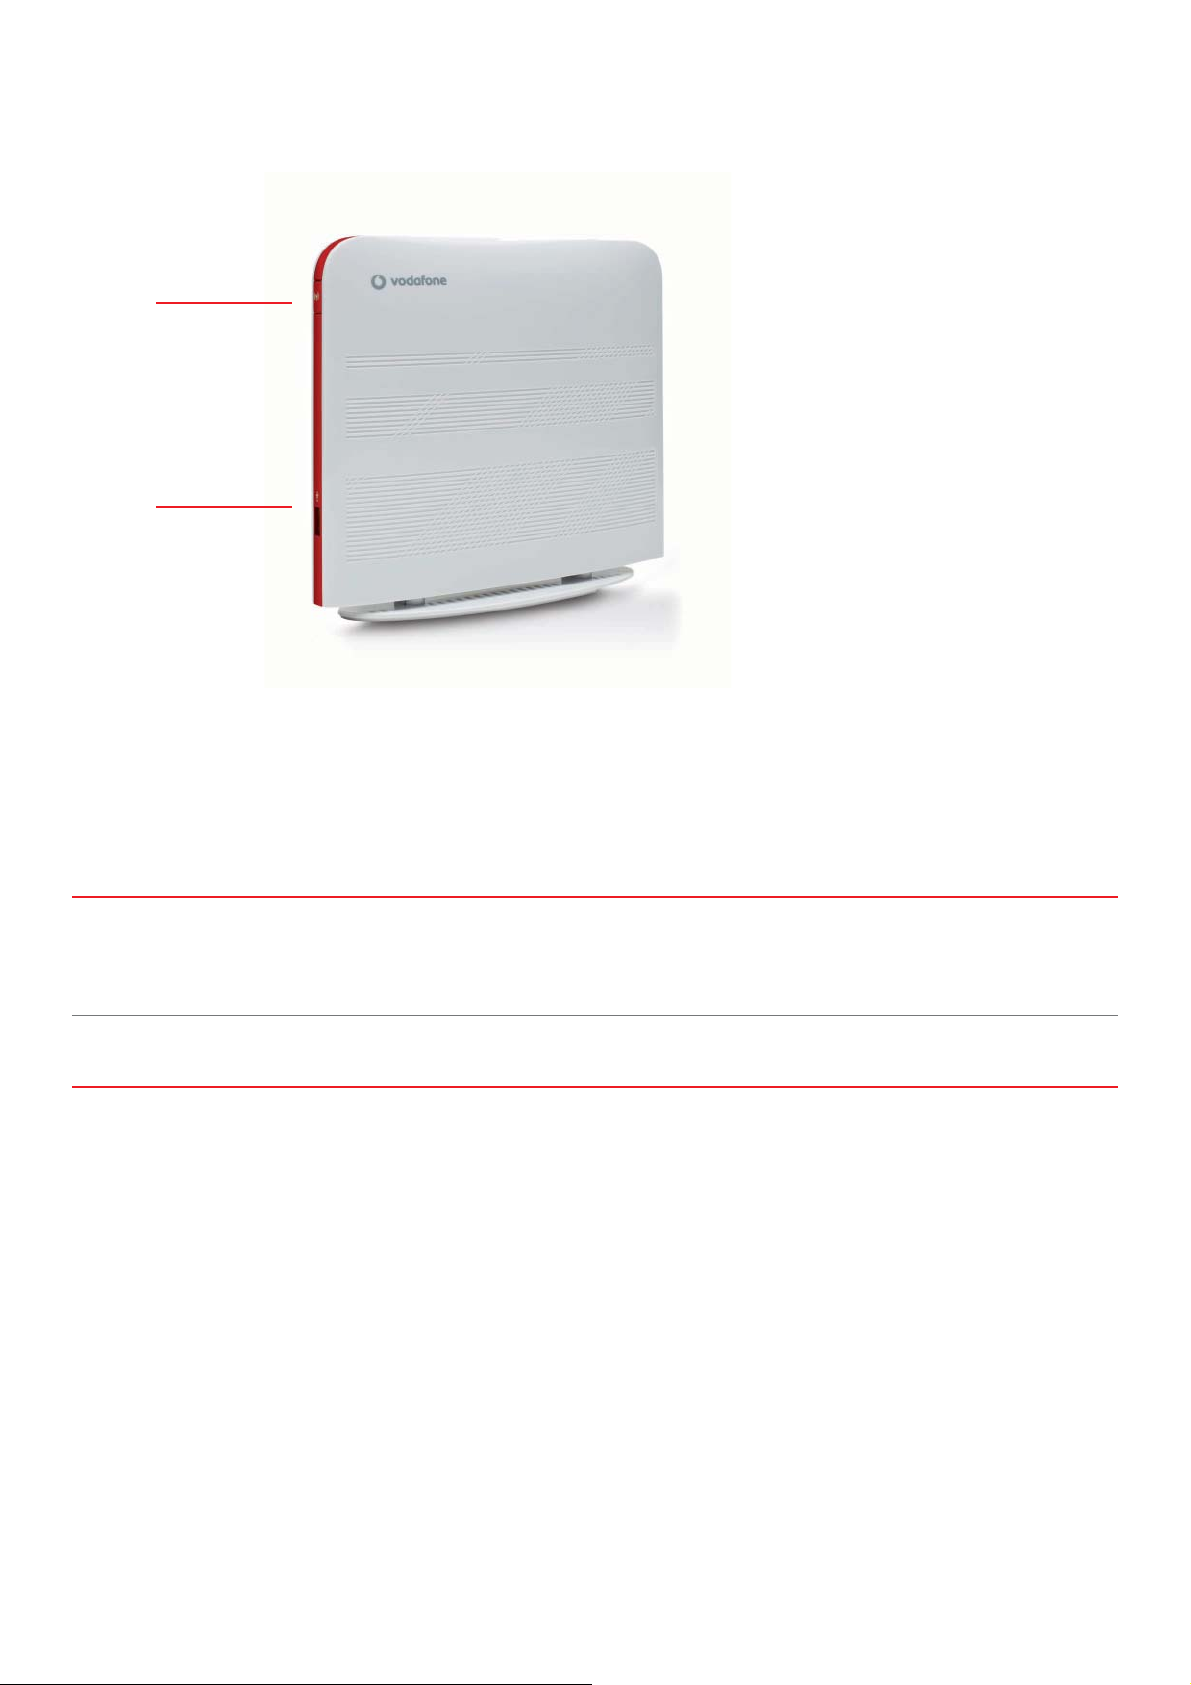
1.3 The side panel of your Vodafone Broadband Complete
Wi-Fi
Button
USB
Interface
The side panel of your Vodafone Broadband Complete provides the following
interfaces and buttons:
Interface or Button
Meaning
Wi - Fi Button
USB Interface
Switches your Wi-Fi option on or off. For more details about the Wi-Fi
button, see 2.3 Connecting the PC to the Vodafone Broadband Complete
through Wi-Fi.
Connects a USB storage device, such as a USB disk, a printer etc.
Note for the Wi-Fi button:
Press and hold the Wi-Fi button for more than four seconds to enable the WPS function.
Press and hold the WiFi button for less than four seconds to disable the WiFi function.

1.4 Description of the indicators on the front and rear panels
Indicator Colour Status Meaning
-
Red
Red
Red
-
Red
Red
Red
-
Red
Red
Red
-
Red
-
Green
Red
Off
Blinking slowly
Blinking quickly
On
Off
Blinking slowly
On
Blinking quickly
Off
Blinking slowly
On
Blinking quickly
Off
On
Off
On
On
The HSPA module is not connected or used.
The HSPA connection is normal and data connection is being established.
The HSPA connection is normal and voice connection is being established.
The connected HSPA module works normally.
The Wi-Fi network is not activated.
The Wi-Fi Protected Setup (WPS) process is in progress.
The Wi-Fi connection is in good condition.
The Wi-Fi connection is normal and data is being transmitted on the link.
The ADSL connection is not activated.
The ADSL connection is in process.
The ADSL connection is in good condition.
DSL synchronisation is in progress.
Your Vodafone Broadband Complete is powered off.
Your Vodafone Broadband Complete is powered on.
There is no Ethernet connection.
The Ethernet connection is in good condition.
The LAN connection is not connected.

2. Installation guide
This chapter describes how to setup your Vodafone
Broadband Complete.
Power
Adapter
DSL Cable
Line Filter
2.1 Connecting the cables on your
Vodafone Broadband Complete
1. Plug your Vodafone Broadband Complete into the
mains power with the supplied power adapter by
connecting it to the power port on the back of the
device and then plugging it into a wall outlet or a
power strip.
2.Once the device is connected, the power indicator
on the front of your device will light up, indicating
that your Vodafone Broadband Complete has power.
3. Connect the supplied DSL cable to the ADSL port
on your Vodafone Broadband Complete.
2.2 Connecting your computer to your
Vodafone Broadband Complete using the
PC/LAN cable
1. Connect the supplied PC/LAN cable to any of
the four LAN ports on the rear panel of your
Vodafone Broadband Complete and plug the other
end into the Ethernet port on your computer.
2. The Ethernet indicator on your computer and
the DSL indicator on the front of your Broadband
Complete device will light up, see 1.4 for a
description of the indicators on the Front and Rear
panels of the device.
When you access the internet wirelessly, you do
not need to connect the PC/LAN cable so once
your computer has connected you will be able
to browse the internet from anywhere within the
range of your device.
4. Then connect the DSL cable to the line fi lter
ADSL port.
5. Plug the other end of the line fi lter into your phone
wall socket.
6. You can also plug in a phone if required to the
phone port of the line fi lter. (All phones in use will
require a line fi lter).
Once you have correctly connected the cables to
your Broadband Complete modem will connect
to the Vodafone network and be automatically
confi gured with your new Vodafone settings.
As soon as your modem has been successfully
confi gured, a confi rmation webpage will appear.
It can take up to 5 minutes to complete this process.

2.3 Connecting a computer to your
Vodafone Broadband Complete using a
wireless connection
2.5 Using Vodafone Mobile Broadband
with your Vodafone Broadband Complete.
A Vodafone Mobile Broadband Vodem can be used
with your Vodafone Broadband Complete as a backup
internet connection if there is an outage on your
fi xed broadband or while you’re waiting for your fi xed
line broadband connection to get setup.
To check what Vodafone Mobile Broadband Vodems
are compatible with the Broadband Complete
modem see vodafone.co.nz/broadband-wireless-
router/
To setup a wireless connection from your computer
to your Vodafone Broadband Complete, follow these
simple steps:
Enable the WPS function
1. Your Vodafone Broadband Complete will set up
your wireless connection on your computer using
the SSID name located on the rear panel of your
device. By default the WPS function is enabled.
2. Use your computer’s wireless software to fi nd and
connect to your Broadband Complete modem.
It will appear on your computer using the SSID name
located on the rear panel of your device. You will be
prompted to enter the WPA key from the rear panel
of your device.
3. The DSL and Wi-Fi indicators on the front of your
modem will light up, see 1.4 for a description of the
front panel indicators and statuses.
Note for pressing the Wi-Fi button:
Press and hold the Wi-Fi button for more than
four seconds to enable the WPS function. Once
the button is pressed and held for more than
four seconds, the Wi-Fi indicator will start to
blink slowly in a few seconds.
Inserting the Vodafone Mobile Broadband
Vodem Stick:
1. Remove the SIM card holder from the Vodafone
Mobile Broadband Vodem.
2. Insert the SIM card into the card holder.
3. Re-insert the SIM card holder into the Vodafone
Mobile Broadband Vodem.
1
Make sure your Broadband Complete modem
is plugged in and turned on before trying to
connect using your Mobile Broadband vodem.
 Loading...