

8
28492 CONSTELLATION ROAD VALENCIA, CA 91355
WWW.VITEKCCTV.COM | 888-VITEK-70
LIMITED LIABILITY WARRANTY
Your new Camera is guaranteed to be free from defects in materials
and workmanship for a period of two years from the date of
purchase.
The product must have been used only for its intended purpose, and
not been subjected to damage by misuse, willful or accidental
damage, caused by excessive voltage or lightning.
The product must not have been tampered with in any way then the
guarantee will be considered null and void.
This guarantee does not affect your statutory rights.
Contact VITEK or your local distributor if servicing should become
necessary.
VITEK
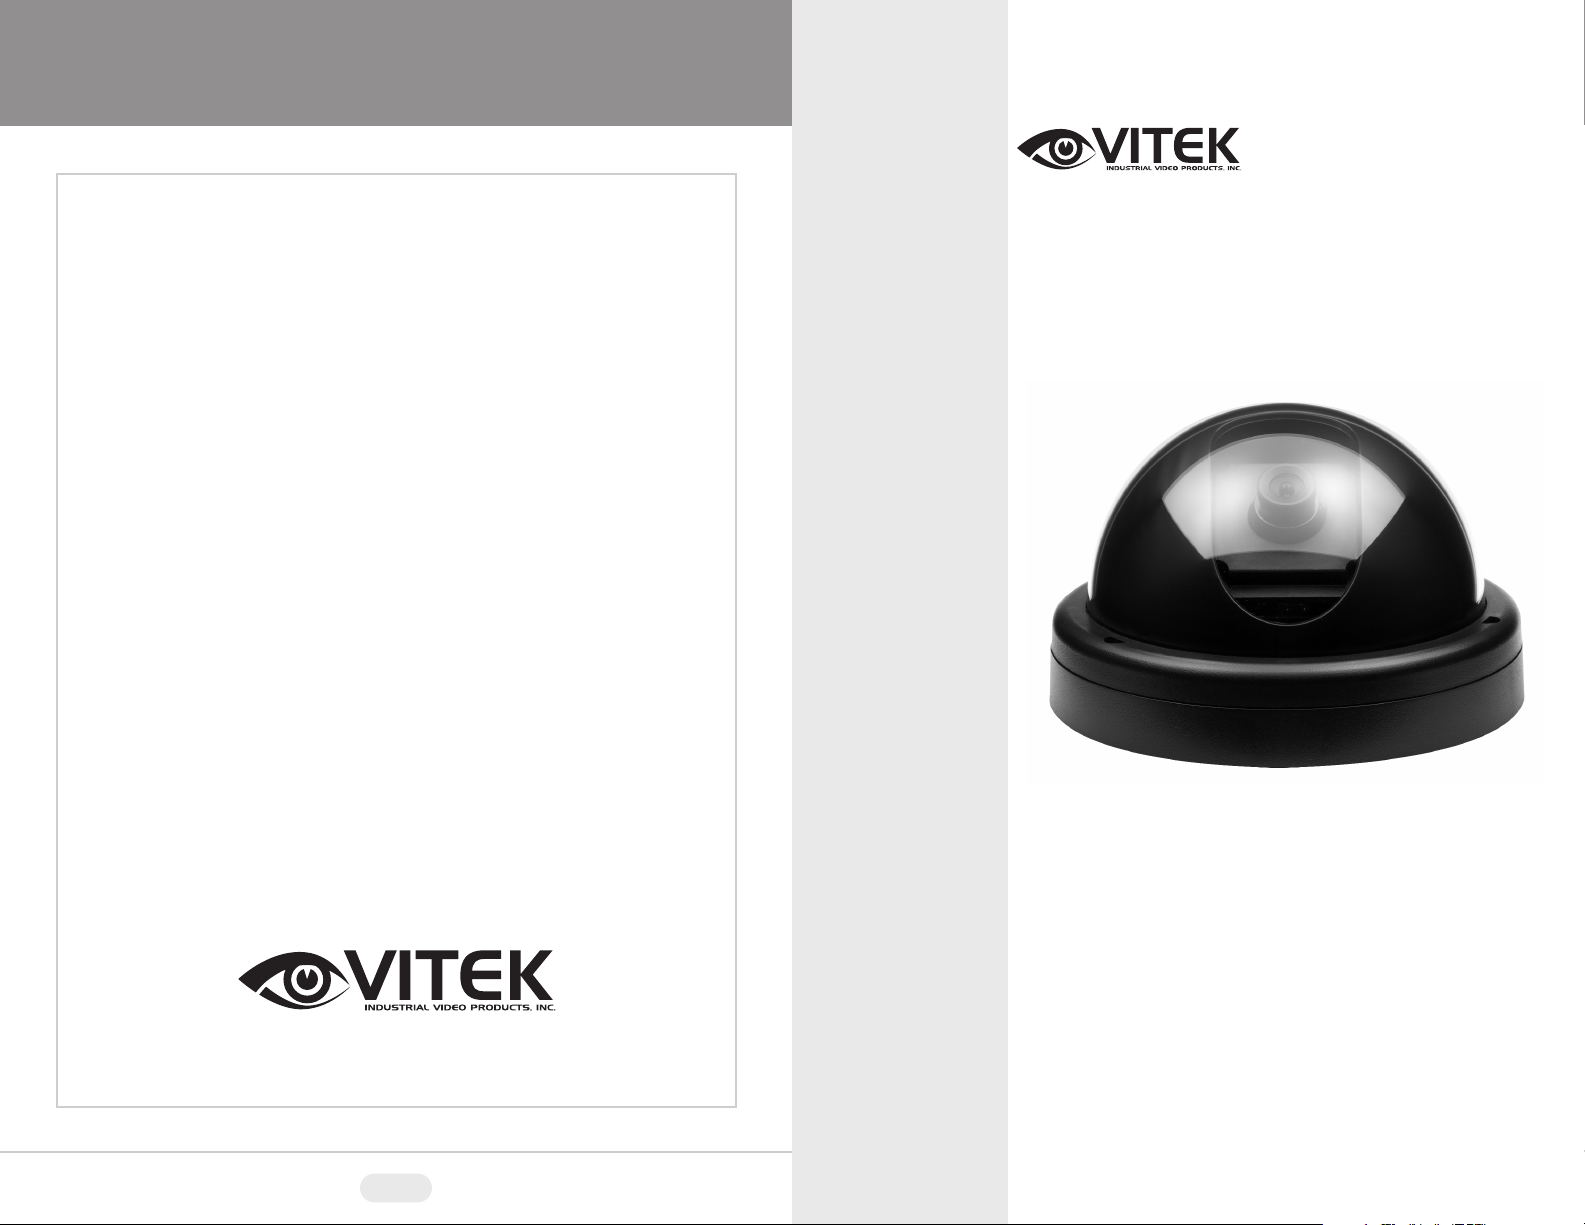
VTD-C410
High Resolution Color
Indoor Dome Camera
The VTD-C410 high resolution color dome camera is a
small, attractive camera ideal for use in commercial or
residential applications. It measures less than 5” in
diameter and comes in dual voltage 24 Volt AC/12 Volt
DC power input for easy integration with standard
cameras and power systems.

6
NOTES
3
CAMERA SETUP
DIP SWITCH SETTINGS
Your VTD-C410 Dome Camera has been set at average default settings from the factory so the
performance should be excellent right from the start. However, certain challenging environments
may require additional set-up procedures to enhance the image.
There are four dip switches on the rear board
of the camera. They should all be set to off
from the factory. The following adjustments
may be made:
Dip Switch Adjustments
Electronic Shutter Control
Leave this switch in the “Off” position if your camera has an auto
iris lens.
Switch to the “On” position when using a fixed lens version to
enhance the camera’s ability to react to changing light.
Back Light Control
Leave this switch in the “Off” position if your camera is being
installed outdoors or if the installation is indoors in a controlled
lighting environment.
Switch to “On” position when installing the camera indoors looking
toward windows or doors or if outdoors looking into semi-direct
sunlight. Never install camera looking into direct sunlight.
Flickerless On/Off
Flickerless shutter speed for minimizing image flicker under
fluorescent lighting.
Auto White Balance
Switch “On” if the image appears discolored or floats between
colors. This will enable the camera to find “White”.
Dip Switch 1 =
Dip Switch 2 =
Dip Switch 3 =
Dip Switch 4 =

2
WIRING CONNECTIONS
The VTD-C410 Dome Camera should be powered by 12 Volts DC or 24 Volts AC. You should
make sure that the power supply you are using is CSA Certified Class 2 Power Supply delivering a
minimum of 2.5 Watts.
For optimum video signal, use 95% copper shielded coax cable. Twisted pair or CAT-5E cable may
also be used with optional VT-TR1M Passive Video Transceivers. Maximum cable distance for 95%
copper braid coax is approximately. 800’; For Cat-5E or twisted pair, 2000’ using VT-TR1M
transceivers.
7
DOME SPECIFICATIONS
Image Device
Effective Pixels
Resolution
Minimum Illumination
S/N Ratio
Electronic Shutter
White Balance
Standard Lens
Video Output
Power Source
Dimensions
Weight
1/3” Color CCD Image Sensor
768 x 494
480 TV Lines
0.7 Lux at f1.2 (AGC On)
More Than 48dB (AGC Off)
1/60 ~ 1/100,000 Sec.
Auto White Balance (AWB)
3.6mm Included (2.9 / 6.0 / 8.0 / 16mm Optional)
Composite: 1.0 Vp-p / 75 Ohm
12VDC / 24VAC
4.73” x 2.96” / 120mm x 75mm (W x H)
0.66 lbs. / 10.58 oz. / 300g

4
FOCUS ADJUSTMENT
The focus may be adjusted by simply screwing or
unscrewing the lens. Be sure to loosen the set
screw before attempting to adjust the focus or
damage may occur.
Be careful not to over tighten the lens or
you may damage the pick-up sensor.
Focus Adjustment
5
ROUTINE MAINTENANCE
Use mild liquid cleaners to remove dirt and grime from the dome surface.
Do not use harsh or abrasive cleaners which can scratch the polycarbonate dome and reduce
visibility for the camera.
If the camera view is obstructed by scratches, remove the front plate (bezel) and rotate the bubble
to a portion that is not scratched.
If the dome becomes damaged or scratched beyond use, contact your distributor to order a
replacement.
 Loading...