

Viking VK20, VK30 User Manual
www.metaldetectors.co.uk
Metal Detectors
1 Angela Street
Mill Hill, Blackburn
BB2 4DJ
t: +44 (0)1254 55887
f: +44 (0)1254 676901
e: viking@metaldetectors.co.uk
User Manual
Thank you for purchasing a VK-Series
detector from VIKING. This is one of a family
of microprocessor driven metal detectors
that are very simple to use yet provide
excellent performance. The VK20 is a motion
metal detector and the VK30 also provides
non-motion operation, which assists with the
accurate pinpointing of targets.
Please take time to read this booklet. It will guide
you through each of the available features to
ensure you get the best out of your detector.
The term 'motion' used above simply means the
search head needs to be kept moving in order to
detect metal items. This allows the
microprocessor to analyse the received signals
and discriminate against poor quality metals.
When a suitable target is detected, an audible
'beep' is heard either from the loudspeaker or
headphones (if connected).
Getting Started
1. Unpack The Detector
There are two main sections. The 'S' shaft, onto
which is mounted the control box, armrest and
detector stand, and the lower shaft with the
search head.
2. Assemble The Detector
Note the spring button clip protruding from near
the top end of the lower shaft. Slide the lower
shaft into the 'S' shaft, wrapping the cable
snugly, but not tightly, round the shaft. When
correctly aligned the spring button clip will click
into 1 of the 3 holes in the 'S' shaft.
3. Tighten the coupling
Turn the coupling to the 'lock' position as
indicated by the arrow. This makes a rigid
connection between the two parts of the shaft.
4. Insert Battery
The detector takes a single PP3 (alkaline) 9V
battery. This is placed in the battery
compartment on the back of the control box.
ENSURE THE BATTERY IS INSERTED THE
CORRECT WAY ROUND
Push the drawer back into the detector until it
clicks. Please note the drawer can only be
inserted the one way.
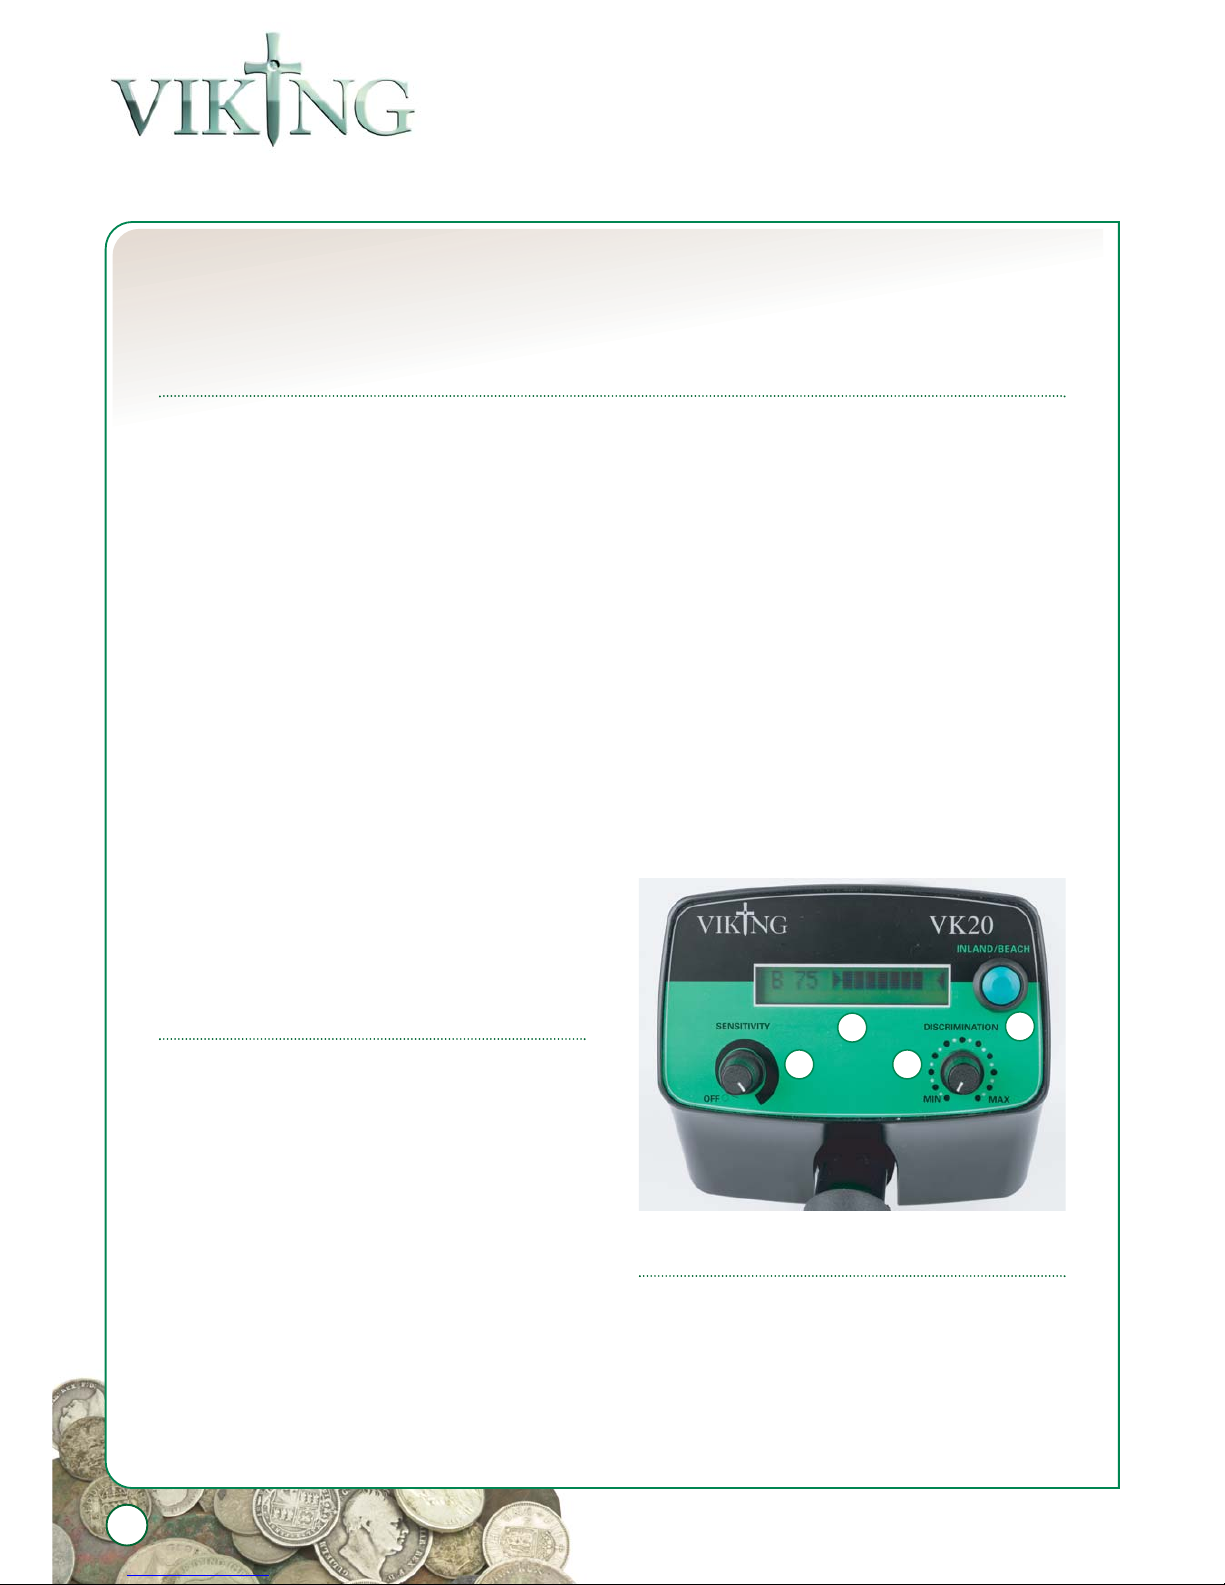
VK20 Display Panel
1. Off / On - Sensitivity Control
2. Discrimination Control
3. Detector Display
4. Inland / Beach Switch
VK20 & VK30
1
4
1
3
2
www.metaldetectors.co.uk
Metal Detectors
1 Angela Street
Mill Hill, Blackburn
BB2 4DJ
t: +44 (0)1254 55887
f: +44 (0)1254 676901
e: viking@metaldetectors.co.uk
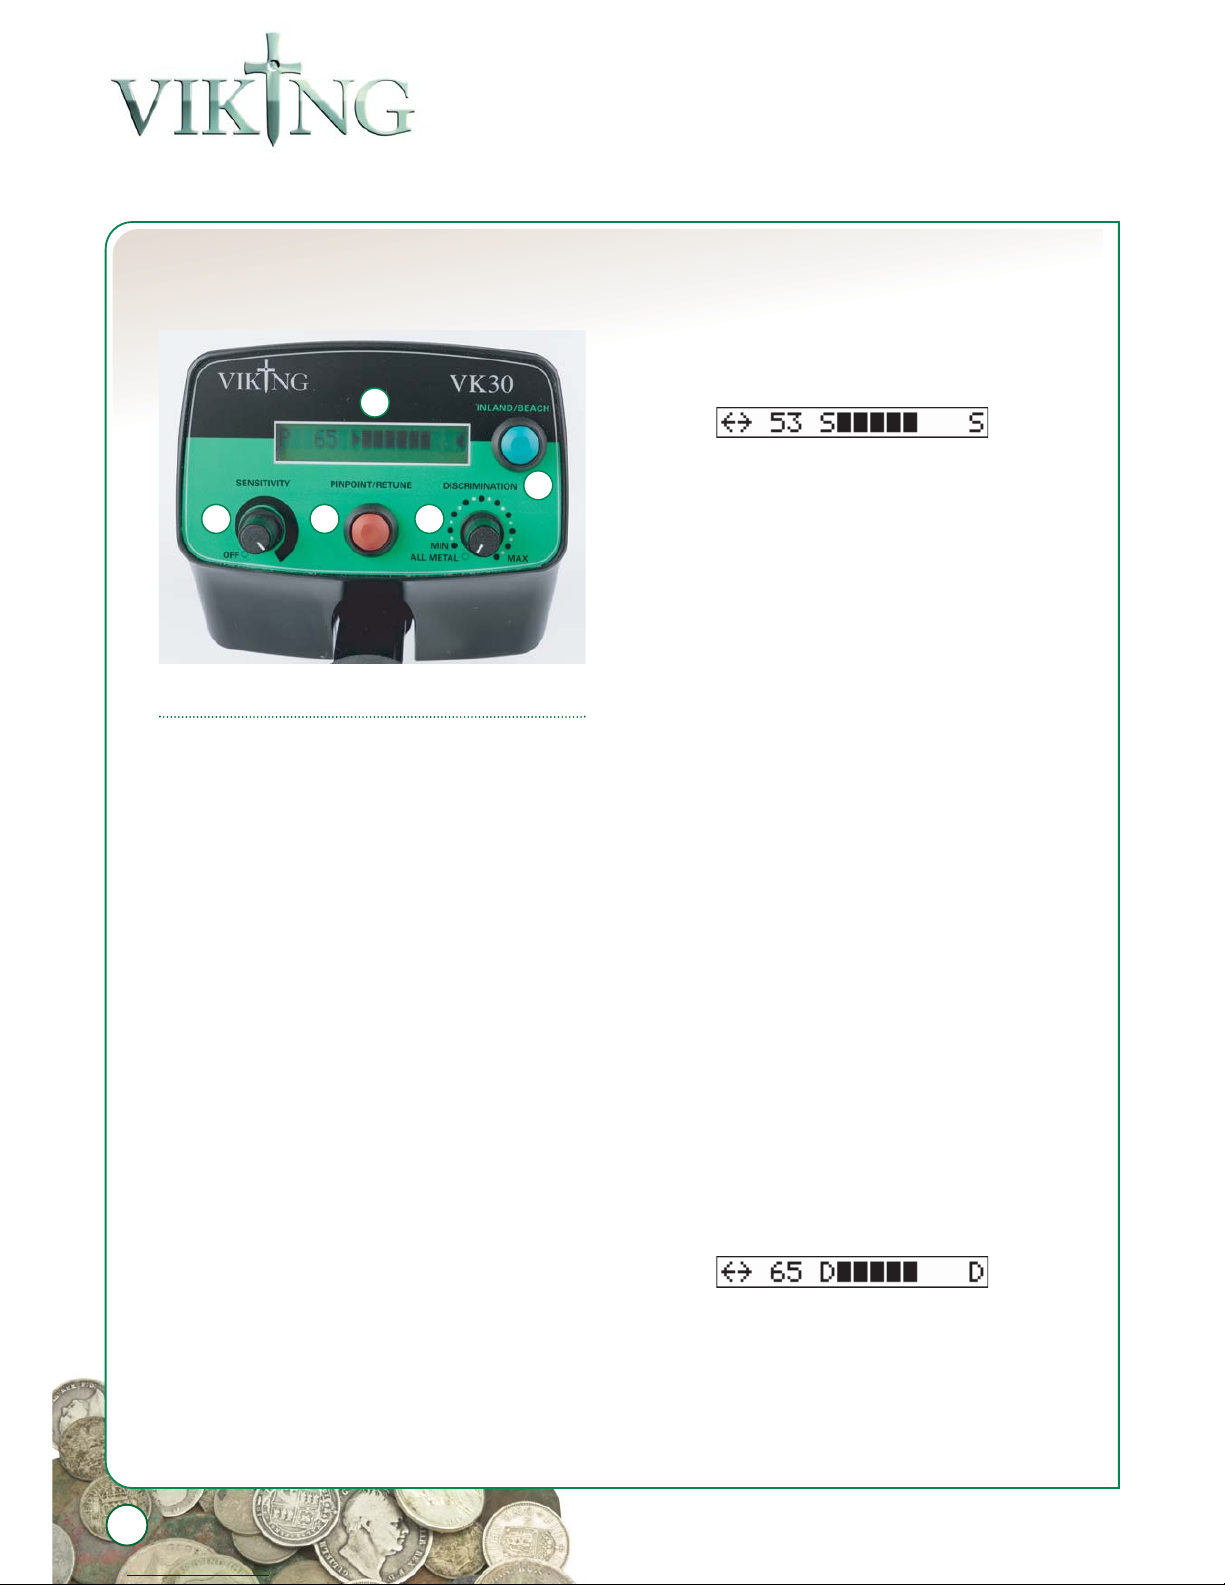
VK30 Display Panel
1. Off / On - Sensitivity Control
2. All Metal / Discrimination Control
3. Detector Display
4. Inland / Beach Switch Target ID
5. Pinpoint / Retune Pushbutton
1. Off / On - Sensitivity Control
This control has two functions. When turned fully
anticlockwise the detector is switched off.
Turning the control clockwise will initially turn the
machine on. Turning the control further
clockwise will increase the sensitivity setting of
the detector. Maximum sensitivity is achieved
when the control is turned fully clockwise. The
ability of the detector to locate small or deep
objects will increase with the sensitivity setting.
In some environmental conditions the detector
may produce false beeps which do not indicate a
target. In this case it is recommended that the
sensitivity setting is reduced until the problem is
resolved.
When this control is adjusted, the display unit
indicates the current setting.
2. Discrimination Control
On the VK30 only: this control has two functions.
When turned fully anticlockwise it will click and
switch the detector into All-Metal mode. Turning
the control slightly clockwise will switch the
detector into Motion mode and from this point
the control will work exactly as on the VK20.
This control is used to discriminate against
unwanted metal targets. When turned fully
anticlockwise, all metal targets will be found.The
further the control is turned clockwise the more
discriminating the detector will be. When turned
fully clockwise only the most conductive metals
(Silver and Copper) will be found. All other
targets will be ignored. For general detector use
it is not recommended to search with the
discrimination control set to full as you may miss
the most valuable targets. Items such as gold
rings are not as conductive as a piece of copper
and will be missed if the discrimination control is
set too high.
When this control is adjusted, the display unit
indicates the current setting. The number
displayed relates to the minimum target ID
number that will give an audio signal when
detected
2
4
1
3
25
Sensitivity Adjust
Audio Discrimination Adjust
www.metaldetectors.co.uk
Metal Detectors
1 Angela Street
Mill Hill, Blackburn
BB2 4DJ
t: +44 (0)1254 55887
f: +44 (0)1254 676901
e: viking@metaldetectors.co.uk
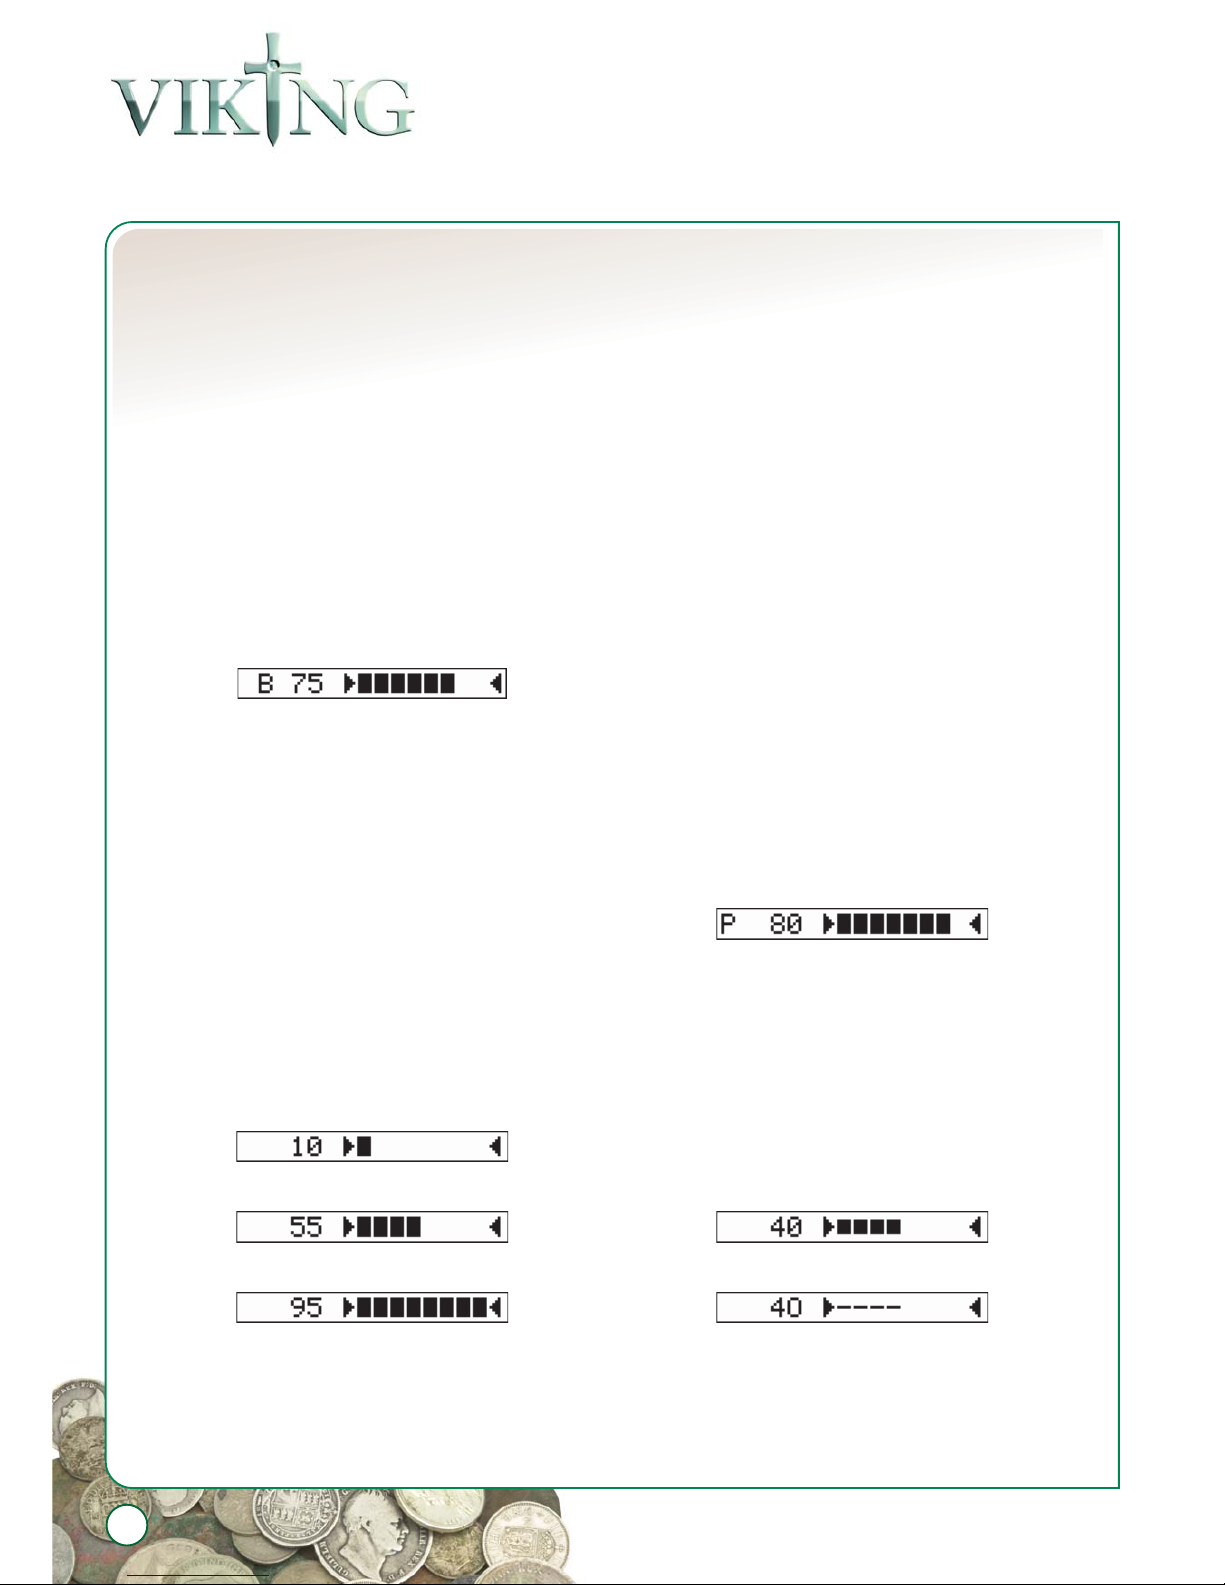
3. Beach / Inland Switch
This switch is used for detecting on the beach.
Pressing the button once will switch the detector
into beach mode. Pressing it again will switch
back into inland mode. The display will show 'B'
when beach mode is selected. When using this
mode the detector will not detect iron objects,
but will still provide an audio signal and target ID
for non-ferrous metals.
Note that the detector will always reset to inland
mode when the power is switched off
4. Target ID
This part of the display provides an indication of
the identity of each target. When the search
head is swept past a target a number, between 0
and 95, is shown on the display and the bar fills
up to a point. If only one or two blocks appear
and the number that appears is low then the
object is likely to be iron. If seven or eight blocks
are shown and the number is high then the
object is likely to be of high conductivity.
Some Typical Targets:
5. All Metal Mode (VK30 only)
Turning the discrimination control fully anticlockwise switches the detector into All Metal mode.
This mode allows more accurate pinpointing of
the target as the search head does not need to
be kept moving to detect.
6. Pinpoint / Retune Button (VK30 only)
When in Motion mode, pressing and holding this
button switches the detector into All Metal mode.
When detecting in All Metal mode, holding this
button switches the detector to Motion mode and
also retunes the threshold tone. When the
detector is in Non-Motion mode, whether chosen
by the discrimination control or the pushbutton,
the display shows a 'P'. The display gives the
target ID of the object as in motion mode. Please
note that although there is increased sensitivity
when using non-motion mode, the display is not
capable of correct ID for small signals that would
not be detected in Motion mode.
7. Battery Check
The detector continually monitors the condition
of the battery. As the battery power begins to
fade, the blocks used to indicate target ID or
control position reduce in size. When the blocks
show up as a thin line the battery should be
replaced.
3
Detection in Beach Mode
Small Iron (Nail)
Non-Motion Detection
Modern 5p
Victorian (Silver) Shilling
Battery Fading
Replace Battery
 Loading...