

Viking VK1430 Pixelcyc Instructions Manual

VK1430 Pixelcyc
The VK1430 Pixelcyc Bar is a powerful LED Cob Light
using 14 30w RGB Led Cobs and producing excellent
colours inc colour correction and vivid Yellows, oranges, greens blues and ambers. In addition to being ideal
for lighting a Cyclorama the unit is ideal for use as Eye Candy due to it’s ability to control each Led separately
and do full pixel mapping. In addition to DMX control it has 15 excellent stand alone built in programs together
with the ability to modify or customise these programs to the users choice of colour , effect etc when using a
DMX controller or lighting desk.
The unit is IP65 rated for use outside in the wet and can be hung vertically or horizontally via the floor standing
feet using hook clamps or half couplers. With no fan the VK1430 is completely silent making it ideal for theatre
use. If multiple units are placed end to end then the spacing between each LED remains constant.
Please read these instructions before use to ensure you get the best out of our VK1430’s !
Power to the light is via 16a In and Out Mains connectors , allowing up to 6 units to be daisy chained on a 13a
mains feed or 7 on a 16a mains feed. DMX Data is in/out via XLR 3 pin connectors and as with all DMX
products it is recommended to fit a Terminator to the last DMX product on the data line to ensure a clean
signal.
Operation
Simple to operate there are built in programs for creating effects, but in practice these are not normally of any
use as the colour temperature and brightness are the two properties that are likely to be used.
Rear LED DISPLAY
Operation of buttons
Menu: Used to select function
UP: Increase parameter value
Down: Decrease parameters value
Enter: to confirm value/preserve/enter submenu
To Set DMX Mode:
In order to enter the DMX start address of the unit select d001 on the menu, then enter the
required start address using the Up or Down buttons and when correct for your requirement remember to
press Enter to store. The unit remembers settings when turned off as long as the Enter button has been pressed.
If using multiple units the use of the ID menu function can save considerable time in calculating out each start
Dmx address in 42 channel mode as it will automatically calculate this for you by adding 42 to the start address
for each unit. Ie: an ID of ID04 will automatically set the DMX address to 42x4 (168)
MENU UP DOWN ENTER
A 0 0 1
M118
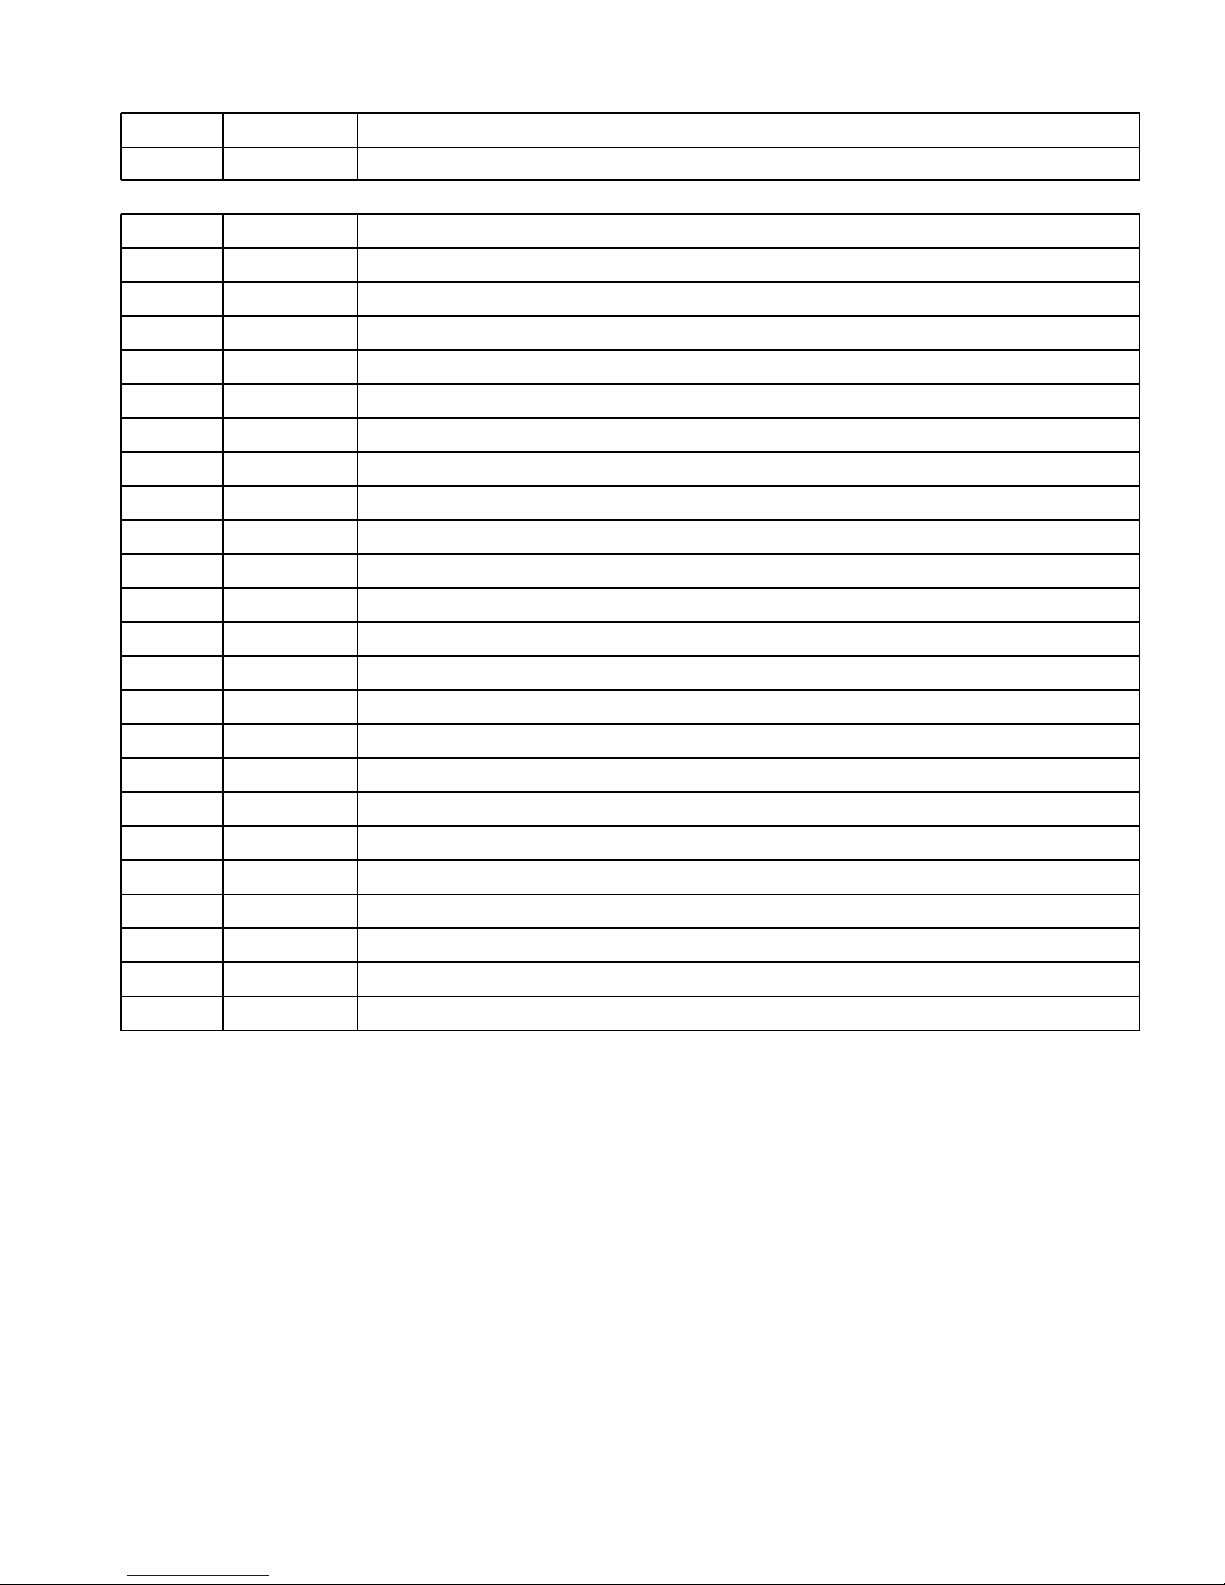
Display Value Function
D001 1-512 DMX Address for unit
ID01 1-70 ID for easy DMX setting - see instructions
R255 0-255 Red Stand Alone Brightness
G255 0-255 Green Stand Alone Brightness
B255 0-255 Blue Stand Alone Brightness
FF99 00-99 Strobe from slow to fast
R2001 0-255 Manual Level of Warm White
1JP0 0-9 Program 1: 1 led jumps to next 1, after all 14 colour changes
2JP0 0-9 Program 2: 2 leds jumps to next 2, after all 14 colour changes
3JP0 0-9 Program 3: 3 leds jump to next 3, after all 14 colour changes
4JP0 0-9 Program 4: Build Led by Led & when complete change colour and rebuild
5JP0 0-9 Program 5: Bounce Led at each end to centre and back then change colour
6JP0 0-9 Program 6: Bounce as Program 5 and also build
7JP0 0-9 Program 7: Build 1 Led at a time thru colours till white and then build to 14 all white
8JP0 0-9 Program 8: All 14 Leds on with single Led chasing
9JP0 0-9 Program 9: As Program 8 but 1 led chasing, then 2 then 3 led chasing
1dE0 0-9 Red Led Pulsing Effect
2dE0 0-9 Green Led Pulsing Effect
3dE0 0-9 Blue Led Pulsing Effect
4dE0 0-9 Pink Led Pulsing Effect
5dE0 0-9 Yellow Led Pulsing Effect
6dE0 0-9 Chasing each colour pulsing effect
Sud0 0-9 Sound Activated from slow to fast
CH02 2/3/5/8/42/44 DMX Channel Mode setting
0 Temperature of unit display in Centigrade
LED Display Functions
LED Display Stand Alone Functions
The above menu options are for allowing stand alone use without a controller. For DMX use, please see
DMX Mode profiles below.
 Loading...