

Viking VK1218 UL Instructions Manual
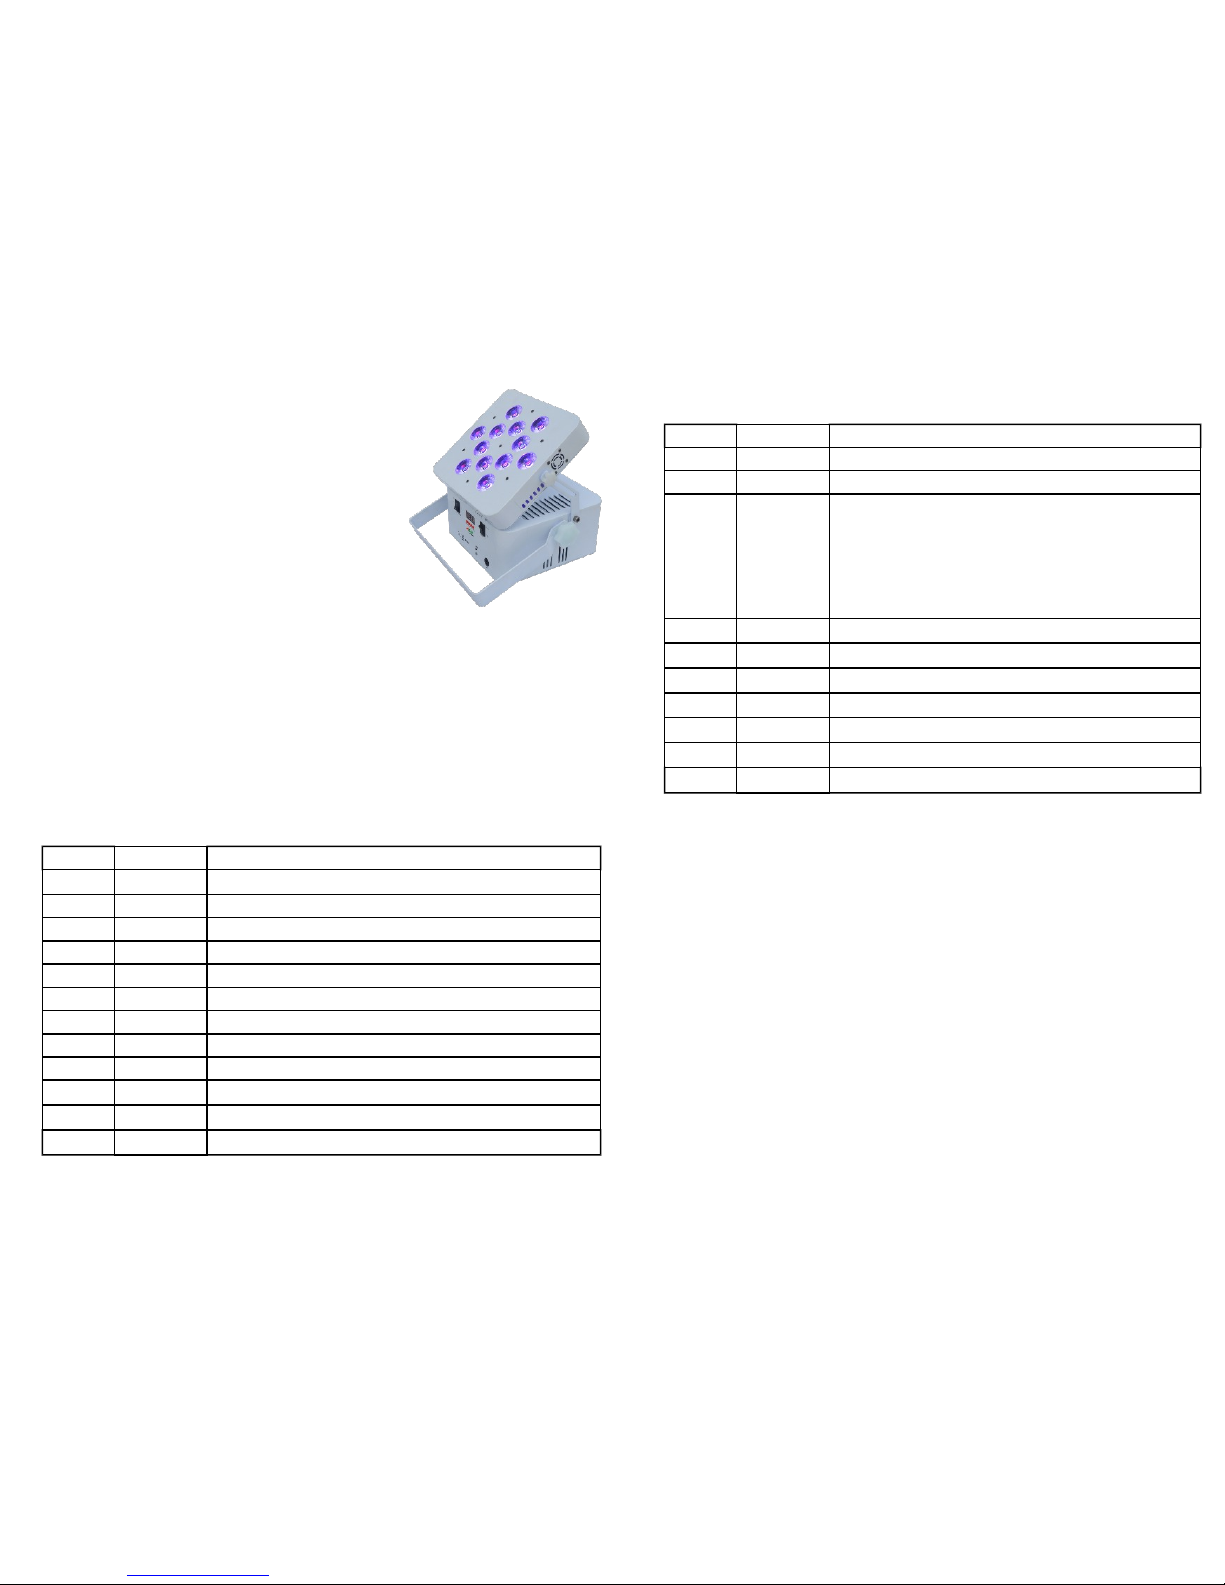
Viking VK1218 UL
12x18w 6 in 1
Led Battery /
Mains Uplighter
Instructions
This Led light is designed to create washes, either mains or battery powered,
together with DMX or stand alone control, either wired or wireless using the built
in 2.4g Wireless DMX Receiver
It uses 12 x 6 in 1 Led for RGBWA & UV for colour mixing, with powercon in
and out for mains operation if required. In addition the unit has a fuel gauge led
display to show the charge status of the battery together with a power saving switch
to turn off the DMX wireless receiver if using cables.
In normal use the unit will need a 6 hour charge for full battery capacity which will
provide up to 20 hours use if using one colour or 12 hours using 2 colours or 6
hours using full colour.
Channel Value Function
1 0-255 Master Dimmer Dark to Bright
2 0-255
Strobe - Slow to Fast
0-50 Function: DMX Control on 9 Channels
51-100 Auto Control: Snap Between Colours
3 101-150 Auto Control: Gradual Fade Between Colours
151-200 Auto Control: Pulse Change Between Colours
201-255
Auto Control: Sound To Light Change Between Colours
4 0-255 Program Speed from Slow to Fast
5
0-255 Red LED from Dark to Bright
6
0-255 Green LED from Dark to Bright
7
0-255 Blue LED from Dark to Bright
8
0-255 White LED from Dark to Bright
9
0-255 Amber LED from Dark to Bright
10 0-255 UV Led from Dark to Bright
Display Value Function
A001
1-512
DMX Address of unit in 10 channel mode
D001 1-512 DMX Address of unit in 6 channel mode
CC01 01-99 Snap Colour Changing Slow to Fast
EE01 00-99 Colour Fade Change Gradual Slow to fast
FF01 01-99 Colour Fade with Blackout between colours Slow to Fast
dEdF Sound to Light
r000 0-255 Manual Red Led Brightness
G000 0-255 Manual Green Led Brightness
b000 0-255
Manual Blue Led Brightness
o000 0-50 Manual White Led Brightness
Y000 0-255 Manual Amber Led Brightness
P000 0-255
Manual UV Led Brightness
Charging:
To charge the unit, turn off the Power switch & also the Signal switch. Plug the unit
into the mains on either the Powercon socket on the unit or via the charge lead in the
flightcase. A full charge from empty is normally achieved in approx 6 hours. The
unit can be used at any time during the charge period.
Usage:
This unit is only for use Indoors. It is not suitable for use outside in the wet.
Mains Operation:
The unit can be used on Mains via the Powercon Blue Mains socket and linked
through to up to 13 other units on the Mains Out Powercon socket. This ‘daisy
chaining’ can also be used for charging.
Charge Indicator:
The 4 Led Charge Indicator shows the charge state of the unit.
All Led’s on = Fully Charged
1 Red & 2 Green Leds on = above 75% charged
1 Red 1 Green Led on = above 50%
Red Led only = Charge required under 25% charge remaining
10 Channel Mode (address on unit showing ie; A120
Charging:
To charge the unit, turn off the Power switch & also the Signal switch. Plug the unit
into the mains on either the Powercon socket on the unit or via the charge lead in the
flightcase. A full charge from empty is normally achieved in approx 6 hours. The
unit can be used at any time during the charge period.
Usage:
This unit is only for use Indoors. It is not suitable for use outside in the wet.
Mains Operation:
The unit can be used on Mains via the Powercon Blue Mains socket and linked
through to up to 13 other units on the Mains Out Powercon socket. This ‘daisy
chaining’ can also be used for charging.
Charge Indicator:
The 4 Led Charge Indicator shows the charge state of the unit.
All Led’s on = Fully Charged
1 Red & 2 Green Leds on =
1 Red 1 Green Led on =
Red Led only = Charge required
Master Slave operation:
To use units where one Master will control slave units firstly daisy chain the DMX
signal connections to all units being used WITHOUT a DMX signal being sent to
the 1st unit in the chain. Either use a wired data cable from each unit linking to the next
or switch on the wireless signal on each unit AND plug in a DMX transmitter into the output
socket on the 1st (Master) unit.
Set the Master unit to master address number (A001) and the Slave units also to A001
Then set the master unit to the colour or fade option you want and the slave units will
automatically follow the master colour and fade.
The DMX indicator will then show the status of the unit;
DMX Signal LED Status:
Red LED Lit: No DMX is being received either by cable or wireless
Red Led Flashing: Wired DMX signal is being received or unit is running built in program
Green Led Lit: Unit is acting as a slave
Green Led Flashing: Wireless DMX is being received by the unit
DMX Operation:
Set the unit to either 6 channel or 10 channel DMX mode. This is set by entering the DMX
adddress with D prefix for 6 Channel or A prefix for 10 channel DMX control. For example
if the unit is showing A500 then the DMX address is 500 with control using 10 channels . To
use all units on the wireless transmitter the units need addressing to A001 and the transmitter
is then plugged into the DMX output on the lighting desk being used.
6 Channel Mode (address on unit showing ie; D120
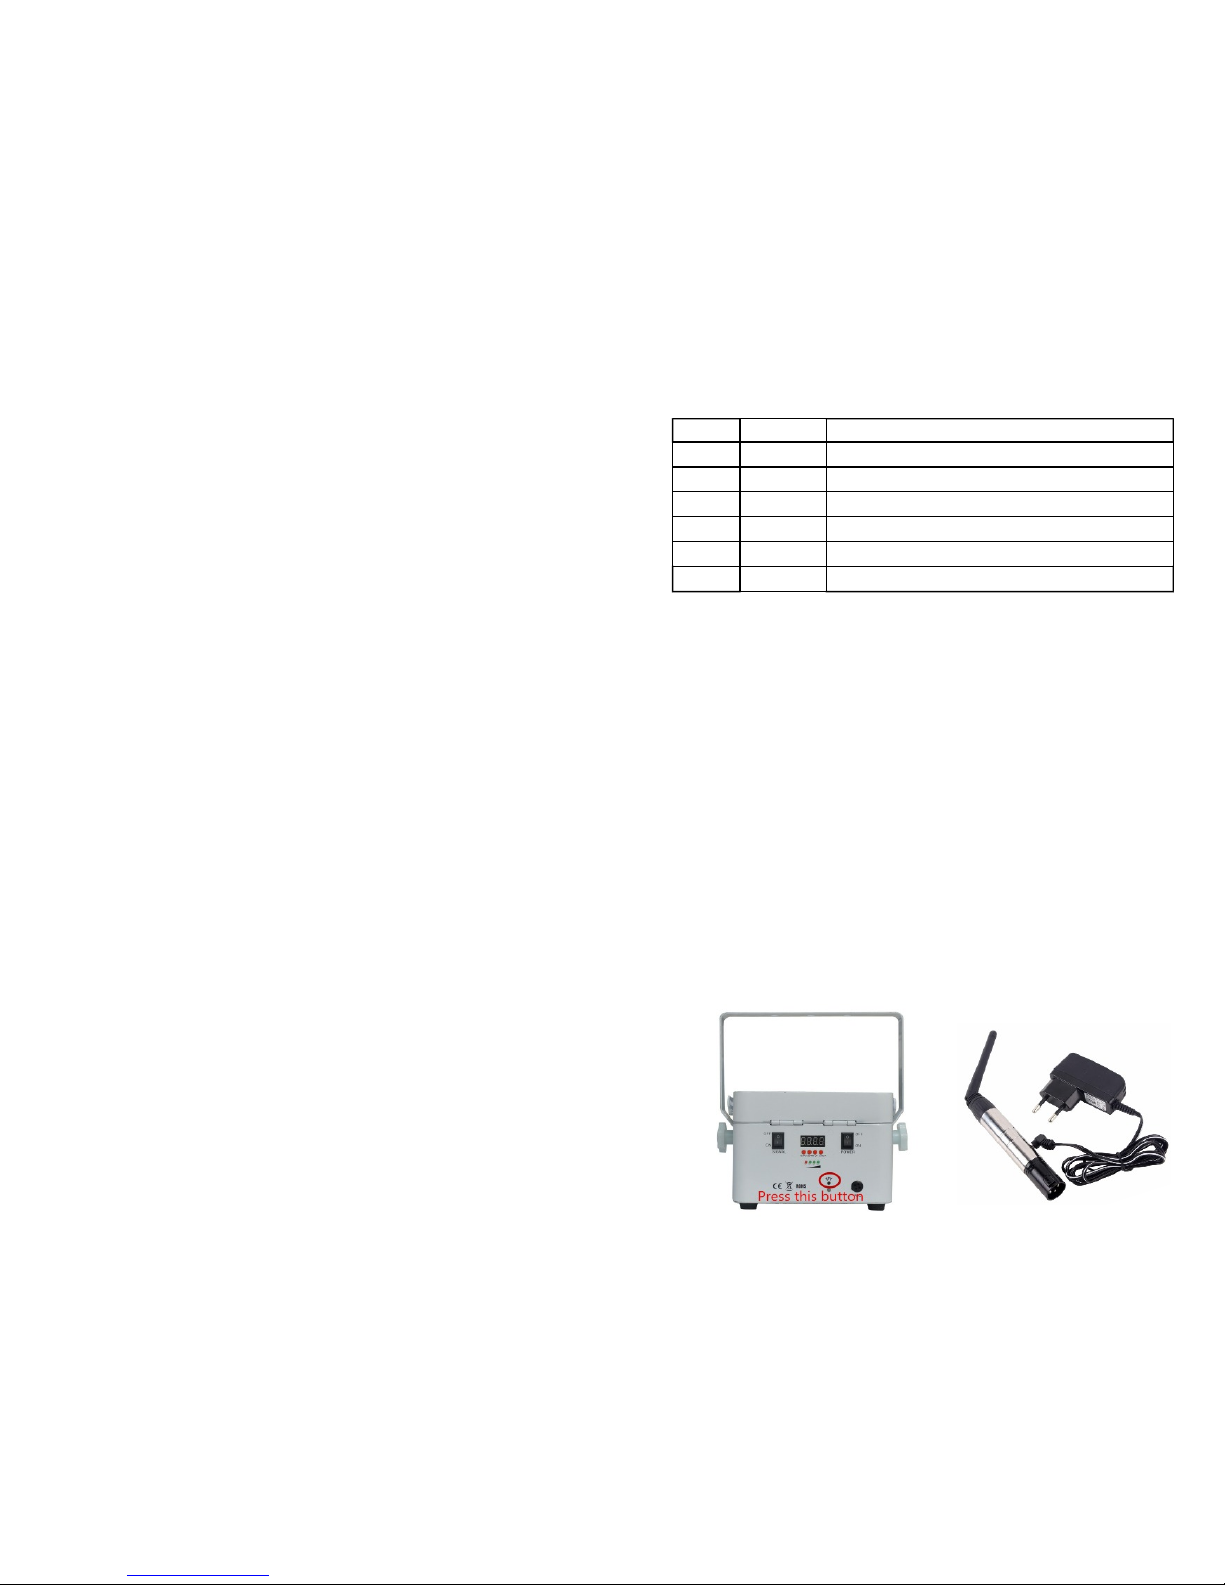
Wireless DMX Use
Some wireless transmitters can be set to different frequencies as indicated
by the colour of the LED on the transmitter (Normally Red).
To set the VK1218UL to the matching channel it is needed to change the
wireless LED indicator on the unit by pressing the recessed channel button
located in the centre of the wireless symbol as indicated below. Repeated
pressing of the button will cause the unit to cycle through the colours of
the channels available. (Default setting is also normally Red)
Wireless Master/Slave Use
1) Switch both POWER and SIGNAL to ON on ALL units
2) Ensure ALL units say A001; press the MENU button until prefix ‘A’
followed by 3 numbers shows in the LED display then press up/down
change the number to 001 and press ENTER
3) Ensure all units have a green signal LED (not flashing) , this can be set
by pressing the recessed signal button as pictured below. (green appears
after red)
4) Choose which VK1218UL you want to act as Master then using the
function table set the static colour or colour fade as required and press
ENTER
Channel Value Function
1
0-255 Red LED from Dark to Bright
2
0-255 Green LED from Dark to Bright
3
0-255 Blue LED from Dark to Bright
4
0-255 White LED from Dark to Bright
5
0-255 Amber LED from Dark to Bright
6 0-255 UV Led from Dark to Bright
 Loading...