

Viking VCBB5363ELAR, VCFB5303LAR, VCRB5303LWH, VCRB5363RAR, VCFB5363LAR Installation
Installation Guide
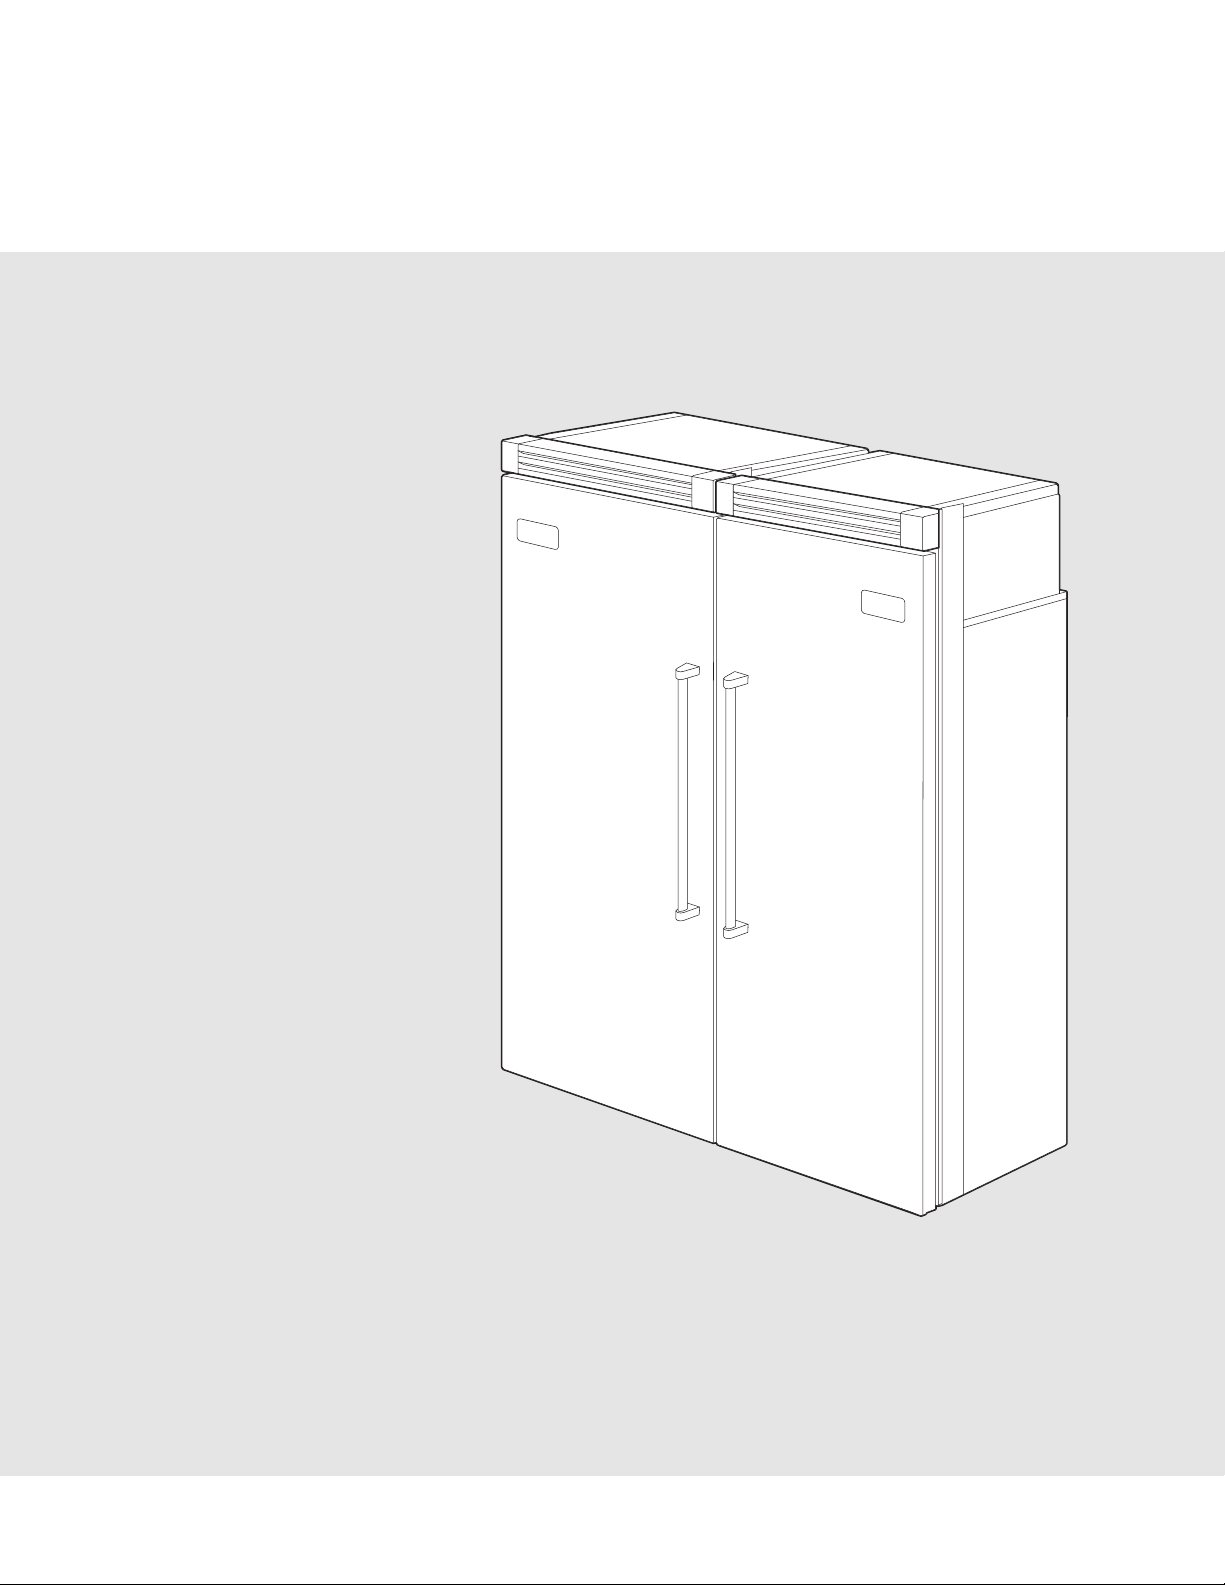
Built-In Refrigeration Top Grille /
Center Trim Installation
(Dual Installation)
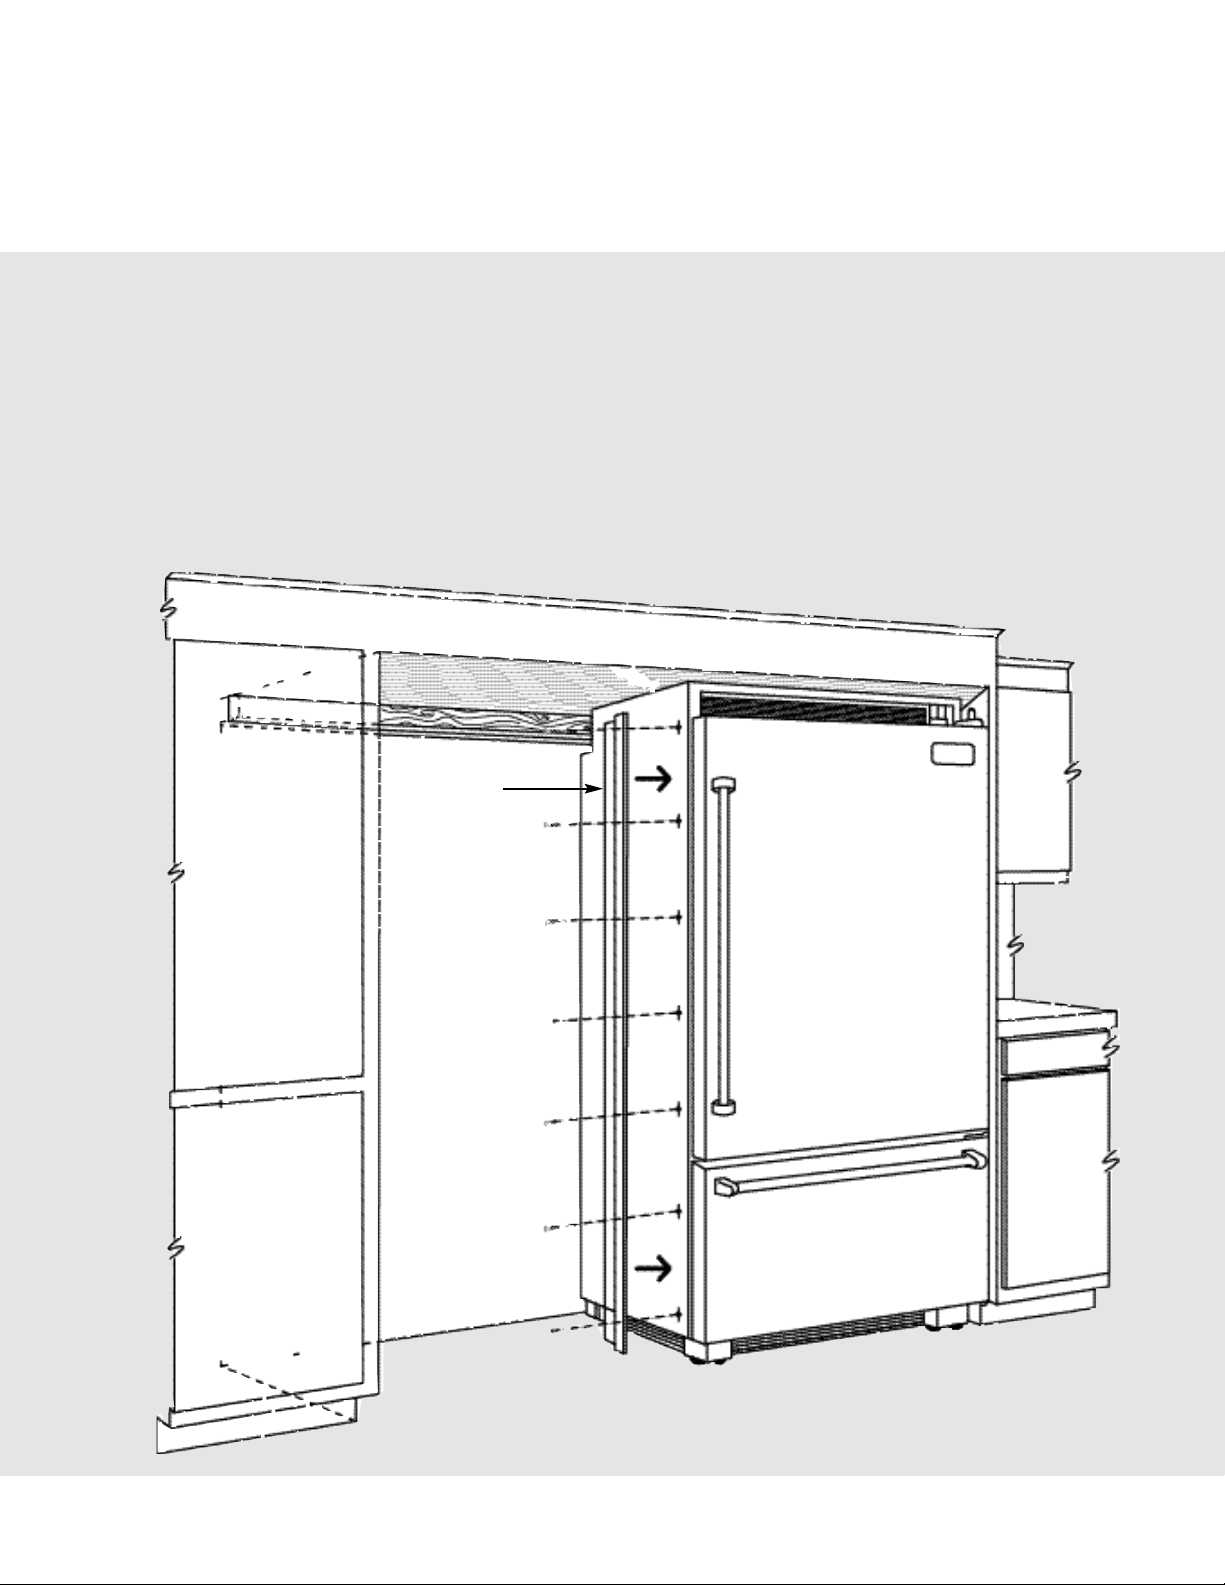
Side/Center Trim Installation -
Professional & Professional Integrated Models
• Remove cabinet side trim mounted on the left hand side of the refrigerator to be installed
on the right side of the installation. Replace with the “Z” shaped side trim provided in the
grille kit.
• For Professional (not including the Integrated line), skip to the next step. Remove cabinet
side trim mounted on the right side of the refrigerator to be installed on the left side of the
installation. Replace with the “J” shaped side/center trim provided in the grille kit.
2
Left Hand
Cabinet Side
Trim
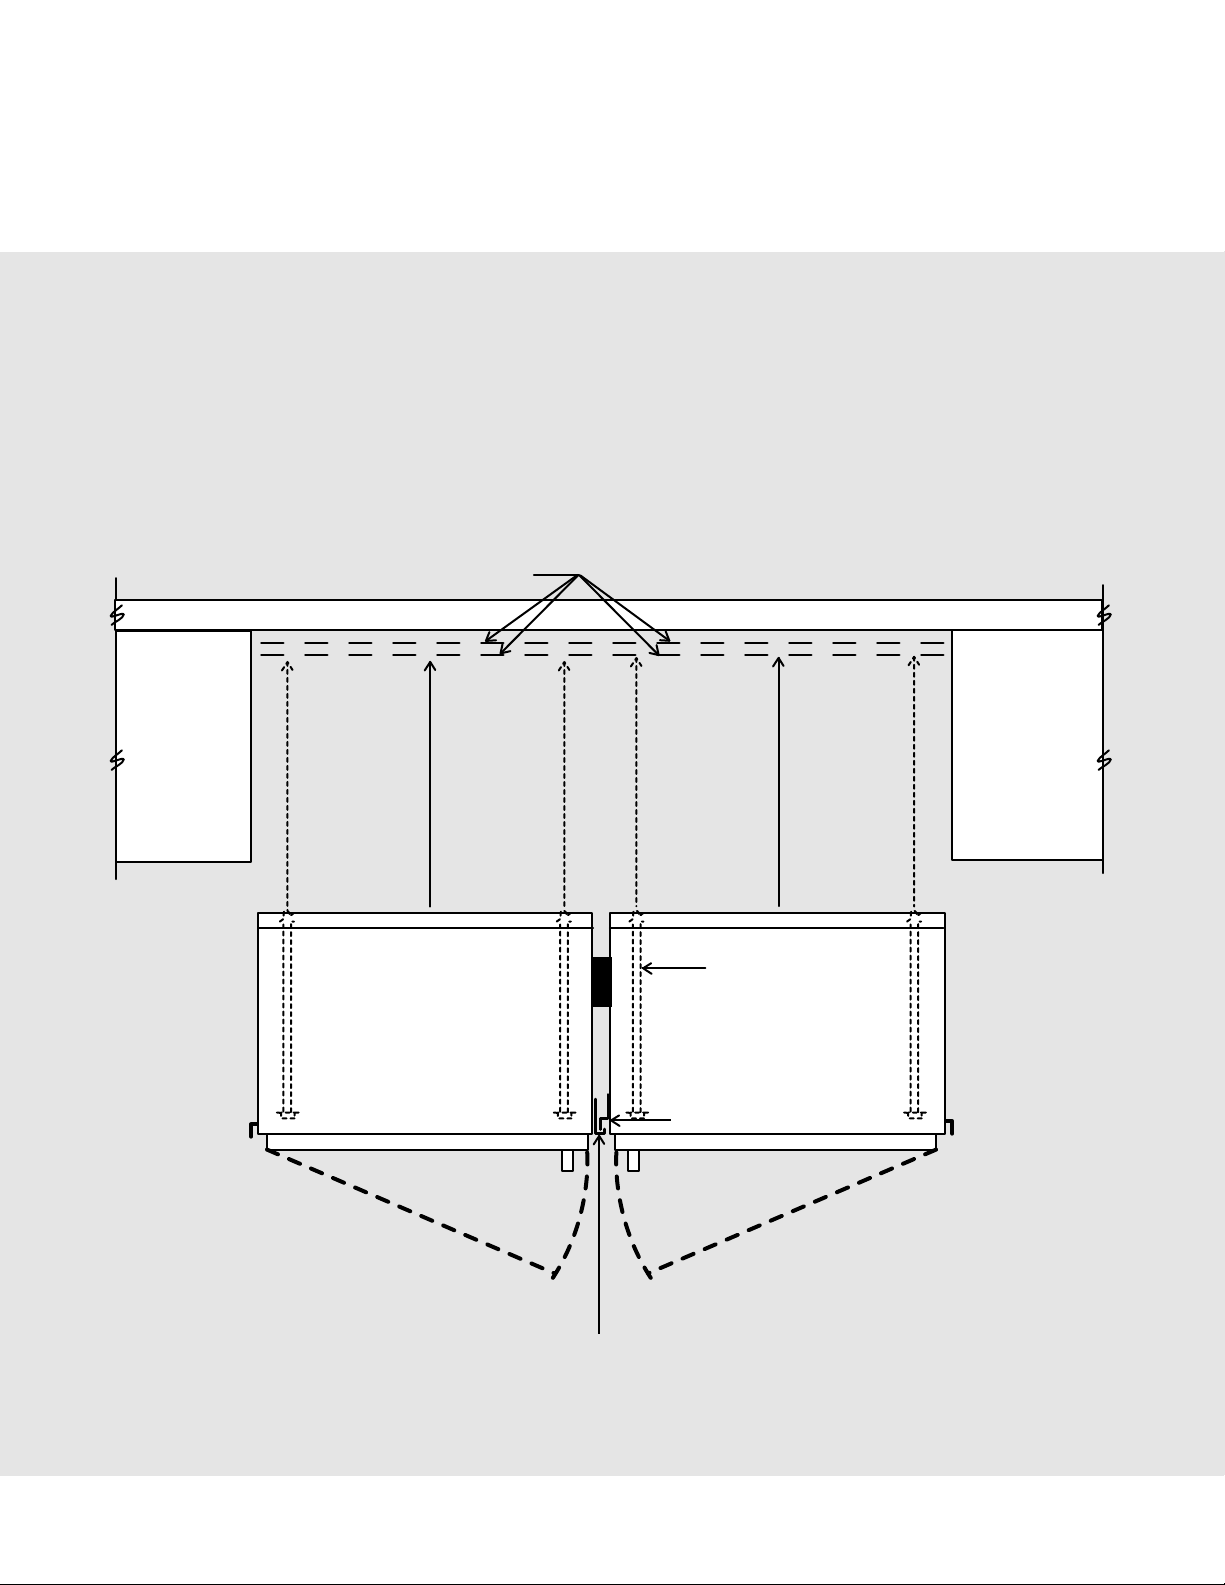
Side/Center Trim Installation -
Professional & Professional Integrated Models
3
Cabinet Side Trim
“Z” Shape
Cabinet Cabinet
Right Hand Door Unit
Left Hand Door Unit
Anti-Tip
Lag Bolts
2x4 mounting board fastened to
wall at top of cabinet opening
• Engage the right hand refrigerator’s left side trim into the “J” shaped portion of the left side
refrigerator’s right side trim.
• Finish unit installation according to installation instructions provided in each unit.
Cabinet Side Trim
“J” Shape
(creates center trim appearance)
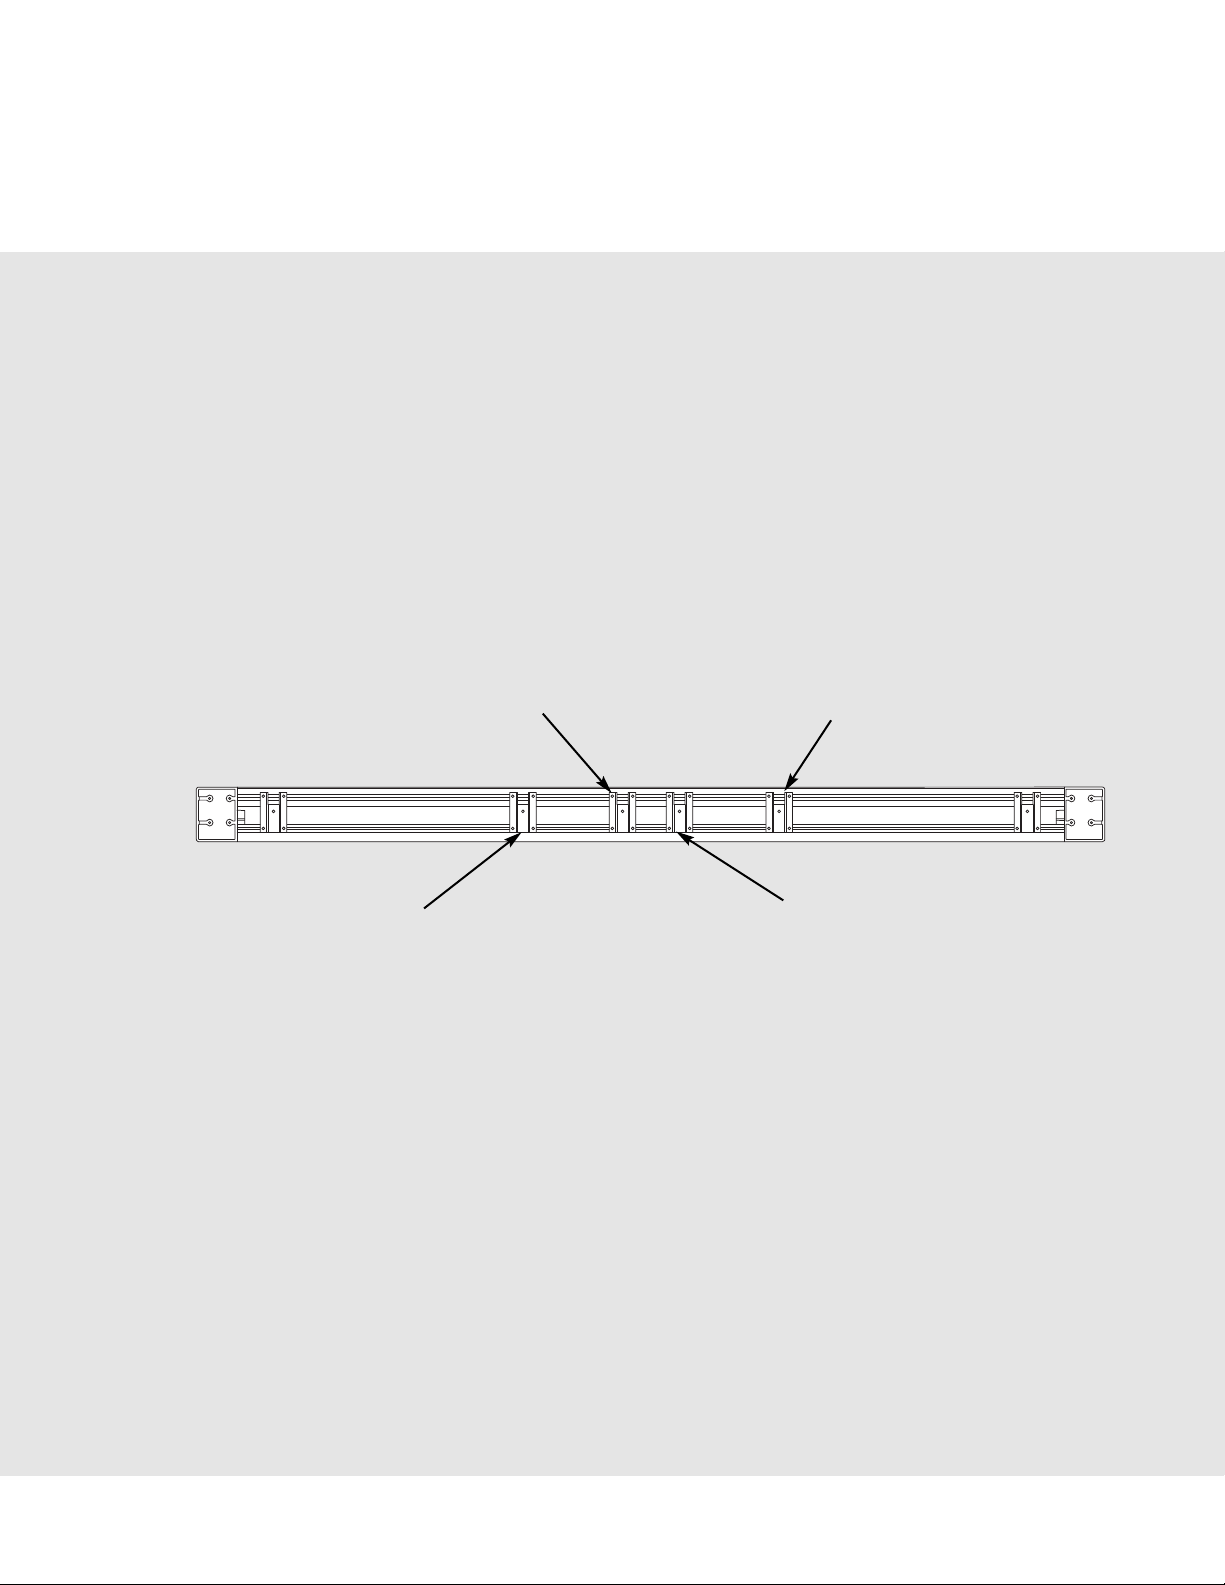
Grille Assembly Bracket Placement -
Professional & Professional Integrated Models
4
For 66” grille, excluding Custom Panel, Add/Remove brackets to full length grille as required.
See illustration below.
TOP
Use this bracket if 36” W. product is
on right side (facing unit), otherwise
remove.
Use this bracket if 30” W. product is
on left side (facing unit), otherwise
remove.
Use this bracket if 30” W. product is
on right side (facing unit), otherwise
remove.
Use this bracket if 36” W. product is
on left side (facing unit), otherwise
remove.
*NOTE: Depending on unit configuration, two brackets should be removed and discarded. The
72” W. and 60” W. grille assemblies have all four (4) brackets mounted in the proper location.
66” Professional/Integrated Grille (back view)
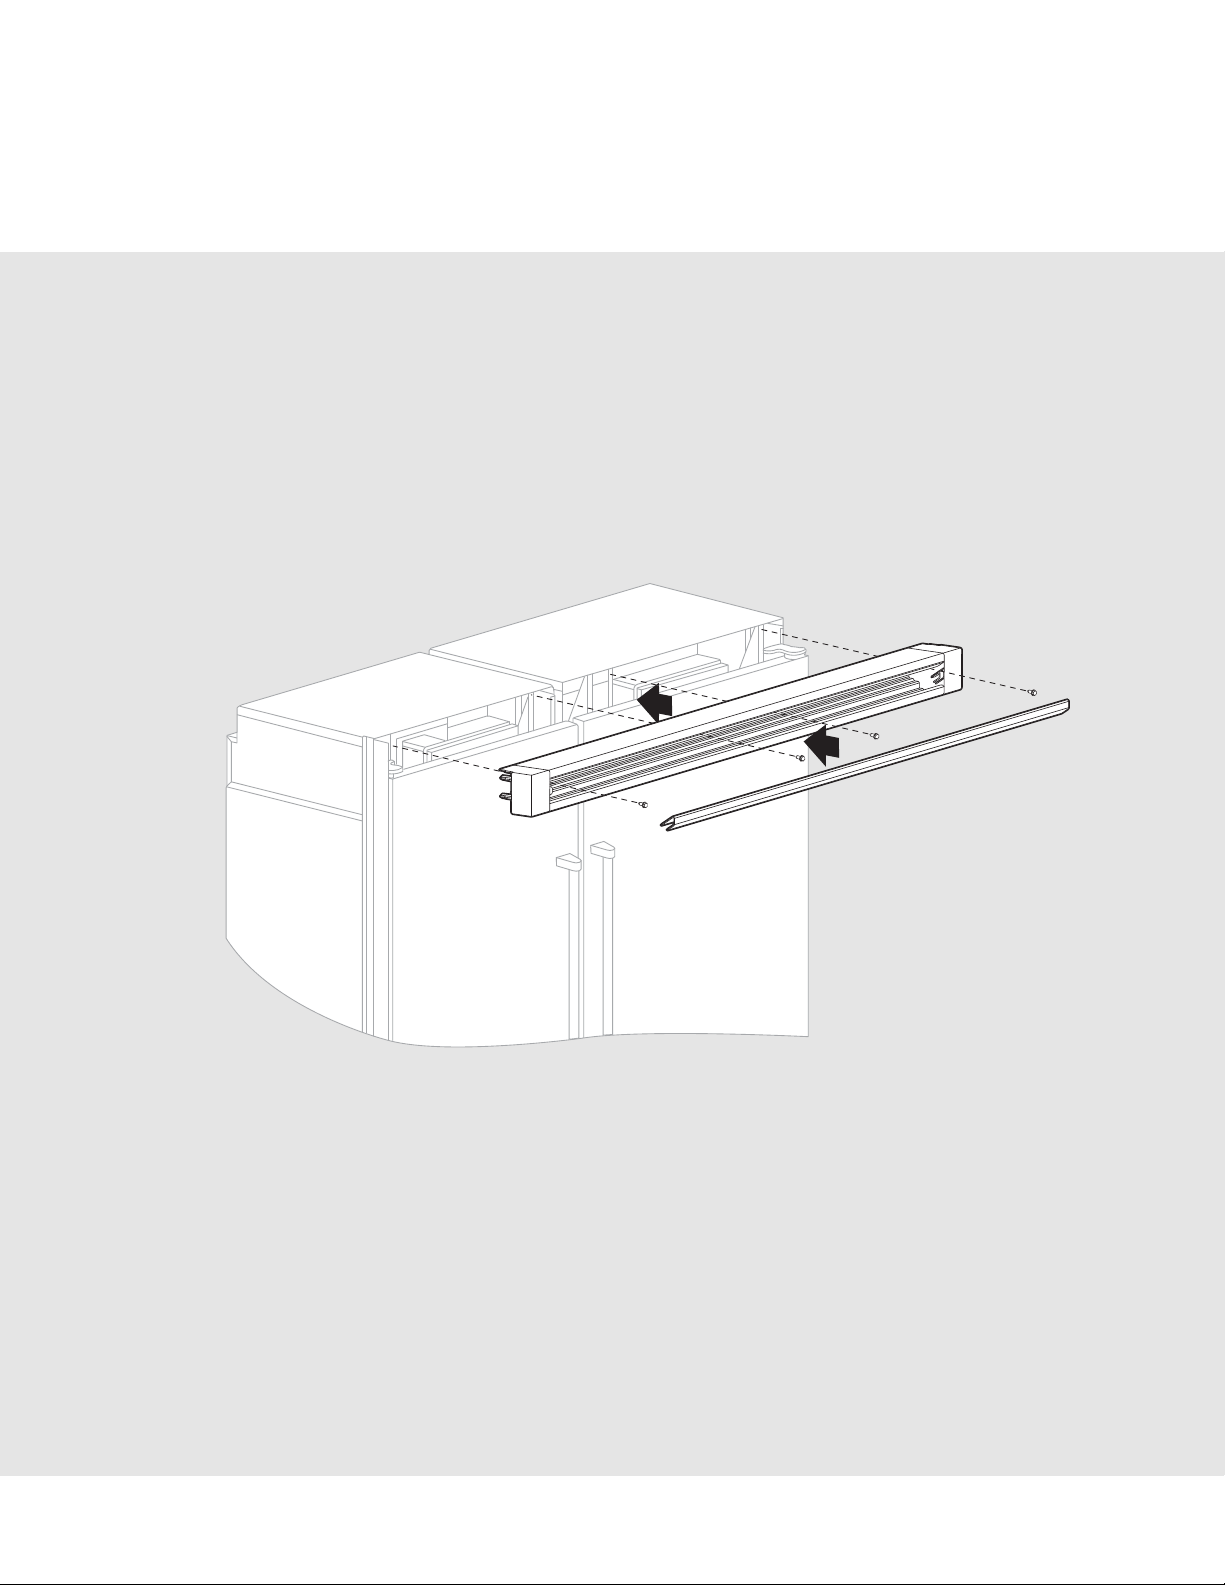
Grille Assembly Install -
Professional & Professional Integrated Models
5
• Remove center grille blade by lifting up and pulling forward.
• Insert grille into refrigerators. Screw grille assembly into units with (4) screws removed in
Step 3 (See Grille Removal Section).
 Loading...