

Page 1
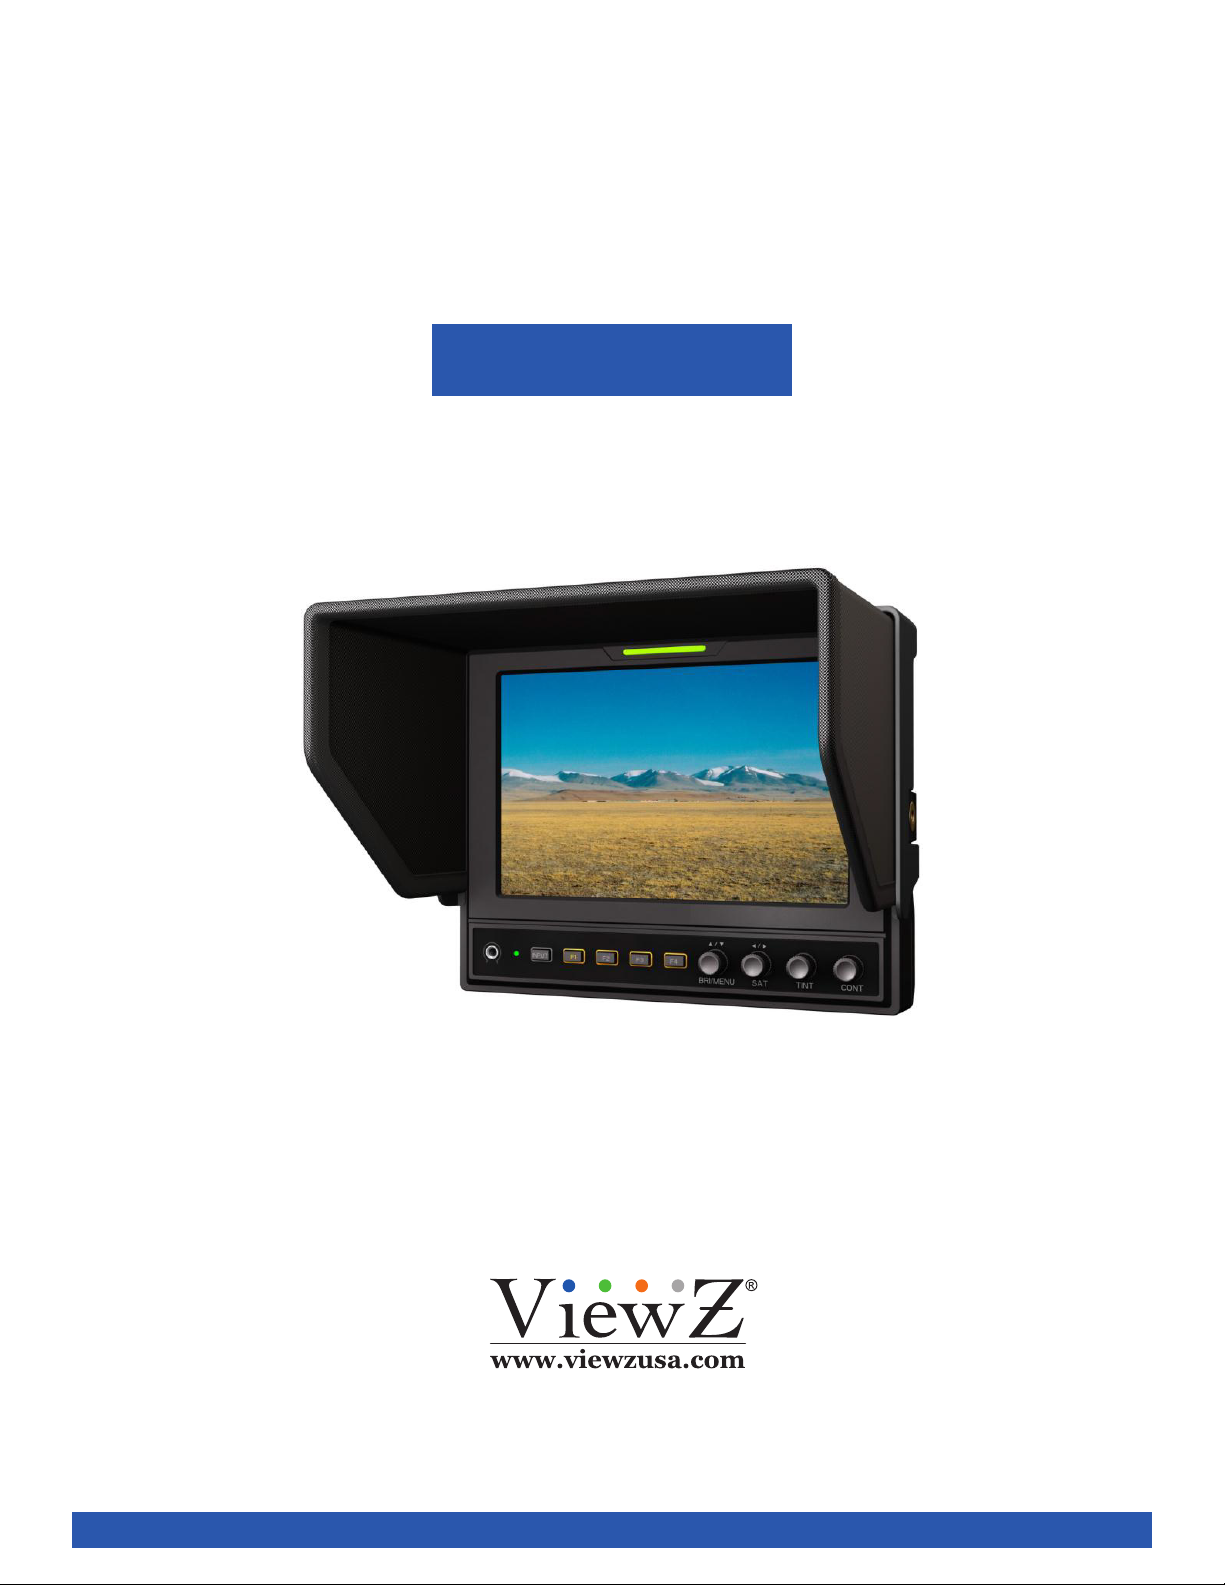
VZ-FM SERIES
7" HD-SDI/3G-SDI BROADCAST MONITOR
USER MANUAL
EDITION : MAR 2018
Please read this manual thoroughly before use, and keep it handy for future reference.
Page 2

CONTENTS
Safety Instrucon
1. Mark Indicaon & Substance
2. Warning
3. Cauon
.......................................................................................................................................................................................
.......................................................................................................................................................
................................................................................................................................................................................................
..................................................................................................................................................................................................
4. Operaonal Temperature & Humidity
5. Dot Defect (dead pixel) of TFT
.....................................................................................................................................................
6. FCC RF INTERFERENCE STATEMENT
Installaon
1. Package
2. Interface
3. Remote Control Funcon
.......................................................................................................................................................................................................
................................................................................................................................................................................................ ..
................................................................................................................................................................................................
..............................................................................................................................................................
.....................................................................................................................................
..........................................................................................................................................
3
4
4
5
5
5
6
7
7
8
9
Funcon
..........................................................................................................................................................................................................
1. Monitor Buon Funcon
2. OSD Control and Funcon
Mounng Guide
Specicaon
Trouble Shoong
RMA
..................................................................................................................................................................................................................
Warranty
............................................................................................................................................................................................
...................................................................................................................................................................................................
..........................................................................................................................................................................................
........................................................................................................................................................................................................
...............................................................................................................................................................
..............................................................................................................................................................
10
10
11
16
17
18
19
20
2 User ManualVisit the ViewZ USA website at https://www.viewzusa.com
Page 3

SAFETY INSTRUCTION
Important Safety Instruction
1. Read all warnings.
2. Follow all instrucons to ensure longevity of monitor.
3. Do not place the monitor near water.
4. Clean only with dry cloth.
5. Do not block any venlaon openings. Install in accordance with the manufacturer’s instrucons.
6. Do not install near any heat sources such as radiators, heat registers,stoves, or other heat generang
devices.
7. Do not override the safety purpose of the polarized or grounding-type plug.
8. A polarized plug has two blades with one wider than the other.
9. A grounding type plug has two blades and a third grounding prong.
10. The wide blade or the third prong are provided for your safety.
11. If the provided plug does not t into your outlet, consult with electrician for replacement of the outlet.
12. Protect the power cord from being walked on or pinched parcularly at plugs, convenience receptacles
and the point where it connects to the monitor.
13. Only use aachment/accessories specied by the manufacturer.
14. Use only with the cart, stand, tripod, bracket or table specied by the manufacturer or sold with the
monitor. When a cart is used, use cauon when moving the cart & monitor in combinaon to avoid
injuries.
15. Unplug the monitor during lightning storms or when unused for long periods of me.
16. Refer all servicing to qualied service personnel. Servicing is required when the monitor has been
damaged in any way.
The monitor shall not be exposed to dripping or splashing and objects containing liquids, such as vases
shall be placed near the monitor.
The monitor should have ample distance (e.g. 10cm) from the wall for sucient venlaon.
3User Manual Visit the ViewZ USA website at https://www.viewzusa.com
Page 4

SAFETY INSTRUCTION
Important Safety Instruction
Mark Indication and Substance
Class B Equipment (Broadcasng and Telecommunicaons Equipment for Home Use)
This equipment is for home use (Class B) and granted a Cercate of Conformity for electromagnec radiaon. It is designed
for home use and can be used in all regions.
(These images are for illustrave purposes only. They may vary depending on circumstances.)
Please read the Safety Instrucons carefully to ensure proper use of the product.
Warning/Cauon Label Descripon
This label indicates potenal safety hazards during use.
Failure to do so may result in personal injury or property damage.
This label indicates prohibited acons.
This label indicates instrucons that must be followed.
Use the monitor in the correct position.
• Sit up straight.
• Posion the monitor at a distance of 40-50cm below eye level, and make sure to look straight at the
monitor.
• Tilt the monitor back 1 to 20 degrees and adjust the height slightly below eye level.
• Keep the arms perpendicular to the body and parallel to the back of the hand.
• Make sure the elbows are posioned at a 90-degree angle.
• Maintain a knee angle of over 90 degrees and adjust the monitor height to keep the heels on the oor and
the arms above the heart.
Before use of monitor
• Please read manual before using this product.
• Please keep manual for future reference.
• Please read the cauons to prevent possible danger and loss of property.
• Please enjoy the benets of convenience, safety, and space-saving from this TFT LCD monitor in dierent
ways.
4 User ManualVisit the ViewZ USA website at https://www.viewzusa.com
Page 5
SAFETY INSTRUCTION
Important Safety Instruction
Power Supply Instructions
► If you do not use the monitor for a long me, please set it to DPMS (Display Power Management Signaling) mode.
► If you turn on a screen saver, set it to Moving Picture mode.
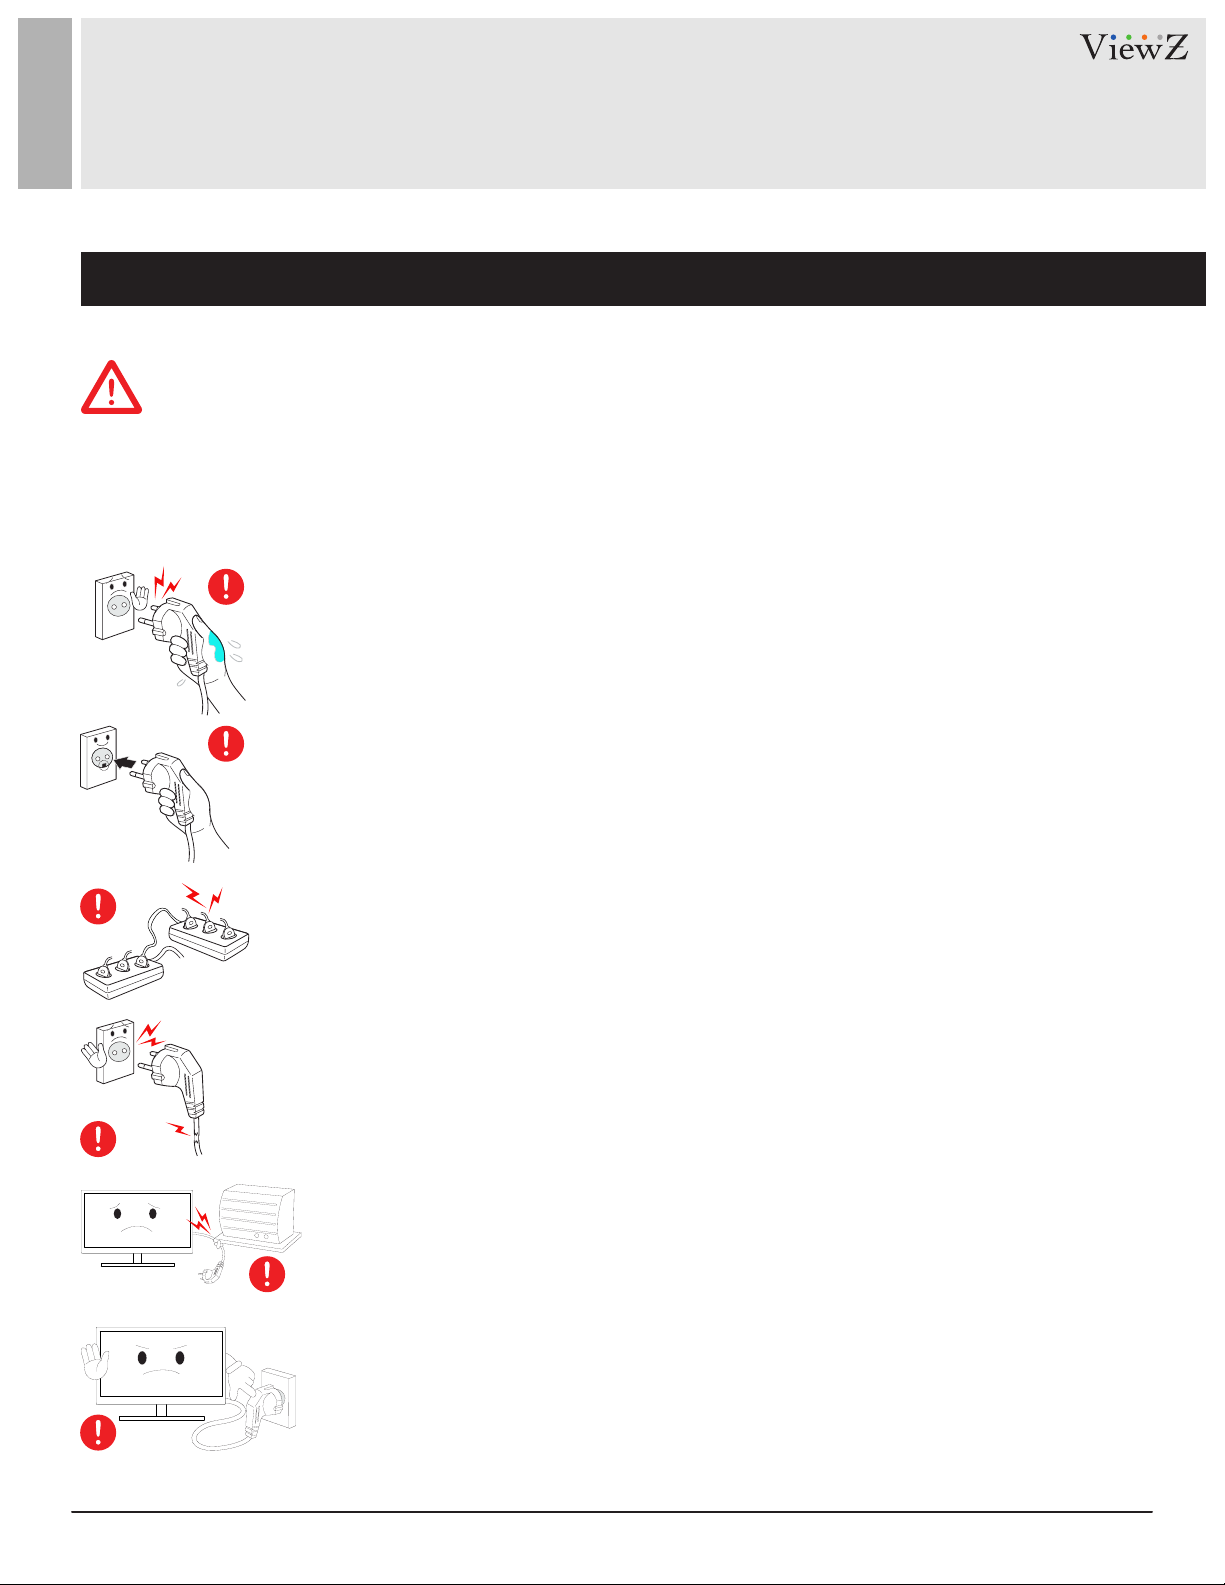
► Do not use damaged power cords, plugs, or loose outlets. Failure to do so may cause an electric shock or re.
Never remove the plug or power cord from the outlet with wet hands.
- Failure to do so may cause an accident due to an electric shock.
Make sure that the power cord is firmly plugged into the outlet and not loose.
- Unstable connection may cause a monitor blackout or fire.
- To disconnect, grip the plug and pull from the outlet. Pulling the cord may cause Fire.
Do not insert several plugs into an outlet.
- It may cause a fire or accident due to overloading.
Never use a damaged plug or outlet. Such use may result in an accident such as an
electric shock or fire.
- Failure to do so may cause a fire or accident due to a short circuit.
Excessive bending of the power plug may cause disconnection or a short circuit.
- Please note that disconnection may cause a fire or accident due to a short circuit.
Do not remove the power cord while using the monitor.
- An electric shock occurring during disconnection may damage the monitor.
5User Manual Visit the ViewZ USA website at https://www.viewzusa.com
Page 6
SAFETY INSTRUCTION
Important Safety Instruction
Installation Instructions
If the monitor is to be installed and used in a special place rather than under normal conditions, the surroundings
may cause serious quality problems. Before installing the product, please check with our Service Engineer.
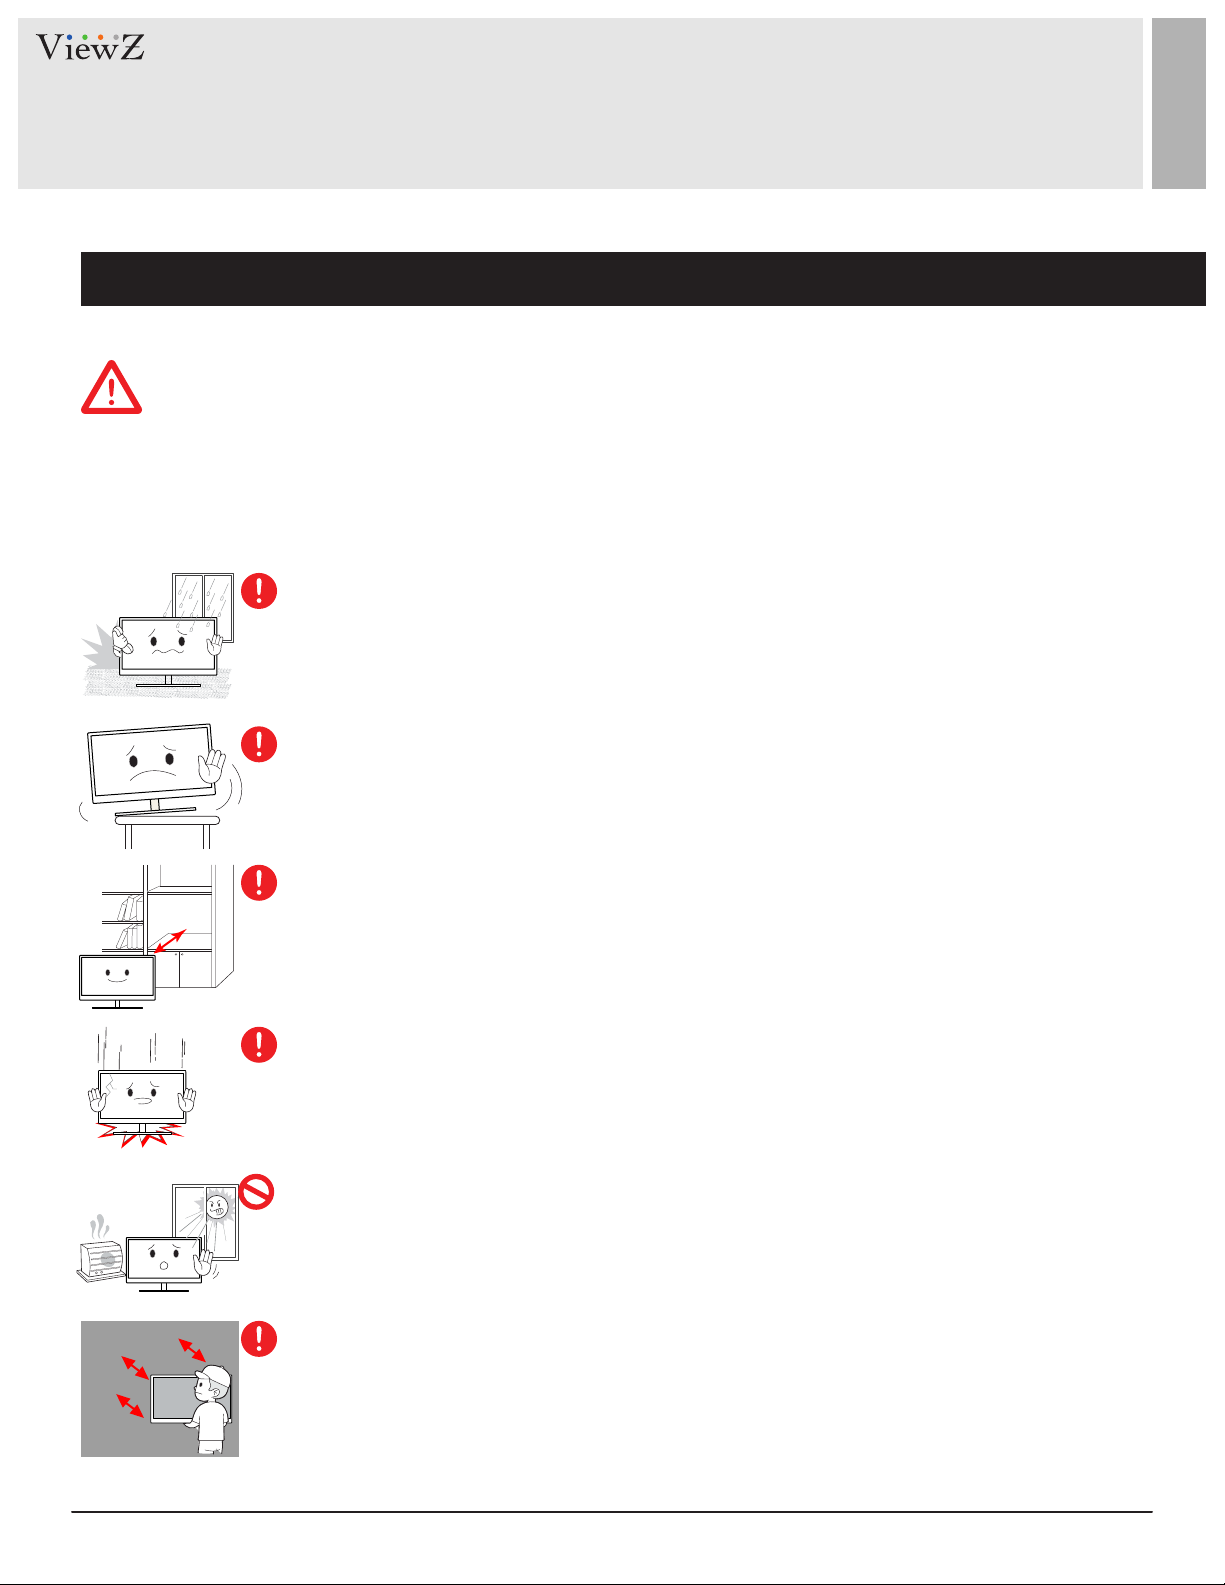
Do not install or use the product in humid or dusty locations.
- Failure to do so may cause a fire or accident due to a short circuit or electric shock.
Make sure that the monitor stand does not stick out of a desk, shelf, or case when
installing the product.
- If the product falls to the ground, it may be broken or damaged.
Maintain a distance of over 10cm from the wall when installing the monitor.
- An increase in the temperature inside the monitor may affect the service life and
performance of its components.
Set down the monitor gently to avoid impacts.
- An impact may cause monitor failure or personal injury.
Make sure to keep the power cord away from any heat source.
- Melting of the cord coating may cause an electric shock or fire. Please adhere to the
warning.
- Do not place cigarettes, candles, or mosquito repellent incense on top of the product.
To mount a wall-mount monitor on the wall, please consult an expert.
- Installation by an unqualified person may cause personal injury. Make sure to use the
designated mounting device.
6 User ManualVisit the ViewZ USA website at https://www.viewzusa.com
Page 7

SAFETY INSTRUCTION
Important Safety Instruction
Cleaning and Use Instructions
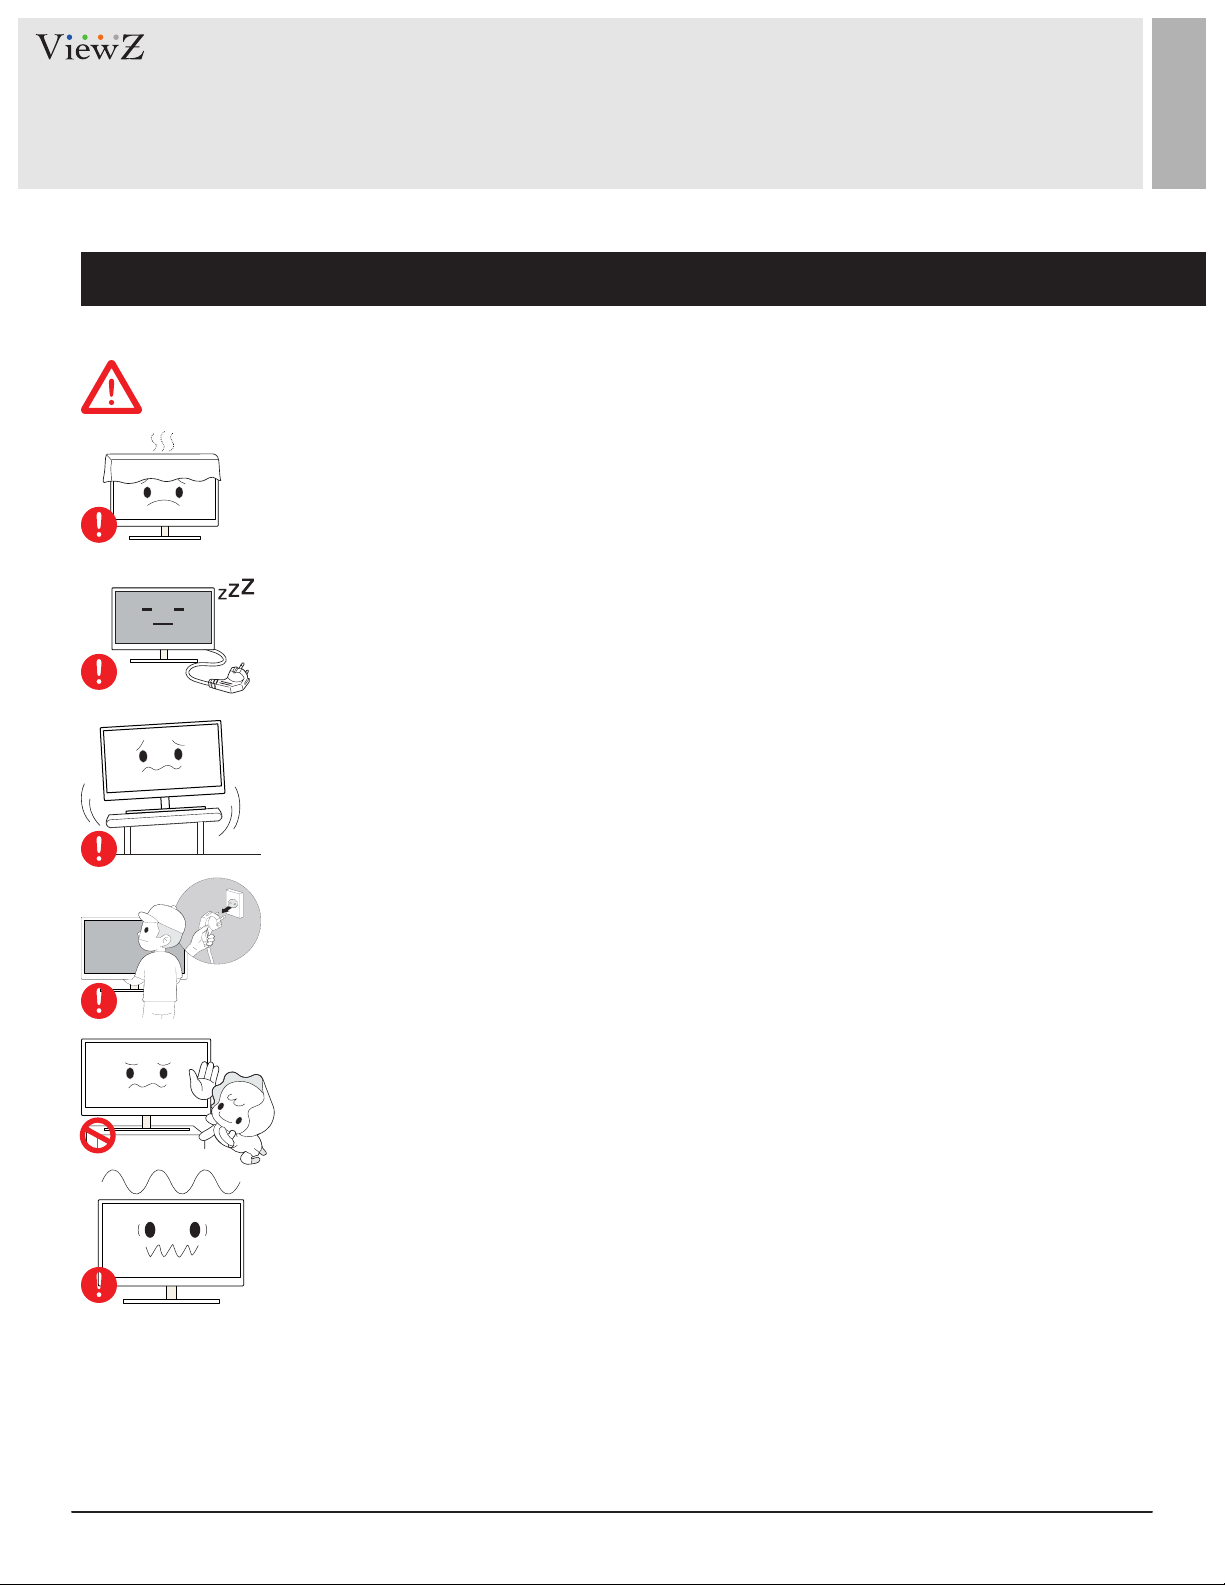
Do not spray a cleaning solution directly on the monitor.
- Directly spraying on the monitor may significantly increase the risk of discoloration,
cracks, or peeling of the LCD panel surface.
Do not use or keep flammable sprays or substances near the product.
- Careless handling of flammable substances may cause an explosion or fire.
Make sure to disconnect the power cord before cleaning.
- Failure to do so may cause an electric shock or fire.
Pull out the power cord and wipe it with soft, dry cloth when cleaning the product.
- Do not use chemicals, including wax, benzene, alcohol, thinner, mosquito repellent,
air freshener, lubricant, or cleaning solution.
Do not put items that can easily catch fire, such as metal chopsticks, wire, awls, paper, or
matches, into the air vent, headphone port, or AV port.
- Failure to do so may cause an electric shock or fire.
- If water or any foreign object gets into the product, turn off the product, unplug it from the
outlet, and contact our Service Center.
If one image is displayed for a long time, it may cause burn-in or image persistence.
- If the monitor is not used for a long time, set it to Power Saving mode or Moving Picture
mode such as animated screensavers.
If the monitor makes unusual noises or smoke, unplug the product and contact our
Service Center.
- Failure to do so may cause an electric shock or fire.
7User Manual Visit the ViewZ USA website at https://www.viewzusa.com
Page 8
SAFETY INSTRUCTION
Important Safety Instruction
Cleaning and Use Instructions
Do not cover the air vent.
- Improper ventilation may cause monitor failure or a fire.
If the product is not used for a long time, disconnect the power cord.
- Dust buildup may result in an electric shock or short circuit or fire due to heat output,
ignition or deteriorating insulation.
Do not place the monitor on unstable or vibrating locations, such as shaking shelves or
inclined surfaces.
- The fall of the product may result in failure or personal injury. Using the monitor on
a vibrating location may shorten its service life or cause a fire.
When moving the monitor, make sure to turn it off and unplug from the outset. Also,
make sure that other cords such as the antenna and other connecting cables have been
disconnected.
- Moving the monitor without disconnecting the cod will damage the cord, which may
cause a fire or electric shock.
Make sure that no child hangs on to or climb on the product.
- If the product collapses, it may cause injury or death.
Set the product resolution and frequency correctly. Otherwise, it may lead to eye
problems.
- The resolution varies depending on the monitor size. Find and set the correct resolution
8 User ManualVisit the ViewZ USA website at https://www.viewzusa.com
Page 9

SAFETY INSTRUCTION
Important Safety Instruction
Cautions
1. Please do not place the display screen towards the ground.
2. Please avoid heavy impact or drop onto the ground.
3. Please do NOT use chemical soluons to clean this product. Please wipe with a clean so cloth to maintain
the brightness of the surface.
4. Please do not block any vent hole.
5. Please follow the instrucons and trouble-shoongs to adjust the product. Other improper adjustment
may result in damage. Any further adjustment must be performed or conducted by a qualied technician.
6. Please unplug the power and remove the baery if long-term no-use, or thunder weather.
Available Temperature & Humidity
• Operang Temperature : 32 - 104°F / 0 - 40°C
• Operang Humidity : 20 ~ 70% RH
Dot Defect (dead pixel) of TFT
ViewZ monitors are manufactured using high-end semiconductor technology with precision rangs of 99.9%
and above. However, it may be the case that certain RGB and white pixels seem darker (or enrely unlit i.e.
black).
Modern producon methods cannot guarantee an absolute fault-free monitor. To this eect, no LED
manufacturer can guarantee a defect free panel. A few isolated pixel or sub-pixel faults are considered
tolerable and dierent policies exist that govern the amount of these tolerable values.
While most pixel faults occur in isolated regions, a cluster of dead pixels or sub-pixels can somemes form for
which a separate ruling applies. A cluster is dened as an area of 5x5 pixels. ViewZ’s policy on pixel failure:
either as an isolated fault or in the form of a cluster is outlined on the website: www.viewzusa.com
9User Manual Visit the ViewZ USA website at https://www.viewzusa.com
Page 10

INSTALLATION
Installation Tools
The following tools may be required depending on your installaon.
Electronic Stud Finder Protecve Eye-wearPencil Level Phillips Screwdriver
Assembly Components - provided
Your ViewZ monitor is shipped with all proper installaon hardware and components. If there are parts missing
and/or damaged, please stop the installaon and contact ViewZ USA at (888)-998-4399.
TFT-LED Monitor (Qty 1)
12V DC Power Adapter (Qty 1)
Gimbal Stand (Qty 1)
Baery Plate (F-970/LP-E6)(Qty 1)
HDMI Cable (Qty 1)
Power&Tally Cable (Qty 1)
7"
User Manual (Qty 1)
Shoe Mount (Qty 1)
Adapter Panel (Qty 1)
Hood (Qty 1)
Carrying Case (Qty 1)
10 User ManualVisit the ViewZ USA website at https://www.viewzusa.com
Shoe Mount (Qty 1)
Page 11

CONNECT EXTERNAL EQUIPMENTS
Interface Input Ports
e
w
r
u
q
1. Baery power on/o switch: “‖” is baery power;“O” is power o;“|” is DC power.
2. Baery pinch slots.
3. SDI signal input / output interface.
4. RGB signal input interface.
5. Audio signal input.
6. Audio (L/R) input.
7. HDMI (High Denion Mulmedia Interface) signal input / output.
8. 4-pin XLR DC power input.
i
t
y
q
w
e
r
SIGNALPIN NUMBER
1
2
3
4
GND
Red Light
Green Light
+12V
11User Manual Visit the ViewZ USA website at https://www.viewzusa.com
Page 12

CONNECT EXTERNAL EQUIPMENTS
Wiring Instruction - Power & Tally Cable
w
e
r
t
q
1. XLR (M) connector: to connect the XLR connector on device.
2. DC Power adapter connector.
3. Red: for TALLY red light connector. (Open - Close)
4. Green: for TALLY green light connector. (Open - Close)
5. Black: for grounding.
6. XLR (F) connector: for the XLR adapter.
y
12 User ManualVisit the ViewZ USA website at https://www.viewzusa.com
Page 13

INSTALLATION - HOOD
Installation of Hood
q
1. As shown, buckle the hood on the device.
2. As shown, cover buoned into the appropriate slot, and fastened in accordance with the order of the both sides.
e
w
r
3. As shown, bend hood panel to meet and paste with hood interlocking.
4. Installaon completed.
13User Manual Visit the ViewZ USA website at https://www.viewzusa.com
Page 14

INSTALLATION - BATTERY MOUNT
Installation of Optional Battery Mount Plate
V-mount baery plate (oponal): Please refer to BP-IDX type baery specicaons
Adapter Panel
Anton Bauer mount baery plate (oponal): Please refer to BP-AB type baery specicaons
V-mount Baery Plate
BP-IDX
Adapter Panel Anton Bauer Mount Baery Plate
14 User ManualVisit the ViewZ USA website at https://www.viewzusa.com
BP-AB
Page 15

CONTROL AND FUNCTION
Monitor Button Function
q
rw e t y u i o
1. TALLY (indicator light).
2. Earphone jack.
3. Power indicator light: ON/OFF (Light turns to red when power on).
4. VIDEO: switch to Video, RGB, HDMI and SDI signal.
5. F1, F2, F3, F4:User-denable buons.
FUNCTION VALUE
F1
F2
F3
F4
6. Knob BRI/MENU: Press the knob to access the menu funcon, pressing the knob in the menu to return to the
previous page or exit the menu. Rotate knob to select an opon. Default as Brightness funcon.
7. Knob SAT: Press the knob to select main MENU opons; rotate knob to conrm the selecon and adjust parameter
values.
Default as Saturaon funcon.
8. Knob TINT: Default as Tint funcon.
9. Knob CONT: Default as Contrast funcon.
Peaking
Waveform/Vector
Level Meter
Histogram
Color, Mono, OFF
Y, Vector, R, G, B, Cb, Cr, OFF
ON, OFF
Y, Color, RGB, OFF
15User Manual Visit the ViewZ USA website at https://www.viewzusa.com
Page 16

CONTROL AND FUNCTION
Detect Source Signal Message
If you connect any input source, monitor will display current input source resoluon and frequency.
Setup Menu
Before seng the funcons, please make sure the device is connected correctly.
When power on, press BRI/MENU knob on the device, funcon menus will pop-up on the screen. Aer conrm the opon value, then press BRI/MENU knob to return to the previous, and press the BRI/MENU knob again to exit the menu sengs.
BRI / MENU knob: to select an opon.
SAT knob to select the main menu, adjusng opon values and conrm the selecon.
16 User ManualVisit the ViewZ USA website at https://www.viewzusa.com
Page 17

CONTROL AND FUNCTION
Picture
Color Temp
Check Field
Aspect Rao
Pixel-to-Pixel
Camera
H/V delay
Underscan
FUNCTION VALUE
Setup the color temperature
R Gain 0 ~ 255
G Gain 0 ~ 255
B Gain 0 ~ 255
R Offset
G Offset
B Offset
Setup the display color
Setup the display ratio
Observe blank area for H sync and V sync
Select Camera Mode
Observe blank area for H sync and V sync
Change the underscan mode
0 ~ 511
0 ~ 511
0 ~ 511
6500⁰K, 7500⁰K, 9300⁰K, User
In 'User' mode, users can define RGB Gain
and Bias values for own purpose
OFF, Mono, Red, Green, Blue
Full Screen, 4:3, 16:9
OFF, ON
480P (5DII Mode), 1080I (5DIII Mode)
OFF, H&V Delay, V Delay, H Delay
OFF, ON
17User Manual Visit the ViewZ USA website at https://www.viewzusa.com
Page 18

CONTROL AND FUNCTION
Marker
Center Marker
Aspect Marker
Screen Marker
Marker Color
Marker Mat
Thickness
FUNCTION VALUE
Turn on and off center marker
Setup the marker based on aspect ratio
Setup the marker based on screen size
Setup the marker color
Setup the darkness of areas out of line marker
Setup the marker line thickness
OFF, ON
OFF, 16:9, 4:3, 14:9, 13:9,15:9,1.85:1, 2.35:1
OFF, 95%,93%,90%,88%,85%, 80%
Red, Green, Blue, White, Black
OFF, 1 ~ 6
1 ~ 7
18 User ManualVisit the ViewZ USA website at https://www.viewzusa.com
Page 19

CONTROL AND FUNCTION
Setup / OSD
Language
PIP
HDMI/SDI Convert
3G Format
Input Format OSD
LOGO
Freeze Input
Image Flip
Peaking Color
Peaking Level
Wave/Vector
Waveform Trans.
Waveform Size
FUNCTION VALUE
Select one of the presets
In small, medium and large interface can adjust
the source, position, and swap; In PBP and POP
interface can adjust the source and swap.
Turn on & off HDMI/SDI conversion
Adjust the balance
Set the OSD display time
Adjust the balance
Stop/Hold the current display image
Flip the display image
Setup the focus setting of camera
Adjust the peaking intensity level
Turn on & off waveform and vector function
Adjust the waveform transparency
Adjust the waveform size
English, Chinese
Small, Medium, Large, PBP, POP
OFF, ON
Normal, GBRA444 10bit, YCbCrA444 10bit,
YCbCrA422 10bit, GBR444 12bit, YCbCr444 12bit
5s, 10s, 15s
OFF, ON
OFF, ON
H, V, H&V
Red, Green, Blue, White, Black
0 ~ 100
OFF, Y, Vector, R, G, B, Cb, Cr
OFF, ON
Small, Large
Level Meter
Manufacturer Default
ISP
Adjust the balance
Reverse the SAT / ADJ knob to select "OK"
For program upgrades (Please reboot your monitor if press accidentally!)
Manual, Auto
OK, Cancel
19User Manual Visit the ViewZ USA website at https://www.viewzusa.com
Page 20

CONTROL AND FUNCTION
Setup Front Buttons/Knobs
Funcons of F1-F4 buons can also be customized: Center Marker, Screen Marker, Check Field, Color Bar, Aspect
Rao, Camera, PIP, Image Flip, Zoom, Pixel-to-Pixel, Freeze Input, Underscan, H/V delay, Peaking, False Color,
Exposure, Histogram, Level Meter and Wave/Vector.
Funcons of R1-R4 buons can also be customized: Contrast, Brightness, Saturaon, Tint, Volume, Sharpness and Back Light.
F1-F4 or R1-R4 shortcut key steps:
1. Press BRI/MENU knob to pop up the menu;
2. Rotang SAT knob, select the opon;
3. Rotang BRI / MENU knob, select opon needs to set for
the F1-F4 or R1 - R4;
4. Right rotang the SAT knob to the next menu opons;
5. Rotang BRI / MENU knob to select the opon to be set,
then turn the SAT knob right to conrm the opon as
default;
6. Finally, press the BRI / MENU knob to exit the menu.
Long keep press any F1-F4 buon to pop-up shortcut menu
when screen without a menu. As follows (item selected
default as blue font): Opon can be selected by rotang BRI /
MENU knob. Finally, right turn the SAT knob to set the opon
as default.
20 User ManualVisit the ViewZ USA website at https://www.viewzusa.com
Page 21

SPECIFICATION
Model No. VZ-070FM-E
Display
Audio
Dimension &
Weight
Interface
Panel Type
Pixel Pitch
Brightness
Contrast Ratio
Viewing Angle
Color Depth
Active Display Area
Max. Resolution
Aspect Ratio
Speaker
Weight
Dimensions (W x H x D)
SDI In / Out
HDMI In / Out
RGB In
AV (Composite) In
Audio In / Out
7'' LED Backlit Monitor
0.039 (H) x 0.117(V) mm
350 cd/m²
800 : 1(Typ.)
R/L : 89°/ 89° U/D : 89°/ 89°
16.7 Million Colors
150.0 (H) x 94.0 (V) mm
1280 (H) x 800 (V)
16 : 10
1 x 2W
1.598 lbs (725g) / 1.98 lbs (900g)
7.53" x 5.98" x 1.22" / 5.55" (191.5 x 152 x 31.5 / 141 (w/ Cover) mm )
1 / 1
1 / 1
1
1
1 / 1 (2ch De-Embedded Audio Selected Output)
Input Signal
Format
General
SMPTE 425M-AB
SMPTE 274M
SMPTE 296M
SMPTE 125M
ITU-R BT.656
Operating Temperature
Electrical Ratings
Case Type
Power Consumption
Accessories
1080p (60,59.94,50), 1080i (60,59.94,50)
1920 x 1080p (30,29.97,25,24,23.98 psf), 1920 x 1080i (60,59.94,50)
1280 x 720p (60,59.94,50)
480i (59.94)
576i (50)
32 - 104°F / 0 - 40°C
XLR-4p (DC12V) / DC 7 ~ 24V
Black Metal
≤ 11 W
Monitor x1, Hood x1, Gimbal stand x1, Power Adapter x1, Shoe Mount x1,
Adapter Panel x1, Power&Tally Cable x1, Carrying Case x1
21User Manual Visit the ViewZ USA website at https://www.viewzusa.com
Page 22

TROUBLESHOOTING GUIDE
- Check the following before calling for service.
- If the same problems connue aer checking, contact the reseller you purchased the monitor from.
We recommend that you test with dierent input sources when you have trouble with
At start
the current input source. If symptom persists, follow the instrucons below. Aer
following the instrucons below, please contact us at 1-888-99-VIEWZ.
Only black-and-white
display
Power on but no pictures
Wrong or abnormal colors
When on the picture
shows size error
Other problems
According to the ISP, the
machine can not funcon
properly
Note: due to constant eort to improve products and product features, specicaons may change without noce.
Check whether the color saturaon is properly setup.
Check whether the cables of Video, HDMI, RGB and SDI are correctly connected. Please use the
standard power adapter coming with the product package. Improper power input may cause
the device.
Check whether the cables are correctly and properly connected. Broken or loose pins of the
cables may cause a bad connecon.
Press → Underscan to zoom in/out pictures automatically. When receiving HDMI signals.
Please press “BRI/MENU” button and choose → Manufacturer Default → OK”
ISP for program upgrades, non-professionals do not use. Please reboot your computer if press
accidentally!
* It is normal to see some bright lines appear on the screen when turn o the device.
22 User ManualVisit the ViewZ USA website at https://www.viewzusa.com
Page 23

TERMS OF WARRANTY / RMA
Consumer Dispute Resolution Standards
Performance or
funconal failure
that occurs
naturally under
normal
condions
Type of Consumer Complain
Important repair is requested within 10 days of purchase.
Repair of important parts is requested within a month
of purchase. Important repair of exchanged product is
requested within a month of exchange.
If the product cannot be exchanged
If a defect occurs
If failure recurs aer the same defect has been
repaired 3 mes
The product has been repaired 4 mes for failure
of several areas and failure occurs for the 5th me
Can be
repaired
If the product cannot be repaired
Repair is impossible because spare parts are not
available
The company has lost the product a customer
requested for repair
Damage occurs during transportaon or
installaon aer purchase
Within Warranty
Period
Exchange or free repair
Exchange or free-of-charge
repair Refund for purchase
price
Free repair
Exchange or refund for
purchase price
Exchange
Without Warranty
Period
Free repair
Refund by adding 10% to
the depreciated amount
Repair with charge
Performance or
funconal failure
caused by customer
on purpose or by
mistake
► Failure occurs due to a natural disaster event (re, seawater damage, gas,
earthquake, storm/ood)
► Failure occurs due to abnormal power supply or poor connecon of devices
► Failure occurs due to repairs or modicaon by an unauthorized person other
than an engineer at the store or service center.
► Consumable parts are to be exchanged due to natural wear.
► Damage is caused by external forces rather than internal defects.
Repair is possible
Repair is impossible
Repair with charge
Exchange aer charging
for repairs
Repair with charge
Repair with charge
In accordance with the
company’s policy
Repair with charge
23User Manual Visit the ViewZ USA website at https://www.viewzusa.com
Page 24

WARRANTY
ViewZ USA
LIMITED 2 YEAR WARRANTY
What and Who is Covered by this Limited Warranty and for How Long
ViewZ USA warrants this product to be free from defects in material and workmanship for 2 years to the original owner of
this product. The limited warranty is valid only for the original purchaser of the product.
What ViewZ USA Will Do
At the sole discreon of ViewZ USA, ViewZ USA will repair or replace any product or product part that is defecve. If ViewZ USA
chooses to replace a defecve product or part, a replacement product or part will be shipped to you at no charge, but you must pay
any labor costs.
What is Not Covered; Limitaons
ViewZ USA disclaims any liability for damage to mounts, adapters, displays, projectors, other property, or personal injury resulng, in
whole or in part, from improper installaon, modicaon, use or misuse of its products.
ViewZ USA disclaims all other warranes, express or implied, including warranes of merchantability and tness for a parcular
purpose. ViewZ USA is not responsible for incidental or consequenal damages, including but not limited to, inability to use its
products or labor costs for removing and replacing defecve products or parts. Some states do not allow the exclusion or limitaon
of incidental or consequenal damage, so the above limitaon or exclusion many not apply to you.
What Customers Must Do for Limited Warranty Service
If you discover a problem that you think may be covered by the warranty you MUST REPORT it in wring to the address below within
thirty (30) days. Proof of purchase (an original sales receipt) from the original consumer purchaser must accompany all warranty
claims. Warranty claims must also include a descripon of the problem, the purchaser’s name, address, and telephone number.
General inquiries can be addressed to ViewZ USA Customer Service at 1-888-998-4399. Warranty claims will not be accepted over the
phone or by fax.
ViewZ USA
An: Warranty Claim
177 W. Orangethorpe Ave.
Placena, CA 92870
How State Law Applies
This warranty gives you specic legal rights, and you may also have other rights which vary from state to state.
Disclaimer
ViewZ USA intends to make this manual accurate and complete. However, ViewZ USA makes no claim that the informaon contained
herein covers all details, condions or variaons, nor does it provide for every possible conngency in connecon with the
installaon or use of this monitor. The informaon contained in this document is subject to change without noce or obligaon of
any kind. ViewZ USA makes no representaon of warranty, expressed or implied, regarding the informaon contained herein. ViewZ
USA assumes no responsibility for accuracy, completeness or suciency of the informaon contained in this document.
Contact Us
NORTH AMERICA
177 W. Orangethorpe Ave.
Placena, CA 92870
USA and Canada
Phone: 1-888-998-4399
Fax: 1-714-996-1138
Other Locaons
© ViewZ USA
Phone: (001) 888-998-4399
Fax: (001) 714-996-1138
24 User ManualVisit the ViewZ USA website at https://www.viewzusa.com
 Loading...