

Page 1
VICTORIO
Cherry Pitter
VKP1152
Instruction Manual
Page 2

Table of Contents
Parts Diagram 1
Parts List 1
Operating Precautions 2
Product Overview 2
Care Instructions 2
Assembly & Use Instructions 3
Recipes 4
Warranty/Contact Info Back Cover
*For the most up-to-date manual, or for more information regarding
this product, visit our website www.Victorio.info.
Copyright © 2014 Victorio Kitchen Products. All Rights Reserved.
Page 3
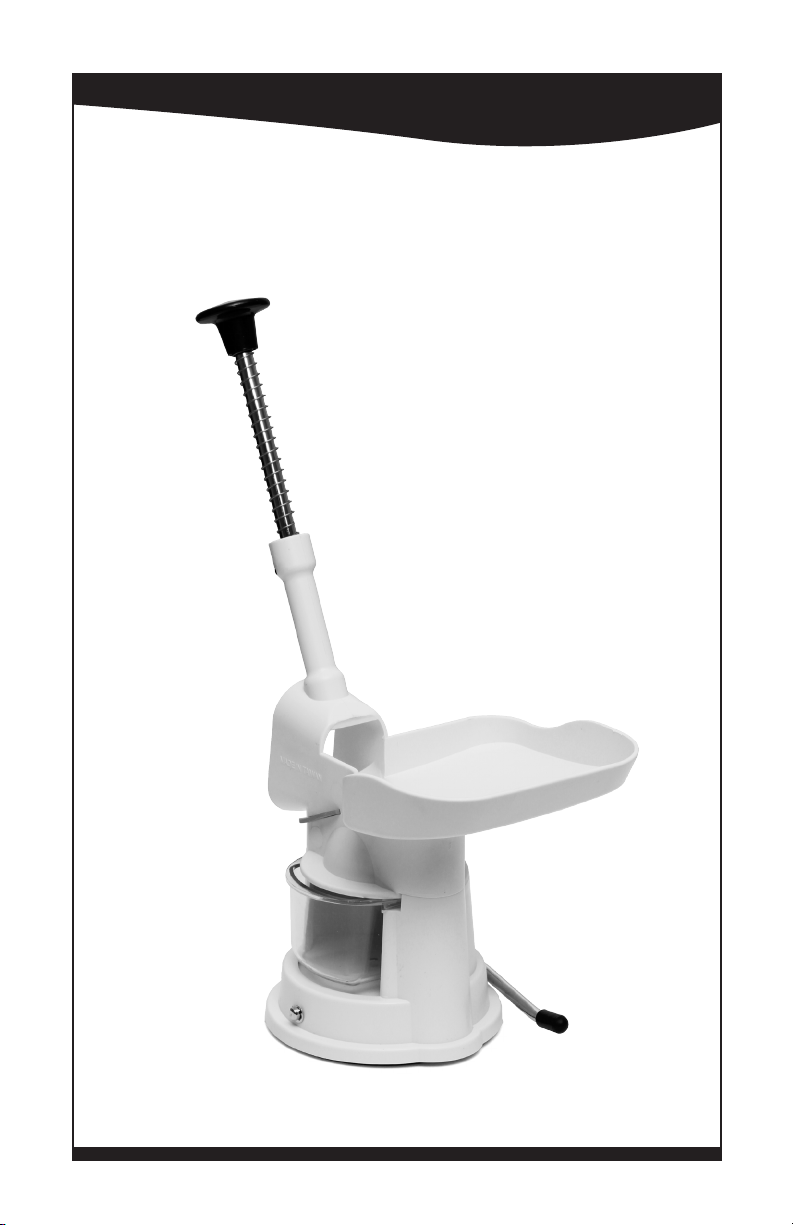
Victorio Cherry Pitter
Model VKP1152
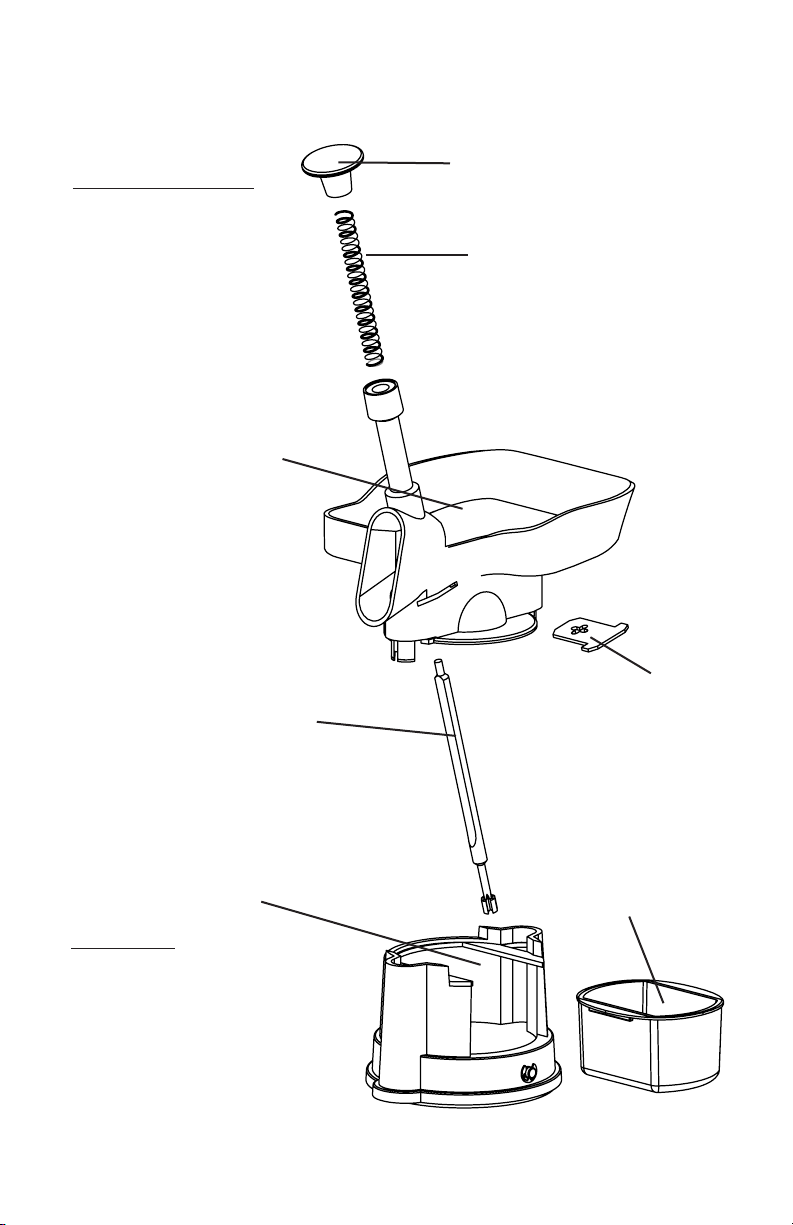
Parts Diagram:
Your complete Cherry
Pitter includes everything
shown here:
(3)
(5)
(1)
(2)
(4)
Parts List:
(1) Knob
(2) Spring
(3) Cherry Tray
(4) Gasket
(5) Shaft
(6) Pit Container
(7) Suction Base
(7)
(6)
1
Page 4

Operating Precautions
Read and follow ALL precautions and warnings before operating
your Cherry Pitter for the rst time. If these precautions are not
followed, damage to the Cherry Pitter and/or injury to persons to
persons could result.
• Do not put ngers under the shaft while the Cherry Pitter is in use.
This could result in injuries.
• Do not put any part of the Cherry Pitter near hot surfaces.
• Do not store in direct sunlight or extreme temperatures. This could
compromise the materials of the Cherry Pitter and keep it from functioning
properly.
• Do not submerge the base of the Cherry Pitter in water.
• Hand wash all parts before use.
• Do not put any portion of the Cherry Pitter in the dishwasher.
• Not for use by children.
• For household use only.
Product Overview
Congratulations on your purchase of the Victorio Cherry Pitter. You will
nd this to be a very valuable kitchen tool. It will also save time spent on
the cherry pitting process. Make sure to read all portions of this manual before using your Cherry Pitter for the rst time. Also, be sure to take advan-
tage of the recipes included for your convenience.
Care Instructions
Wash all parts by hand in warm, soapy water before the rst use, to remove
any factory residues. For best results, always hand wash after each use in
warm, soapy water. To ensure the longest life possible from your Cherry
Pitter, wash and dry each part thoroughly before storing.
Never submerse the base in water and do not put any part of the Cherry
Pitter into the dishwasher. Some wearing may occur on the shaft after a
period of time. This is due to the natural acidity of the fruit.
2
Page 5

Assembly & Use Instructions
Please read all previous portions of the manual before assembling
your Cherry Pitter.
1. Insert the shaft into the underneath side of the Cherry Pitter and
push it up as far as it will go (see Diagram 1, below).
2. Slide the spring over the shaft. Then screw the knob onto the top
of the shaft (see Diagram 2, below).
3. Connect top of cherry tray to suction base by inserting wide part
of cherry tray into the suction base followed by the other side. Push rmly
until both sides click in place (see Diagram 3, below).
4. Place the Cherry Pittter on a smooth surface and turn the suction
lever to secure the base (see Diagram 4 below).
5. Insert the gasket into the slot on the side of the body and slide the
tabs of the pit container into the slots on the underneath side of the Cherry
Pitter (see Diagram 5, below).
6. Place stemmed cherries in the tray. They will automatically funnel
through as you press down quickly on the knob, ejecting the pits into the pit
container. The pitted cherries will roll out of the Cherry Pitter, so be sure
to have a bowl in place (see Diagram 6 below).
1
4
2
5
3
6
3
Page 6

Recipes
Cherry Pie Filling
Yield: Approximately 4 cups
4 cups Pitted Tart Cherries
1 cup sugar
1/4 cup cornstarch
1 Tbsp. lemon juice (optional)
Directions:
Preheat oven to 375° F.
Place prepared cherries in a medium saucepan over medium heat, and
cover. Heat the cherries until they release their juices and come to a simmer,
stirring often. This process takes about 10 - 15 minutes.
In a small mixing bowl, whisk the sugar and constarch together until combined. Pour the sugar mixture into the saucepan and thoroughly combine
with the cherries. Reduce the heat to low and simmer until the lling has
thickened, about 2-5 minutes. Remove from heat, let cool, and pour the
lling into the pie crust of your choice.
Bake for 10 -15 minutes, or until the crust is golden brown and the lling
is hot. If using store bought crust, follow the baking instructions on the
package.
NOTE:
This lling makes a great topping for cheesecake, ice cream, etc. You can
also make quick cherry tarts by lling refrigerator cresent dough and baking
according to package instructions.
4
Page 7

Cherry Crumble
Makes 6-8 servings
6 Tbsp. butter
1 1/8 cup our
1/2 cup rolled oats
6 Tbsp. brown sugar, packed
1/8 tsp. salt
One batch Cherry Pie Filling (see previous page)
Directions:
Preheat oven to 375° F.
Melt butter in a large saucepan over medium heat. Remove pan from heat
and stir in our, oats, brown sugar, and salt, until dry, crumbly dough
forms.
Press 2/3 of the crumb dough mixture into the bottom of a 9 inch square
pan, making rm, even layer. Spread cherry pie lling on top of the crust
and sprinkle the remaining 1/3 crumb dough mixture on top of the pie
lling layer.
Bake for 40-45 minutes, or until the top is lightly browned and the pie lling
is bubbly. Serve warm or cool.
NOTE:
Especially tasty if served with ice cream or whipped cream.
5
Page 8

Product Warranty
Model VKP1152 - Cherry Pitter Warranty: 1 year
We are condent in the quality of our products and back each one with a
limited warranty for the length of time specied above. Should you experi-
ence any problems with your product, please contact our customer service
department.
All warranty claims must be accompanied by proof of purchase and are
only valid if the appliance has been operated for its intended purposes. This
product is for household use only.
Items Not Covered:
• Shipping costs or items lost in transit.
• Damages to the product due to accident, misuse, abuse, negligence,
or if the appliance has been altered in any way..
Victorio Kitchen Products
1804 Sandhill Road
Orem, UT 84058
By phone: 866-257-4741
By email: Help@Victorio.info
www.Victorio.info
©Copyright 2014 Victorio Kitchen Products, Inc. All rights reserved.
 Loading...