

VESTEL 230, 260, 280 Service Manual
SERVICE MANUAL
Model
s
230
260
280
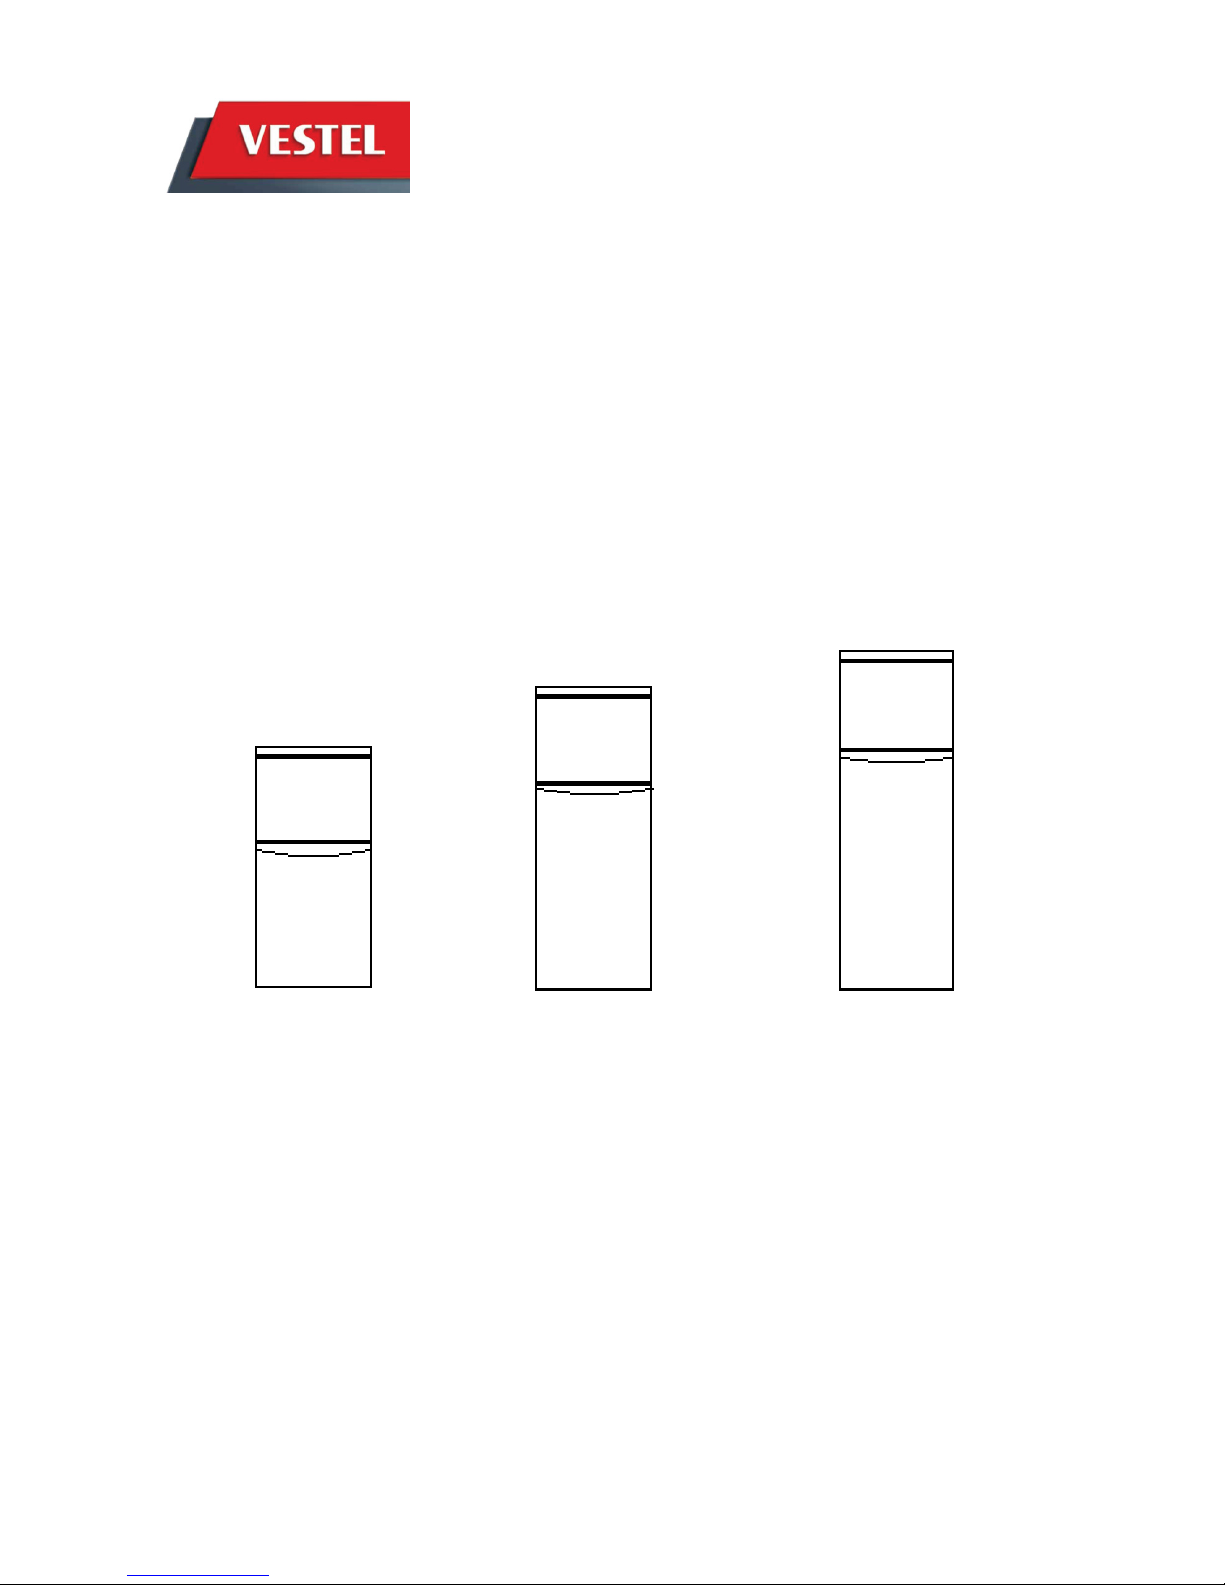
Dimentions : WxHxD (mm)
230 260 280
540x1169x634 540x1440x634 540x1600x634
WHITE GOODS
DOUBLE DOOR – 230 – 260 – 280
CUSTOMER
SUPPORT
ASSEMBLE & DISASSEMBLE
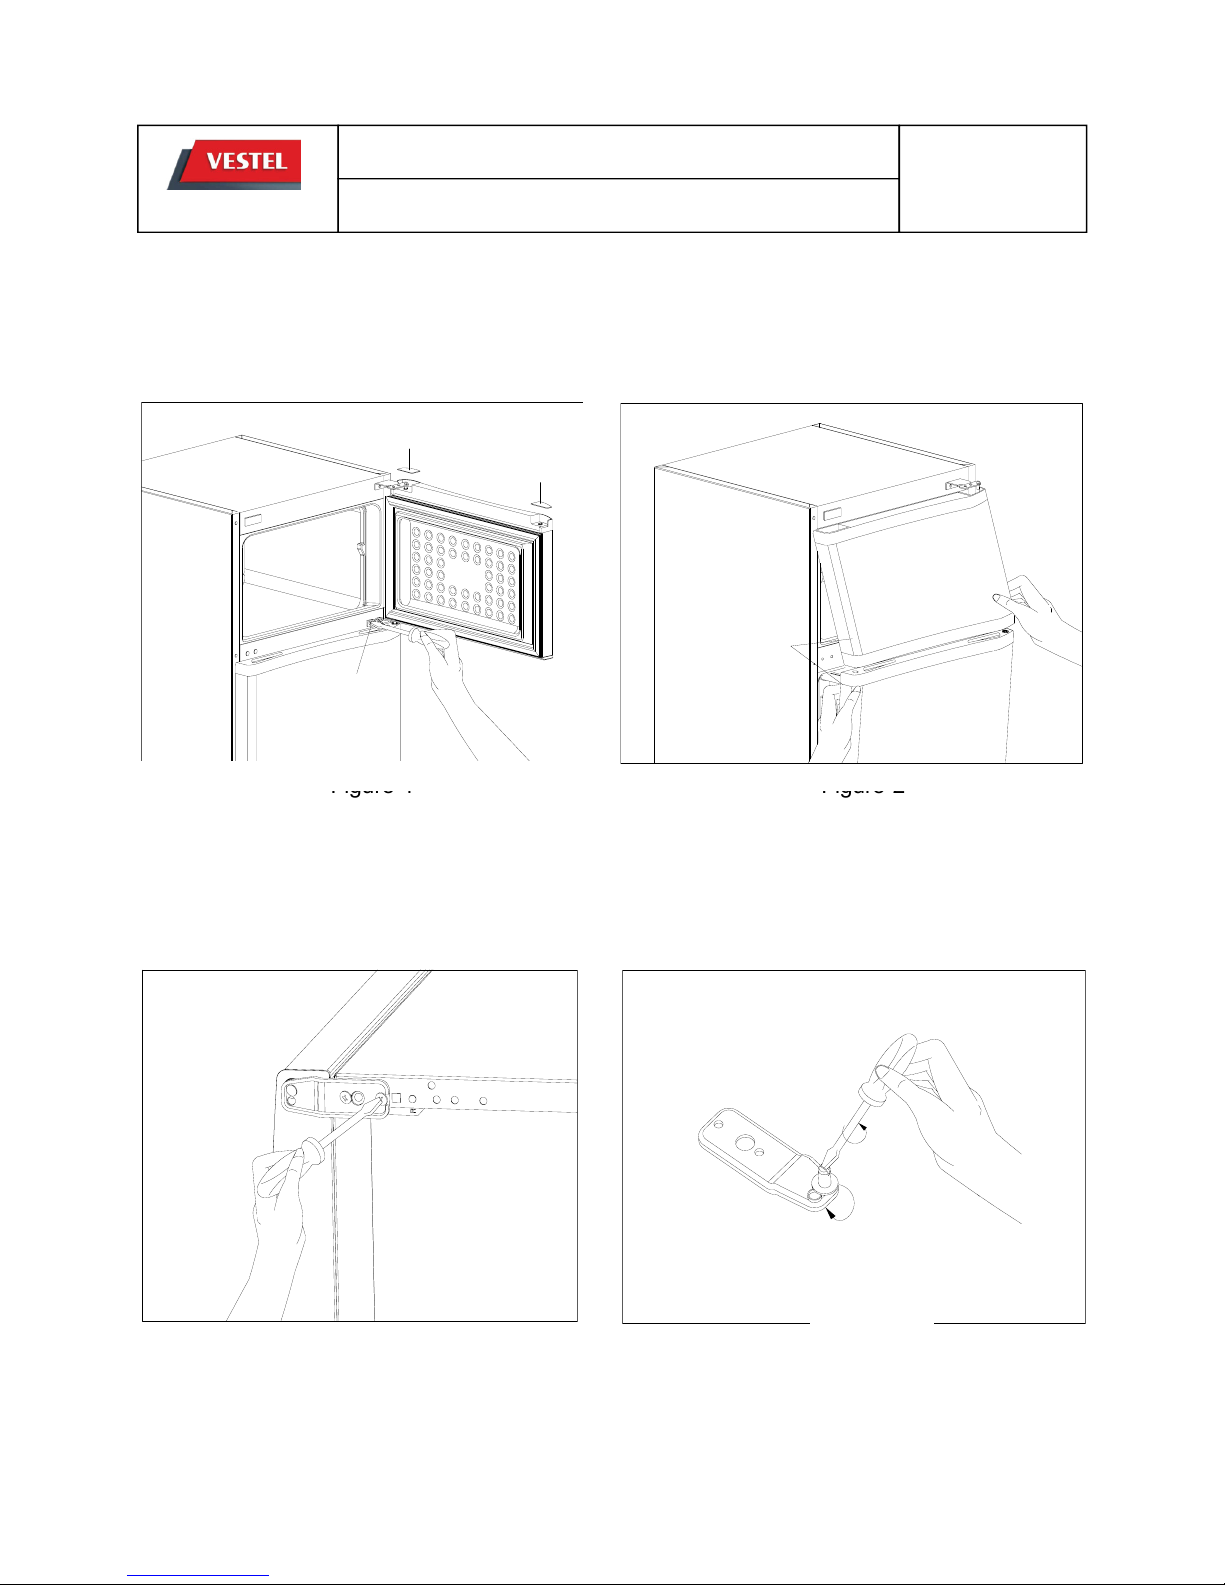
1- Remove the freezer door panel caps.
Unscrew the two screws which are fixing
the middle hinge. (Fig-1)
2- Dismantle the refrigerator and freezer
door from cabinet by pulling towards to you
together with the middle hinge. (Fig-2)
A- Changing The Door Swing Direction to Right Hand
Freezer door
panel right cap
Freezer door
panel left cap
Unscrew the two
middle hinge screws
Pull the doors towards to
you with middle hinge
-
-
Figure
1
Figure
2
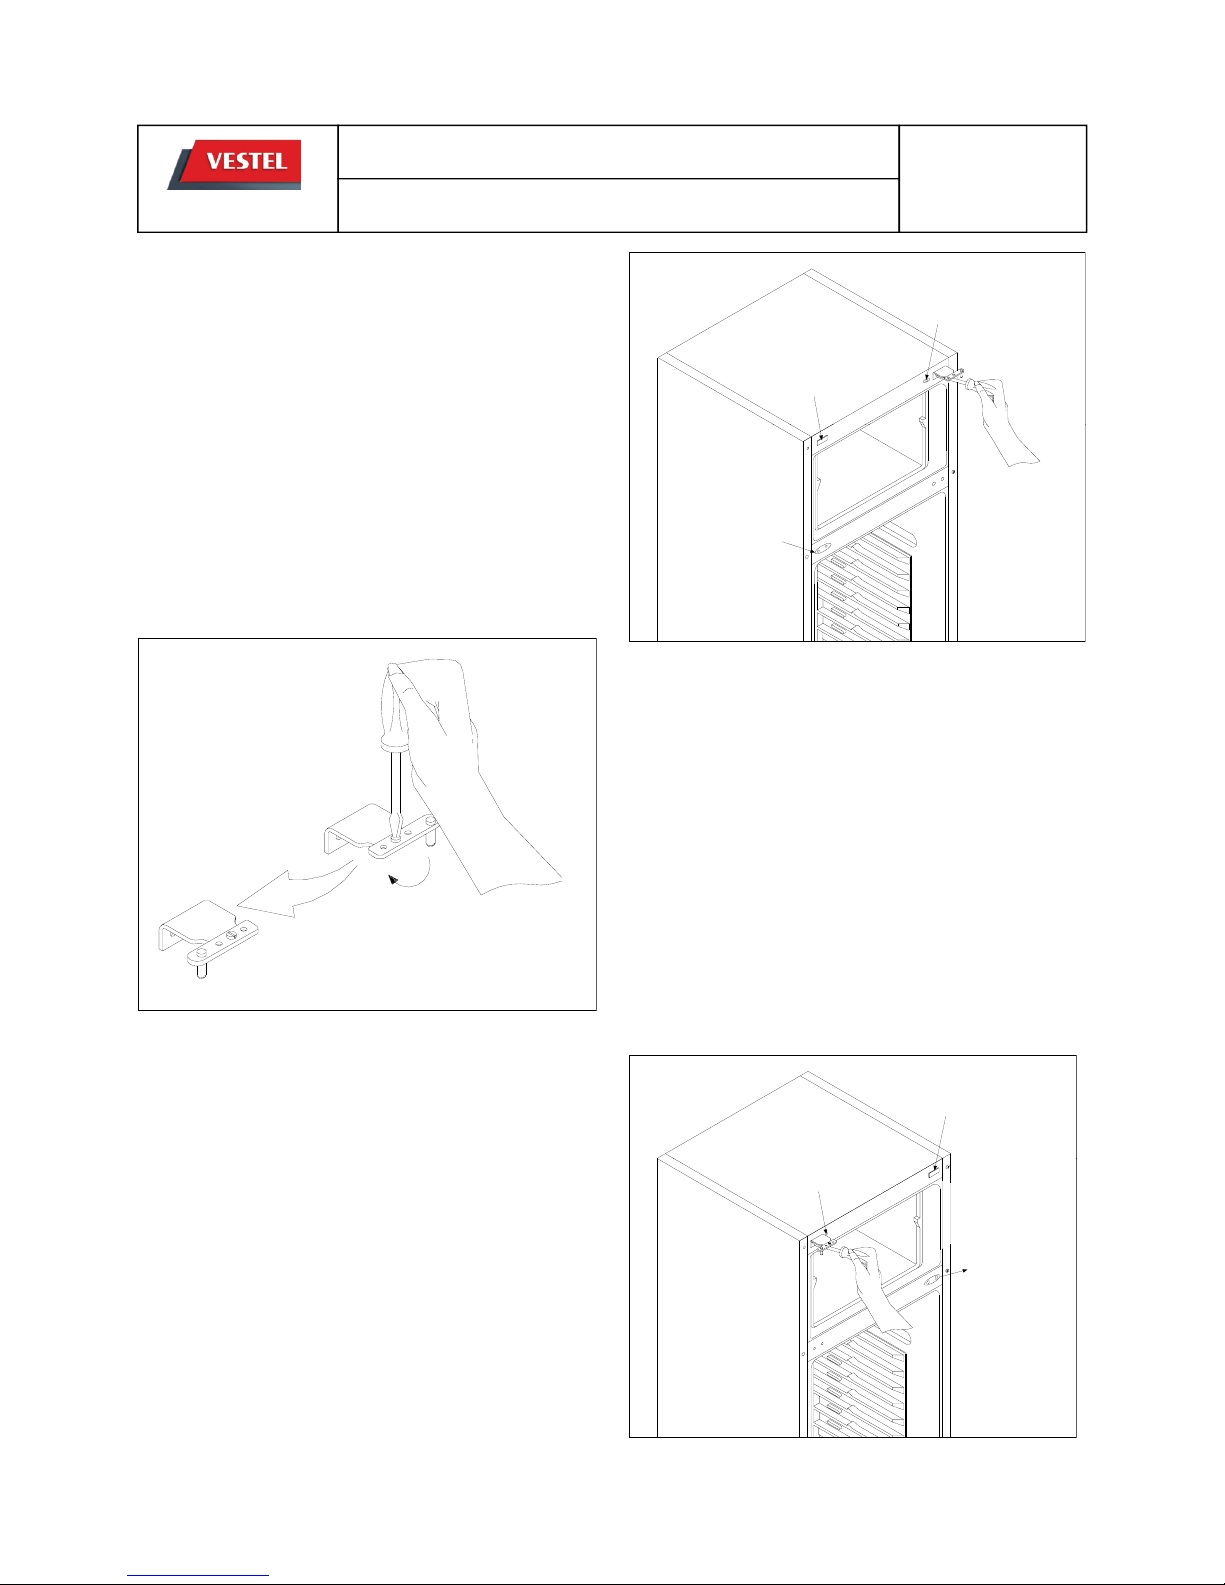
3- Lie down the appliance to the left side. Dismantle both leveling feet and unscrew the
bottom hinge fixing screws and remove it. (Fig-3) Unscrew the bottom hinge pin and screw in
the next hole.(Fig-4) Then screw the hinge to the left side of the refrigerator. Screw the both
leveling feet.
DECEMBER 2011
1
Figure
-3Figure
-
4
WHITE GOODS
DOUBLE DOOR – 230 – 260 – 280
CUSTOMER
SUPPORT
ASSEMBLE & DISASSEMBLE
4- Remove the two big caps on the middle
bracket. Unscrew the two screws fixing the top
hinge and remove it. Remove the top hinge
screw left cap on the left side. Remove the
middle hinge screw cap (big) on the right side.
(Fig-4)
Remove top
hinge screw
left cap
Remove the
middle hinge
screw cap (big)
Unscrew the
top hinge
Remove the two
middle hinge
screw caps (big)
Figure-4
5- Unscrew the screw fixing the top hinge pin.
Turn the pin by 180° then fix it to the top hinge
by screwing it. (Fig-5)
Rotate the top
°
hinge pin by 180
Figure-5
6- Assemble the top hinge to the left side.
(Fig-6) Insert the two middle hinge screw caps
(big) to the right side of the middle bracket.
Insert the
top hinge screw
right cap
(You can find the new caps in the user manu
a
l
bag) Insert the middle hinge screw cap big to
the left side. (You can find the cap in the user
manual bag) Insert the top hinge screw right
cap to the right side. (You can find the top
hinge screw right cap in the user manual bag)
Insert the two
middle hinge
screw caps
(big) here
I
nsert the
middle
hinge screw cap (big)
DECEMBER 2011
2
Figure-6
WHITE GOODS
DOUBLE DOOR – 230 – 260 – 280
CUSTOMER
SUPPORT
ASSEMBLE & DISASSEMBLE
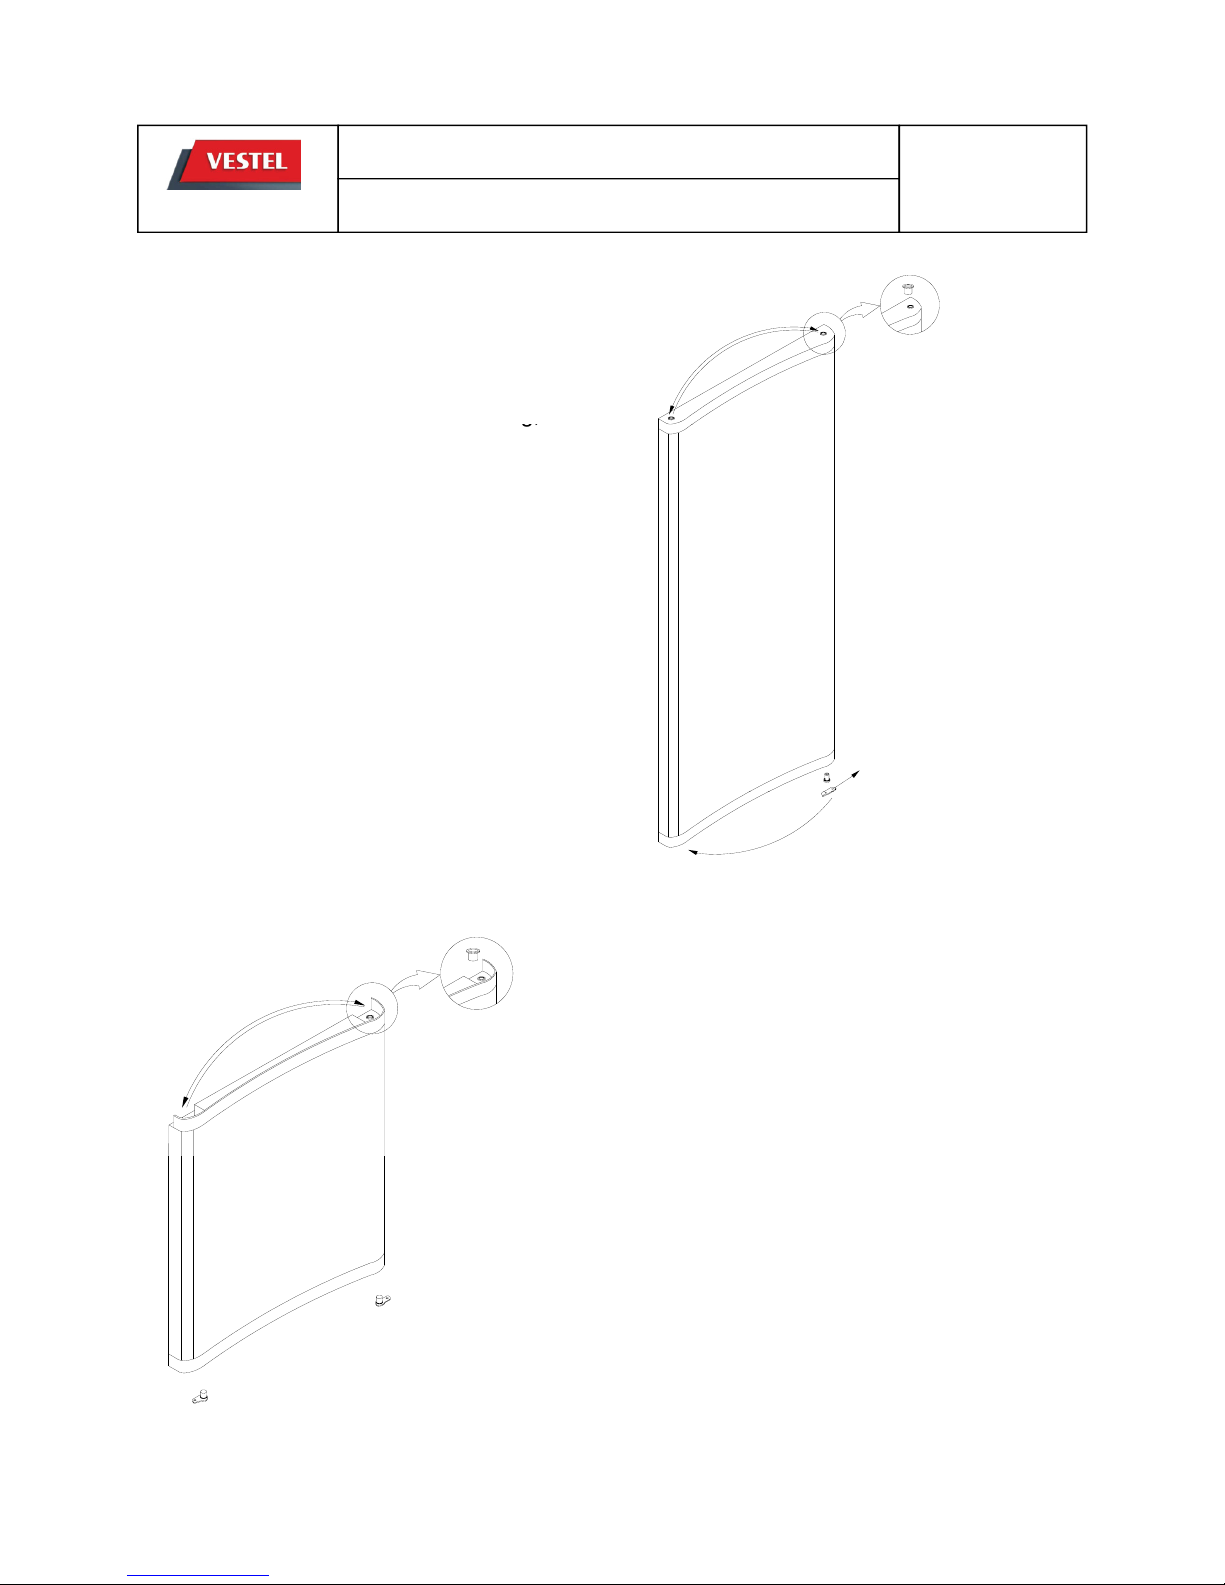
7- Replace the top bushing and top bushing
cap. (Fig-7) (You can find the new bushing cap
in the user manual bag)
Remove the bottom bushing, bottom stopper
and then assemble the bottom bushin
g,
bottom
REFRIGERATOR
DOOR
g,
stopper to the left side. (Fig-7)
BOTTOM STOPPER
Figure-7
8- Remove the top bushing and insert it into left
FREEZER
hole. (F
ig-8)
Unscrew the screw fixing the freezer door
stopper (right) on the right side and remove it.
Than assembly the freezer door stopper (left)
on the left side. (Fig-8)
DOOR
F DOOR STOPPE
R
(You can find the freezer door stopper (left) in
the user manual bag)
DECEMBER 2011
3
F DOOR STOPPER (LEFT)
Figure-8
 Loading...