

Page 1
e230
Installation Guide
VeriFone Part Number DOC173-003-EN-A, Revision A
Page 2

e230 Installation Guide
© 2013 VeriFone, Inc.
All rights reserved. No part of the contents of this document may be reproduced or transmitted in any form without the written
permission of VeriFone, Inc.
The information contained in this document is subject to change without notice . Although VeriFone has attempted to ensure the
accuracy of the contents of this document, this document may include errors or omissions. The examples and sample programs are
for illustration only and may not be suited for your purpose. You should verify the applicability of any example or sample p rogram
before placing the software into productive use. This document, including without limitation the examples and software programs, is
supplied “As-Is.”
VeriFone, the VeriFone logo, Omni, VeriCentre, Verix, and ZonTalk are registered trademarks of VeriFone. Other brand names or
trademarks associated with VeriFone’s products and services are trademarks of VeriFone, Inc.
All other brand names and trademarks appearing in this manual are the property of their respective holders.
Comments? Please e-mail all comments in this document to your local VeriFone Support Team.
VeriFone, Inc.
2099 Gateway Place, Suite 600
San Jose, CA, 95110 USA
www.verifone.com
VeriFone Part Number DOC173-003-EN-A, Revision A
Page 3

CONTENTS
PREFACE . . . . . . . . . . . . . . . . . . . . . . . . . . . . . . . . . . . . . . . 5
Audience. . . . . . . . . . . . . . . . . . . . . . . . . . . . . . . . . . . . . . . . . . . . . . . . . . . . . . . . 5
Organization. . . . . . . . . . . . . . . . . . . . . . . . . . . . . . . . . . . . . . . . . . . . . . . . . . . . . 5
Related Documentation . . . . . . . . . . . . . . . . . . . . . . . . . . . . . . . . . . . . . . . . . . . . 5
Conventions and Acronyms . . . . . . . . . . . . . . . . . . . . . . . . . . . . . . . . . . . . . . . . . 6
CHAPTER 1
Overview Key Features . . . . . . . . . . . . . . . . . . . . . . . . . . . . . . . . . . . . . . . . . . . . . . . . . . . . 8
Features and Benefits . . . . . . . . . . . . . . . . . . . . . . . . . . . . . . . . . . . . . . . . . . . . . 8
Exceptional Ease of Use . . . . . . . . . . . . . . . . . . . . . . . . . . . . . . . . . . . . . . . . . 8
Performance and Durability . . . . . . . . . . . . . . . . . . . . . . . . . . . . . . . . . . . . . . 8
CHAPTER 2
Setup Usage Guidelines. . . . . . . . . . . . . . . . . . . . . . . . . . . . . . . . . . . . . . . . . . . . . . . . 10
Environmental Factors . . . . . . . . . . . . . . . . . . . . . . . . . . . . . . . . . . . . . . . . . 10
Electrical Considerations . . . . . . . . . . . . . . . . . . . . . . . . . . . . . . . . . . . . . . . 10
Unpacking the Shipping Carton . . . . . . . . . . . . . . . . . . . . . . . . . . . . . . . . . . . . . 10
Examining Device Features . . . . . . . . . . . . . . . . . . . . . . . . . . . . . . . . . . . . . . . . 11
Attaching the Lenovo ThinkPad
Tablet 2 to the e230 . . . . . . . . . . . . . . . . . . . . . . . . . . . . . . . . . . . . . . . . . . . . . . 12
Using the
Micro-USB Port. . . . . . . . . . . . . . . . . . . . . . . . . . . . . . . . . . . . . . . . . . . . . . . . . . 14
Using the Barcode Reader. . . . . . . . . . . . . . . . . . . . . . . . . . . . . . . . . . . . . . . . . 15
Using the Magnetic Stripe Reader . . . . . . . . . . . . . . . . . . . . . . . . . . . . . . . . . . . 16
CHAPTER 3
Specifications Temperature and Humidity. . . . . . . . . . . . . . . . . . . . . . . . . . . . . . . . . . . . . . . . . 17
External Dimensions. . . . . . . . . . . . . . . . . . . . . . . . . . . . . . . . . . . . . . . . . . . . . . 17
Weight . . . . . . . . . . . . . . . . . . . . . . . . . . . . . . . . . . . . . . . . . . . . . . . . . . . . . . . . 17
CHAPTER 4
Maintenance Cleaning the Device . . . . . . . . . . . . . . . . . . . . . . . . . . . . . . . . . . . . . . . . . . . . . . 19
CHAPTER 5
VeriFone Service
and Support
Accessories and Documentation . . . . . . . . . . . . . . . . . . . . . . . . . . . . . . . . . . . . 21
Accessories. . . . . . . . . . . . . . . . . . . . . . . . . . . . . . . . . . . . . . . . . . . . . . . . . . 21
Documentation . . . . . . . . . . . . . . . . . . . . . . . . . . . . . . . . . . . . . . . . . . . . . . . 21
Warranty. . . . . . . . . . . . . . . . . . . . . . . . . . . . . . . . . . . . . . . . . . . . . . . . . . . . . . . 22
Returning a Unit for Repair . . . . . . . . . . . . . . . . . . . . . . . . . . . . . . . . . . . . . . . . . 24
CHAPTER 6
Troubleshooting
Transactions Fail to Process . . . . . . . . . . . . . . . . . . . . . . . . . . . . . . . . . . . . . . . 25
Guidelines
E230 INSTALLATION GUIDE 3
Page 4

4 E230 INSTALLATION GUIDE
Page 5

This guide is your primary source of information for setting up the e230.
PREFACE
Audience
Organization
Related
Documentation
This guide is useful for anyone installing an e230 device. Basic descriptions of the
device features are also provided.
This guide is organized as follows:
• Chapter 1, Overview. Provides an overview of the e230.
• Chapter 2, Setup. Explains setup and installation of the e230 and usage
guidelines.
• Chapter 3, Specifications. Discusses the dimensions of the e230 as well as
operating and non-operating temperatures.
• Chapter 4, Maintenance Provides information on maintaining the e230.
• Chapter 5, VeriFone Service and Support. Provides information on contacting
your V eriFone service provider and information on how to order accessories or
documentations from VeriFone.
• Chapter 6, Troubleshooting Guidelines. Provides troubleshooting guidelines
should you encounter installation and configuration problems.
To learn more about the e230, refer to the following set of documents:
e230 Certifications and Regulations Sheet VPN DOC173-001-EN-A
e230 Quick Installation Guide VPN DOC173-002-EN-A
E230 INSTALLATION GUIDE 5
Page 6

PREFACE
NOTE
CAUTION
WARNING
Conventions and Acronyms
Conventions and
Acronyms
This section describes the conventions and acronyms used in this guide.
Various conventions are used to help you quickly identify special formatting.
Table 1 describes these conventions and provides examples of their use.
Table 1 Document Conventions
Convention Meaning Example
Blue Text in blue indicates terms that
are cross referenced.
Italics Italic typeface indicates book
titles or emphasis.
Courier The courier typeface is used
while specifying onscreen text,
such as text that you would
enter at a command prompt, or
to provide an URL.
The pencil icon is used to
highlight important information.
The caution symbol indicates
possible hardware or software
failure, or loss of data.
See Conventions and Acronyms.
You must install a roll of thermalsensitive paper in the printer.
http://www.verifone.com
RS-232-type devices do not work
with the PIN pad port.
The device is not waterproof or
dustproof, and is intended for
indoor use only.
The lightning symbol is used as
a warning when bodily injury
might occur.
Due to risk of shock do not use the
device near water.
Various acronyms are used in place of the full definition. Table 2 presents
acronyms and their definitions.
Table 2 Acronym Definitions
Acronym Definitions
mPOS Mobile Point of Sale
MRA Merchandise Return Authorization
USB Universal Serial Bus
VPN VeriFone Part Number
6 E230 INSTALLATION GUIDE
Page 7
Overview
CHAPTER 1
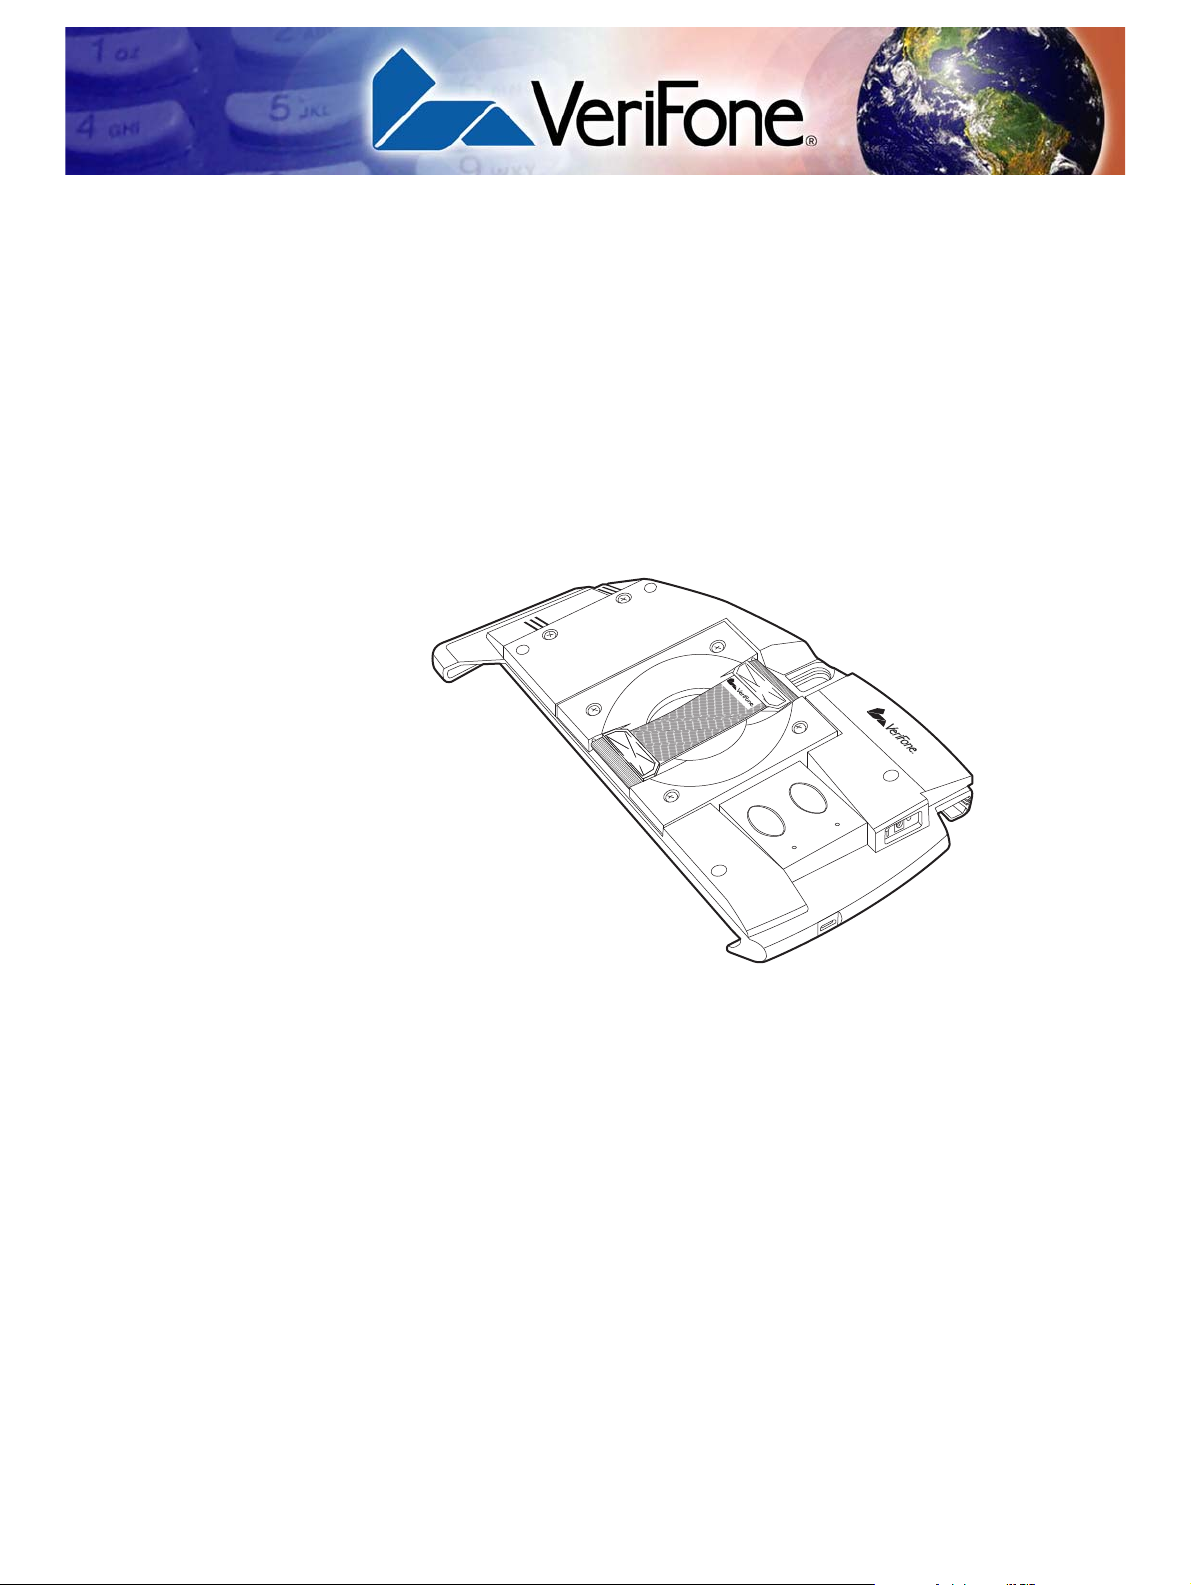
The e230 integrates the Lenovo ThinkPad Tablet 2 and VeriFone's PAYware
Mobile technology to create a robust Windows-based mobile point of sale (mPOS)
platform solution. The e230 offers a unique combination of best-in-class security,
processing speed, and enterprise class features - such as rapid barcode scanning
and an encrypting magnetic card reader.
Figure 1 The e230 Device
E230 INSTALLATION GUIDE 7
Page 8

OVERVIEW
Key Features
Key Features
Features and
Benefits
Exceptional Ease of
Use
The following are the key features of the e230:
Encrypting Magnetic Stripe Card Reader
• Triple track magnetic stripe reader
• Support Hi/Low coercivity
• VeriFone Remote Key Loading (VRK) enabled
2D Barcode Scanner
• Scan support for both physical and virtual buttons
• Support full omnidirectional scanning
The e230 is VeriFone’s first mobile payment device that supports the Windows 8
operating system. This provides a more efficient and flexible alternative for
retailers that use traditional cash registers or have existing Windows-based
infrastructures.
• Slim and form fitting to allow seamless integration between the e230 and the
Lenovo ThinkPad Tablet 2.
Performance and
Durability
• The lightweight and ergonomic design allows retailers to easily carry the
device and engage customers anywhere in the store.
• Omnidirectional scanning does not require precise barcode and reader
alignment.
• The triple-track, high-coercivity card reader handles most magnetic stripe
cards.
• Fast processing speed completes transactions in seconds.
• Rounded corners to minimize breakage.
8 E230 INSTALLATION GUIDE
Page 9

Setup
CHAPTER 2
This chapter describes the following setup procedures for the e230:
• Usage Guidelines
• Unpacking the Shipping Carton
• Examining Device Features
• Attaching the Lenovo ThinkPad Tablet 2 to the e230
• Using the Micro-USB Port
• Using the Barcode Reader
• Using the Magnetic Stripe Reader
E230 INSTALLATION GUIDE 9
Page 10

SETUP
WARNING
WARNING
Usage Guidelines
Usage
Guidelines
Environmental
Factors
Electrical
Considerations
Observe the following guidelines when using the e230.
• Do not use the device where there is high heat, dust, humidity, moisture, or
caustic chemicals or oils.
• Keep the unit away from direct sunlight and anything that radiates heat, such
as a stove or a motor.
• Avoid using this product during electrical storms.
• Avoid locations near electrical appliances or other devices that cause
excessive voltage fluctuations or emit electrical noise (for example, air
conditioners, electric motors, neon signs, high-frequency or magnetic security
devices, or computer equipment).
• Do not use the e230 near water or in moist conditions.
Due to risk of shock or damage, do not use the e230 near water, including a
bathtub, wash bowl, kitchen sink or laundry tub, in a wet basement, or near a
swimming pool.
Unpacking the
Shipping Carton
Open the shipping carton and carefully inspect its conten ts for possible t ampering
or shipping damage. The e230 is a secure product and any tampering can cause
it to cease to function or to operate in an unsecured manner.
1 Remove and inspect the contents of the shipping carton, the carton should
include the following:
• e230 unit
• Micro-USB cable
• Certifications and Regulations sheet
• Quick Installation Guide
2 Remove all plastic wrapping from the terminal and components.
3 Save the shipping carton and packing material for future repacking or moving
of the device.
Do not use a device that appears to be damaged.
If your e230 device appears damaged, please notify the shipping company and
your VeriFone service provider immediately.
10 E230 INSTALLATION GUIDE
Page 11

SETUP
MICRO-USB PORT
USB PLUG
2D IMAGER
WRIST STRAP
ACTION
BUTTONS
Examining Device Features
Examining
Device Features
Before you continue with the installation process, review the features of the
device:
Figure 2 e230 Front Panel
The front panel shows the following connection ports:
• A USB plug that serves as the primary communication path between the
Lenovo ThinkPad Tablet 2 and the e230.
• A Micro-USB port that provides auxiliary communication path to the
Lenovo ThinkPad Tablet 2 when docked.
Figure 3 e230 Back Panel
The back of the e230 shows the following:
• A wrist strap to carry the e230.
• A 2D Imager for scanning barcodes.
• Two Action buttons to activate the 2D Imager.
E230 INSTALLATION GUIDE 11
Page 12

SETUP
NOTE
A B C D
Attaching the Lenovo ThinkPad Tablet 2 to the e230
Attaching the
Lenovo
ThinkPad
Tablet 2 to the
e230
To attach a Lenovo
ThinkPad Tablet 2 to
the e230
The e230 cannot be used as a standalone device. To be able to scan barcodes
and process credit card payments, you need to attach a
Lenovo ThinkPad Tablet 2 to the e230.
To attach the tablet, the top part of the e230 casing should be removed.
1 Remove the screws on the leftmost side of the e230 back panel.
2 Pull the top casing upwards to disengage it from the main unit.
You can now proceed to attach tablet to the e230.
3 Hold and secure the e230 with the back panel facing down.
4 Align the USB port on the tablet with the USB plug on the e230 then, gently
but firmly push the tablet down until fully inserted.
5 With the back panel facing up, return the top casing then, insert and tighten
the screw to secure the device.
When inserting the screws, place the e230 on a smooth and flat su rface to avoid
scratching the tablet screen.
Figure 4 Attaching a Lenovo ThinkPad Tablet 2 to the e230
12 E230 INSTALLATION GUIDE
Page 13

SETUP
NOTE
A B C D E
Attaching the Lenovo ThinkPad Tablet 2 to the e230
To remove a Lenovo
ThinkPad Tablet 2
from the e230
1 Remove the screws on the leftmost side of the e230 back panel.
When removing the screws, place the e230 on a smooth and flat surface to avoid
scratching the tablet screen.
2 Pull the top casing upwards to disengage it from the main unit.
3 Hold and secure the e230 with the back panel facing down.
4 Lift the tablet upwards to disengage it from the e230.
5 With the back panel facing up, return the top casing then, insert and tighten
the screw.
Figure 5 Removing a Lenovo ThinkPad Tablet 2 from the e230
E230 INSTALLATION GUIDE 13
Page 14

SETUP
NOTE
B
NOTE
Using the Micro-USB Port
Using the
Micro-USB Port
To connect the e230
to a host computer
The Micro-USB port on the e230 provides the following options:
• Auxiliary communication path to the tablet
The tablet can still be inserted into its own dock while connected to the e230.
In this scenario, in order to communicate between the tablet and the e230,
connect the Micro USB cable to the dock’s USB port and the Micro USB port
on the e230.
• Ability to connect the e230 to a computer
Connect the e230 to a computer to perform remote key (VRK) loading or
troubleshooting procedures. These procedures can also be done via the t ablet
but a PC connection allows users to utilize a physical keyboard and mouse.
For more information on troubleshooting and remote key loading procedures,
please contact VeriFone technical support at lenovosupport@verifone.com.
1 Connect the Micro-USB plug into the port located at the bottom of the e230.
2 Connect the other end of the Micro-USB cable into the host computer’s USB
port.
14 E230 INSTALLATION GUIDE
Figure 6 Connecting the e230 to a Computer
Connecting the e230 to any power source (a computer's USB port or the Lenovo
ThinkPad Tablet 2's charging supply) does not charge the tablet.
Page 15

SETUP
*DOC173-002-EN-A*
CAUTION
LASER RADIATION
DO NOT STARE INTO BEAM
CLASS 2 LASER PRODUCT
“Complies with 21 CFR 1040.20 and 1040.11 except for deviations
pursuant to laser Notice 50, dated June 24, 2007” 650nm, <1mW
EN 60825-1-2007
IEC 60825-1-2007
NOTE
Using the Barcode Reader
Using the
Barcode Reader
The two Action buttons located on the back panel, activate the barcode reader
(see
Figure 3).
To scan barcodes 1 Press and hold either button to activate the reader and illuminate the barcode
laser.
2 Point the laser to the target code, adjusting the position as necessary. Do not
release the button until the application indicates a successful scan or when
the product information displays on the tablet screen.
Figure 7 Using the Barcode Reader
When activated, do not point the barcode reader directly at a person to avoid
unnecessary harm or injury.
Use of controls or adjustments or performance of procedures other than those
specified herein may result in hazardous radiation exposure.
E230 INSTALLATION GUIDE 15
Page 16

SETUP
XXXXXXXXXXXXXXXX
Using the Magnetic Stripe Reader
Using the
Magnetic Stripe
Reader
To conduct a debit or
credit card
transaction
Use the magnetic stripe reader to perform signature debit or credit card
transactions.
1 Position the card with the magnetic stripe facing in the same direction as the
back panel, away from the tablet.
2 To ensure a proper read of the magnetic card, insert the card from the top, as
shown in
Figure 8.
3 Swipe the card through the magnetic card reader.
Figure 8 Using the Magnetic Stripe Reader
16 E230 INSTALLATION GUIDE
Page 17

Specifications
CHAPTER 3
This chapter discusses dimensions and other specifications of the e230 device.
Temp erature and
Humidity
External
Dimensions
Weight
• Operating Environment
Temperature: 0° to 40°C (32° to 104°F)
Relative Humidity: 5% to 90%; RH non-condensing
• Non-operating Environment
Temperature: -20° to 60°C (-4° to 140°F)
Relative Humidity: 5% to 90%; RH non-condensing
• Length: 11.05 in (280.74 mm)
• Width: 6.84 in (173.85 mm)
• Thickness
Top: 1.3 in (33.11 mm)
Bottom: 1.07 in (27.27 mm)
• 357 grams
E230 INSTALLATION GUIDE 17
Page 18

SPECIFICATIONS
Weight
18 E230 INSTALLATION GUIDE
Page 19

Maintenance
CAUTION
CHAPTER 4
The e230 device has no user-maintainable parts.
Cleaning the
Device
To clean the device, use a clean cloth slightly dampened with water and a drop or
two of mild soap. For stubborn stains, use alcohol or an alcohol-based cleaner.
Never use thinner, trichloroethylene, or ketone-based solvents – they may cause
deterioration of plastic or rubber parts.
Do not spray cleaners or other solutions directly onto the keypad or device
display.
E230 INSTALLATION GUIDE 19
Page 20

MAINTENANCE
Cleaning the Device
20 E230 INSTALLATION GUIDE
Page 21

VeriFone Service and Support
For e230 problems, contact your local VeriFone representative or service provider
or email lenovosupport@verifone.com.
For e230 product service and repair information:
• USA – VeriFone Warranty Service and Support, 1-800-834-9133
Monday - Friday, 8 A.M. - 8 P.M., Eastern time
• International – Contact your VeriFone representative
CHAPTER 5
Accessories and
Documentation
Accessories
Documentation
VeriFone produces the following accessories and documentation for the
e230. For sales and ordering information, contact your local VeriFone
representative or VeriFone business partner or email
lenovosales@verifone.com.
VeriFone Cleaning Kit 02746-01
USB type A to right angled micro USB type B
cable, 2 feet
e230 Certifications and Regulations Sheet VPN DOC173-001-EN-A
e230 Quick Installation Guide VPN DOC173-002-EN-A
CBL173-001-01-A
E230 INSTALLATION GUIDE 21
Page 22

VERIFONE SERVICE AND SUPPORT
Warranty
Warranty
VERIFONE, INC.
STANDARD LIMITED WARRANTY, US
1 Product warranty period and additional information for VeriFone-branded
Products is available with the Products, on quotations, or upon request. The
warranty period for each Product is calculated from the date the Product is
shipped from VeriFone’s facility or the date title to the Product passes to
Customer, whichever date is earlier.
2 VeriFone warrants that each hardware Product shall be free from faulty
workmanship and defective materials.
3 VeriFone warrants that all software components of each Product shall
substantially conform to the written documentation designated by VeriFone
for use with such software components.
4 VeriFone does not warrant that the operation of Products will be
uninterrupted or error free.
5 If VeriFone receives notice of defects, or substantial non-conformance to
written documentation during the warranty period, VeriFone will, at its option,
repair, or replace the affected Products. Customer will pay expenses for
return of such Products to VeriFone. During the standard warranty period
VeriFone will return ship repaired or replacement Products, except for
Products returned to Customer from another country, at the expense of
VeriFone. Repair or replacement of a Product (or any part thereof) does not
extend the warranty period for such Product.
6 The above warranties do not apply to defects resulting from improper or
inadequate maintenance by Customer; Customer or third party supplied
software, interfacing or supplies; unauthorized modification; improper use or
operation outside of the conditions specified for the Product considered out of
scope; abuse, negligence, accident, liquid spillage, acts of nature such as
flood or lightning damage, loss or damage in transit; improper site
preparation; or unauthorized maintenance or repair.
7 No trouble found (NTF) repairs are limited to twenty (20%) of all Products
returned for repair by Customer, on a quarterly basis. In the event Customer
exceeds this limit in any quarterly period, VeriFone may assess the current
fee for Clean and Test service plus freight on all units in excess of the allowed
twenty percent.
22 E230 INSTALLATION GUIDE
Page 23

VERIFONE SERVICE AND SUPPORT
8 THE ABOVE WARRANTIES (I) DO NOT APPLY TO PRODUCTS NOT
MANUFACTURED BY VERIFONE, SOFTWARE NOT DEVELOPED BY
VERIFONE, CONSUMABLE ITEMS (E.G. PAPER AND RIBBONS), SPARE
PARTS OR SERVICES, AND DO NOT APPLY TO PRODUCTS, OR
COMPONENTS THEREOF (INCLUDING WITHOUT LIMITATION ANY
SOFTWARE COMPONENT), WHICH HAVE BEEN ALTERED, MODIFIED,
REP AIRED OR SER VICED IN ANY RESPECT EXCEPT BY VERIFONE OR
ITS REPRESENTATIVES; (II) APPLY ONLY TO PRODUCTS SOLD AND
USED IN THE UNITED STATES (IT BEING ACKNOWLEDGED THAT THE
PRODUCTS ARE DESIGNED FOR USE IN THE UNITED STATES ONLY,
AND USE OUTSIDE THE UNITED STATES SHALL VOID ALL
WARRANTIES); AND (III) ARE EXCLUSIVE AND NO OTHER WARRANTY,
WHETHER WRITTEN OR ORAL, IS EXPRESSED OR IMPLIED.
VERIFONE SPECIFICALLY DISCLAIMS THE IMPLIED WARRANTIES OF
MERCHANTABILITY, FITNESS FOR A PARTICULAR PURPOSE AND
NON-INFRINGEMENT OF THIRD PARTY RIGHTS.
Warranty
9 IN ADDITION, THESE EXPRESS WARRANTIES ARE IN LIEU OF ANY
OTHER LIABILITY OR OBLIGATION OF VERIFONE, INCLUDING
WITHOUT LIMITATION ANY LIABILITY OR OBLIGATION FOR DAMAGE,
LOSS OR INJURY (WHETHER DIRECT, INDIRECT, EXEMPLARY,
SPECIAL, CONSEQUENTIAL OR INCIDENTAL) ARISING OUT OF OR IN
CONNECTION WITH THE DELIVERY, USE OR PERFORMANCE OF THE
PRODUCTS, AND REPAIR OR REPLACEMENT (AT VERIFONE’S
OPTION) IS CUSTOMER’S SOLE REMEDY FOR ANY SUCH DAMAGE,
LOSS OR INJURY
Table 3 Warranty Period for Products
Product Standard Warranty Period
Mx8XX and Mx9XX terminal 36 months
PWMe device; VX600, e2XX, e3XX 13 months
Vx680 terminal and modules 13 months
Vx510/520 terminal 13 months
All other terminal Products 13 months
All Pinpad Products 13 months
E230 INSTALLATION GUIDE 23
Page 24

VERIFONE SERVICE AND SUPPORT
NOTE
Returning a Unit for Repair
Returning a Unit
for Repair
Before returning the e230 to VeriFone, you must obtain a Merchandise Return
Authorization (MRA) number. The following procedure describes how to return
one or more e230 units for repair or replacement (U.S. customers only).
1 Gather the following information from the printed labels at the back of each
e230 to be returned:
• Product ID, including the model and part number. For example,
“m173-xxx-xx” and “PTID xxxxxxxx.”
• Serial number (S/N xxx-xxx-xxx).
The MRA can also be obtained by:
• Dialing 1-800-834-9133. Be ready to provide the serial number of the unit
and the return ship to information.
• Sending an email to i_mra_help@smokestack.verifone.com with the
following information:
• Serial number of the unit
• A description of the repair issue
• Shipping address where the unit must be returned
2 Upon obtaining the MRA number, ship the units needing repair to:
Flextronics c/o VeriFone Repair
4400 Commerce Crossing Drive
Louisville, Kentucky 40229
For technical support related to the specific mobile POS application, please
contact the appropriate mobile POS application provider. For all other technical
support related issues (remote key loading, drivers, diagnostic applications, etc),
please contact the VeriFone technical support team at
lenovosupport@verifone.com. Please include a description of your problem
and your contact information.
24 E230 INSTALLATION GUIDE
Page 25

CHAPTER 6
NOTE
Troubleshooting
Guidelines
Transactions
Fail to Process
The troubleshooting guidelines provided in the following section are included to
help you install and configure your e230 successfully. Typical examples of
malfunction you may encounter while operating your e230 and steps you can take
to resolve them are listed in this chapter.
If the problem persists even after performing the outlined guidelines or if the
problem is not described below, contact your local VeriFone representative for
assistance.
The e230 unit contains no user serviceable parts. Do not, under any
circumstance, attempt to disassemble the device. Perform only those adjustments
or repairs specified in this guide. For all other services, contact your local V eriFo ne
service provider. Service conducted by parties other than authorized VeriFone
representatives may void any warranty.
There are several reasons why the terminal may not be processing transactions.
Use the following steps to troubleshoot failures.
Check the Magnetic Card Reader
• Using the VeriFone provided Diagnostic application, select the
"Connect Device" option then enable the magnetic stripe reader and swipe
one or more different magnetic stripe cards to ensure the problem is not a
defective card
• Observe proper card swipe procedures. The side of the card where the black
magnetic stripe is should face the same direction as the back p anel and away
from the tablet. Insert the magnetic stripe card from the top in a smooth and
continuous manner.
• Contact your VeriFone distributor or service provider.
Check the Barcode Reader
• Using the VeriFone provided Diagnostic application, select the
"Connect Device" option then enable the barcode reader and test both
barcode buttons to ensure that both illuminate the barcode laser. Once
illuminated, scan a barcode and verify if the barcode scanned successfully.
• Contact your VeriFone distributor or service provider.
E230 INSTALLATION GUIDE 25
Page 26

VeriFone, Inc.
2099 Gateway Place, Suite 600
San Jose, CA, 95110 USA
Tel: (800) VeriFone (837-4366)
www.verifone.com
e230
Installation Guide
VeriFone Part Number DOC173-003-EN-A, Revision A
 Loading...