

Page 1
CAMSET2
AUDIO & VIDEO
SURVEILLANCE SYSTEM
5"B/W MONITOR & 1/3" CCD CAMERA
OWNER'S MANUAL
GEBRUIKERSHANDLEIDING
MANUEL DE L'UTILISATEUR
Page 2

CAMSET2
AUDIO & VIDEO
SURVEILLANCE SYSTEM
5"B/W MONITOR & 1/3" CCD CAMERA
OWNER'S MANUAL
GEBRUIKERSHANDLEIDING
MANUEL DE L'UTILISATEUR
Page 3

INTRODUCTION
_________________________________________________________________
Congratulations on your purchase of our AUDIO & VIDEO SURVEILLANCE
SYSTEM.
This security system gives the buyer value for money in the world of video
surveillance.
This is a system that can evolve with your needs. Up to two CAMERAS and a
VCR can be added. Please read this instruction manual thoroughly for more
details on appropriate use.
APPLICATIONS
_________________________________________________________________
- Observation purposes : shop office, garage, swimming pool, etc.
- Nursery purposes : baby care, nursery, etc.
* Your monitor can be connected to your VCR for recording.
CAMSET2 GB 1
Page 4

FEATURES
_________________________________________________________________
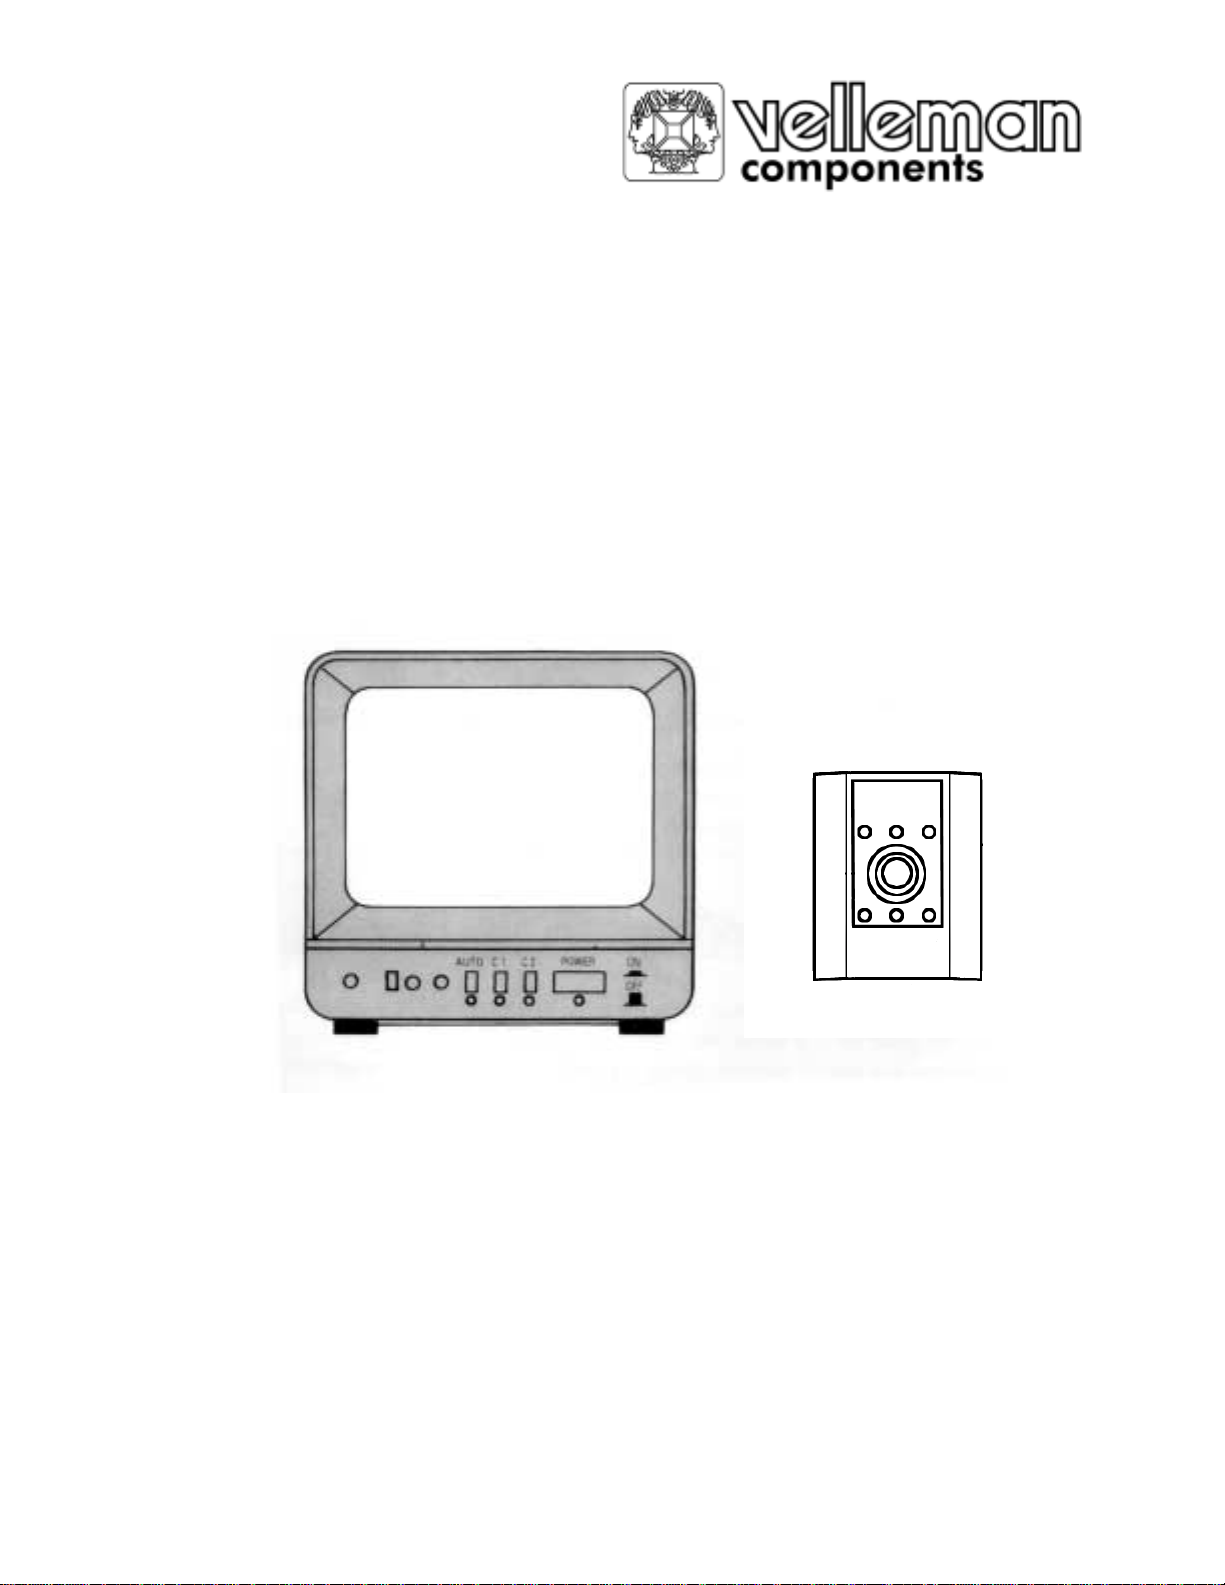
A. MONITOR
- FRONT VIEW
- REAR VIEW
B. CAMERA (=CAM4)
1. IR LEDs
2. SPEAKER
3. 6-PIN MINI DIN JACK
4. MICROPHONE
5. CCD CAMERA LENS, 3.6mm, F2.0
Options :
CAM3 (camera without IR LEDs)
CAMSET/SPC1 (extension cable, 6-pin mini-DIN connectors, male to femal e)
CAMSET/SPC2 (extension cable, 6-pin mini-DIN connectors, mal e to male)
1. POWER ON/OFF SWITCH
2. POWER-ON LED INDICATOR
3. CAMERA 1 SELECTOR SWITCH
4. CAMERA 1 DISPLAY INDICAT O R
5. CAMERA 2 SELECTOR SWITCH
6. CAMERA 2 DISPLAY INDICAT O R
7. VOLUME CONTROL
8. TIME CONTROL
9. AUTO CAMERA SELECTOR
10. AUTO SCANNING ON INDICATOR
11. SPEAKER
12. MICROPHONE
13. MICROPHONE SELECTOR
SWITCH
1. POWER INPUT JACK
2. AUDIO OUTPUT RCA JACK
3. VIDEO OUTPUT RCA JACK
4. BRIGHT ADJUST CONTROL
5. CONTRAST ADJUST CONTROL
6. VERTICAL SIZE ADJUST
CONTROL
7. A/V INPUT TERMINAL
CAMSET2 GB 2
Page 5

OPERATION
_________________________________________________________________
1. When you push power ON/OFF to switch on, the power indicator will light up.
After a few seconds, the monitor screen will show the picture.
2. Select "camera" (C1 or C2) by pushing the camera s elector switch (C1 or C2).
3. Adjust the volume control clockwise or counterclockwise to either increase or
decrease the sound level.
4. This is a two-way talking system : there is communication between the camera
and the monitor. You can hear the sound from the cam era without pressing
the "talk"-button. But if you want to talk to a person at the other end of the
camera, you should keep the "talk"-button pressed down while talking. Do not
release the button until you are finished.
5. When 2 cameras are in use, press the "AUTO" camera selector switch to
automatically switch back and forth between the 2 cameras.
6. Adjust the "TIME"-control to change the displa y time of the picture between
camera 1 and camera 2. The cycle time can be adjusted from 1 second (min.)
to 30 seconds (max.)
7. Adjust the contrast and bright controls to cha nge the pi cture's contrast and
brightness.
8. To record the audio and video signals from the camera : connect the
audio/video output jacks at the back of the monitor to the VCR's audio/video
input jack by using the standard audio/video cable with RCA plugs.
CAMSET2 GB 3
Page 6

SPECIFICATIONS
_________________________________________________________________
1. MONITOR
TV system CCIR
Picture tube 5.5" black & white
Resolution 500 TV lines
Scanning frequency 15.625KHz (H) x 50Hz (V)
Audio output 350mW (RCA jack)
Video output
Power source 13.5V dc
Working temperature -10 to 40°C
Connector 6p mini din jack (4p to BNC)
Scanning time
Speaker 57mm round
Weight 1Kg5
Dimensions 158 x 152 x 195mm
2. CAMERA (CAM4)
Pick-up device 1/3" CCD, 270000 pixels
TV system CCIR, 2:1 interlace
Resolution 380 TV lines
Video output
Sensitivity Min. 1lux - min. 0.1lux with IR LEDs ON
Working temperature -10 to 40°C
Lens 3.6mm, F2.0
Weight 120g
Dimensions 51 (W) x 69 (H) x 49 (D) mm
1V pp 75Ω (RCA jack)
1 ∼ 30 seconds
1V p-p 75Ω
CAMSET2 GB 4
 Loading...