


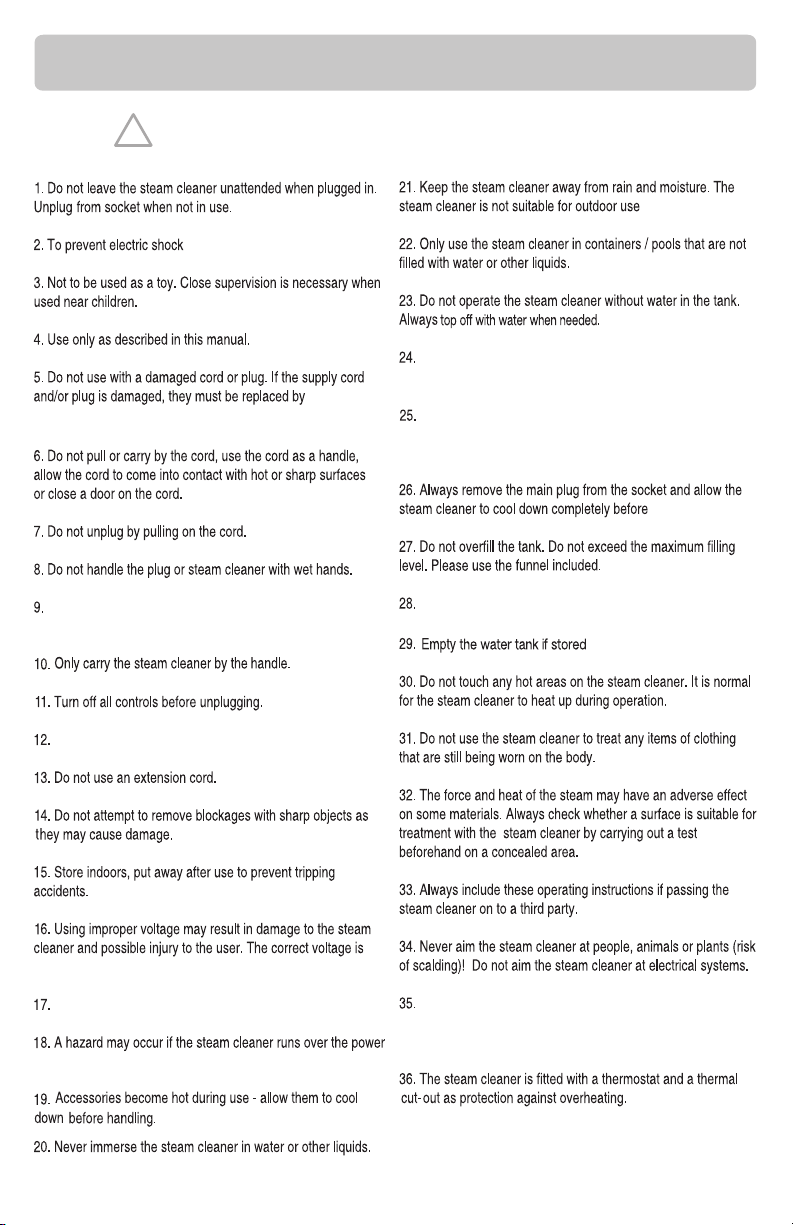
SAFETY INFORMATION
GO TO VAPAMORE.COM TO SEE THE MR-1000 FORZA INSTRUCTIONAL VIDEO
FAILURE TO FOLLOW SAFETY INFORMATION AND WARNINGS MAY
!
CAUSE PERMANENT DAMAGE AND VOID PRODUCT WARRANTY.
around water.
use only with a grounded outlet.
Only use distiled water. Using hard water can cause
calcium or mineral build up and void the warranty.
Vapamore in order to prevent a fire hazard.
Do not pull or drag steam cleaner using the
steam gun and hose.
Steam cleaner must be level and on the floor during use.
listed on the label.
Never use additives such as perfumes, stain removers, or
other chemicals in the water tank as they will void the
warranty, cause permanent damage, and be dangerous.
Make sure the water tank cap is fully secured
storage.
before use.
(See cleaning and storage).
Drain water tank prior to shipping, transporting.
supply cord.
Do not leave the steam cleaner on and unattended. Always
switch the steam cleaner off and remove plug from wall
outlet when unattended.
GO TO VAPAMORE.COM TO SEE THE MR-1000 FORZA INSTRUCTIONAL VIDEO
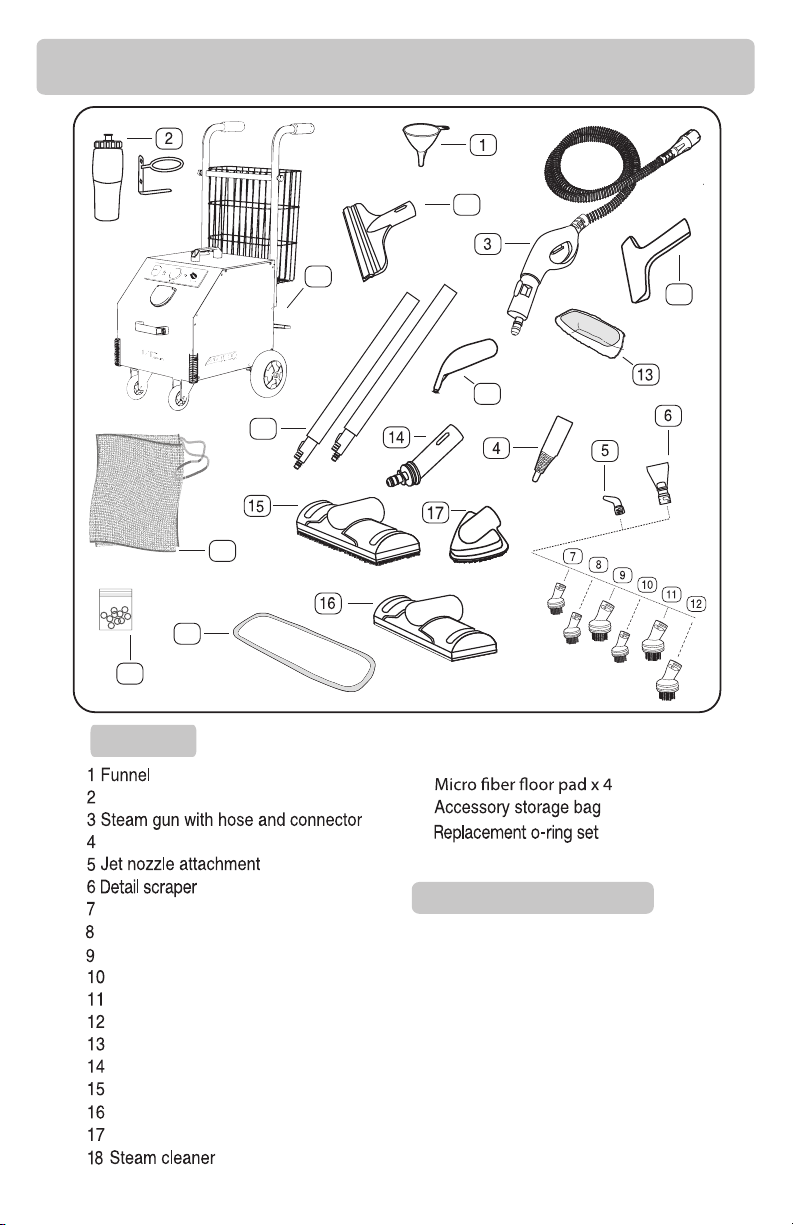
PARTS OVERVIEW
20
18
19
24
23
25
PARTS LIST
Water bottle & holder
Accessory tool adapter
x 2
x 2
Nylon brush grout
Nylon brush medium
Nylon brush large
Metal brush small brass x 4
Metal brush large brass x 4
Metal brush large stainless steel x 4
Cotton cover x 4
Large elbow adapter
Floor head with bristles
Floor head smooth surface
x 4
x 4
x 4
Triangle corner brush
19
Extension tubes x 2
20
Smooth surface squeegee
22
21
21
Detail jet tool
Bed bug / fabric tool
22
23
24
25
Assembly screws & tools (not shown)
26
TECHNICAL SPECIFICATIONS
Model: MR-1000 Forza
Power supply: 120V 60Hz
Heating element: 1700w - 14AMP
Steam Pressure: 6BAR - 90PSI PEAK
Tank capacity: 4.2LTR - 1.1 GAL
Boiler capacity: 3LTR - .8 GAL
Heating time: 9 MIN.
Boiler temp: 160C - 320F
Steam temp at tip: 140C - 284F PEAK
Power cord length: 25’
Steam hose length: 8’
Gross weight: 20.4 KG - 45LBS
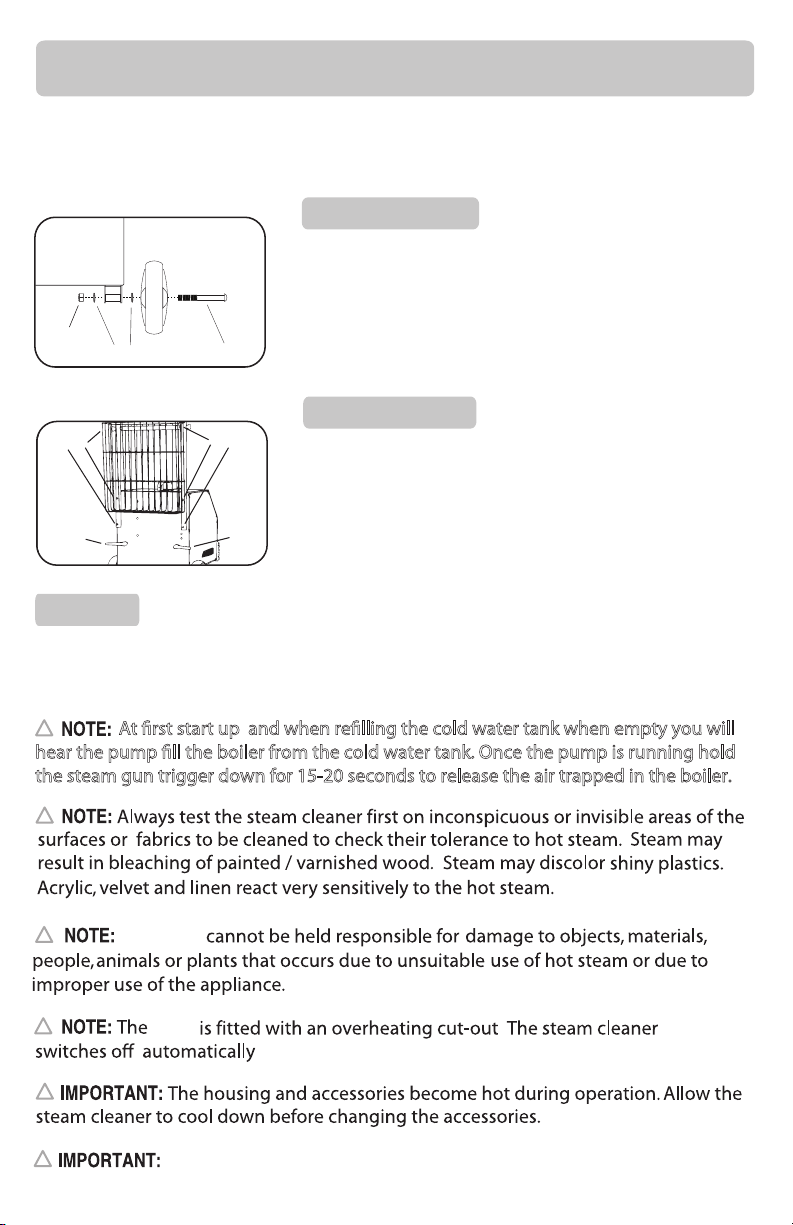
GETTING STARTED
Bolt
Bolt
Cord
reel
Cord
reel
GO TO VAPAMORE.COM TO SEE THE MR-1000 FORZA INSTRUCTIONAL VIDEO
Once unpacked the only items that need to be installed are the rear wheels, the storage
basket, and the rear handles. All the necessary tools and hardware are included to
install these items.
Fig.1
Lock bolt
Washer
Wheel bolt
WHEEL INSTALLATION
Install the rear wheels using the supplied tools along
with the supplied wheel bolt, washers, and lock nut.
The wheel bolt is inserted into the wheel followed by a
washer then inserted into the steamer wheel mount.
Once inserted, install the other washer and the lock nut.
Tighten lock nut. (Fig.1)
Fig.2
BASKET & HANDLES
The basket and handles are secured to the main steamer
body using 6 of the supplied Allen head style screws.
(*Note: there are extra Allen head screws provided).
Align the basket and handle screw hole locations and
insert the Allen head screws loosely until all screws are
in place. Once all screws are in place Secure all screws
rmly with the supplied Allen tool. (Fig.2)
CORD REEL
The cord reel hooks rotate by pulling outward from the steamer then twisting to rotate.
Use this rotate function to easily remove the power cord and to position the hooks for
cord storage. Use the Velcro cord strap to secure the cord during transport. (Fig.2)
!
At rst start up and when relling the cold water tank when empty you will
hear the pump ll the boiler from the cold water tank. Once the pump is running hold
the steam gun trigger down for 15-20 seconds to release the air trapped in the boiler.
!
!
Vapamore
!
Forza
if over pressure or over temperature is detected.
!
!
operation. Do not tip or tilt the steam cleaner during use.
Always ensure the steamer is on a level oor or at surface when in
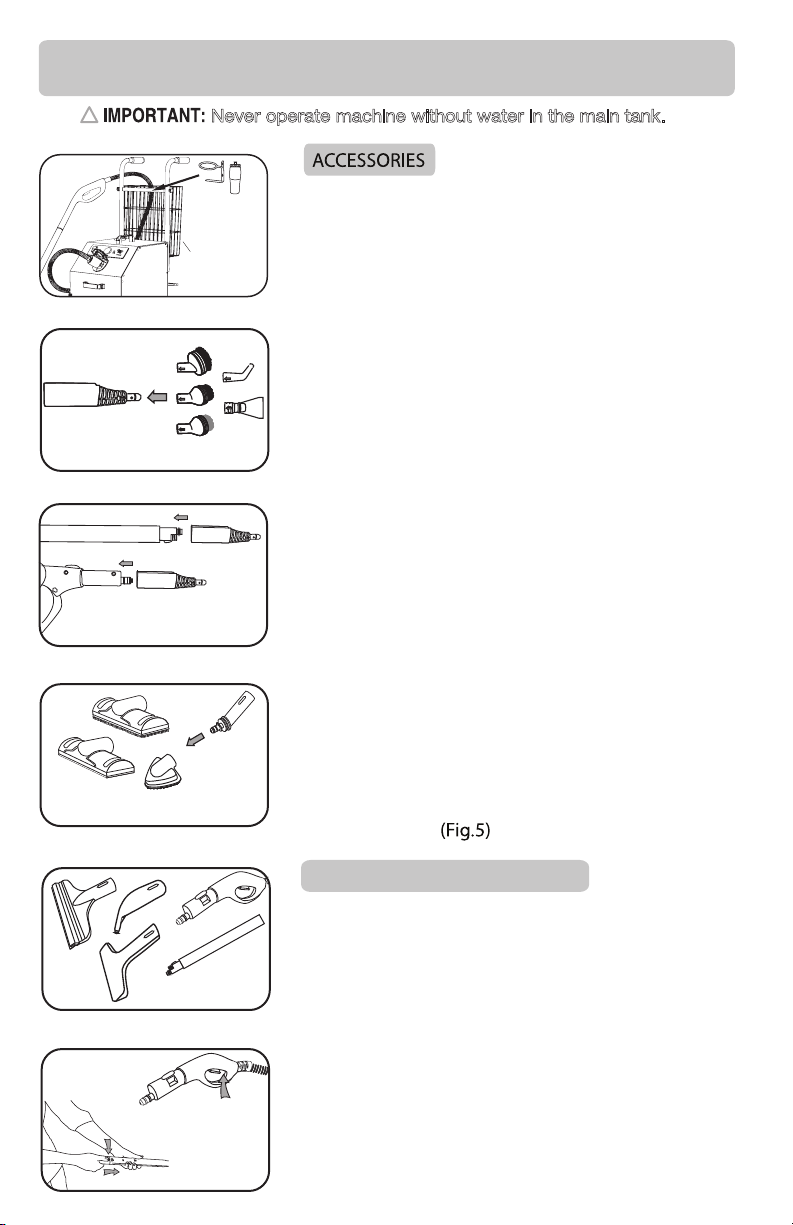
ACCESSORIES AND TOOLS
Trigger lock
Extension tubes
lock and release
GO TO VAPAMORE.COM TO SEE THE MR-1000 FORZA INSTRUCTIONAL VIDEO
!
Fig.1
Never operate machine without water in the main tank.
Water bottle
and holder
Accessory
storage
basket
Fig.2
Accessories twist lock onto
the accessory tool adapter
Fig.3
Accessory tool adapter
attaches to the steam
gun or extension tubes.
Fig.4
Use large elbow adapter for
floor heads and triangle brush
Fig.5
The MR-1000 Forza has an accessory and
tool basket. Once all the accessories and tools have
been unpacked use the accessory storage bag and
basket to carry all the accessories and tools.
The MR-1000 Forza includes a water bottle holder
that can be used for the included water bottle or
most any other drink bottle or cup. The water bottle
holder fits over the front top rail on the accessory
and tool basket.
(Fig.1)
The accessory tool adaptor (#4 on parts overview
page) is required when using the jet nozzle
attachment, detail scraper, and all round detail
brushes (#5-12 on parts overview page). Align the
accessory with the arrow on the accessory tool
adapter and twist to lock into place. The accessory tool
adapter can be used directly on the steam gun or can
be used with the extension tubes.
(Fig.2 and 3)
The large elbow adaptor (#14 on parts overview
page) is required when using the floor heads or
triangle corner brush (#15-17 on parts overview page)
With the large elbow adapter facing down, insert
into the floor heads or triangle brush until completely
inserted then rotate up. The adapter will only insert
when facing down and then locks into position and
allows the adapter to rotate when in use. The large
elbow adapter can be used directly on the steam
gun or can be used with the extension tubes.
The smooth surface squeegee, detail jet tool and the
(Fig.4)
bed bug / fabric tool (20-22 on parts overview page)
can be connected directly to the steam gun or the
extension tubes.
STEAM GUN / EXTENSION TUBES
Fig.6
Use with steam gun
or extension tubes
The steam gun connects to the steam socket located
on the front panel of the machine. Flip the dust cover
open and push the hose connector firmly into the
socket until both tabs click into place. Remove the
steam hose by pressing in both release tabs while
pulling out.
The steam gun has a trigger (ON) lock located just
behind the trigger. This lock can be used for
continuous steam without having to hold the trigger.
To set the lock, push down the trigger, then while the
trigger is down slide the lock to hold the trigger.
Extension tubes can be used for floors or difficult to
reach areas. The extension tubes push and lock into
place on the steam gun. (Fig.6)
 Loading...