

Valor PORTRAIT BSK578 Barrier Screen Kit Installation Instructions Manual
PORTRAIT
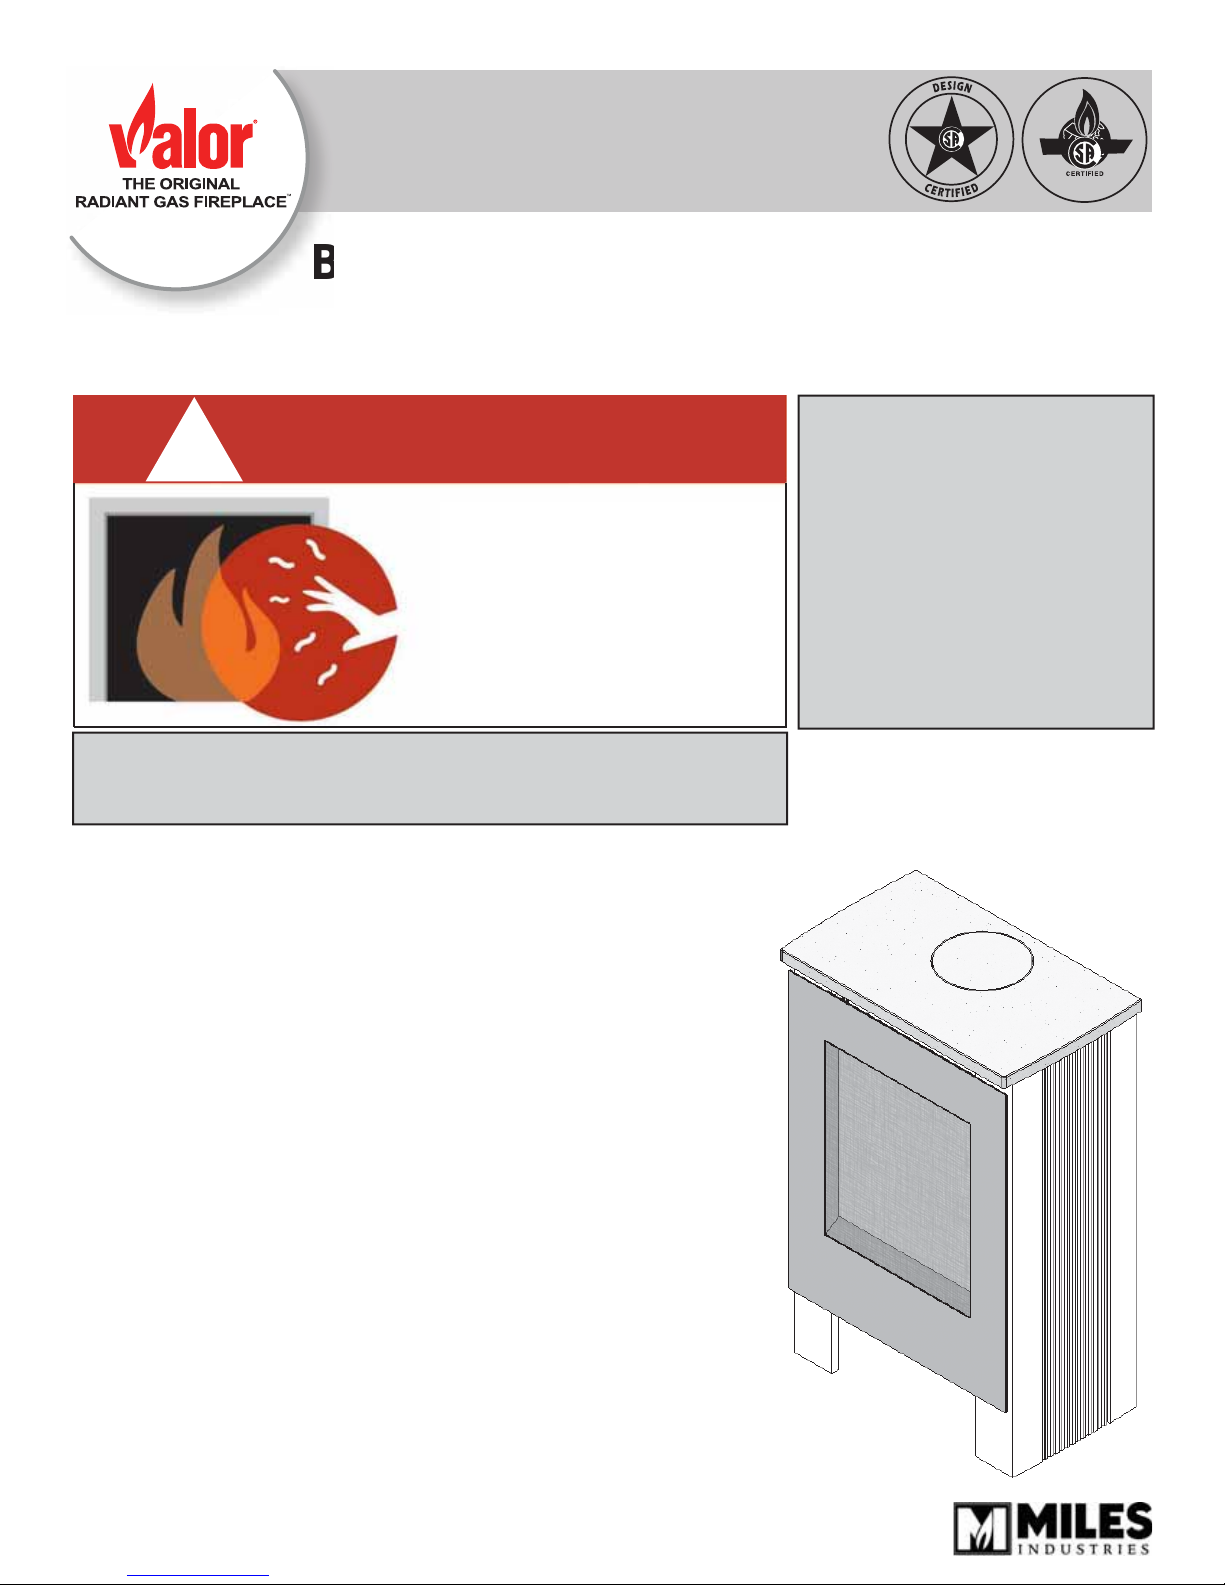
BSK578 Barrier Screen Kit
CSA approved for use ONLY with Valor Lift Front models 578
Installation Instructions
!
A barrier designed to reduce the risk of burns from the hot viewing
glass is provided with this appliance and shall be installed
for the protection of children and other at-risk individuals.
Barrier Screen
A Barrier Screen is being provided to you to install on your Lift Front
578. The barrier screen is designed specifi cally to prevent any contact
with the glass of the fi replace which becomes hot during operation and
remains hot when cooling.
WARNING
HOT GLASS WILL
CAUSE BURNS.
DO NOT TOUCH GLASS
UNTIL COOLED.
NEVER ALLOW CHILDREN
TO TOUCH GLASS.
INSTALLER
Leave this manual
with the appliance.
CONSUMER
Retain this manual
for future reference.
4003627-02
© Copyright Miles Industries Ltd., 2013.
Installation
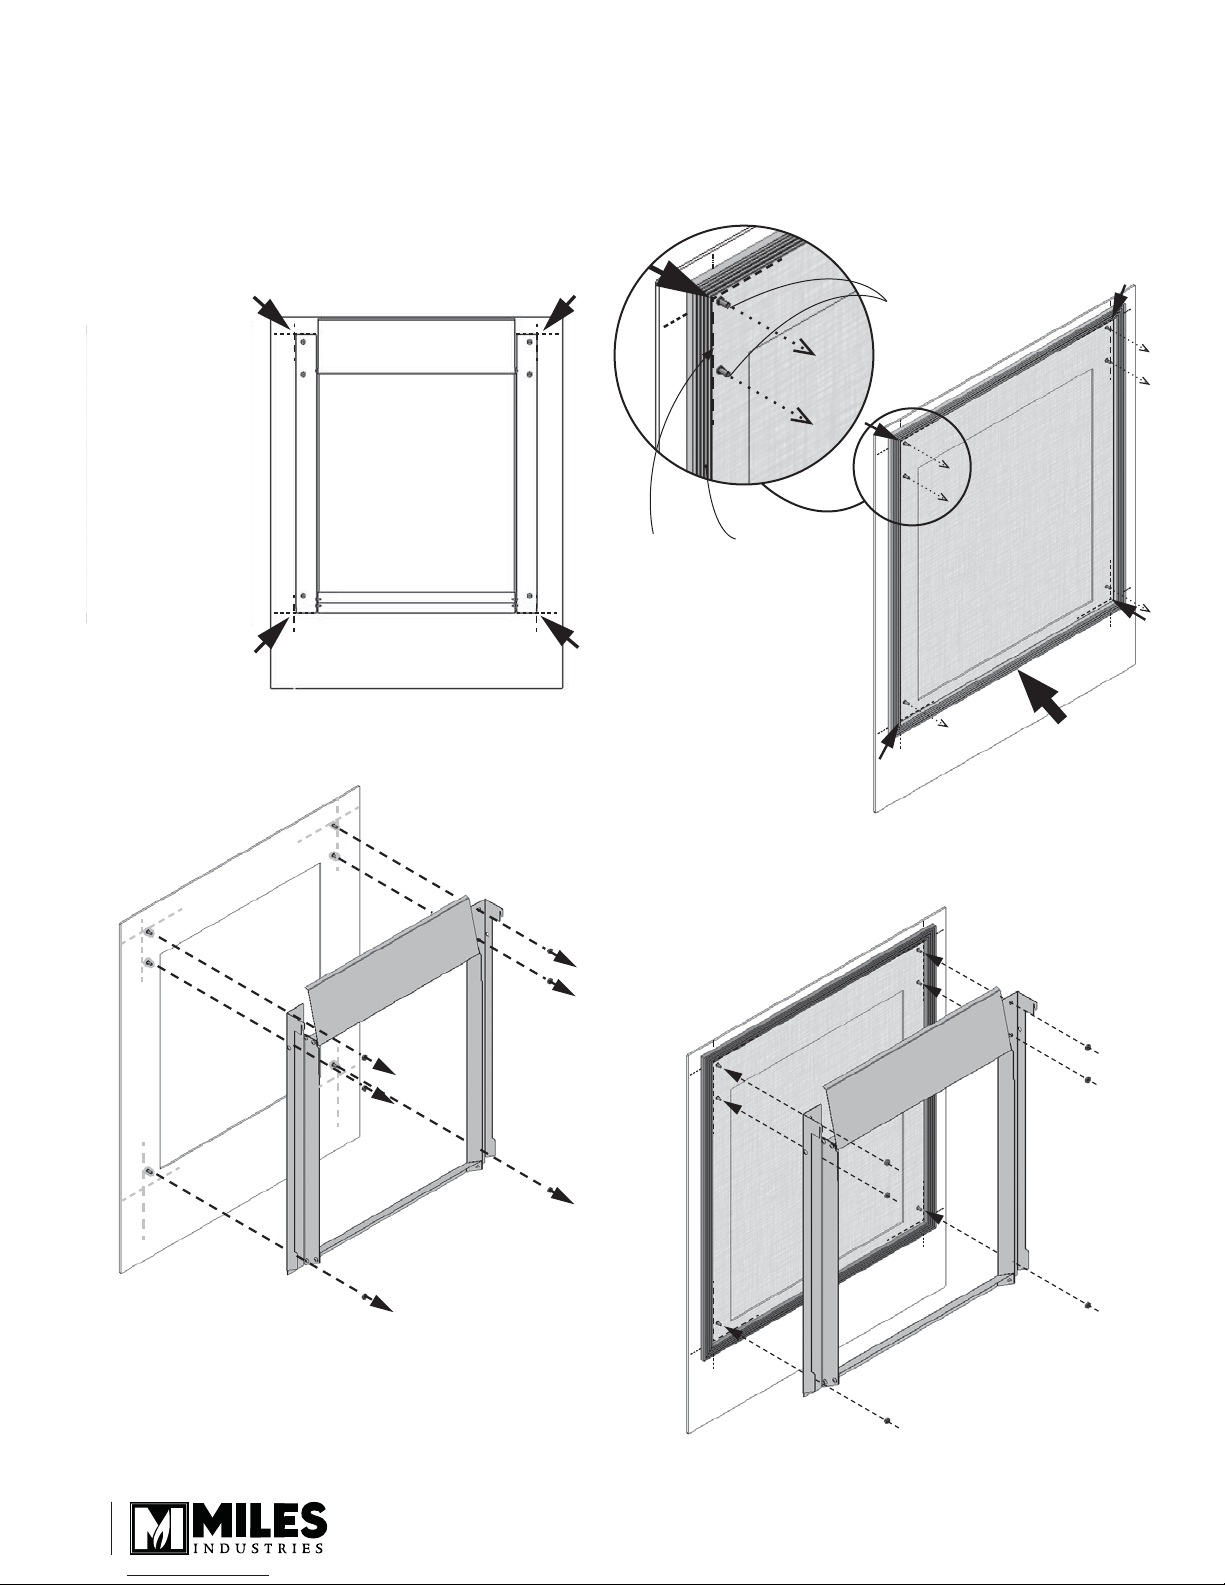
1. Unhook the front trim from your stove.
2. Place the front trim on a fl at even surface rear side
up. The screen is to be installed between the front
trim plate and its lead-in brackets as indicated.
3. Mark the outline of lead-in brackets before
removing them. The screen frame will be placed
outside of these marks.
Mark the corner
outline of the
lead-in brackets
6. Place the screen against the back of the front trim
with the smooth face of its frame against the trim.
Align the screen so that its frame is outside of the
lead-in brackets marks added on step 3. Carefully
push the screen so that the studs of the trim pierce
the screen.
Carefully press
screen against
studs to pierce
screen
4. Remove the lead-ins and heat duct as one piece as
indicated (6 nuts).
Lead-in
brackets
outline
marked in
step 3
Grooved
side facing
fi replace
7. Replace the lead-in brackets and heat duct assembly over the screen and fi x it in place with the nuts
removed earlier.
5. Identify the back side of the barrier screen which
is its frame grooved face. The smooth face of the
frame will lie against the back of the front trim.
2
8. Hook back the front trim on the stove.
 Loading...