

Page 1

T
R
U
S
T
S
E
R
V
I
C
E
Q
U
A
L
I
T
Y
PERSONAL COOLER (STELLAR / STELLAR ZX)
Model -CP 202/CP 206T
Power rating: 135 Watts
Voltage rating: 230V AC, 50Hz
Page 2
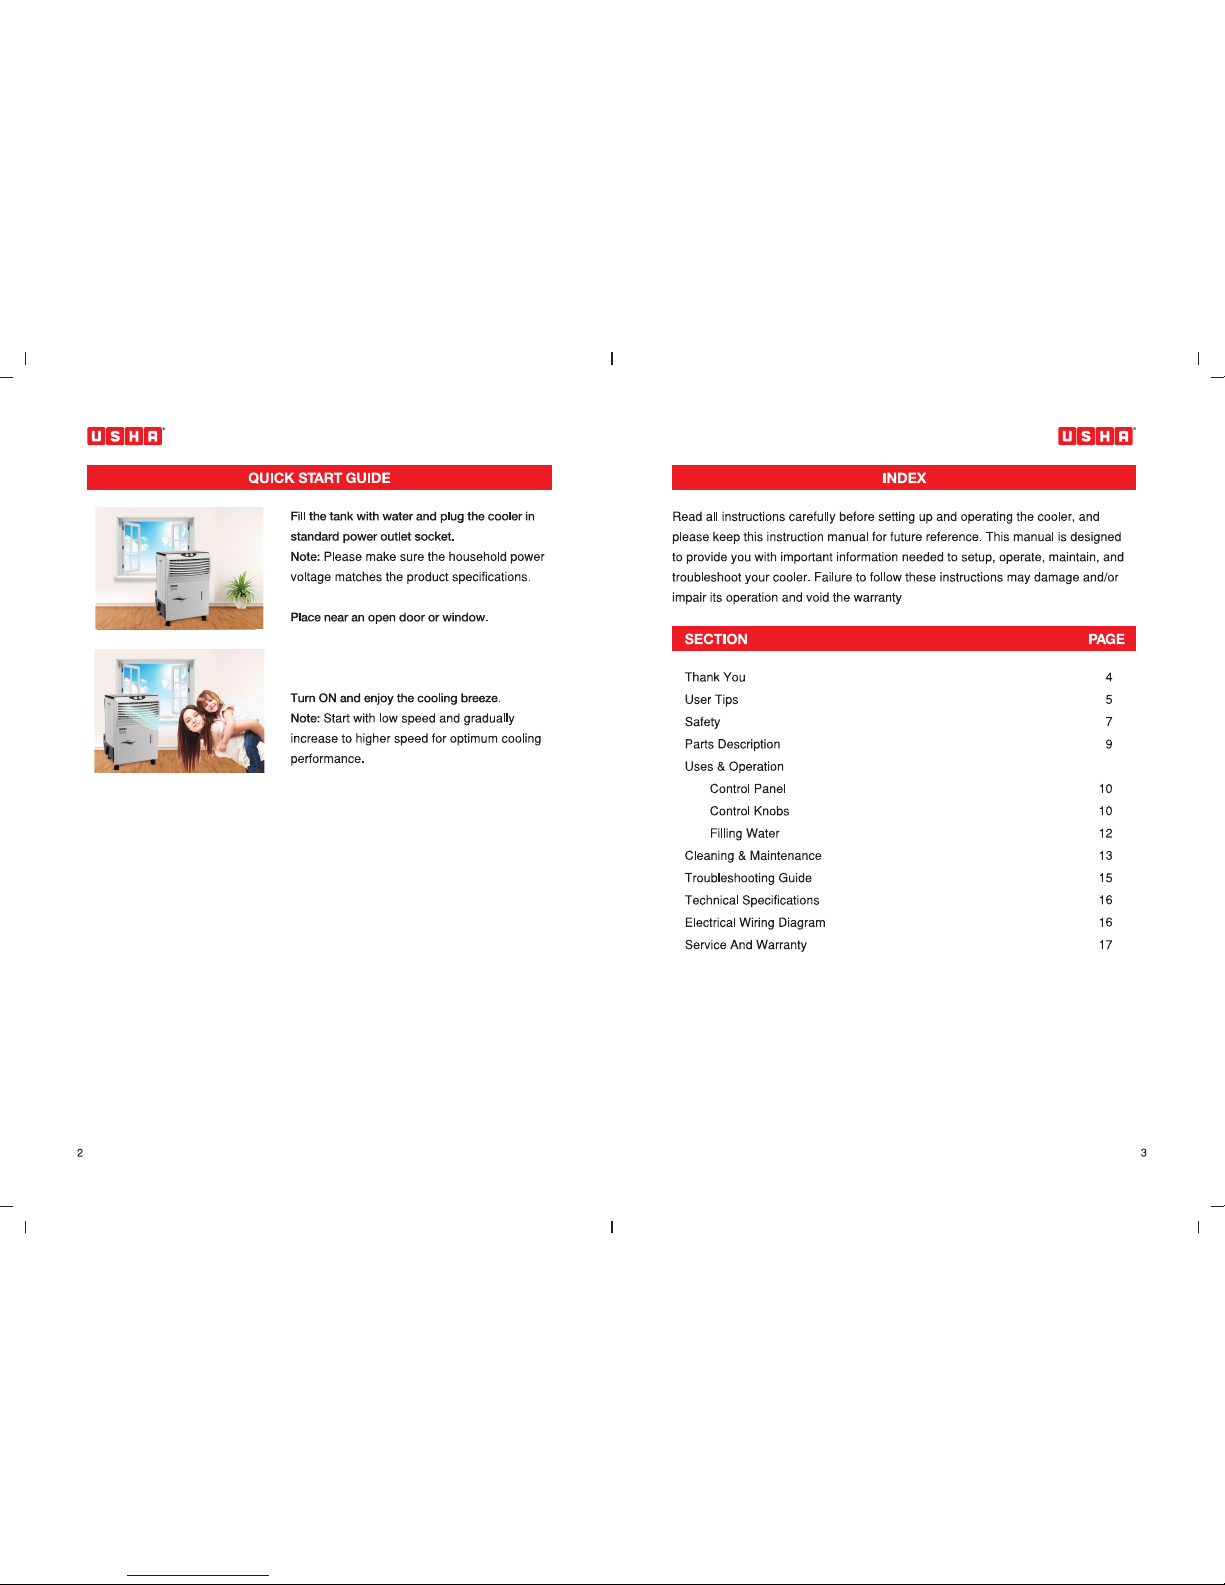
Place the cooler in front of an open door or window.
Ensure that there is adequate cross-ventilation in the room
by leaving a door or window open opposite the cooler
Page 3

The Evaporative Air Cooler should not be used in enclosed spaces.
It must be kept level and there must be water in the water tank.
Doors and windows should be opened to allow free air flow. The Evaporative Air Cooler
works best when placed near an open window, so that outside air is drawn into the
Evaporative Air Cooler, circulates in the room, then exits via the door.
Keep distance of minimum 0.5 meters from the wall
The maximum cooling effect is felt when a person is near the flow of air coming out of the
Evaporative Air Cooler.
Page 4

“Pump”
HIGH
LOW
Pump
Page 5

Check the household voltage to ensure it matches the appliance’s rating specifications.
Before operating the product, remove the packaging and check that product is in good condition.
DO NOT operate with a damaged cord or plug. If the supply cord is damaged, it must be replaced
with a supply cord which is as per manufacturers specifications, by the authorized service centre or
its service agent or a similarly qualified person in order to avoid a hazard.
DO NOT use an extension cord with this unit.
DO NOT run power cord under carpeting, or cover it with rugs or runners. Keep the cord away from
areas where it may be tripped over.
Always ensure the water tank is filled with water above the "min." level mark, when operating the air
cooler in evaporative COOLING mode.
Always unplug the Air Cooler before refilling the water tank, cleaning, servicing or relocating the unit.
Never pull the cord. Remove it from the electrical outlet/ socket by grasping and pulling on the plugend of the cord.
This appliance has been manufactured for use in domestic environments and must not be used for
other purposes.
DO NOT use in areas where gasoline, paint or other flammable goods and objects are stored.
When using the COOL setting, make sure the water tank is at Max Indicator Level. Operating the unit
on the COOL setting with an empty tank may result in damage to the water pump.
DO NOT attempt to repair or adjust any electrical or mechanical functions of the Air Cooler, as this
may void the warranty.
DO NOT cover the cooler’s air inlet or outlet, as this may damage the motor.
DO NOT insert or allow objects to enter any ventilation or exhaust opening, as this may damage the
unit and may cause electrical shock or fire.
DO NOT operate with the Honeycomb Cooling Media removed, as this will overload and damage the
motor.
DO NOT leave the operating appliance unattended for an extended period of time.
DO NOT allow children to play with this appliance, packaging or plastic bags.
DO NOT continue to operate the unit if it is damaged or if it malfunctions. Refer to the
TROUBLESHOOTING section and contact the CUSTOMER SUPPORT CENTER.
Always place the unit on a dry level floor.
DO NOT use in bathrooms or near water. DO NOT keep the product where it may fall into a water
container.
Store in a dry area when not in use.
This appliance is not intended for use by persons (including children or elderly) with reduced
physical, sensory or mental capabilities, or lack of experience and knowledge, unless they have been
given supervision or instructions concerning the use of the appliance by a person responsible for
their safety.
Always grip the side handles to move the Air Cooler.
WARNING: To reduce the risk of fire or electric shock, do not use this appliance with any solid state
speed control device.
1
2
3
4
5
6
7
8
1 Handle
2 Back Honeycomb Panel
3 Water Level Indicator
4 Castors
5 Mechanical Knobs
6 Louvers
7 Bottom Water Drain Plug
8 Back Continuous water inlet
HIGH
LOW
Page 6

PUMP/SWING
S
W
I
N
G
S
W
I
N
G
P
U
M
P
P
U
M
P
Turn the switch to swing mode for vertical louvers
mode and if the switch is turned to swing pump
mode then in this louvers will swing and pump will
also be ON to start the cooling. It takes a few
minutes to obtain full effect from this mode.
S
W
I
N
G
S
W
I
N
G
P
U
M
P
P
U
M
P
SWING/PUMP
SWING/PUMP
Page 7

PUMP
back
Page 8

lower back side
Page 9

CP 202
20L
450(L) X 415(W) X 660(H)
9.6Kg 9.6Kg
450(L) X 415(W) X 660(H)
20L
135W 135W
CP 206T
CIRCUIT DIAGRAM
L
1
2
3
Motor
1
High
(Black)
Med.
(White)
Low
(Red)
Com.
(Blue)
S1
P
E
N
Black
Red
Green/Yellow
4A,250V AC
L
PU
PSM
SM
S2
4A,250V AC
PumpSM
A) P PHASE E) S2 Switch2
B E EARTHING F) PU Pump
C) N NEUTRAL G) PSM Pump/Swing Motor
D) S1 Switch1 H) SM Swing Motor
Page 10

 Loading...