

Uniden VG-100 Owner's Manual

1
VG-100 VoIP Gateway
Owner’s Manual

2
CONTENTS
Welcome..................................................................................................................................................... 4
Package Contents ...................................................................................................................................... 4
Requirements ............................................................................................................................................. 5
VG-100 Overview ....................................................................................................................................... 6
Ports........................................................................................................................................................................ 6
LED Description .................................................................................................................................................... 6
VG-100 Installation ..................................................................................................................................... 7
For Windows XP Systems...................................................................................................................................... 8
For Windows 2000 Systems................................................................................................................................. 15
VG-100 States .......................................................................................................................................... 24
Green .................................................................................................................................................................... 24
Red ....................................................................................................................................................................... 24
No phone in the system tray................................................................................................................................. 24
Testing VG-100......................................................................................................................................... 25
Making and Receiving Calls ..................................................................................................................... 29
Setting Up Skype Speed Dial.................................................................................................................... 30
Switching Between VoIP and Regular Calls ............................................................................................. 32
Conference Call Between VoIP and Regular Calls................................................................................... 32
3-Way Calling ........................................................................................................................................... 33
Call Forward Settings ............................................................................................................................... 34
Incoming Internet calls................................................................................................................................. 36
Incoming PSTN calls ................................................................................................................................... 38
Telephone Answering Machine ................................................................................................................. 40
Interactive Voice Response (IVR)............................................................................................................. 41
Local IVR Access................................................................................................................................................. 41
Remote IVR Access ............................................................................................................................................. 42
Toll Bypass ............................................................................................................................................... 43
Skype Voicemail ....................................................................................................................................... 44
Changing the Default Settings .................................................................................................................. 45
Disabling VG-100™.................................................................................................................................. 47
Uninstall.................................................................................................................................................... 49

3
Troubleshooting........................................................................................................................................ 50
Common Fix......................................................................................................................................................... 50
Wrong Device Installed........................................................................................................................................ 51
Softphone Version Warning.................................................................................................................................. 51
Cannot hear dial-tone when I pick up the handset connected to the VG-100...................................................... 52
Skype VoIP does not appear to be responding to incoming calls......................................................................... 52
Cannot hear the Skype™ call in telephone handset ............................................................................................. 52
Call Forwarding is not working properly............................................................................................................. 54
Toll bypass is not working properly ..................................................................................................................... 55
Appendix A – IVR Flow Chart ................................................................................................................... 57
One Year Limited Warranty....................................................................................................................... 60

4
Welcome
The VG-100™ USB Personal VoIP Gateway (VG-100) is an exciting new device that let’s
you make and receive Skype™ calls using your standard telephone handset (regular
telephone, cordless phone, DECT phone, …).
After you follow the simple installation you will be able to do the following:
• Continue to make and receive regular calls as you normally do
• Make and receive Skype™ calls using your standard telephone
• Forward Skype™ calls to your mobile phone
• Make Skype™ calls from your mobile phone even when you are away from your
computer
• Switch between a Skype™ call and a regular phone call
• Check Skype™ voicemail from your handset
• Use the VG-100 as an Answering Machine for PSTN and VoIP calls
Package Contents
The VG-100 package includes the following (note that your particular hardware and cables
may look slightly different than shown below).
1. VG-100
2. USB Cable
3. Telephone Cable
4. AUTORUN CD-ROM

5
Requirements
In order to install the VG-100 you will need the following:
1. VG-100
2. USB cable
3. RJ11 cable
4. Telephone (regular telephone, cordless phone, DECT phone, …)
5. Telephone service (for conf call, 3 way calling and forwarding features)
6. Broadband internet service is recommended
7. PC with the following minimum specifications (recommended PC specifications for
optimal performance are in bold):
• Pentium 400MHz or equivalent (Pentium 1GHz or higher)
• Windows 2000 or XP
• Available USB port (1.0, 1.1 or 2.0)
• Skype™ version 1.1 or higher (www.skype.com) must be installed (Skype™ version
1.3 or higher)
• 128MB RAM (256MB RAM)
• 10MB available hard disk space (30MB available hard disk space)
• CD-ROM drive to install VG-100 software from the supplied CD-ROM
Note that the VG-100 must be connected directly to the PC USB port or to an AC
Powered USB hub. It CANNOT be installed on a bus powered USB hub.
6
VG-100 Overview
VG-100 has many ports and LEDs. VG-100 may have some or all of the features listed
below.
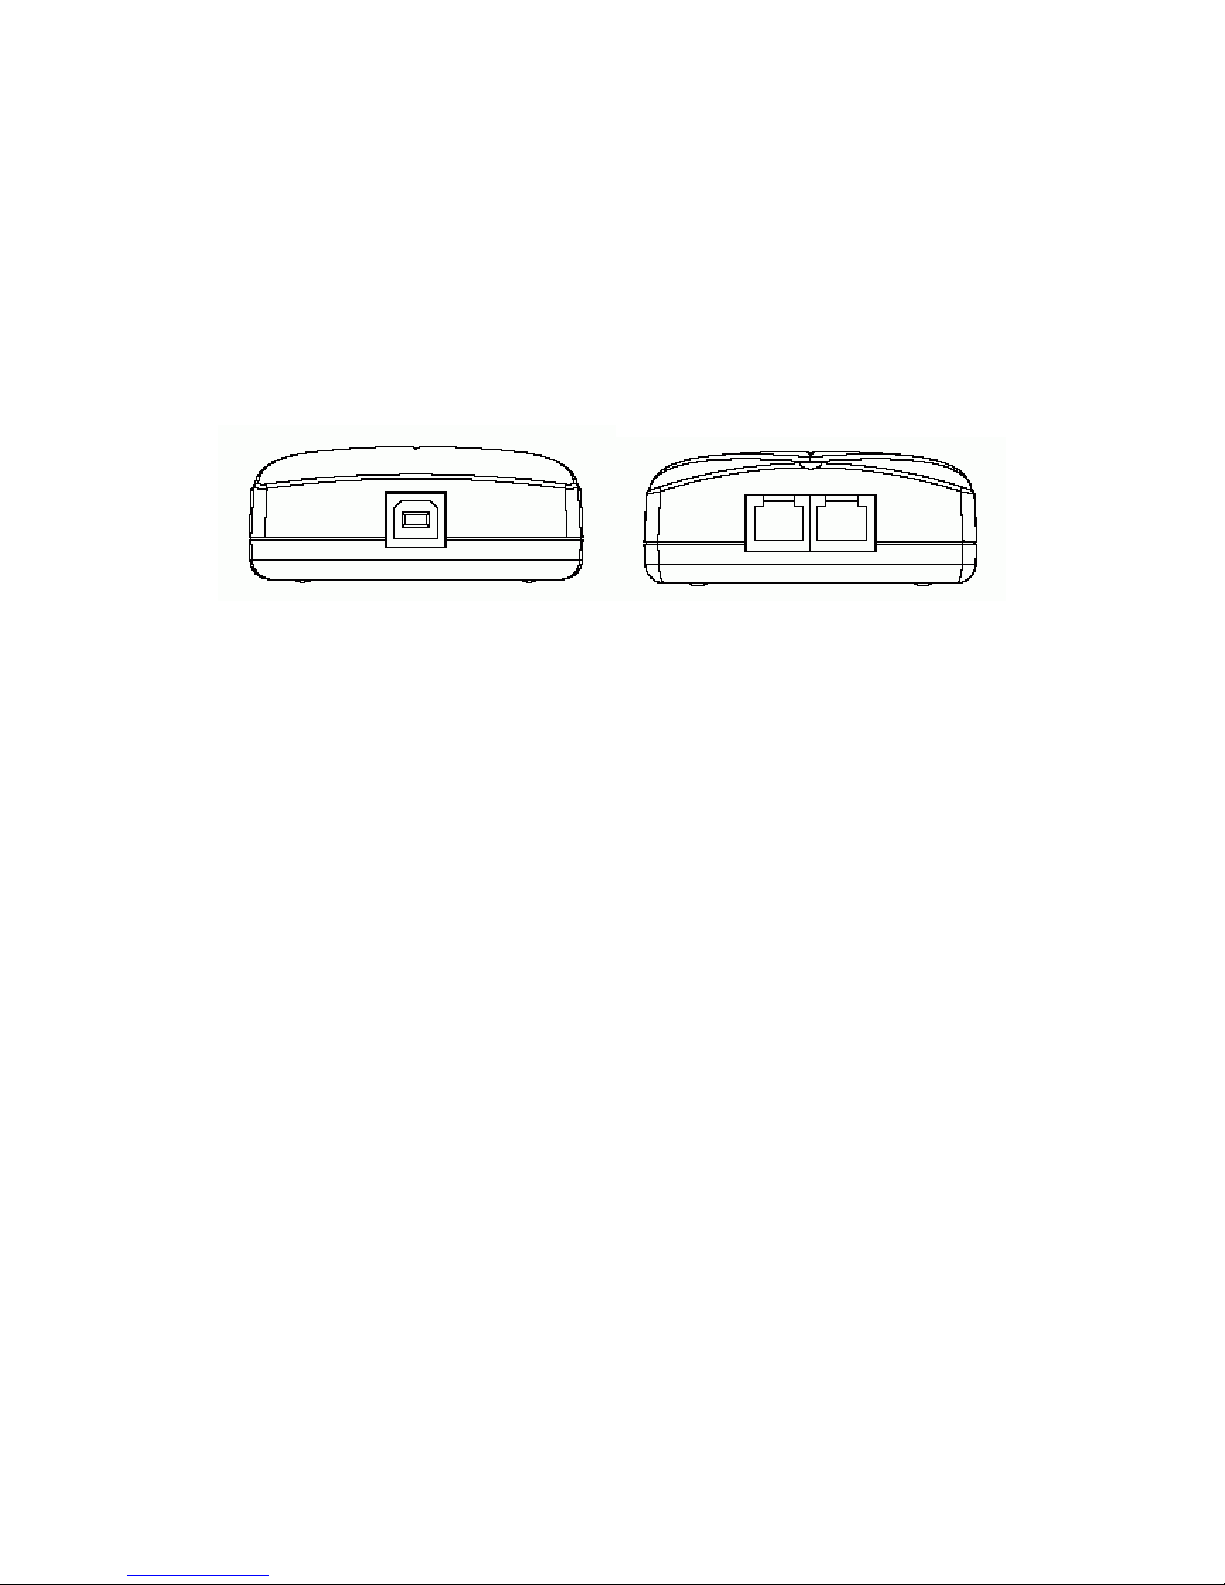
Ports
USB port: Connect the USB cable to the VG-100 USB port. The other end of the USB
cable must be connected to a USB port on your computer, or to an AC Powered USB hub.
The VG-100 MUST not be connected to a bus powered USB hub.
PHONE Jack: Connect a standard telephone handset to the VG-100 phone jack using a
telephone cable.
LINE Jack: Connect a telephone cable between the VG-100 line jack and a wall jack.
LED Description
Power LED: The LED stays lighted to indicate the system is power on properly.

7
VG-100 Installation
The following instructions will guide you to through the process of installing the
VG-100.
The installation procedure is to:
• Install Skype™
• Start the VG-100 SW installation (step 1 below)
• Plug in the VG-100 WHEN INSTRUCTED TO DO SO
• Verify the installation is OK
• Connect a telephone handset to the VG-100
• Connect the VG-100 to the wall jack. Note that this is optional and only required for
the forwarding features.
• Use your VG-100 to make and receive Skype™ calls
The detailed instructions follow:
If Skype™ is not already installed on your computer, visit http://www.skype.com and follow
the instructions there to install Skype™. Verify that Skype™ is working before installing the
VG-100.
DO NOT CONNECT THE VG-100 TO YOUR COMPUTER UNTIL INSTRUCTED
TO DO SO BY THE VG-100 INSTALLATION WIZARD
We strongly recommend you to update the latest Skype due to the one could provide
better performance and resolve some problems than the older one.
8
For Windows XP Systems
Step 1:
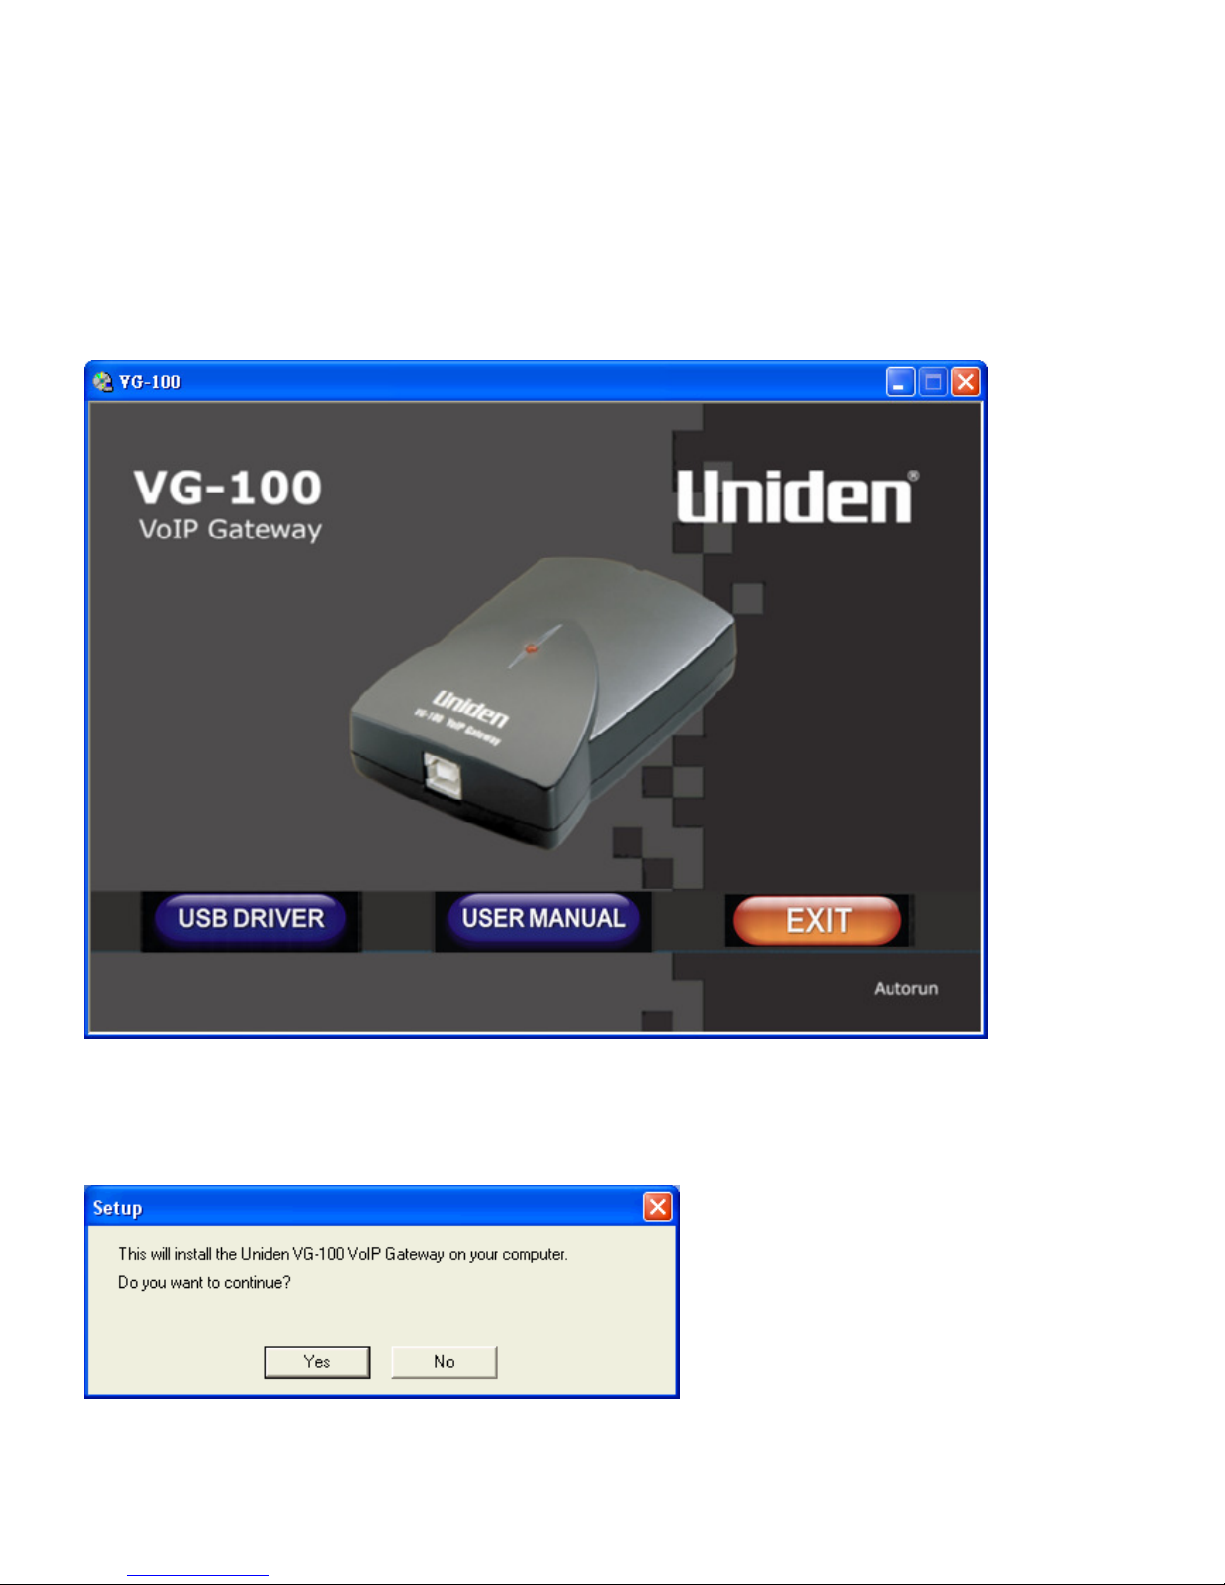
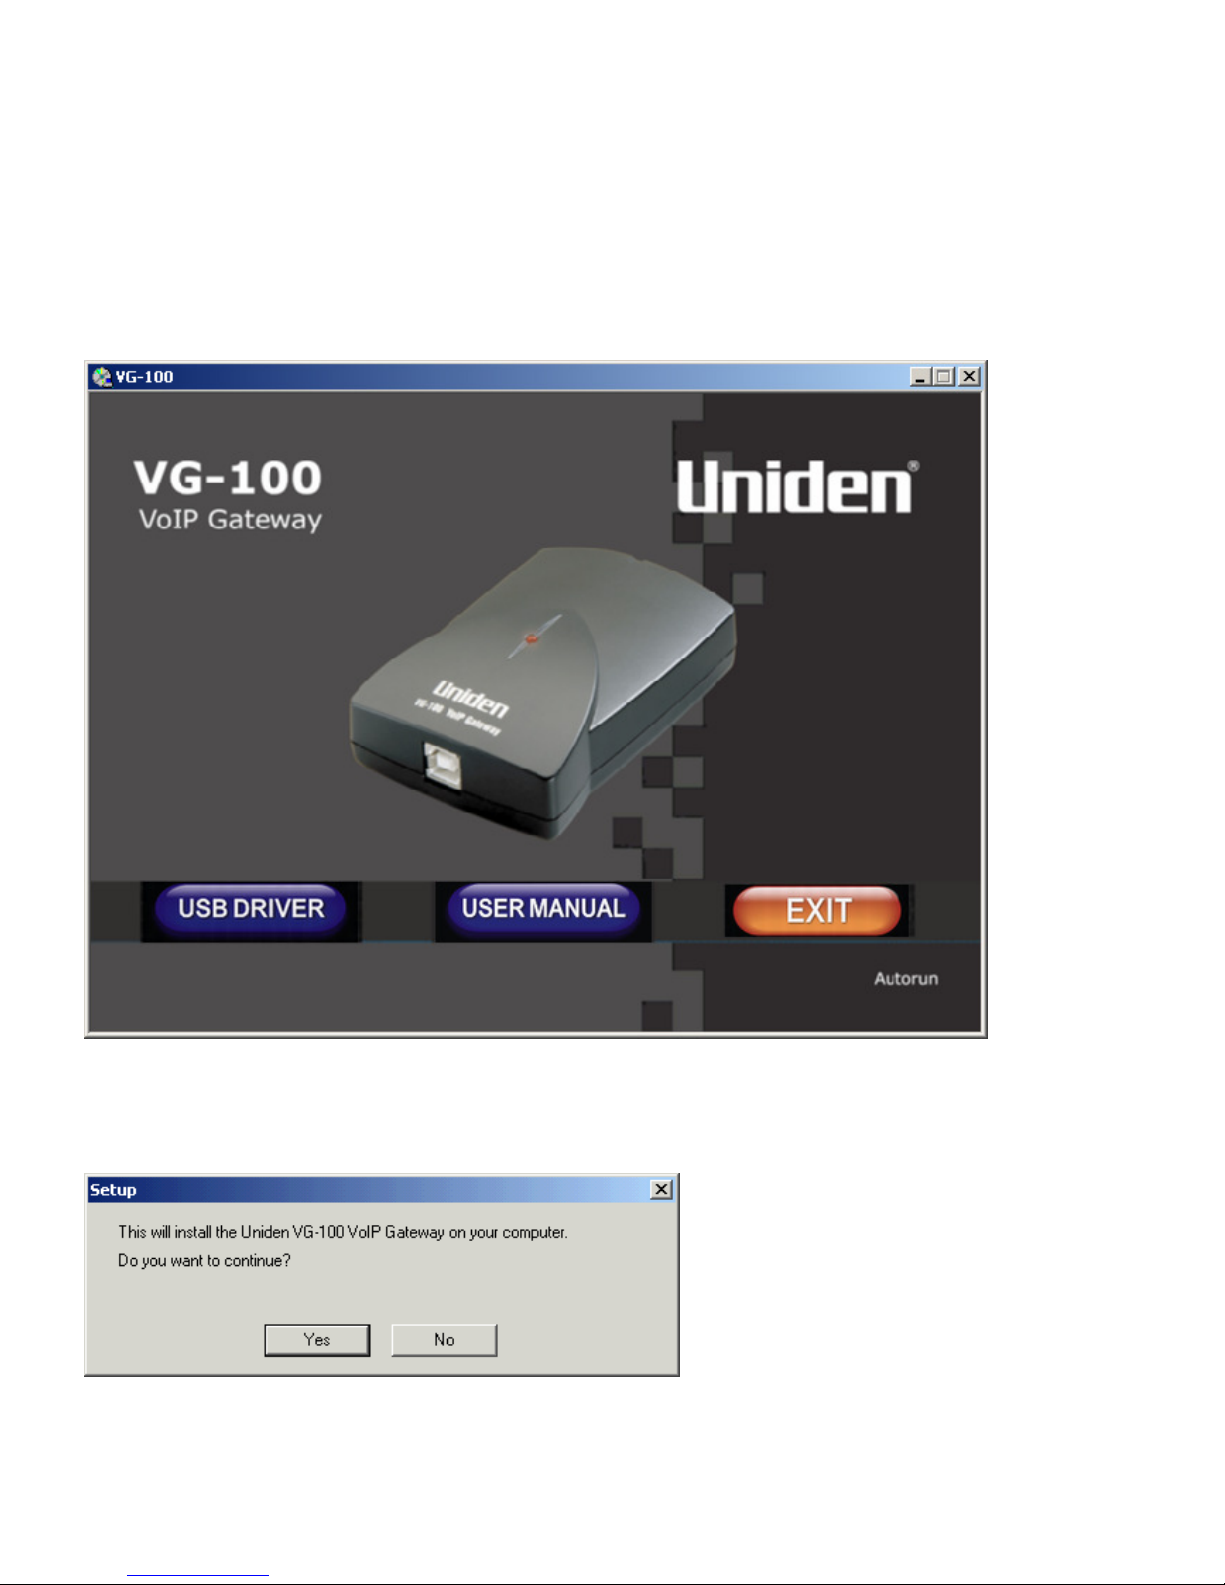
Please insert the ADSL Router CD into your CD-ROM drive.
The CD should auto-start, displaying the following window. If it does not start, click on
Start – Run and type in CD: \autorun.exe (where CD is the drive letter of your CD-ROM
drive.) Click " USB DRIVER ".
Step 2:
Click " Yes ".

9
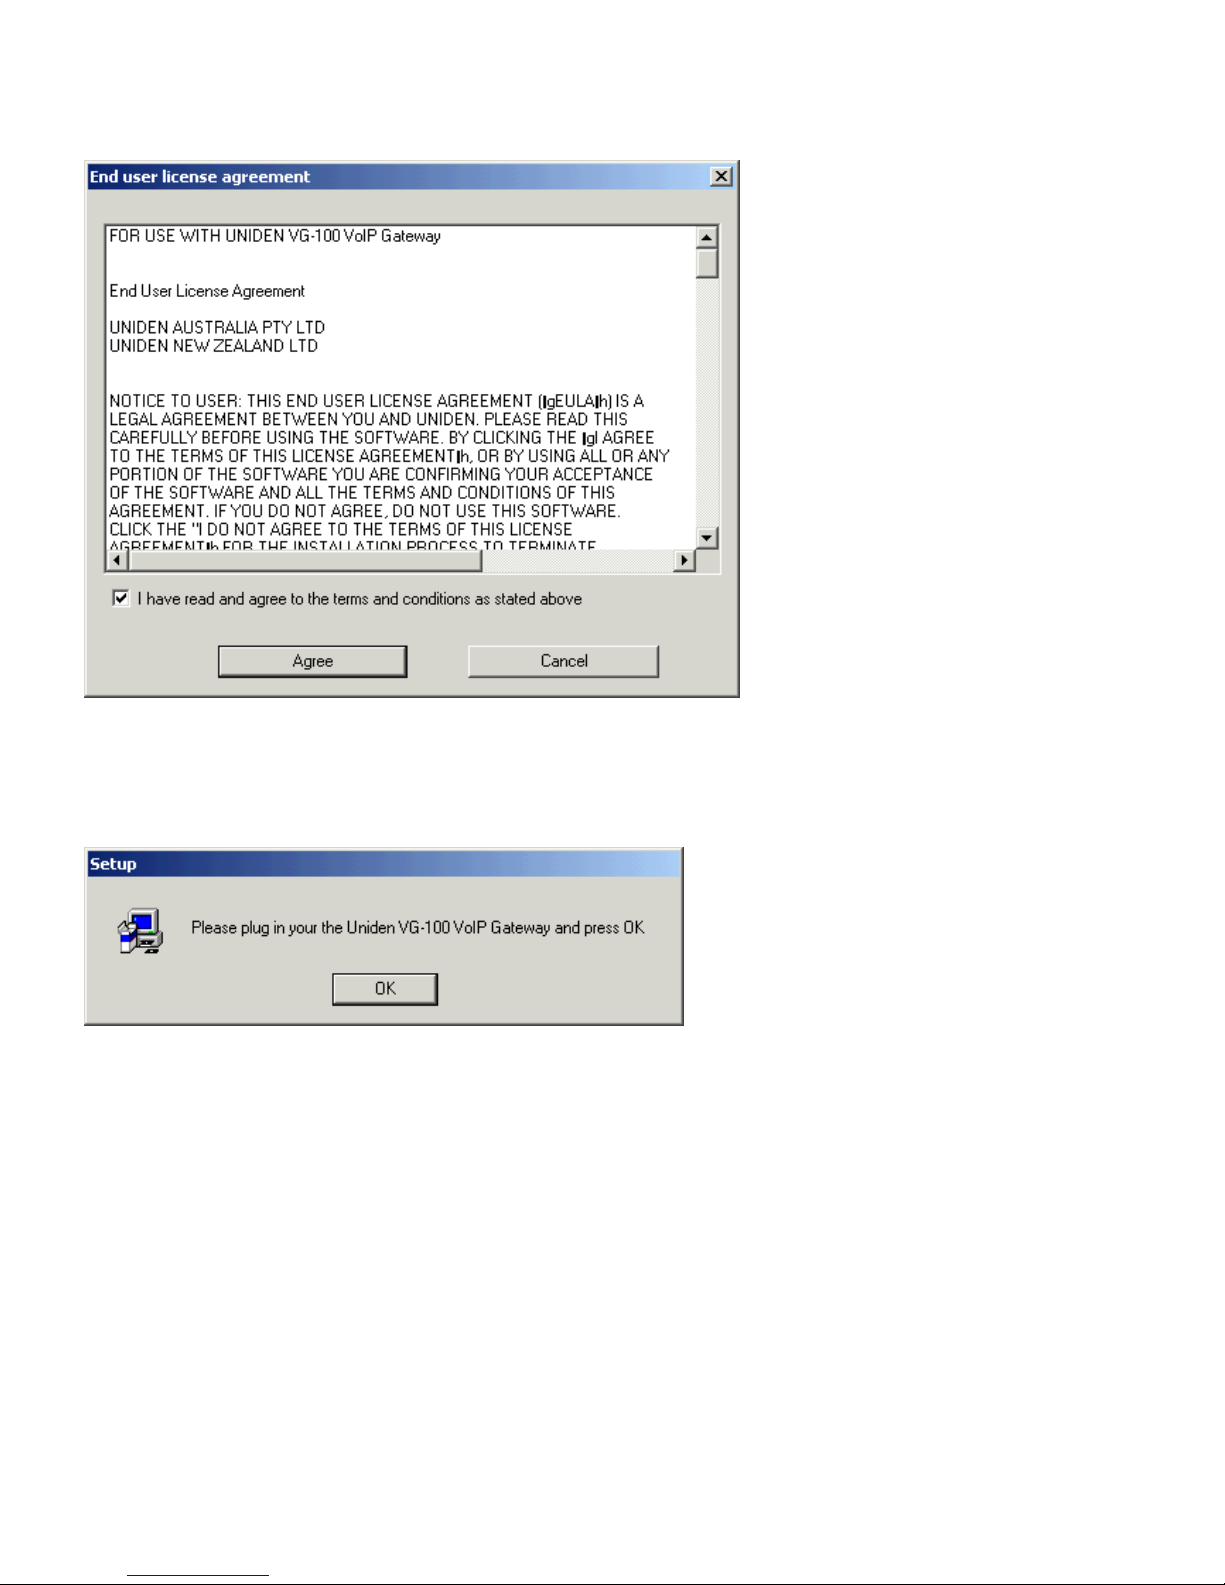
Step 3:
Check the " I have read and agree to the terms and conditions as stated above "
checkbox and then click " Agree ".
Step 4:
Please Plug In your Personal VoIP Adaptor and then click " OK ".
10
Step 5:
Connect the USB cable to the VG-100 USB port.
The other end of the USB cable must be connected to a USB port on your computer, or to
an AC Powered USB hub.
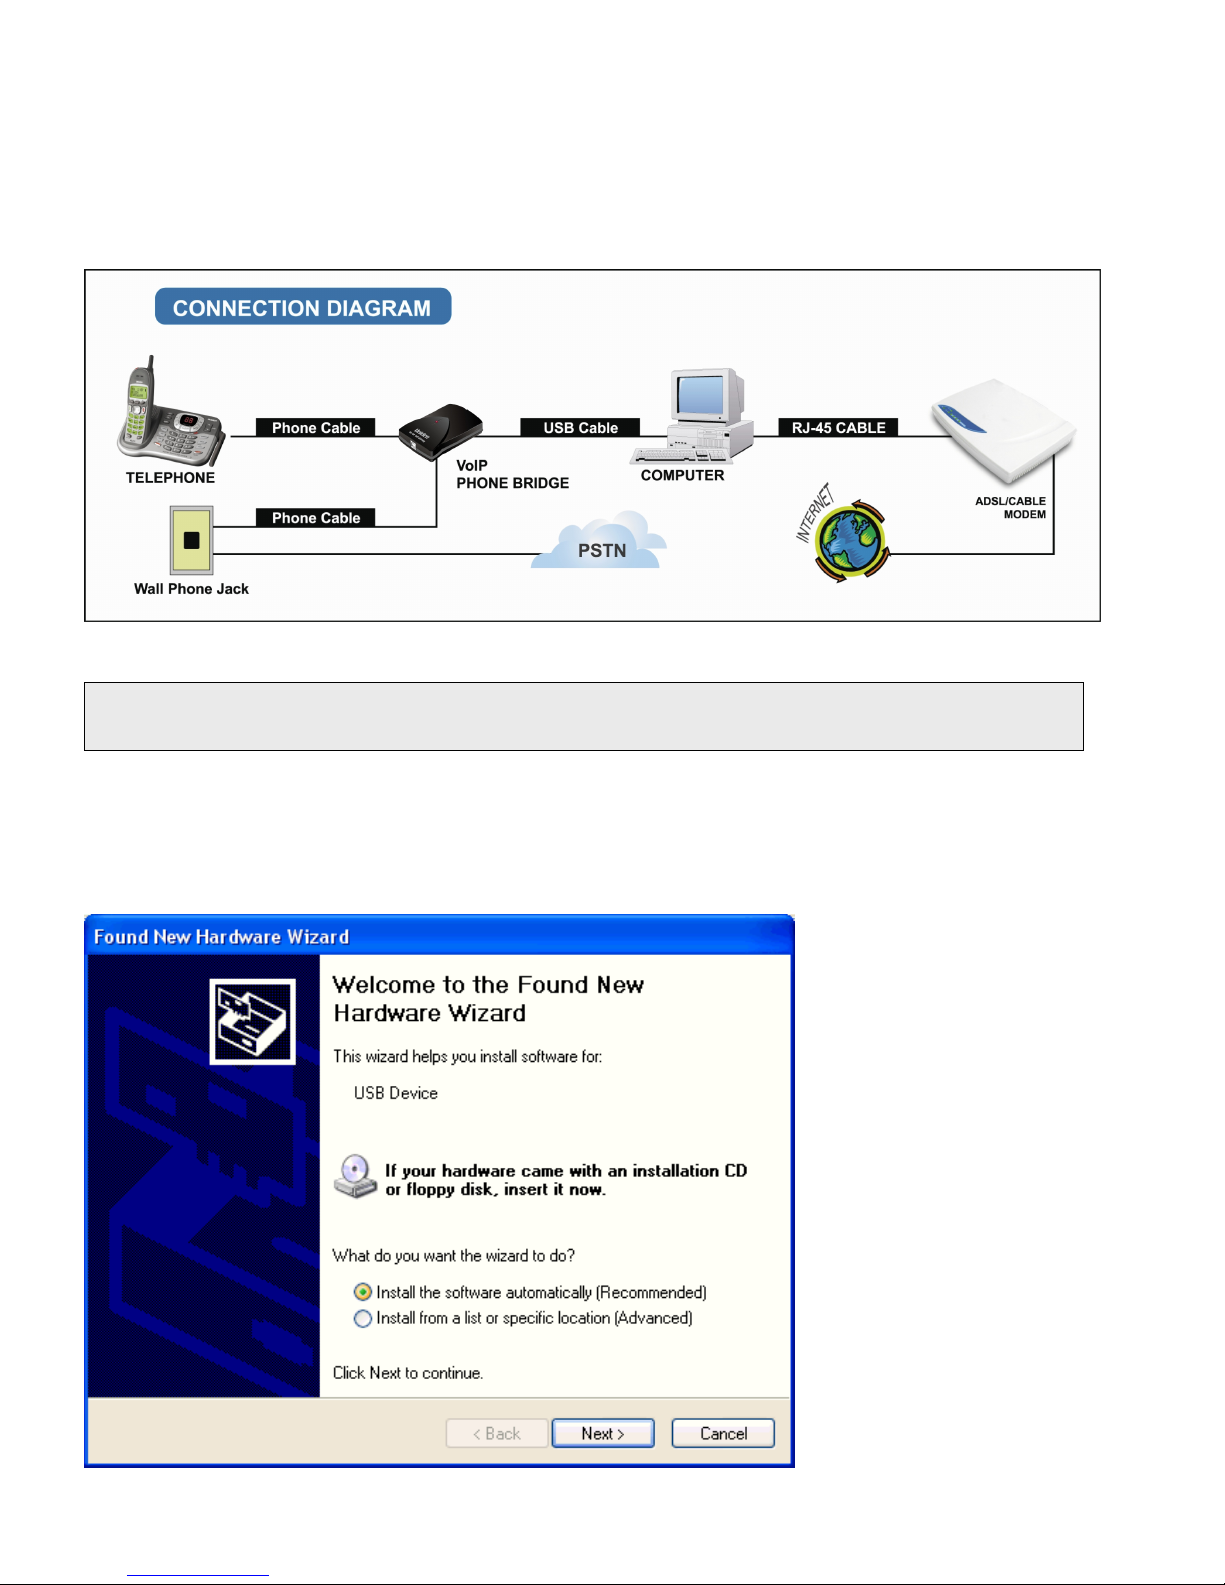
Step 6:
Check the option " Install the software automatically [Recommended] " and then click "
Next ".
The VG-100 MUST not be connected to a bus powered USB hub.
11
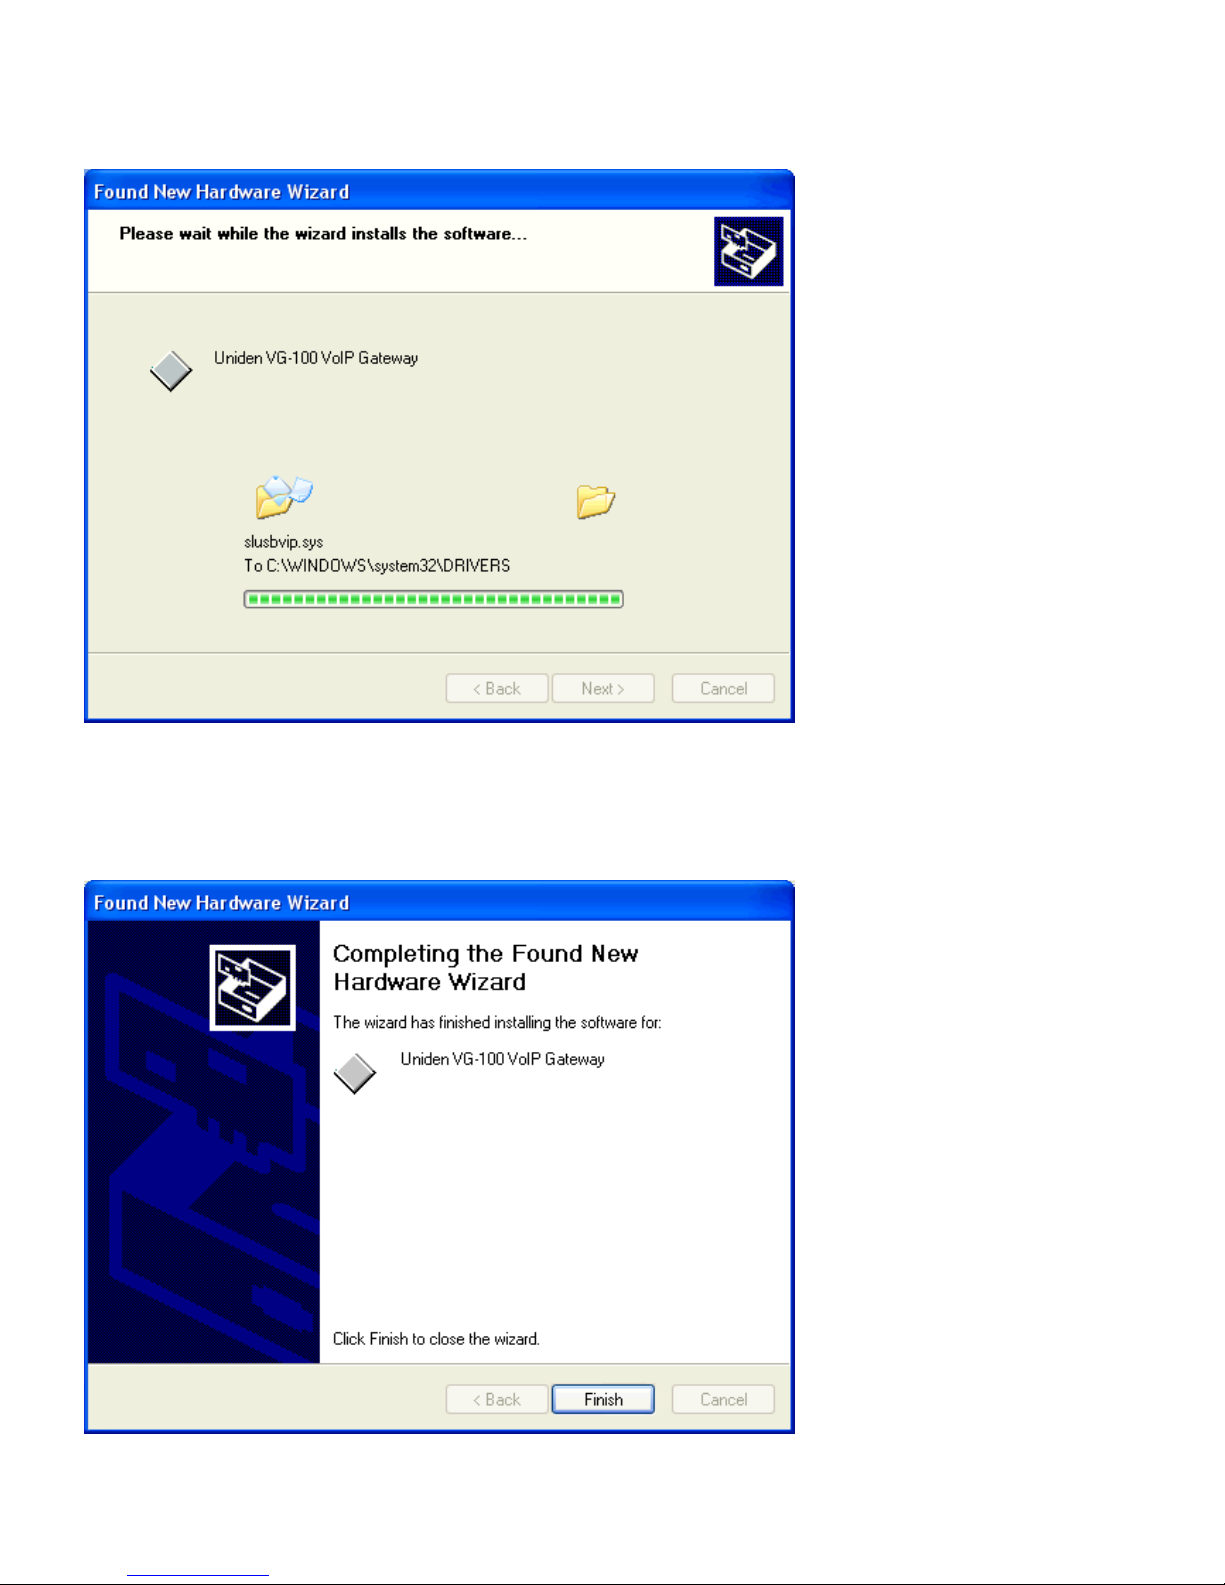
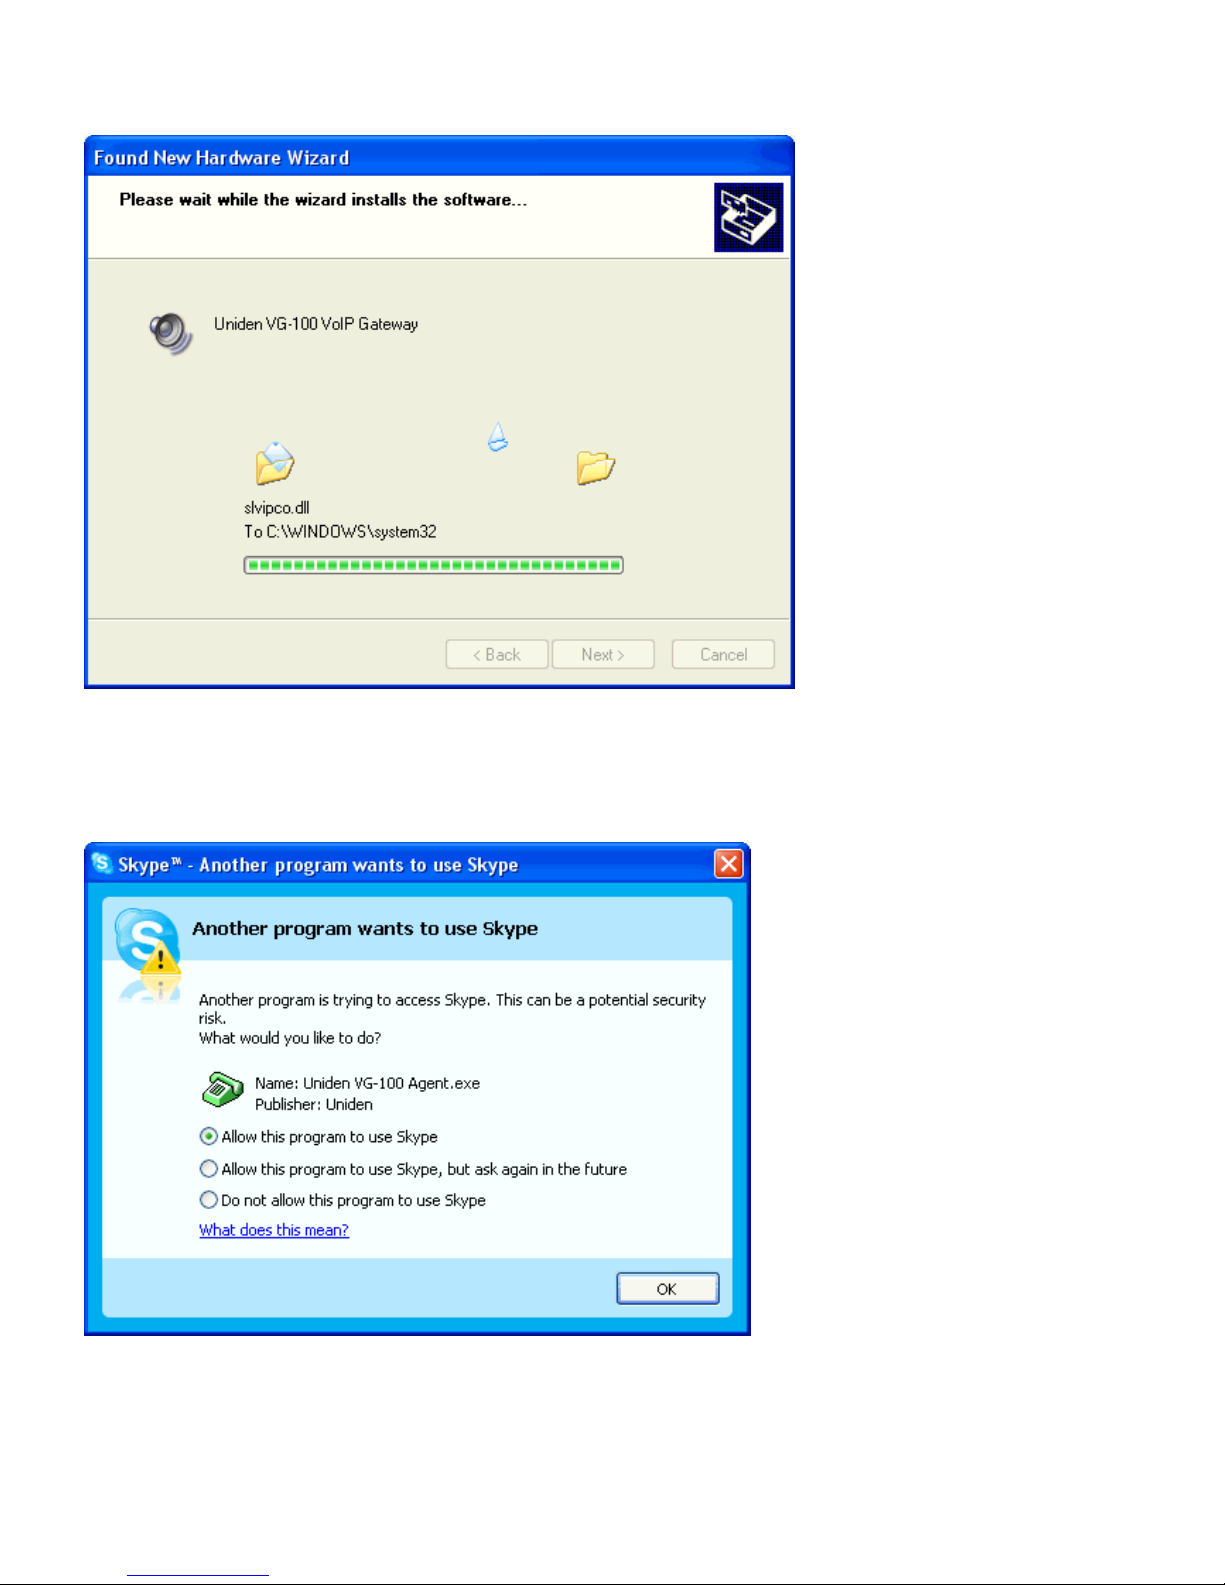
Step 7:
Please wait while the wizard installs the software…
Step 8:
The wizard has finished installing the software and then click " Finish ".

12
Step 9:
Check the option " Install the software automatically [Recommended] " and then click "
Next ".
Step 10:
Click " Continue Anyway ".
13
Step 11:
Please wait while the wizard installs the software…
Step 12:
Check the option " Allow this program to use Skype " and then click " OK ".

14
Step 13:
The wizard has finished installing the software and then click " Finish ".
Step 14:
When the installation completes you should see the following message appear near your
system tray and a new telephone icon (circled in red below) in your system tray as shown
below.
The telephone icon indicates that the VG-100 software is installed and running and that you
can start making calls via Skype™ and the VG-100.
Step 15:
Connect a standard telephone handset to the VG-100 phone jack using a telephone cable
Step 16:
Connect a telephone cable between the VG-100 line jack and a wall jack.
15
For Windows 2000 Systems
Step 1:
Please insert the ADSL Router CD into your CD-ROM drive.
The CD should auto-start, displaying the following window. If it does not start, click on
Start – Run and type in CD: \autorun.exe (where CD is the drive letter of your CD-ROM
drive.) Click " USB DRIVER ".
Step 2:
Click " Yes ".
16
Step 3:
Check the " I have read and agree to the terms and conditions as stated above "
checkbox and then click " Agree ".
Step 4:
Please Plug In your Personal VoIP Adaptor and then click " OK ".
17
Step 5:
Connect the USB cable to the VG-100 USB port.
The other end of the USB cable must be connected to a USB port on your computer, or to
an AC Powered USB hub.
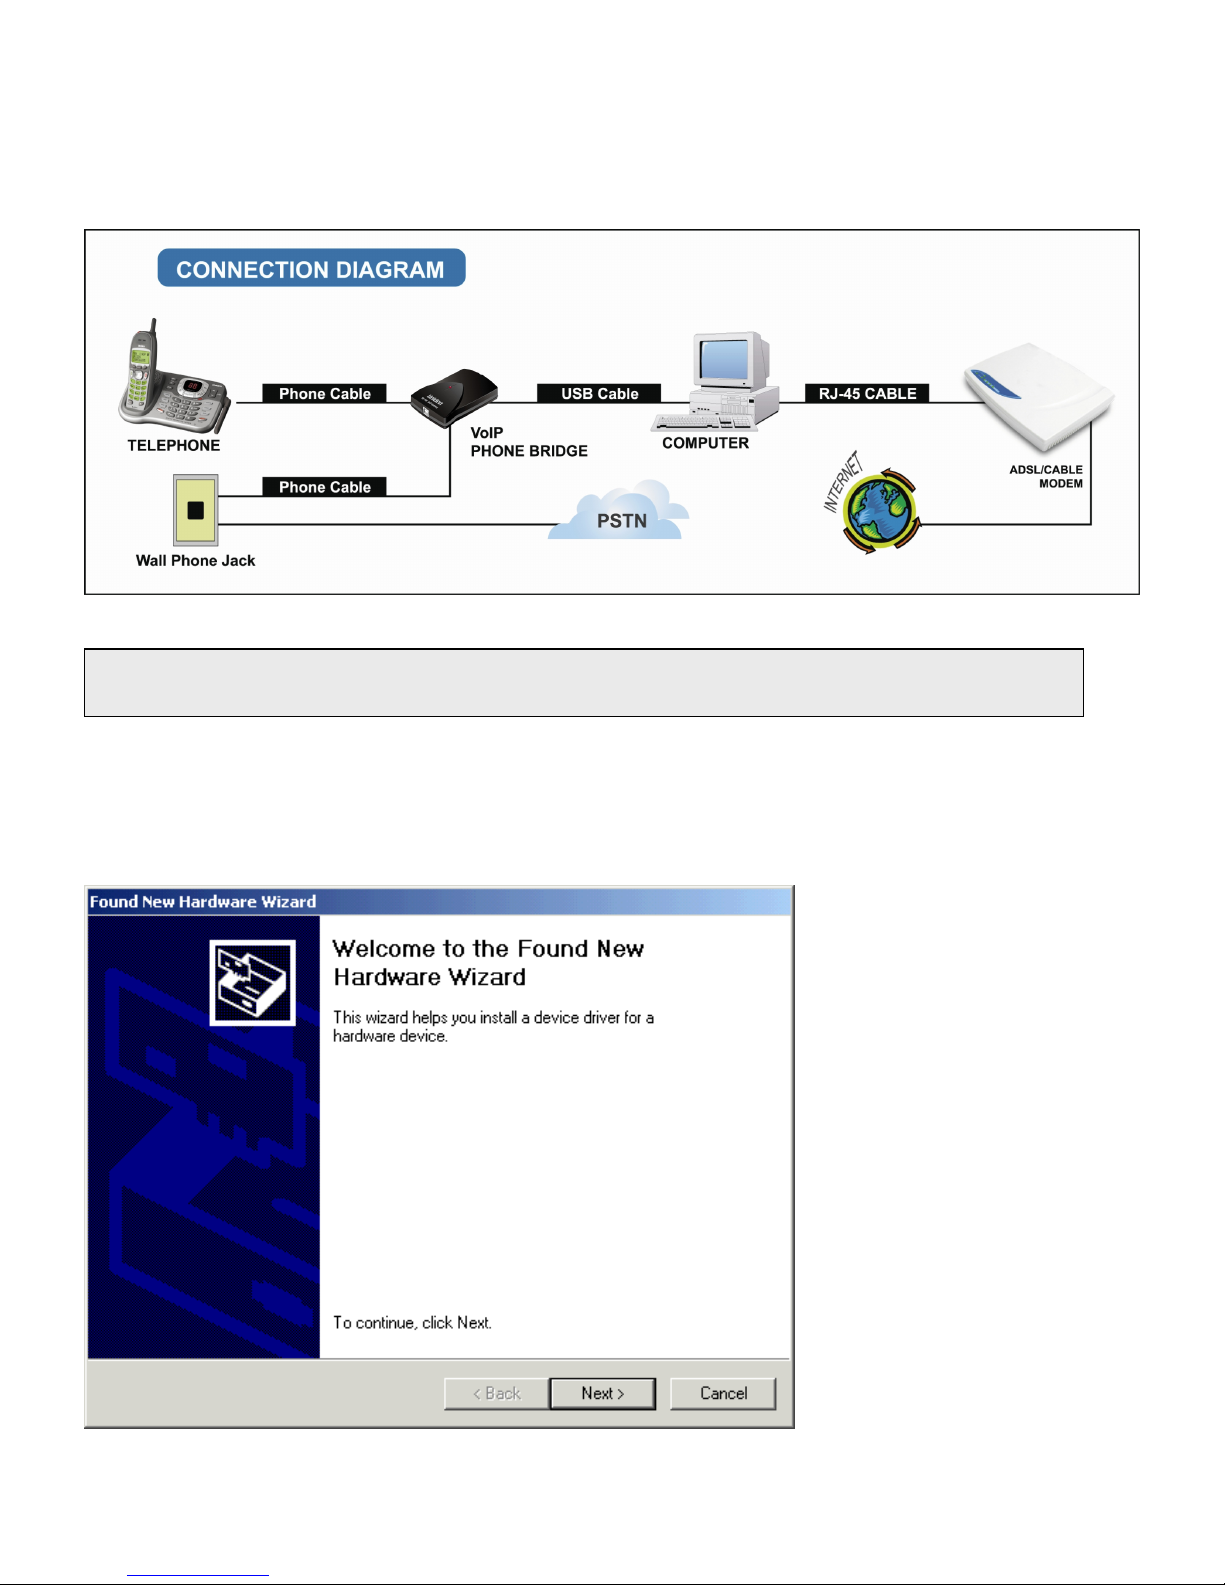
Step 6:
Click " Next ".
The VG-100 MUST not be connected to a bus powered USB hub.
18
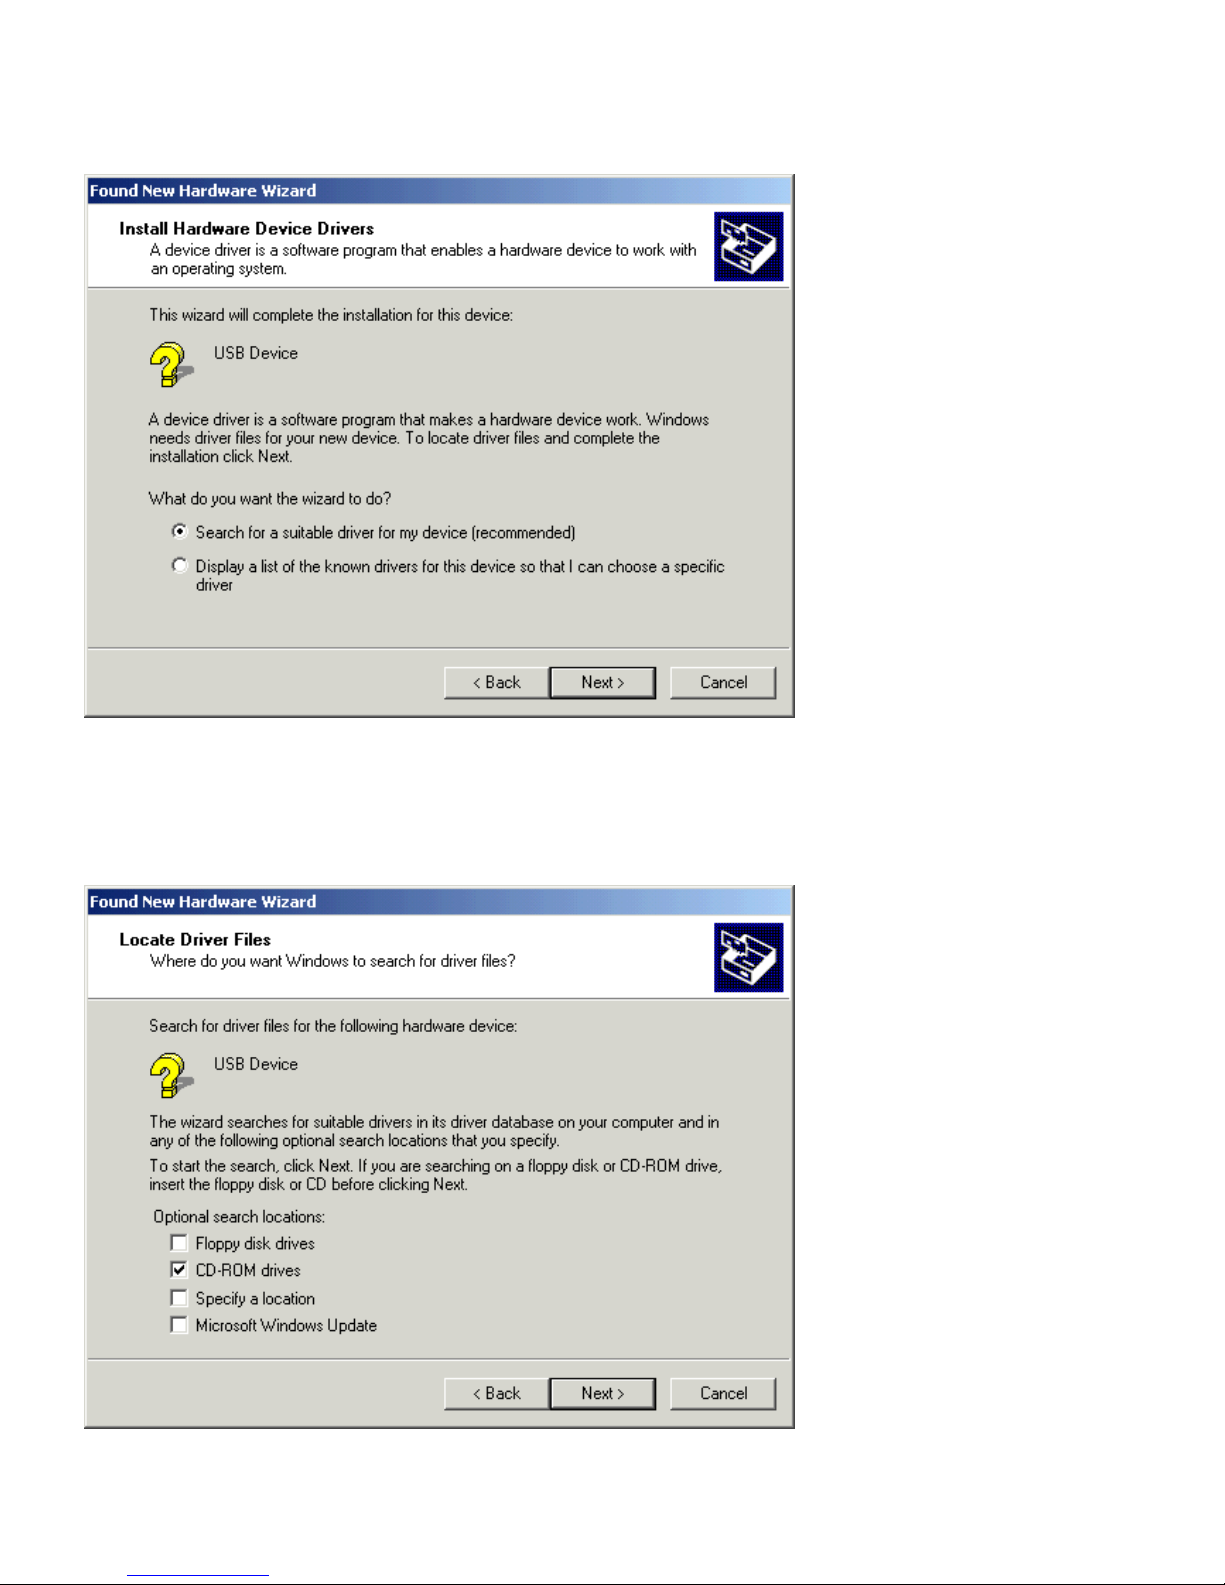
Step 7:
Check the option " Search for a suitable driver for my device [recommended] " and
then click " Next ".
Step 8:
Check the option " CD-ROM drivers " and then click " Next ".
 Loading...