

Page 1
USER GUIDE
RIGHT PRODUCT. RIGHT PLACE. RIGHT TEMPERATURE. SINCE 1962.
SAFETY • INSTALLATION & INTEGRATION • OPERATING INSTRUCTIONS • MAINTENANCE • SERVICE
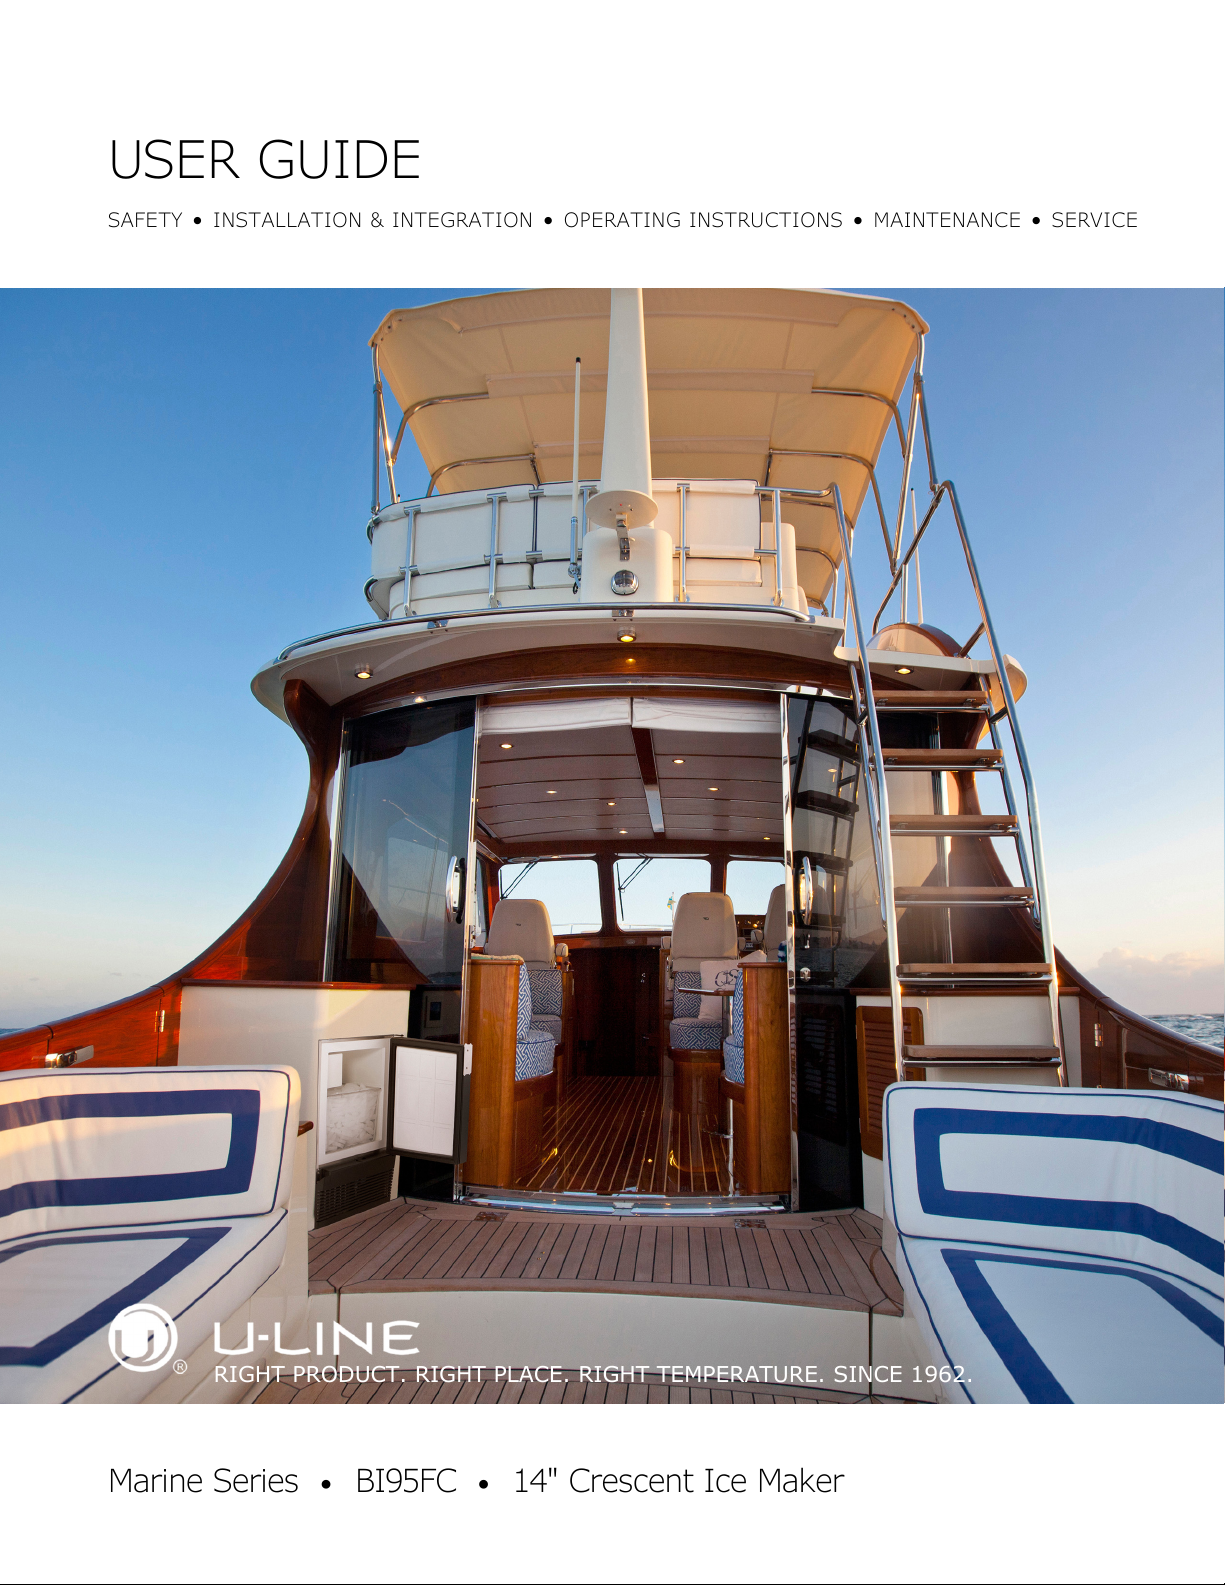
Marine Series • BI95FC • 14" Crescent Ice Maker
Page 2

USER GUIDE
u-line.com
Contents
SAFETY • INSTALLATION & INTEGRATION • OPERATING INSTRUCTIONS • MAINTENANCE • SERVICE
Intro
Installation
Integrated Panel Dimensions
Integrated Panel Installation
Grille / Plinth Installation
Page 3

USER GUIDE
u-line.com
WELCOME TO U-LINE
Congratulations on your U-Line purchase. Your product comes from a company with over five decades and three generations
of premium modular ice making, refrigeration, and wine preservation experience. U-Line continues to be the American
leader, delivering versatility and flexibility for multiple applications including residential, light commercial, outdoor and marine
use. U-Line’s complete product collection includes modular Wine Captain
Crescent Ice Makers, Glass & Solid Door Refrigerators, Drawer Models, Freezers, and Combo® Models.
U-Line has captivated those with an appreciation for the finer things with exceptional functionality, style, inspired innovations
and attention to even the smallest details. We are known and respected for our unwavering dedication to product design,
quality and selection. U-Line is headquartered in Milwaukee, Wisconsin and has shipped product to five continents for over
two decades and is proud to have the opportunity to ship to you.
PRODUCT INFORMATION
Looking for additional information on your product? User Guides, Quick Reference Guides, CAD Drawings, Compliance
Documentation, and Product Warranty information are all available for reference and download at u-line.com.
®
Models, Beverage Centers, Clear Ice Machines,
PROPERTY DAMAGE / INJURY CONCERNS
In the unlikely event property damage or personal injury is suspected related to a U-Line product, please take the following
steps:
1. U-Line Customer Care must be contacted immediately at +1.800.779.2547.
2. Service or repairs performed on the unit without prior written approval from U-Line is not permitted. If the unit has been
altered or repaired in the field without prior written approval from U-Line, claims will not be eligible.
SERVICE INFORMATION
Answers to Customer Frequently Asked Questions are available at u-line.com under Customer Care or you may contact our
Customer Care group directly, contact information below.
GENERAL INQUIRIES
U-Line Corporation
8900 N. 55th Street
Milwaukee, Wisconsin 53223 USA
Monday - Friday 8:00 am to 4:30 pm CST
T: +1.414.354.0300
F: +1.414.354.7905
Email: sales@u-line.com
u-line.com
SERVICE & PARTS ASSISTANCE
Monday - Friday 8:00 am to 5:30 pm CST
T: +1.800.779.2547
F: +1.414.354.5696
Service Email: onlineservice@u-line.com
Parts Email: onlineparts@u-line.com
CONNECT WITH US
Designed, engineered and assembled in WI, USA
Introduction 1
Page 4

USER GUIDE
NOTICE
u-line.com
SAFETY • INSTALLATION & INTEGRATION • OPERATING INSTRUCTIONS • MAINTENANCE • SERVICE
Integrated Panel Dimensions
DOOR PANEL INSTALLATION
Door Panel Preparation
A custom door panel may be inserted into the door frame.
Custom door panels can be flat or raised, as long as the
maximum panel thickness, where inserted into the door
reveal (channel), is no more than 1/4" (6 mm) thick. For
raised panels, the depth of the reveal is 1/4" (6 mm) on
all four sides.
Raised panels will reduce the door’s 90° swing/
zero clearance if the unit is installed next to a
wall or similar type of structure.
Panel Dimensions
The door panel must not weigh more than 20 lbs.
Width Height
12-15/16" (329 mm) 13-15/32" (342 mm)
Integrated Panel Dimensions 1
Page 5

USER GUIDE
u-line.com
SAFETY • INSTALLATION & INTEGRATION • OPERATING INSTRUCTIONS • MAINTENANCE • SERVICE
Integrated Panel Installation
This model accepts a 1/4" insert panel.
INSERT PANEL INSTALLATION
Install the insert as follows:
CAUTION
!
Use care when handling the insert. Insert edges
may be sharp.
1. Remove top hinge screw pin
with Phillips head screwdriver.
Remove door by tilting forward
and lifting off bottom hinge pin.
5. Slide custom door panel insert into 1/4" (6 mm)
channel in door front.
6. Holding door gasket out of the way, replace handle on
door, making sure it is seated properly on insert and
that screw holes line up.
7. Install two small screws removed in Step 3.
8. Starting at the corners and working inward, push door
gasket into place on door.
9. Place door on bottom hinge pin and install upper hinge
screw.
2. Pull door gasket out of groove
(top edge of door only). Start in
the middle and pull outward,
moving toward the edge. This
may take some force.
3. Remove top screw on each side
securing door handle. Slightly
separate door handle from door.
4. Pull handle up and off.
Integrated Panel Installation 1
Page 6

USER GUIDE
1
2
4
u-line.com
SAFETY • INSTALLATION & INTEGRATION • OPERATING INSTRUCTIONS • MAINTENANCE • SERVICE
Grille - Plinth Installation
REMOVING AND INSTALLING GRILLE
WARNING
!
Disconnect electric power to the unit before
removing the grille.
When using the unit, the grille (plinth strip/base
fascia) must be installed.
WARNING
!
DO NOT touch the condenser fins (4). The
condenser fins are SHARP and can be easily
damaged.
Removing the grille
1. Disconnect power to the unit.
2. Loosen the screw (1).
3. Remove grille (2) from unit.
Installing the grille
1. Align cabinet and grille holes and secure, but do not
over tighten grille screw (1).
2. Reconnect power to the unit.
Grille - Plinth Installation 1
 Loading...