

Page 1

Use and Care Guide
Freezer Model:
75F
Page 2
1 Introduction
Congratulations on your purchase of a U-Line refrigeration product. A pioneer in the field for more than 40 years, U-Line
Corporation is the world’s number one manufacturer of built-in, under-counter, specialty refrigeration and ice making
products. U-Line dedicates 100% of its research and development to these products. The result: U-Line technology
consistently leads the mark et with innovation, design, depth of product line and performance.
U-Line products are making life more convenient in homes, businesses, and hotels around the world. U-Line supports its
products with a strong dealer network, and its commitment to quality even extends to environmentally safe packaging.
IMPORTANT
READ all of the instructions in this guide completely before operating the unit for the first time.
For future reference, keep this guide in a safe, accessible location. If you need additional information or assistance,
please contact U-Line Corporation directly. Contact information appears on the rear cover of this guide.
If you have a problem with the operation of this product, the SERVICE section of this guide will assist you in quickly
identifying common problems and provide information on possible causes and remedies. If your product needs service,
contact U-Line directly.
Warranty Registration
Your U-Line Cor por ati on Li mite d W arr anty is lo cat ed on the insid e re ar co ver of th is g uide . To validate your warr anty, the
product and its original purchase date must be registered. A Warranty Registration Card has been included for this
purpose in the package containing this manual. Complete a nd mail the Warranty Registration Card, or register your
product online at www.U-LineService.com as soon as possible after purchase.
If your product registration is not on file and a request for warranty coverage is received, the date of sale to the U-Line
Selling Dealer or Distributor will be established as the first date of warranty coverage for your product.
Please Record Your Model Information
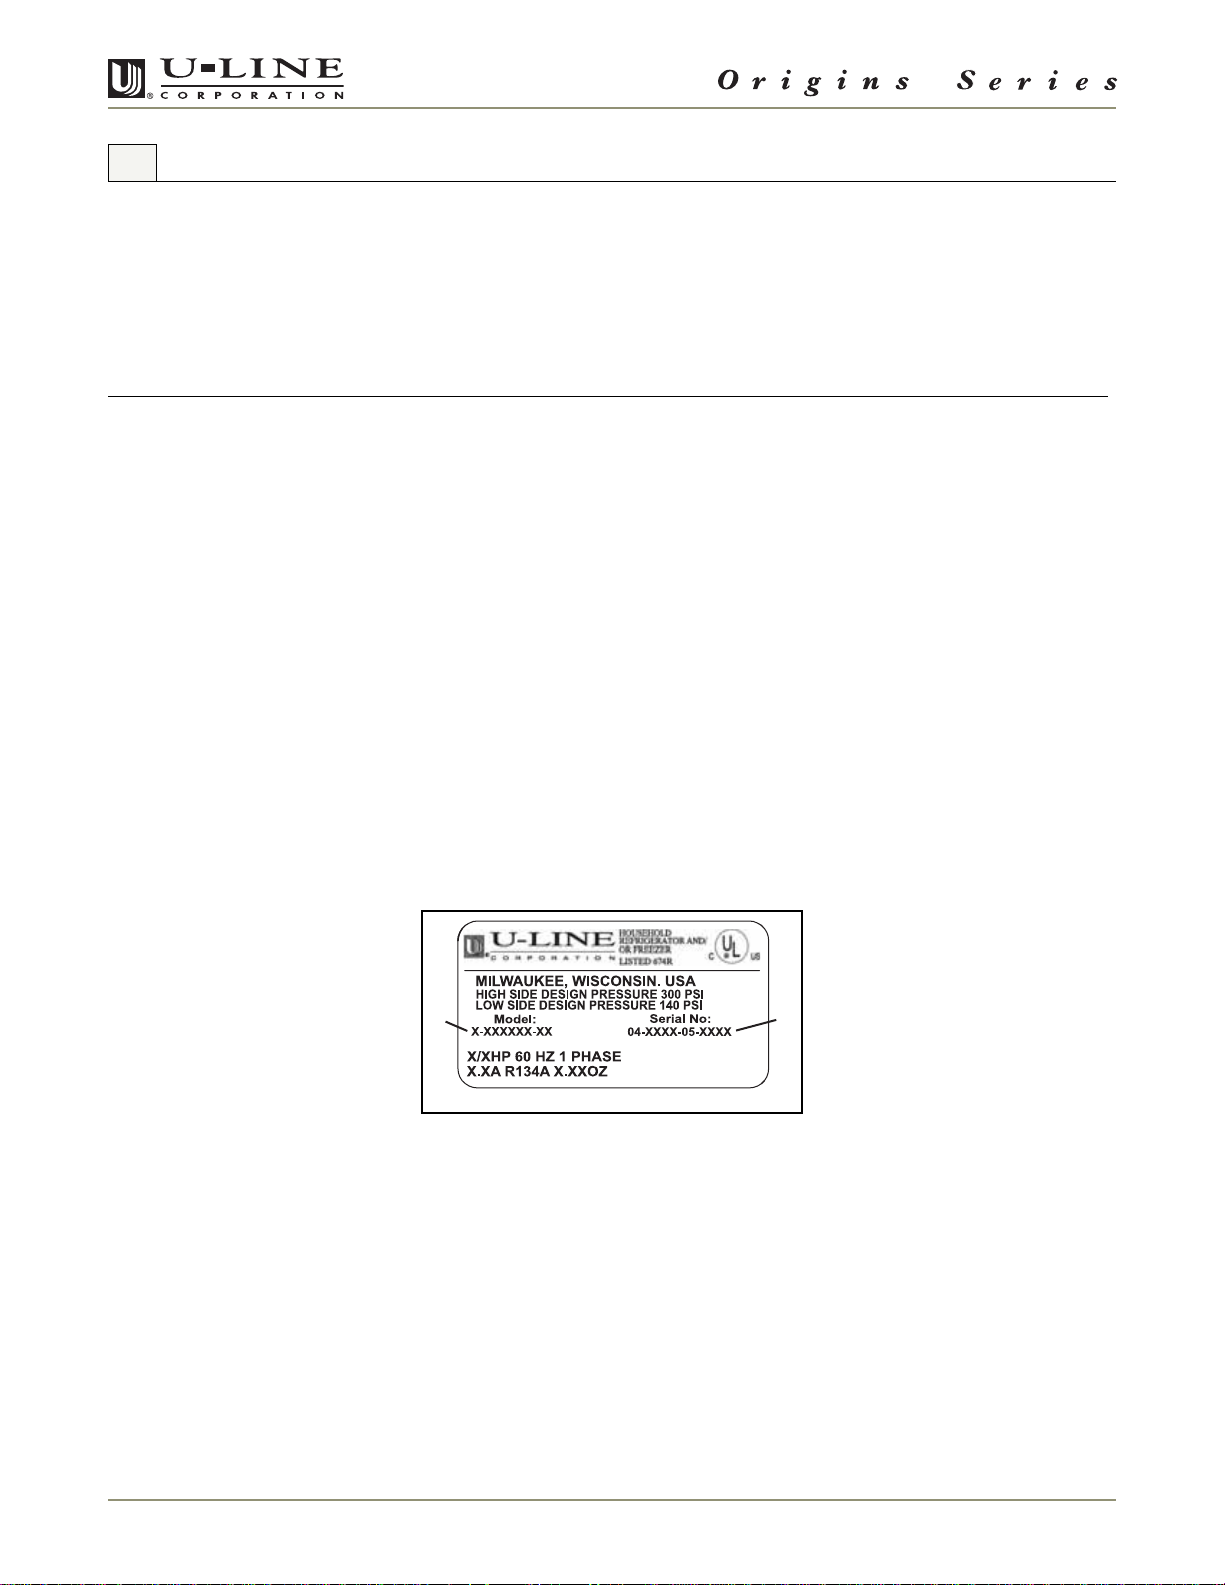
When you request additional inf ormation or service, you will be asked for your products model and serial numbers. You
can find this information on the serial plate located on the upper right or rear wall in the interior of your unit. Th is
information also appears on the warranty registration card.
1
ULIN_0023_A
Figure 1
Please record the model number (Figure 1, 1), serial number (Figure 1, 2), date of purchase, and dealer contact
information for your U-Line product below:
Model Number:
_____________________________________________________
Serial Number:
_____________________________________________________
Purchase Date:
Dealer Nam e:
_____________________________________________________
Dealer Address:
_____________________________________________________
Dealer Teleph one:
2
_____________________________________________________
275F
_____________________________________________________
Page 3
2 Table of Contents
Introduction ...............................................................................................................................2
Warranty Registration .......................................................................................................2
Please Record Your Model Information ...........................................................................2
Table of Contents .......................................................................................................................3
Safety Precautions ......................................................................................................................5
Safety Alert Definitions .....................................................................................................5
General Precautions ...........................................................................................................5
Product Features ........................................................................................................................6
Origins Freezer Model 75F ................................................................................................6
Operation ...................................................................................................................................6
Initial Startup .....................................................................................................................6
Temperature Control .........................................................................................................6
Normal Operating Sounds .................................................................................................7
Outdoor, Marine and RV Usage ........................................................................................7
Storage, Vacation, Moving ................................................................................................7
Product Disposal .................................................................................................................7
Cleaning and Maintenance .......................................................................................................8
General Cleaning ...............................................................................................................8
Maintenance ......................................................................................................................8
Service .......................................................................................................................................12
Before Calling for Service ................................................................................................12
If Service is Required ........................................................................................................12
Replacement Parts ...........................................................................................................12
Troubleshooting Guide ....................................................................................................13
U-Line Corporation Limited Warranty ....................................................................................15
75F 3
Page 4
This page intentionally left blank
475F
Page 5
3 Safety Precautions
IMPORTANTIMPORTANT
PLEASE READ all instructions completely before
attempting to install, operate, or service your unit.
• Proper installation procedures must be followed
if this unit is b eing initially installed, or i s moved
to a new location after being in service. An
INSTALLATION GUIDE for your uni t , providing
comple te in s tallati on informat i o n is available
from U-Line Corporation directly, and must be
consulted before any installation is begun. U-Line
contact information appears on the rear cover of
this guide.
• This unit requires connecti on to a grounded
(three-prong), polarized receptacle that has been
placed by a qualified electrician in accordance
with applicable electrical codes.
Safety Alert Definitions
Safety items throughout this guide are labeled with a
Danger, Warning or Caution based on the risk type :
DANGER
Danger means that failure to follow this safety
statement will result in severe personal injury or
death.
WARNING
Warning means that failure to follow this safety
statement could result in serious personal injury
or death.
CAUTION
Caution means that failure to follow this safety
statement may result in minor or mo derate
personal injury, property or equipment damage.
General Precautions
Use this appliance for its intended purpose only and
follow these general precautions along with those listed
throughout this guide:
WARNING
SHOCK HAZARD - El ec trical Groundin g Req u i red.
• Never attempt to repair or perform
maintenance on the unit until the electricity
has been disconnected.
• Never remove the round grounding prong from
the plug and never use a two-prong grounding
adapter.
• Altering, cutting of power cord, removal of
power cord, removal of power plug, or direct
wiring can cause serious injury, fire and/or loss
of property and/or life, and will void the
warranty.
• Never use an extension cord to connect power
to the unit.
• Always keep your working area dry.
CAUTION
• Use care when moving and handling the unit. Use
gloves to prevent personal injury from sharp
edges.
• If you r model r equir es def rosti ng, DO N OT use any
type of heater to defrost. Using a heater to speed
up defrosting can cause personal injury and
damage to the inner lining.
IMPORTANTIMPORTANT
• Do not lift unit by door handle.
• Never install or operate the unit behind closed
doors. Be sure front grille is free of obstruction.
Obstructing free air flow can cause the unit to
malfunction and may void the warranty.
• Failur e to clean the conden ser ever y three m onths
can cause the unit to malfunction. This could void
the warranty.
• Allow unit temper ature to stabilize for 24 hours
before use.
• If your model requires defrosting, never use an
ice pick or other sharp instrument to help speed
up defrosting. These instruments can puncture
the inner lin ing or damage the cooling unit.
• Use only genuine U-Line replacement parts.
Imitation parts can damage the unit, affect its
operation or performance and may void the
warranty.
DANGER
RISK OF CHILD ENTRAP MENT . Before you thro w away
your old refrigerator or freezer, take off the doors
and leave s helves in place so that c hildren may not
easily climb inside.
75F 5
Page 6

4Product Features 5Operation
Origins Freezer Model 75F
The Model 75F Freezer p rovides 6.0 cu ft (170 L) of freez er
capacity and features manual temperature control.
• A generous capacity, one piece molded interior i s very
durable and easy to clean.
• Four adjustable te mp ered g las s shel ves a re used. These
shelves are easy to clean, con tain spills, and may be
positioned evenly throughout the interior to use all
space efficiently.
• Two inner door “pick-off” storage sh elves.
• Black and white models accept custom flat or raised
door panels , an d ca n ach i eve a cu sto m, b ui l t-i n l o ok by
matching su rr ou nd ing cab i net s .
• Doors on black and white models are field-reversible.
• All cabinets feature contoured design lines that
provide a fashionable designer appearance.
• All models feature a vinyl clad steel cabinets that
provide a rich textured look, and resist scratching,
peeling, or flaking.
Features and specifications are subject to change without
notice.
Proper air flow (Figure 2) is required for your unit to
operate at its highest efficiently. A grille, located in
the base of the unit, must not be block ed at any
time, or your unit will not perform as expected.
Initial Startup
All U-Line units are shipped with controls that are preset.
No initial adjustments are required.
U-Line recommends the unit be allowed to run
overnight prior to loading the refrigerator and/or
freezer with product.
To turn unit off: Turn the controller knob located in the
center of the grille counterclockwise until a “click” is
heard. It may take some force to get the control to
“click.”
To turn unit on: Turn the controller knob locate d in the
center of the grille clockwise to a MID setting, number 3
or 4 on the controller knob.
ULIN_0228_A
Figure 2
IMPORTANTIMPORTANT
IMPORTANTIMPORTANT
Temperature Control
Adjusting Temperature
ULIN_0229_A
Figure 3
Adjust the temperature by turning t he numbered dial
(Figure 3, 1) in small increments.
Many factors can affect the internal temperatures of the
cabinet. They include:
• Temperature setting.
• Ambient temperature where installed.
675F
Page 7

• The number of times and length of time the door is
opened and closed.
• Installation in direct sunlight or near a heat source.
Normal Operating Sounds
All models incorporate rigid foam insulated cabinets to
provide high ther mal efficiency and maximum sound
reduction for its internal working components. In spite of
this technology, your model may make sounds that are
unfamiliar.
Normal operating sounds may be more noticeable
because of the unit’s environment. Hard surfaces such as
cabinets, wood/vinyl/til ed fl oor s and pan eled walls ha ve a
tendency to reflect normal appliance operating noises.
Common refrigeration components , and a brief
description of the normal operating sounds they make,
are listed below. NOTE: Your product may not contain all
of the components listed.
• Compressor: The compressor makes a hum or pulsing
sound that may be heard when it operates.
• Evaporator: Refrigerant flowing through an evaporator
may sound like boiling liquid.
• Condenser Fan: Air moving through a condenser may be
heard.
• Automatic Defrost/Drain Pan: Water may be heard
dripping or running into the drain pan when the unit is in
the defrost cycle.
Outdoor, Marine and RV Usage
Some U-Line models are designed to operate in outdoor,
marine and RV environments. For best p erfor m anc e, keep
the unit out of direct sunlight.
• If the unit will be shut off for five days or more, prop
door open to allow for air circulation and prevent mold
and mildew.
Storage, Vacation, Moving
If the unit will not be used for an extended per iod, or
otherwise stored, follow these steps completely:
WARNING
Electrical Shock Hazard. Disconnect p ower before
servicing. Before operating, replace all panels.
Failure to do so may result in death or electrical
shock.
1. Remove all consumable conten ts from the unit.
2. Disconnect the power cord from its outlet, and leave it
disconnected until the unit is returned to service.
3. Clean and dry the interior of the cabinet (See CLEANING
AND MAINTE NANCE: GENERAL C LEANING).
4. During periods of non-use, the cabinet must remain
open to prevent the formation of mold and mildew.
Open door a minimum of 2 in. (5 cm) to provide the
necessary ventilation.
Product Disposal
If the unit is being removed from service for disposal,
check and obey all Federal, State an d/or Loc al regulat ion s
regarding the disposal and recycling of refriger ation
appliances, and follow these steps completely:
1. Remove all consumable conten ts from the unit.
2. Disconnect power to the unit and unplug the power
cord from its outlet.
DANGER
RISK OF CHILD ENTRAPEMENT. Before you throw
away your old refrigerator or freezer, take off the
doors and leave shelves in place so that children
may not eas ily climb inside.
IMPORTANTIMPORTANT
If the ambient temperature is expected to drop
below 45°F, turn off and unplug unit, and drain all
water from the unit to prevent freezing damage not
covered by the warranty.
• High ambient temperatures (110°F or higher) may
reduce the unit's ability to reach low temp eratures.
3. Remove the cabinet door.
75F 7
Page 8

6 Cleaning and Maintenance
General Cleaning
Exterior Cleani ng (A s Required)
Black and White Models:
• Surfaces may be cleaned with a mild de tergent and
warm wate r solution. Do not use solvent-based or
abrasive cleaners. Use a soft sponge and rinse w ith
clean water. Wipe with a soft, clean towel to prevent
water spotting.
Interior Cleani ng (A s Req uired)
• Disconnect power to the unit. Clean the interior and all
removed components using a mild non-abrasive
detergen t and warm wa ter s oluti on a ppl ied with a soft
sponge or non-a bras ive cl oth . Rins e the i nte rior using a
soft sponge and clean water.
• Do not use any solvent-based or abrasive
cleaners. These types of cleaners may transmit
taste to the interior products and damage or
discolor the interior.
Maintenance
Proper maintenance of your U-Line product will ensure
efficiency, top performance and long life. The
maintenance intervals listed are based on normal
conditions. You may want to shorten the intervals if you
have pets or other special consi derations.
Defrosting
Manual Defrost Models - Every Two Months
(Minimum)
WARNING
DO NOT use any type of electrical heating device,
ice pick, knife or other sharp instrument to
defrost; this could damage the inner lining or
refrigeration system and void the warranty.
ULIN_0231_A
Figure 4
To defrost:
1. Turn unit off.
2. Remove all products from the interior.
3. Remove all glass shelving from unit. Allow glass to
acclimate to room temperature, then clean and set
aside to reinstall after defrosting unit.
4. Prop the door in an open position (2" (5 cm) minimum).
5. Allow the frost to completely melt naturally. Clean the
interior and all removed components using a mild nonabrasive detergent and warm water solution applied
with a soft sponge or non-abrasive cloth.
NOT use any solvent-based or abrasive cleaners. They
will discolor or damage the interior.
6. Dampen a soft sponge or non-abrasive cloth in clean
water and wipe down the cabinet interior and rem oved
components to remove any detergent residue. Rinse the
sponge or cloth in clean water and repeat as necessary
until the cabinet and components are clean.
7. When the interior is dry, reinstall glass shelving, making
sure back strips are attached on back edge of glass fully.
Then slide glass back into unit fully and turn unit back
on.
NOTE:
DO
875F
Page 9

Condenser Cleani ng
Interval - Every Three Months
To maintain operational efficiency, keep the front grille
free of dust and lint, and clean the condenser every three
months. Depending on environ m ental conditions, more
or less frequent cleaning may be necessary.
1
2
WARNING
Disconnect electric power to the unit before
cleaning the condenser.
WARNING
DO NOT touch the condenser fins. The condenser
fins ar e SHARP and can be easily damaged.
IMPORTANTIMPORTANT
DO NOT use any type of cleaner on the condenser
unit.
1. Disconnect power to the unit.
ULIN_0228_A
Figure 5
2. Remove the control knob
straight out, away from grille.
3. Remove screw from grille
(Figure 5, 1)
(Figure 5, 2)
by pulling it
and save.
ULIN_0154_A
Figure 7
6. Place the two hook-hinges
(Figur e 7, 1)
located on the
rear bottom side of the grille onto the front lip of the
unit base. Swing the grille up i nto position, and align
the screw hole on the grille to the grille screw hole on
the cabinet.
7. Insert the screw
8. Reinstall the control knob
(Figure 5, 2)
(Figure 5, 1)
. Do not overtighten.
.
9. Reconnect power to the unit.
Leveling
It is important that units equipped with adjustable feet
are level, for proper door and ice maker (if equipped)
operation.
To level units with adjustable feet:
4. Remove the grille.
1
ULIN_0153_A
Figure 6
5. Clean the condenser coil
soft brush with a “combing” action or vacuum cleaner.
Do not touch the condenser coi l.
(Figure 6, 1)
using a using a
1
ULIN_0041_A
Figure 8
1. Use a level to check the levelness of the unit from
front to back and from side to sid e . Level should be
placed along top edge and side edge as shown
(Figur e 8).
1
Figure 9
75F 9
ULIN_0042_A
Page 10

2. If the unit is not level, adjust the feet on the corners of
the unit as necessary
(Figure 9)
.
3. Check the levelness after each adjustment and repeat
the previous steps until the unit is level.
Door Alignment Check and Adjustment
IMPORTANTIMPORTANT
Properly aligned, the door’s gasket should be firmly
in contact with the cabinet all the way around the
door (no gaps). Carefully examine the door’s gasket
to assure that it is firmly in contact with the
cabinet. Also make sure the door gasket is not
pinched on the hinge side of the door.
Door Reversal
To reverse the door, perform the following:
ULIN_0104_A
Figure 11
1. Remove grille unit.
ULIN_0104_A
Figure 10
NOTE: It may be necessary to remove the grille to access
lower hinge screws.
1. Loosen (do not remove) top (Figure 10) and bottom
hinge screws.
2. Align door squarely with cabinet.
3. Make sure gasket is firmly in contact with cabinet all
the way around the door (no gaps).
4. Tighten bottom hinge screws.
5. Tighten top hinge screws.
2. Remove top hinge from cabinet (four screws)
11)
. Hold door to keep it from falling.
(Figure
3. Lift the door off the bottom hinge.
ULIN_0105_A
Figure 12
4. Remove four plastic plugs
(Figure 12)
in hinge holes,
top of cabinet, opposite side. Be careful not to scratch
cabinet.
Hinge
10 75F
Plastic
Plug Hole
Right Side
Door Swing
Right Side
Hinge
Screw
Invert
Screw
Figure 13
Invert
Hinge
Plastic
Plug Hole
Left Side
Door Swing
ULIN_0106_A
Page 11

5. Remove pivot screw from top hinge, invert screw and
reinstall pivot screw in top hinge
(Figure 13)
. Do not
install hinge on cabinet at this time.
ULIN_0107_A
Figure 14
6. Remove bottom hinge from cabinet (four screws) and
screws on opposite side of cabinet
(Figure 14)
.
7. Remove pivot screw from bottom hinge, invert screw
and reinstall pivot screw in hinge
(Figure 13)
.
ULIN_0110_A
Figure 17
10.Place door on lower hinge pin. Align flat edge of top
hinge with outer edge of unit and fasten upper hinge
to unit (four screws)
(Figure 17)
. Partially tighten
screws.
11.Adjust door to assure proper seal. Tighten upper and
lower hinge screws securely.
12.Replace four plastic plugs removed in Step 3 into holes
on top of unit. Replace screws in holes in bottom of unit
on opposite side.
13. Reinstal l g rille to uni t.
ULIN_0108_A
Figure 15
8. Install bottom hinge on cabinet, opposite side, aligning
flat edge of hinge with outer edge of un it
(Figure 15)
Partially tighten screws.
1
ULIN_0109_A
Figure 16
9. Relocate plastic spacer/bushing
of door to the opposite side. Clean out bushing hole in
door bottom if necessary.
(Figur e 16)
on bottom
.
75F 11
Page 12

Glass Shelf Removal/Installatio n
ULIN_0230_A
Figure 18
7Service
Before Calling for Service
If your U-Line product appears to be malfunctioning, read
through the OPERATION section of this guide to ensure
that the function of all controls are clearly understood. If
the malfunction persists, the TROUBLESHOOTING GUIDE
in this guide will assist you in quickly identifying common
problems, and provide informa tion on possible causes and
remedies. Most often, this will resolve the pr oblem
without the need to c all for service.
If Service is Required
If you do not understand a troubleshooting remedy, or
your product needs service, contact U-Line Corporation
directly. Contact information appears on the rear cover of
this guide.
Reposition the shelves as follows:
1. Grasp the shelf edge in the center and slide the shelf
from the unit.
2. Reposition the shelf as required, ensuring the raised
white edge strip is toward the rear of the unit and the
decorative graphics, if applied, are on the underside of
the shelves.
3. Push the shelf in completely.
IMPORTANTIMPORTANT
• Make sure the shelves are inserted fully into the
unit.
• The white edge strip toward the rear prevents
items from freezing against the cold evaporator.
You will be asked for your product Model an d Serial
Numbers. This information should be recorded inside the
front cover of this guide, following the products original
purchase. It also appears on the Model and Serial number
plate located on the upper right or rear wall of the
interior of your pr oduct.
Replacement Parts
When you need replacement parts, always request that
genuine U-Line replacements be used. U-Line products
have been designed and engineered using components
that work efficiently, and provide superior service life and
performance. The use of aftermarket parts or components
may affect the safety, operation, performance or
durability of your product, and may also void its warranty.
12 75F
Page 13

Troubleshooting Guide
DANGER
ELECTROCUTION HAZARD
Never attempt to repair or perform maintenance on
the unit until the main electrical power has been
disconnected.
Troubleshooting - What to check when problems occur:
PROBLEM POSSIBLE CAUSE REMEDY
Unit not cold enough Door gasket not sealing properly Adjust door (See MAINTENANCE; DOOR ALIGN, ADJUST,
Item(s) interfering with door Reposition or remove item(s).
Dirty condenser coils Clean condenser (See MAINTENANCE; CONDENSER
Airflow to front grille blocked Airflow must not be obstructed to front grille (See
Temperature not set cold enough Set control knob to cooler setting (See OPERATION).
The unit frosts up. Unit is manual defrost model. Models SP18, 95, 98, CO29, CO75 and 75F are manual
Door gasket not sealing properly Adjust door (See MAINTENANCE; DOOR ALIGN, ADJUST ,
High ambient temperatures or
humidity
Noise during operation Certain sounds are normal. Soft sounds from the fan will be heard.
Fan blade touching obstruction
(wiring, foam in s u latio n, etc.)
REVERSE).
CLEANING).
OPERATION).
Allow 24 hours for temperature to stabilize.
defrost (See MAINTENANCE; DEFROSTING).
REVERSE).
Defrost unit manually (See MAINTENANCE;
DEFROSTING).
Remove obstruction.
75F 13
Page 14

This page intentionally left blank
14 75F
Page 15

U-Line Corporation Limited Warranty
U-Line Corporation warrants each U-Line product to be free from defects in materials and workmanship for a period of
one year from the date of purchase; and warrants the sealed system (consisting of the compressor, the condenser, the
evaporator, the hot gas bypass valve, the dryer an d the conn ec ting tubing) in each U-Line product to b e free from
defects in materials and workmanship for a period of five ye ars from the d ate of purchase. During the initial one-year
warranty period for all U-Line products U-Line shall: (1) at U-Lines option, repair any product or replace any pa rt of a
product that breaches this warranty; and (2) for all Marine, RV and Domestic U-Line products sold and serviced in the
United States (inc luding Alaska and Hawaii) and Canada, U-Line shall cover the labor costs incurred in connection with
the replacement of any defective part. During years two through five of the warranty period for the sealed system, ULine shall: (1) repair or replace any part of the sealed system that breaches this warranty; and (2) fo r all Marine, RV and
Domestic U-Line products sold and serviced in the United States (includin g Alaska and Hawaii) and Canada, U-Line shall
cover the labor costs incurred in connection with the replacement of any defective part of the sealed system. All other
charges, including transportation charges for replacements under this warranty and labor costs not specifically covered
by this warranty, shall be borne by you. This warranty is extended only to the original purchaser of the U-Line product.
The Regis tr at ion C ard included with t he pr o du ct s ho ul d be pr om pt l y co m plet ed b y yo u and mailed back to U - L ine o r y ou
can register on-line at www.U-LineService.com.
The following are excluded from this limited warranty: installation charges; damages caused by disasters or a cts of God,
such as fire, floods, wind and lightening; damages incurred or resulting from shipping, improper installation,
unauthori zed mo difi cati on, or misus e/a buse o f the prod uct ; cus tome r educat ion ca lls; food lo ss/s poi lage; door and wat er
level adjustments (except during the first 90 days from the date of purchase); defrosting the product; adjusting the
controls; door reversal; or cleaning the condenser.
If a product def ec t is dis c ov e red du rin g t he a pp lic abl e war ranty period, you must pr om pt l y n ot ify eit h er t he deal e r f ro m
whom you purchased the product or U-Line at P.O. Box 245040, Milwaukee, Wisconsin 53224 or at 414-354-0300. In n o
event shall s uch no t ificat io n be rece ived lat er t han 30 d ays af te r th e exp ir ation o f the ap plicable warranty period. U-Line
may require that defective parts be returned, at your expense, to U-Lines factory in Milwaukee, Wisconsin, for
inspection. Any action by you for breach of warranty must be commenced within one year after the expiration of the
applicable warranty period.
This limited warranty is in lieu of any other warranty, express or implied, including, but not limited to any
implied warranty of merchantability or fitness for a particular purpose; provided however, that to the
extent required by law, implied warranties are included but do not extend beyond the duration of the
express warranty first set forth above. U-Lines sole liability and your exclusive remedy under this warranty
is set forth in the initial paragraph above. U-Line shall have no liability whatsoever for any incidental,
consequential or special damages arising from the sale, use or installation of the product or from any other
cause whatsoever, whether based on warranty (express or implied) or otherwise based on contract, tort or
any other theory of liability.
Some states do not all ow lim it ation s on how lo ng an implied w arran ty lasts or the excl usio n or limitat ion of in ci dental or
consequential damages, so the above limitations may not apply to you. This warranty gives you specific legal rights, and
you may also have other rights which va ry from state to state.
75F 15
Page 16

For General Inquir ies:
P.O. Box 245040
Milwaukee, Wisconsin
53224-9540 U.S.A.
Phone (800) 779-2547
FAX (414) 354-5696
www.U-Line.com
For Service and Parts
Assistance:
Phone (800) 779-2547
(414) 354-0300
FAX (414) 354-5696
Email:
OnLineService@U-Line.com
www.U-LineService.com
E-mail:
OnlineParts@u-line.com
For more than four decades, U-Line has distinguished itse lf as the
leader in built-i n under-counter ice making, refrigeration and
wine storage appliances.
An INSTALLATION MANUAL for your unit, providing com plete
installation information, is available for download at
www.U-Line.com. Information for custom panel inserts per model,
including panel size, and instructions are available by visiting
www.U-Line.com.
When you need r eplacement parts, always request genuine U-Line
replacements be used. Visit www.U-Line.com to locate a parts
distributor in your area.
U-Line Corporation, located in Milwaukee, WI, is a family operated manufacturer of built-in
undercounter ice makers, Combo
refrigerator s, re fri g er ated d raw e rs and refri ge ra tor/ fre e ze rs.
®
ice maker/refrigerators, Wine Captain® wine storage units,
©2006 U-Line Corporation
Publication No. 30144
01/2006 Rev. A
 Loading...