

Page 1
V.A.L.E.
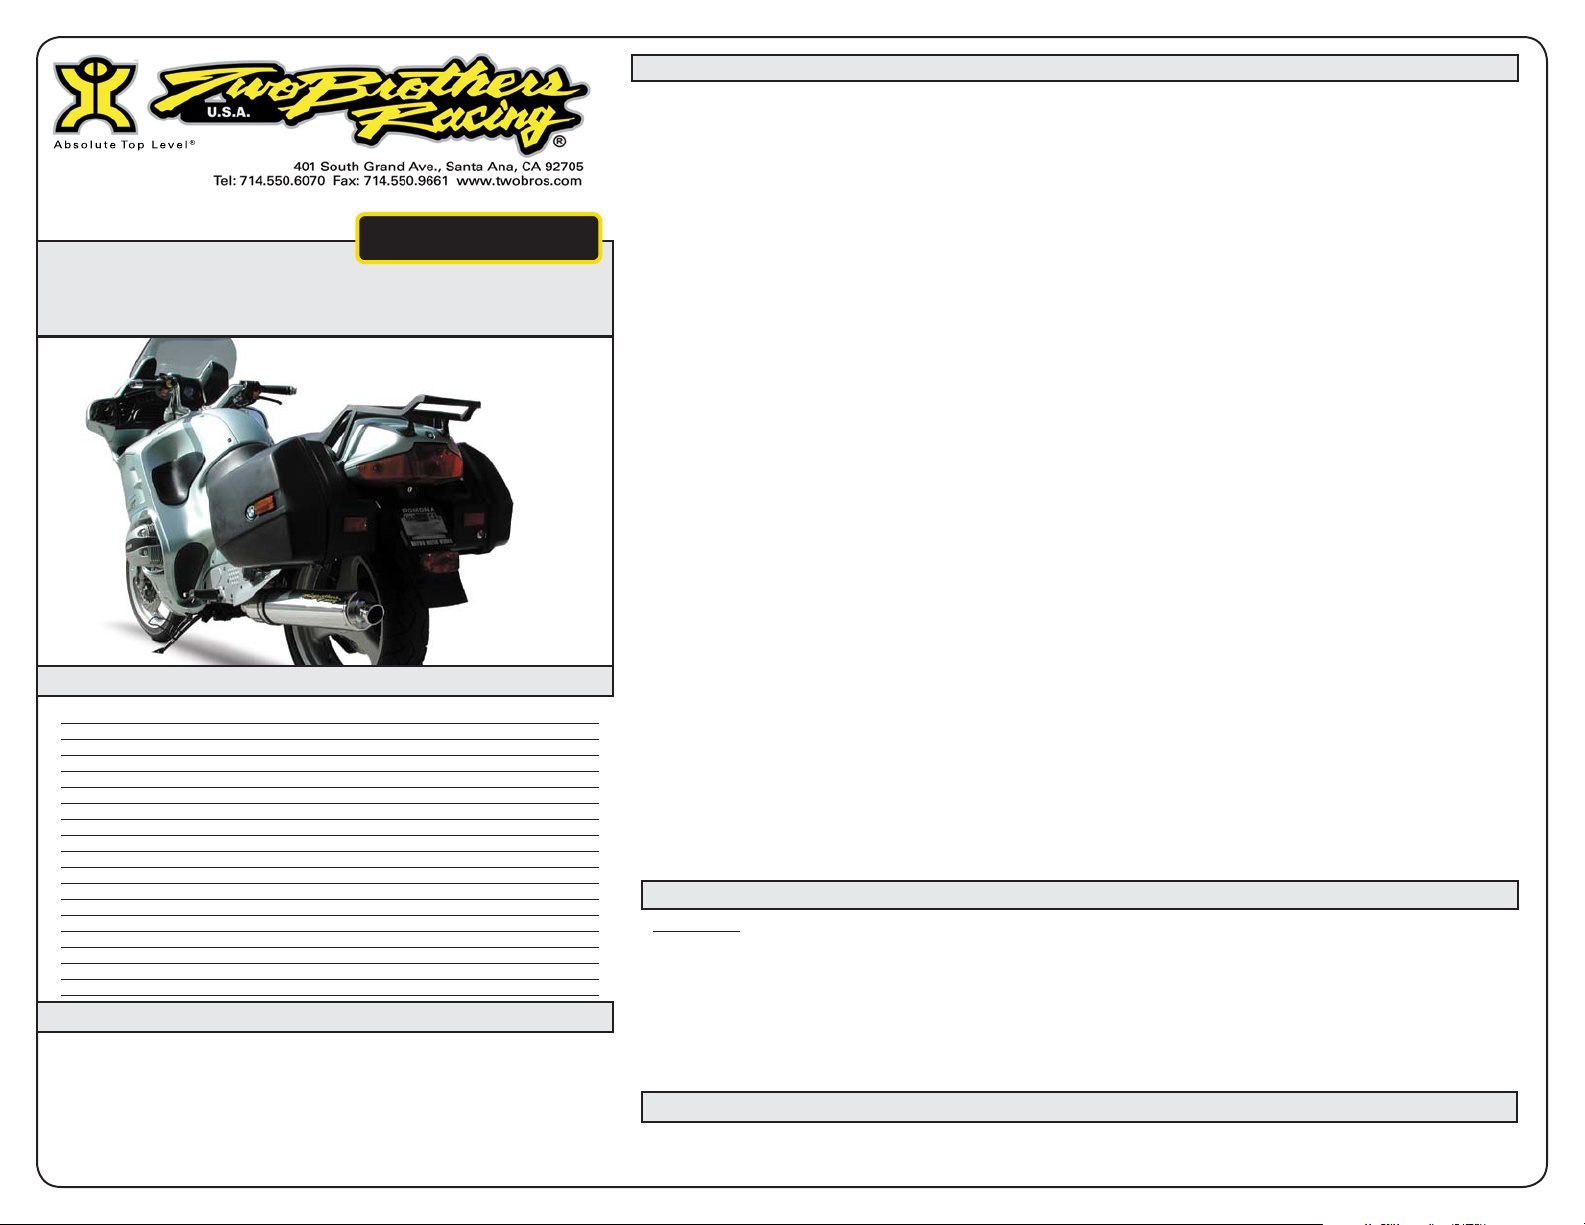
BMW
V A R I A B L E A X I S L O C K I N G E X H A U S T
R1100RT / RS
V. A.L.E.™ Ca t Elim inator Exhaust Syste m with M-2 C anister
Part # 0 05-972 0406M, 005-9 70408 M, 005 -97042 0M
Installation Instructions
1. Make sure the bike is completely cool before starting the installation. Make sure the bike is secure on the sidestand or
ideally a service lift.
2. Disconnect the oxygen sensor from the stock muffler assembly and remove the stock canister & catalytic converter
(including the rubber mounted hanger block). Do not remove the header pipes.
3. Install the Catalytic Eliminator Collector with the supplied barrel clamps. Do not tighten yet. It may help to loosen, but not
TM
remove, the BMW head pipes to ease installation of the Catalytic Eliminator Collector.
4. Reinstall the oxygen sensor onto the Catalytic Eliminator Collector. Use the supplied anti-seize compound to coat the
threads for ease of removal later.
5. Install the hanger bracket using the 10mm bolt and washer provided with the kit and secure it to the bike using the same
hole that the original hanger used. Be sure to apply a thread locking substance to the bolt. Do not tighten yet.
6. Install VALE adapter kit using the supplied kit instructions.
7. Place a bead of the hi-temp sealant on the outside edge of the s-bend that goes into the canister. Slide the TBR canister
onto the end of the S-bend pipe. Wipe off the excess sealant that will squeeze out. Be sure to point the tip of the canister
away from the rear tire.
8. Carefully slide the muffler clamp over the muffler. (Note: The stainless steel canister clamp and the name badge on the
canister come from the factory with a clear plastic protective film. Please remove this film before operation.) Attach it to
the hanger bracket using the 8mm x 20mm bolt, washers and nut provided. Be sure to locate both tabs of the canister
clamp on the outside of the hanger bracket. Do not tighten yet.
9. Once everything is aligned and you have proper clearance between the exhaust system and the bike tighten all hardware
working from the front of the bike backward.
10. Install the connector springs between the canister and connector pipe.
Parts List
Qty. Description Part Number
1 Muffler Canister Varies
1 Canister Clamp Varies
1 Stainless Steel S-Bend Tube 005-9204N
1 HARDWARE KIT 005-97-3
1 VALE Adapter Kit 005-2-1-V
2 80mm Swivel Hook Spring 005-S80
1 Muffler Mounting Bracket 005-69B-10
1 Barrel Clamp 005-27-64MSH
1 10x20mm Hex Bolt 005-HB1020
1 8x20mm Socket Head Cap Screw 005-SH820
1 10mm Flat Washer 005-WF10
2 8mm Flat Washer 005-WF8
1 8mm Nylon Nut 005-NN8
1 Permatex Anti-Seize Lubricant 031-P09175
1 Permatex Ultra Black Gasket Mak er 031-P22072
1 T20 Torx Screw Wrench 005-9-15820
1 TBR Sticker Kit 015-10212
IMPORTANT - PLEASE READ CAREFULLY
We recommend that this performance part be installed by a qualied
motorcycle technician. If you have any doubts as to your ability to install this
performance part, please consult with your local motorcycle dealer. Read all
instructions rst before starting installation. Make sure the motorcycle and
exhaust system are completely cool before starting the installation. Also,
make sure the bike is secure on a center stand or ideally a service lift during
installation. Be sure to save all stock components for possible use later.
11. Be sure to allow the sealant to dry per the manufacturer’s instructions before starting the bike. Before you run the bike,
clean off all fingerprints and dirt, as any oily residue will etch the metal and become somewhat permanent when the
system gets hot. Run the bike and enjoy. It is normal for some white smoke to appear the first time you start the bike.
This is packing/manufacturing oil from inside the pipe burning off. Check for gaps or leaks. If you find a leak, a little high
temperature silicon sealant should fix it. After 50 to 100 miles, recheck all fasteners for tightness.
Care & Cleaning
Care & C leanin g
Keep sys tem fr ee of dirt and moist ure. Store in a co ol, dr y plac e. For cleani ng use a mil d spra y clean er. Always a pply c leaner or pol ish wi th a s oft, cle an clo th.
Stainle ss Hea der Sys tem: Polis hed st ainless steel pipes will turn a light golden hue a fter a f ew hea t cycl es, thi s is a norma l charact eristi c of h igh qua lity
stainle ss ste el.
Carbon Fiber Muffler s: Always make sure t he fiber glass packing i nside is in good c onditio n and not bu rned o ut, as exhaus t heat insid e an em pty ca nister will
deterio rate t he Car bon Fi ber sle eve. TBR sells repack ki ts (TB R part # 005 -10038) that includ e new rivets and r epack mat erial as wel l as a drill bit (# 30), m aking
it easy to do your self. Also , NEVE R dyno test y our bi ke wi th carb on fibe r muffl ers i nstalle d - th e inte nse he at and lack of cooling air c an qui ckly caus e the CF
materia l to b urn. Two Broth ers Ra cing d oes not provid e a warr anty f or burn ed car bon fib er.
Aluminu m Muffl ers: U se an aluminu m or m ag whe el pol ish such as Mot her’s to restore the b right finish to fact ory sp ec.
Repack all road canisters every 3,000 miles. Part #005-10038
Warranty
Two Brothe rs Racing p roducts are intended fo r closed co urse compet ition purpo ses only, and therefore are sold “a s is” witho ut warranty. Two Brothers R acing speci fically dis claims any
warrant ies of merc hantability or fitness for a part icular purp ose and dis claims all responsibil ity for con sequential a nd incident al damages or any othe r losses ar ising from the use of these
product s or parts.
 Loading...