

Page 1
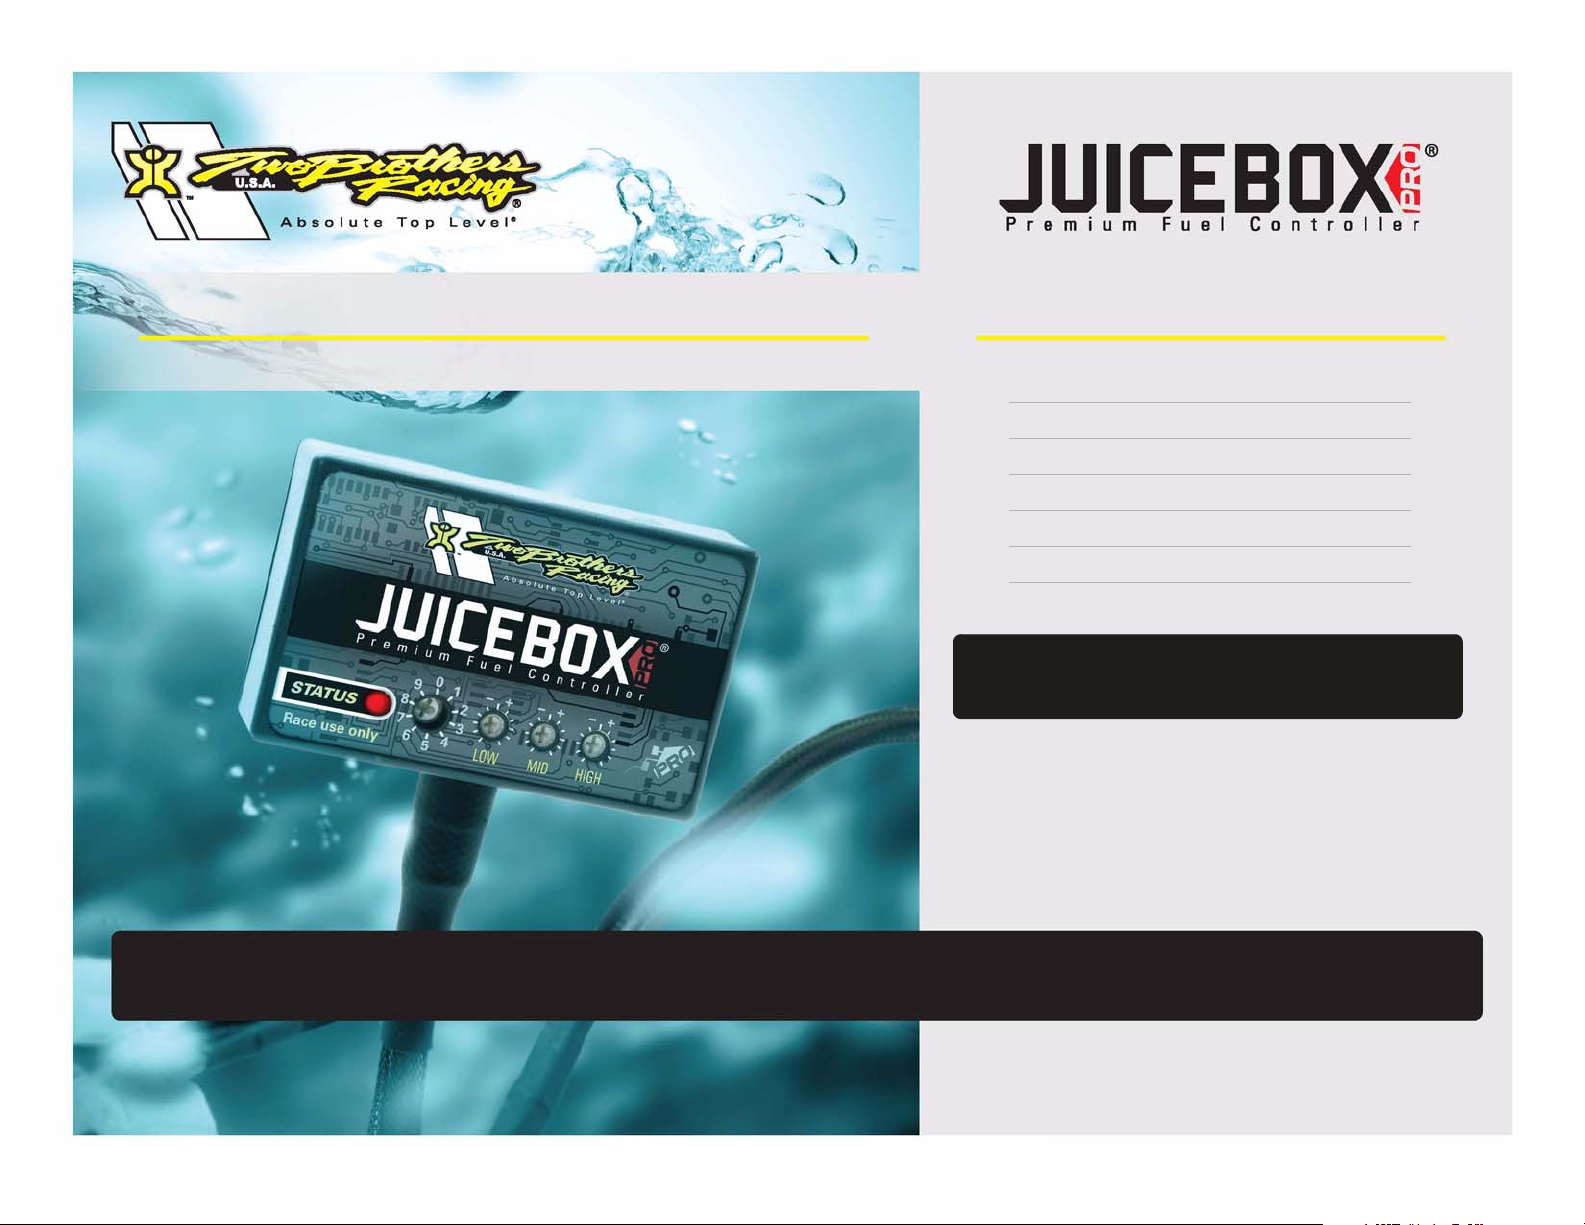
2008-09 Suzuki GSX-650F
PARTS LIST
Installation Instructions
1Juice Box Pro
TM
1 USB Cable
1 Top Tune CD-ROM
1 Installation Guide
2Velcro
1 Alcohol swab
1O2 Optimizer
FOR RACE USE ONLY
DOWNLOAD THE TOPTUNE SOFTWARE
AND LATEST MAPS FROM OUR
WEBSITE:
www.twobros.com
ITBR001-194
PLEASE READ ALL DIRECTIONS BEFORE STARTING INSTALLATION
401 S. Grand Ave. Santa Ana, CA 92705
(800) 211-2767 www.twobros.com
2008-09 Suzuki GSX-650F - 1
Page 2
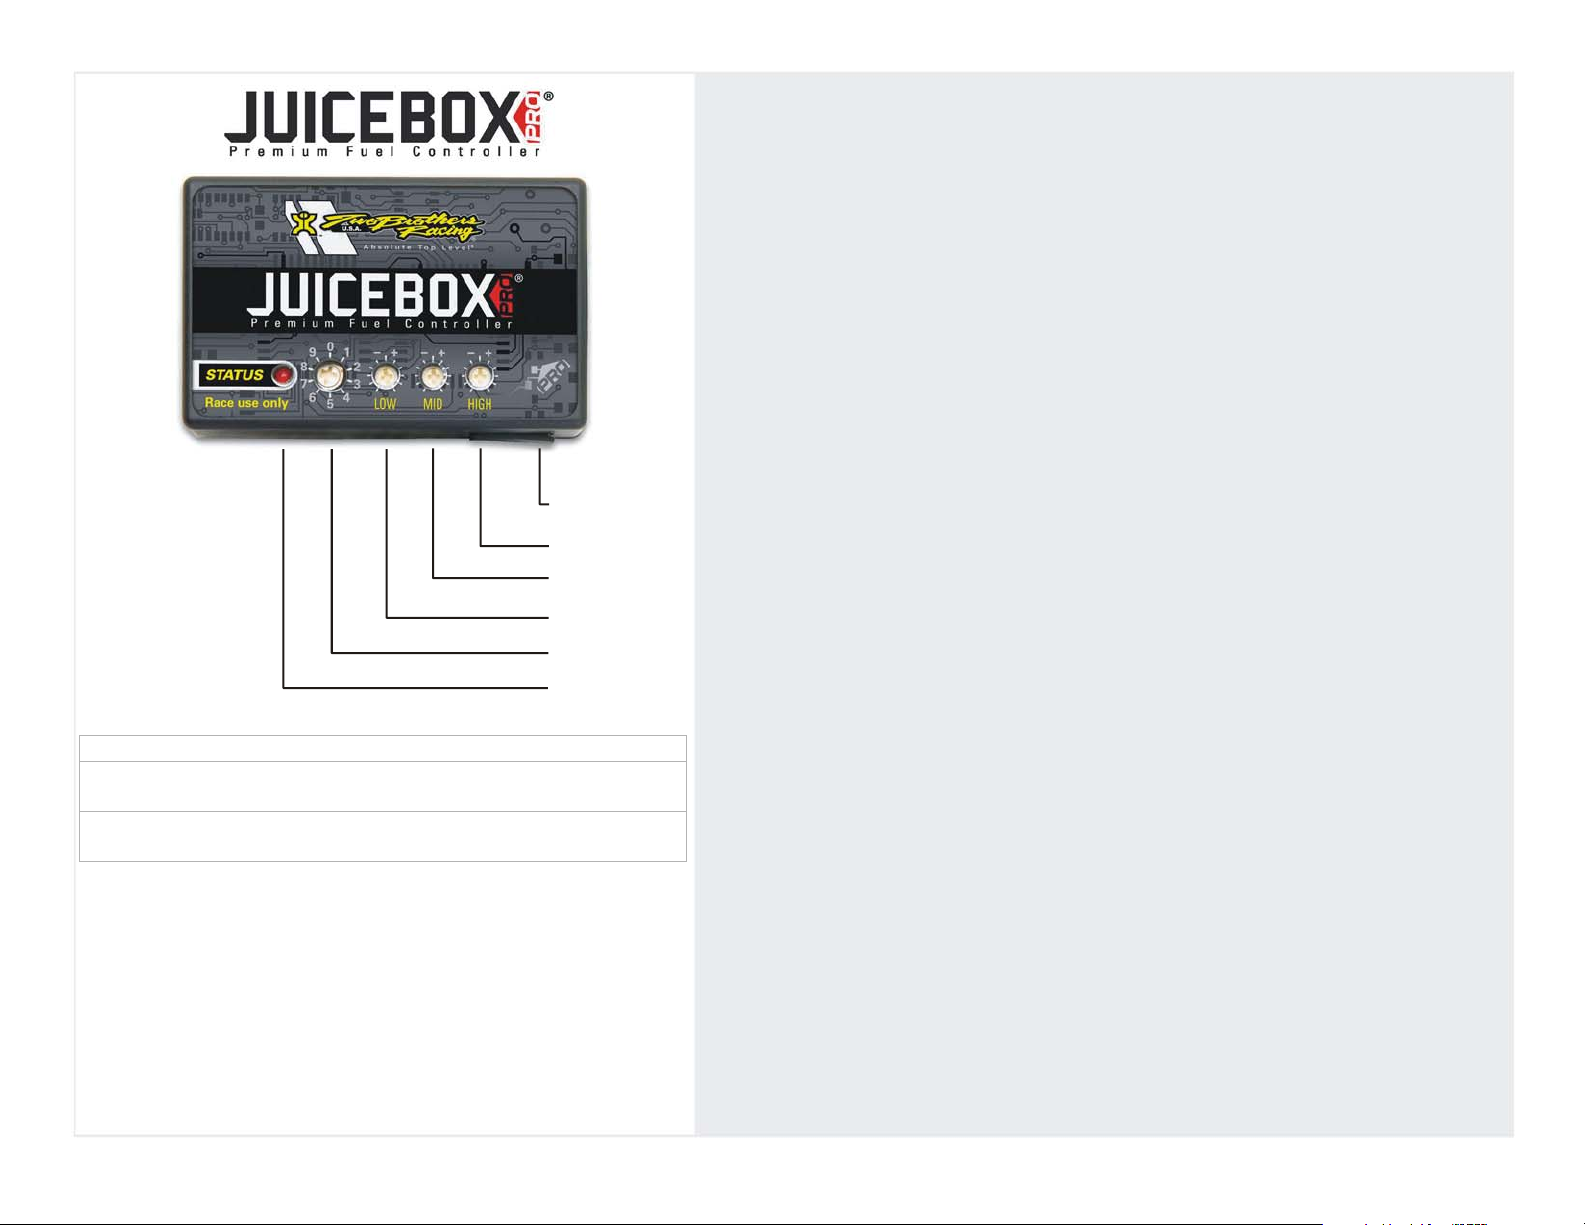
Selecting the Map Position
The Juice Box Pro comes loaded with up to ten maps. Using a #1 Phillips
screwdriver, turn the map select dial to toggle between the loaded maps. Refer to
the map position table below for the maps included in your Juice Box Pro.
Using the RPM Range Dials
The Low, Mid, and High RPM Dials refer to the RPM range, in thirds, of your
vehicle. Each dial allows +/- 10% fuel adjustment on top of what fuel changes are
done in the map. With the dial facing straight up, there is no additional fuel change.
For example, if your vehicle revs to 15,000 RPM:
• the low RPM dial will adjust 0-5000 RPM
• the mid RPM dial will adjust 5001-10000 RPM
• the high RPM dial will adjust 10001-15000 RPM
Using Top Tune
Take your tuning to the next level with the Top Tune software.
Position 0 Zero map
Position 1 Stock exhaust
Stock air filter
Position 2 Two Brothers slip-on
Stock or aftermarket air filter
USB Port
High RPM Dial
Mid Dial RPM
Low Dial RPM
Map Select
Status Light
(Power to Unit)
2009 Suzuki
GSX650F
2009-2010 Suzuki
GSX650F
Installing the Top Tune Software
1 Insert the CD provided into your computer’s cd-rom drive. The launch program
will run automatically.
If auto-run is disabled, double-click the My Computer icon then double-click the
CD drive icon. Double-click TBR Top Tune.exe to manually start the CD.
2 Click Install Software and follow the on-screen instructions to install the Top
Tune software. The Top Tune software and maps will be stored in C:\Program
Files\TBR Top Tune.
3 Click Map Database. All maps will automatically be installed to the C:\Program
Files\TBR Top Tune\maps folder.
Loading Additional Maps
1 Connect the USB cable from the computer to the Juice Box Pro. Verify the cable
is fully seated in the Juice Box Pro.
2 Run the Top Tune software by double-clicking the program icon installed on your
desktop or on your start menu.
3 Click Open Map File and select a map file.
4 Click Send Map. You can send the map to any of the ten map positions.
Altering Maps Using Top Tune
The values in the map represent a percentage of fuel change over stock. A value of
10 in the map indicates at that throttle position and RPM range the vehicle will be
10% richer than stock. If the value is -10, then it would be 10% leaner than stock. You
have the ability to fine tune your fuel curve by altering these values. The Top Tune
software allows a value of +250 to -100 in each cell.
ITBR001-194
2008-09 Suzuki GSX-650F - 2
Page 3

Figure AFigure BFigure C
Juice Box Pro
harness
unplug
Juice Box Pro
harness
unplug
The ignition must be turned OFF before installation.
1 Remove the seat and left hand side cover.
2 Remove the fuel tank.
3 Lay the Juice Box Pro in the tail section.
4 Route the wiring harness from the Juice Box Pro under the frame crossover and
towards the engine along the right hand side of the air box as shown in Figure A.
5 Unplug the stock wiring harness from each of the injectors as shown in Figure B.
ITBR001-194
6 Attach the connectors from the Juice Box Pro to the stock injectors and the stock
wiring harness as shown in Figure C.
• blue wire connects to cylinder #1
• green wire connects to cylinder #2
• yellow wire connects to cylinder #3
• orange wire connects to cylinder #4
2008-09 Suzuki GSX-650F - 3
Page 4

Figure DFigure EFigure F
posi-tap
grey wire
ground wire
7 Locate the throttle position sensor (TPS).
The 5-pin TPS connector is located on the left hand
side of the throttle bodies.
8 Attach the supplied wire tap or posi-tap to the pink wire
with a black stripe as shown in Figure D.
9 Attach the grey wire from the Juice Box Pro into the
posi-tap as shown in Figure D.
It is recommended to use dielectric grease on these
connections.
For a cleaner look, you can follow the TPS wire back to
a junction where you can hide the wire tap easier.
10 Attach the ground wire from the Juice Box Pro to the negative side of the battery as
shown in Figure E.
ITBR001-194
11 Using the supplied velcro, secure the Juice Box Pro in the tail section to the inner
fender as shown in Figure F.
Make sure to clean both surfaces with the alcohol swab before attaching.
2008-09 Suzuki GSX-650F - 4
Page 5

12 Locate the black 4-pin O2 sensor connector.
The O2 connector is located on the left hand side of the frame next to the fuse box.
13 Unplug this connection and attach the O2 optimizer into the stock wiring harness as
shown in Figure G.
The stock sensor will not be connected to anything.
14 Reinstall the fuel tank, side cover, and seat.
Figure G
O2
optimizer
ITBR001-194
2008-09 Suzuki GSX-650F - 5
 Loading...