

Twinhead Durabook D13RY User's Manual

UUsseerr’’ss MMaannuuaall
i

Table of Contents
CHAPTER 1
GETTING STARTED 1
Getting Started ................................................................................... 2
Inventory............................................................................................. 3
Safety and Maintenance.................................................................... 4
Checklists ........................................................................................... 5
Features .............................................................................................. 6
Where to Look For Information......................................................... 6
Quick Start.......................................................................................... 7
Loading Windows .............................................................................. 8
Adjusting the Volume........................................................................ 9
Adjusting the Brightness .................................................................. 9
Turning off Your Computer............................................................. 10
Making a Startup Disk...................................................................... 10
Tips for New Owners ....................................................................... 11
CHAPTER 2
GETTING STARTED 13
Hardware and Software................................................................... 14
Front View......................................................................................... 15
Left View............................................................................................ 16
Right View......................................................................................... 18
Bottom View...................................................................................... 20
LED Status Indicators...................................................................... 21
Function Keys .................................................................................. 22
Numeric Keypad............................................................................... 22
Touchpad.......................................................................................... 23
The Optical Drive.............................................................................. 25
The PC Card Slot.............................................................................. 27
The Graphics System ...................................................................... 28
Communication Components......................................................... 29
Information about the Wireless LAN Button................................. 30
ii

CHAPTER 3
POWER MANAGEMENT 31
Power Management ......................................................................... 32
Power Saving Modes....................................................................... 34
Power Saving Tips ........................................................................... 35
When to Replace the Battery .......................................................... 36
Heat Considerations........................................................................ 36
CHAPTER 4
USING THE BIOS SETUP UTILITY 37
Using the BIOS Setup Utility........................................................... 38
Navigating and Entering Information in BIOS............................... 39
The Main Menu ................................................................................. 40
Advanced Menu................................................................................ 41
Boot menu......................................................................................... 42
Security menu .................................................................................. 43
Exit menu.......................................................................................... 44
Change User Password................................................................... 45
Change Supervisor Password........................................................ 45
CMOS Optimal Defaults...................................................................45
Exiting and Saving........................................................................... 45
APPENDIX A
STATEMENTS 46
Statements........................................................................................ 47
European Notice............................................................................... 49
SAFETY CAUTION............................................................................ 51
Battery Disposal............................................................................... 52
CAUTION FOR AC ADAPTER.......................................................... 52
BATTERY CAUTION......................................................................... 52
CLASS 1 LASER PRODUCT............................................................ 53
iii

Introduction — Getting Started
CChhaapptteerr 11
IInnttrroodduuccttiioonn
1

Chapter 1 — Introduction
Getting Started
Congratulations on your purchase of the Notebook PC. Your new
notebook features the most innovative advances in portable computing
technology. It combines state-of-the-art ergonomics with sophisticated
architecture to provide you with a personal computer that is compact,
powerful, and easy to use. Designed for a wide range of general,
business, and personal productivity applications, the notebook is an
ideal choice for use in the office, at home, and on the road.
This Manual contains all the information you need to set up and use
your new notebook. It describes all the features of the notebook in an
easy-to-read yet thorough manner.
2

Introduction — Inventory
Inventory
This computer system is designed for years of productive and
pleasurable computing. Use this section to keep details of your
purchase. This information will be required should you need to make
repairs to your notebook during the warranty period. Update this
section when you add new options.
DATE OF PURCHASE:
PLACE OF PURCHASE:
DEALER'S NAME:
DEALER'S ADDRESS:
TELEPHONE:
E-MAIL ADDRESS/WWW:
CONTACT PERSON:
MODEL NUMBER:
SERIAL NUMBER:
BIOS VERSION:
The serial number is on the label (with a bar code) on the bottom side
of the computer. The BIOS revision number will appear briefly on the
screen after turning on the computer, before the graphic BIOS screen
appears. Press the Del key to enter BIOS setup screen.
3

Chapter 1 — Introduction
Safety and Maintenance
You can use your computer under a wide range of environmental
conditions. However, to ensure long use and continued high
performance, consider the following factors when setting up your
computer:
• Follow all warnings and instructions noted in this documentation
and in the Windows Help program.
• The first time you use your computer, we recommend that you
carefully read the Making Connections section of this manual
and initialize the battery to ensure optimum battery performance.
• Unplug the computer from the power outlet before cleaning. Do
not use aerosols, solvents, or strong detergents.
• Do not use the computer near open water or other liquids. Never
spill liquid onto the computer.
• Do not place the computer in an unstable location where it might
slip or be knocked over. Seriou s damage could result from a fall.
• Slots and openings in the system cabinet are for ventilation
purposes. Do not block or cover these openings or the system
could overheat. Do not use or store the computer near a source
of heat or dust.
• On the base or rear panel of this notebook, there is a label with
information on the power requirements of this system. These
requirements must be followed. If you are unsure of your local
power supply, consult your dealer or local Power Company.
• Do not step on or place anything on the power cord.
• If you use the computer with an extension cord, ensure that the
total ampere ratings of all the devices sharing the extension do
not exceed the rating of the extension cord or the rating of the
wall outlet.
• Never push foreign objects into the computer through any of the
slots or openings. Dangerous voltag es are present, which could
cause electric shock or fire, or damage sensitive components.
• For best results, use a power strip with a built-in surge protector.
Do not use inferior extension cords as this may result in damage
to your computer.
4

Introduction — Checklists
• Set the computer on a flat, stable surface. To prevent damage to
the computer’s hard disk drive, avoid using the computer where
it will be exposed to strong vibration.
Checklists
After opening the package, carefully inspect the contents. If any of the
items is missing or appear damaged, contact your dealer. The
shipping carton should contain the following:
STANDARD
• A notebook computer with a hard disk drive
• An internal battery
• A COMBO or DVD-Super-Multi drive
• An AC adapter with power cord
OPTIONS
The following items are normally optional, but some vendors may
include them in the standard package. Some items may not be
available in some countries, or some vendors may choose not to carry
all the items.
• A Carry bag
Caution: When purchasing any of the accessories
listed above, purchase only those accessories that
are approved for use with your computer. The above
accessories are proprietary items. Your system
vendor can obtain these approved accessories. If
you use items that are not approved for use with
this computer, you may cause your computer to
malfunction, or to emit or receive electro-magnetic
radiation in excess of local regulations. For nonproprietary accessories such as PC cards or
printers, ensure that the accessory functions
properly in your computer before making the
purchase. Your system vendor may be able to
recommend reliable brands and models.
5

Chapter 1 — Introduction
Features
High Capacity Hard Disk Drive
The computer has a high capacity hard disk drive, to store your favorite
programs and large multimedia files.
Built-in Modem/LAN Capability
Built-in 56k modem and 10/100/1000 Mbps Ethernet port allows you to
access the Internet or a local area network (LAN).
Built-in Stereo Speakers
The stereo speakers enable you to run a variety of multimedia applications.
Convenient Audio Control
The conveniently located audio control knob enable you to easily adjust the
volume to the stereo speakers.
Function Keys
Function keys give you easy control of power management and your
monitor.
Scrolling Buttons
Comfortably scroll through documents with the ergonomically designed
scrolling button.
Where to Look For Information
About Your Computer
This User’s Manual describes the key elements of your computer. New
users can find a simple step-by-step orientation in the Quick Start section
of this chapter.
About Windows
Windows Online Help, found on the Start menu, offers extensive Windows
assistance. Tour Windows XP offers an online orientation for new
Windows users. Find it in:
Start/Programs/Accessories/System Tools.
6
Quick Start
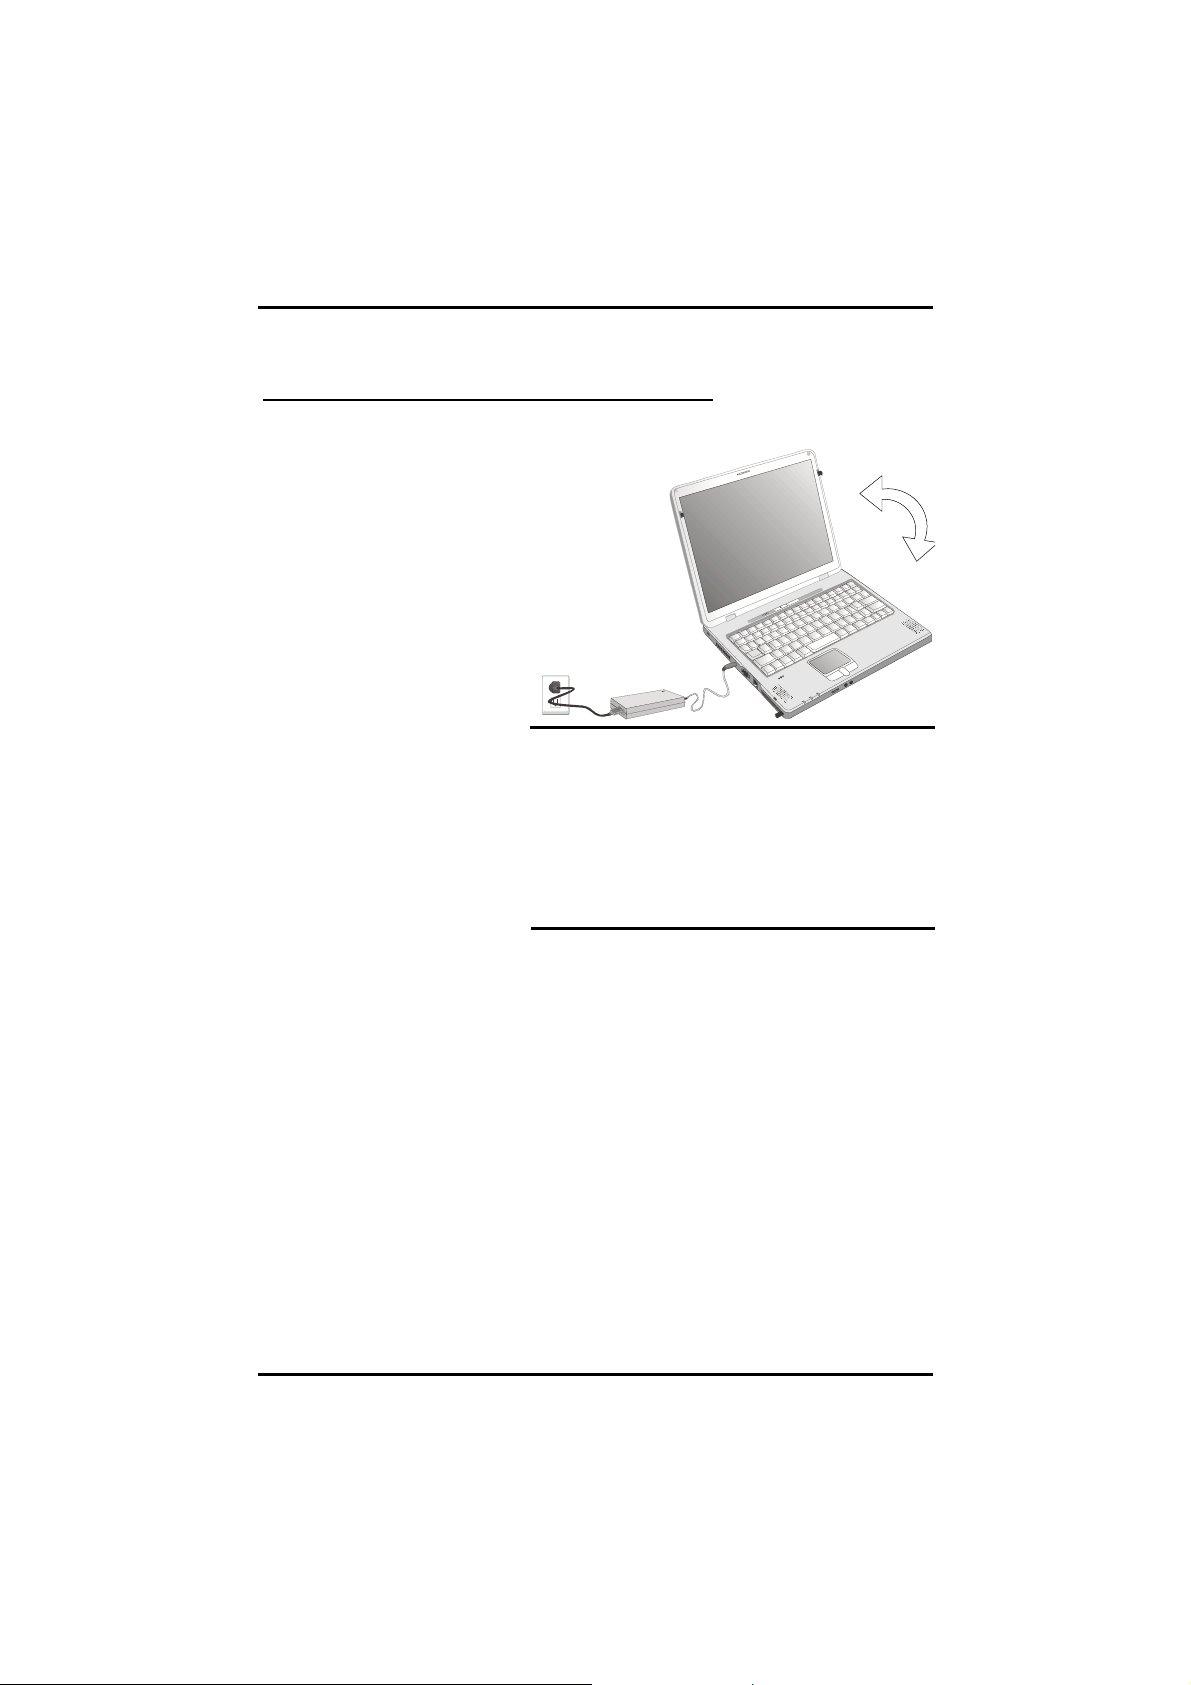
Turning on the Computer for the First Time
1. Connect the AC adapter
power cord to the AC
adapter.
2. Connect the AC adapter
to the DC power port on
the left side of your
computer.
3. Connect the AC adapter
power cord to an AC
outlet.
4. Open the LCD panel to
a comfortable viewing
angle.
5. Press the power button
to turn on the power.
Note: The battery is not fully charged.
Allow your battery to fully charge before
using it (i.e., before disconnecting AC
power). Calibrating the battery before use
is also highly recommended. Refer to
Chapter 5, Power Management, for further
information.
Introduction — Quick Start
Use the touchpad to move the cursor on the screen. Move your finger
across the pad to control the cursor, and press the right and left
buttons beneath with your thumb. These buttons have the same
functions as the right and left buttons of a standard mouse. You can
also click or double-click by tapping on the touchpad. The middle
button can be used to scroll up and down in documents and Web
pages.
7
Chapter 1 — Introduction
Loading Windows
The following section is for installing the Windows operating system
only. If you are installing a different operating system, please check
with your vendor for installation details.
Your computer will
begin loading Windows
once you turn on the
power. Wait a few
seconds for Windows
setup to load. The
Windows setup will
prompt you for the
product key number,
shown to the right:
1. Type your name, and, if applicable, the name of your company.
2. Read the End User's License Agreement. Click Next to accept it.
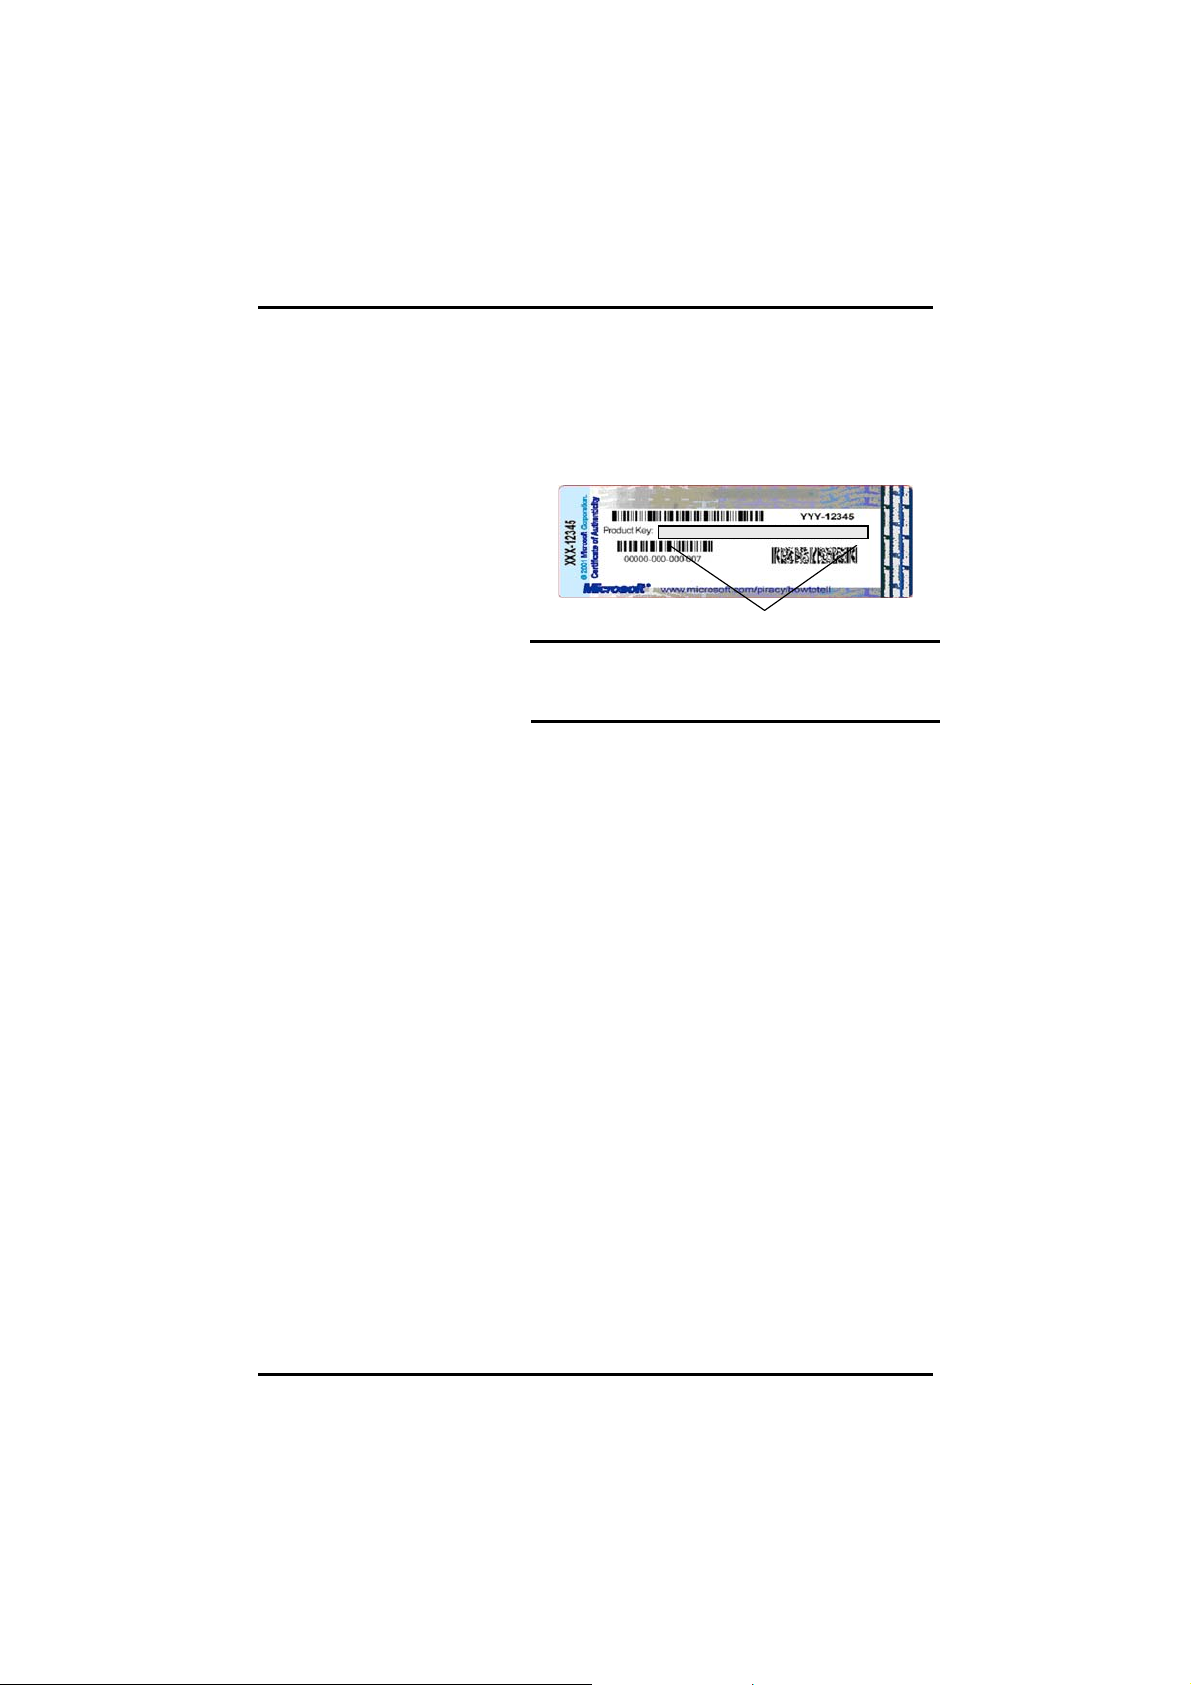
3. Enter the product key number. You can find this on the
Certificate of Authenticity on a sticker attached to the computer.
Click Finish.
4. The Start Wizard will prompt you to set the date, and your local
time.
Note: The product key is on a sticker
attached to the bottom of the Notebook.
Product key num ber
After the Start Wizard updates your system settings, the Welcome to
Windows screen will appear. You may disable this feature by clearing
the check box labeled show this screen each time Windows starts.
Some software comes preloaded with Windows. New users can
familiarize themselves with this software by selecting Programs from
the start menu, then clicking on programs to run them.
8
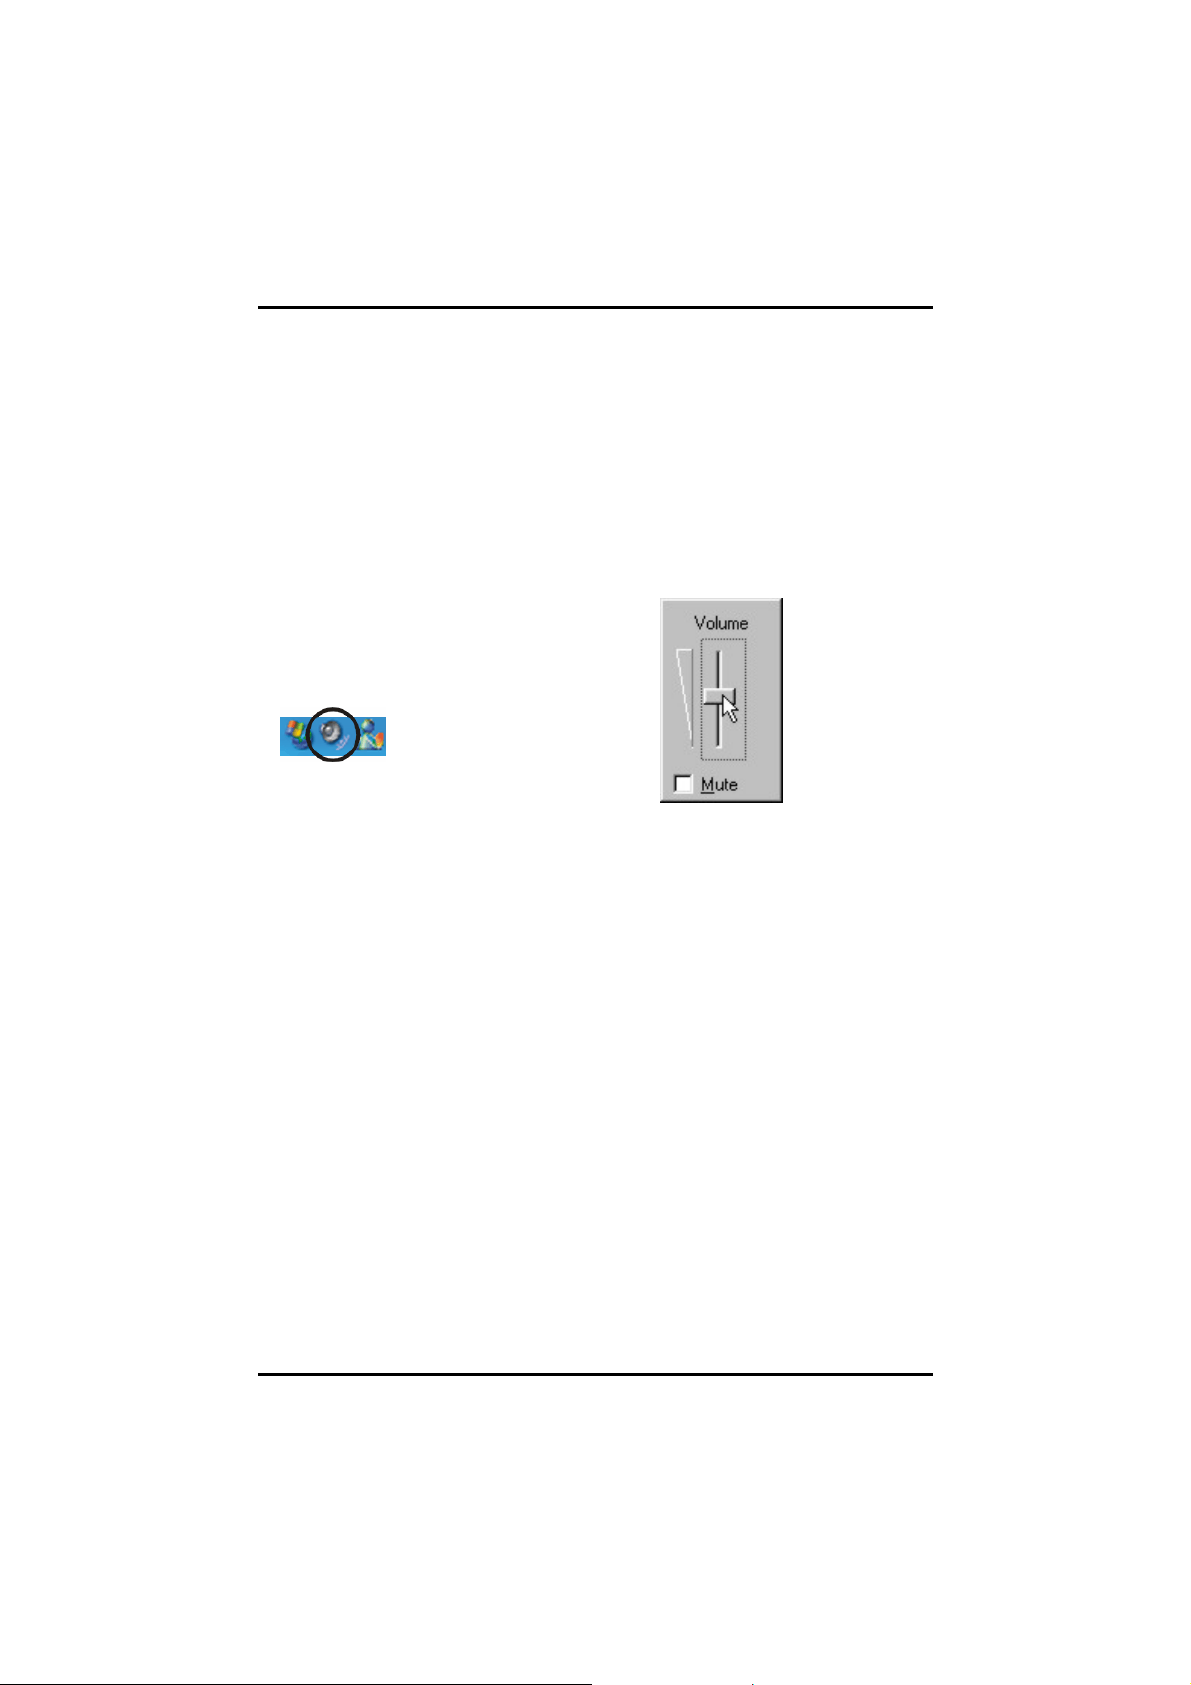
Adjusting the Volume
Use the following hot key combinations to adjust the volume:
• Fn + F8 decreases the volume
• Fn + F9 increases the volume
Alternatively, you can adjust
the volume with the Windows
volume control applet located
on the taskbar.
Introduction — Adjusting the Volume
Adjusting the Brightness
Use the following hot key combinations to adjust the LCD panel
brightness:
• Fn + F6 decreases the brightness
• Fn + F7 increases the brightness
9
Chapter 1 — Introduction
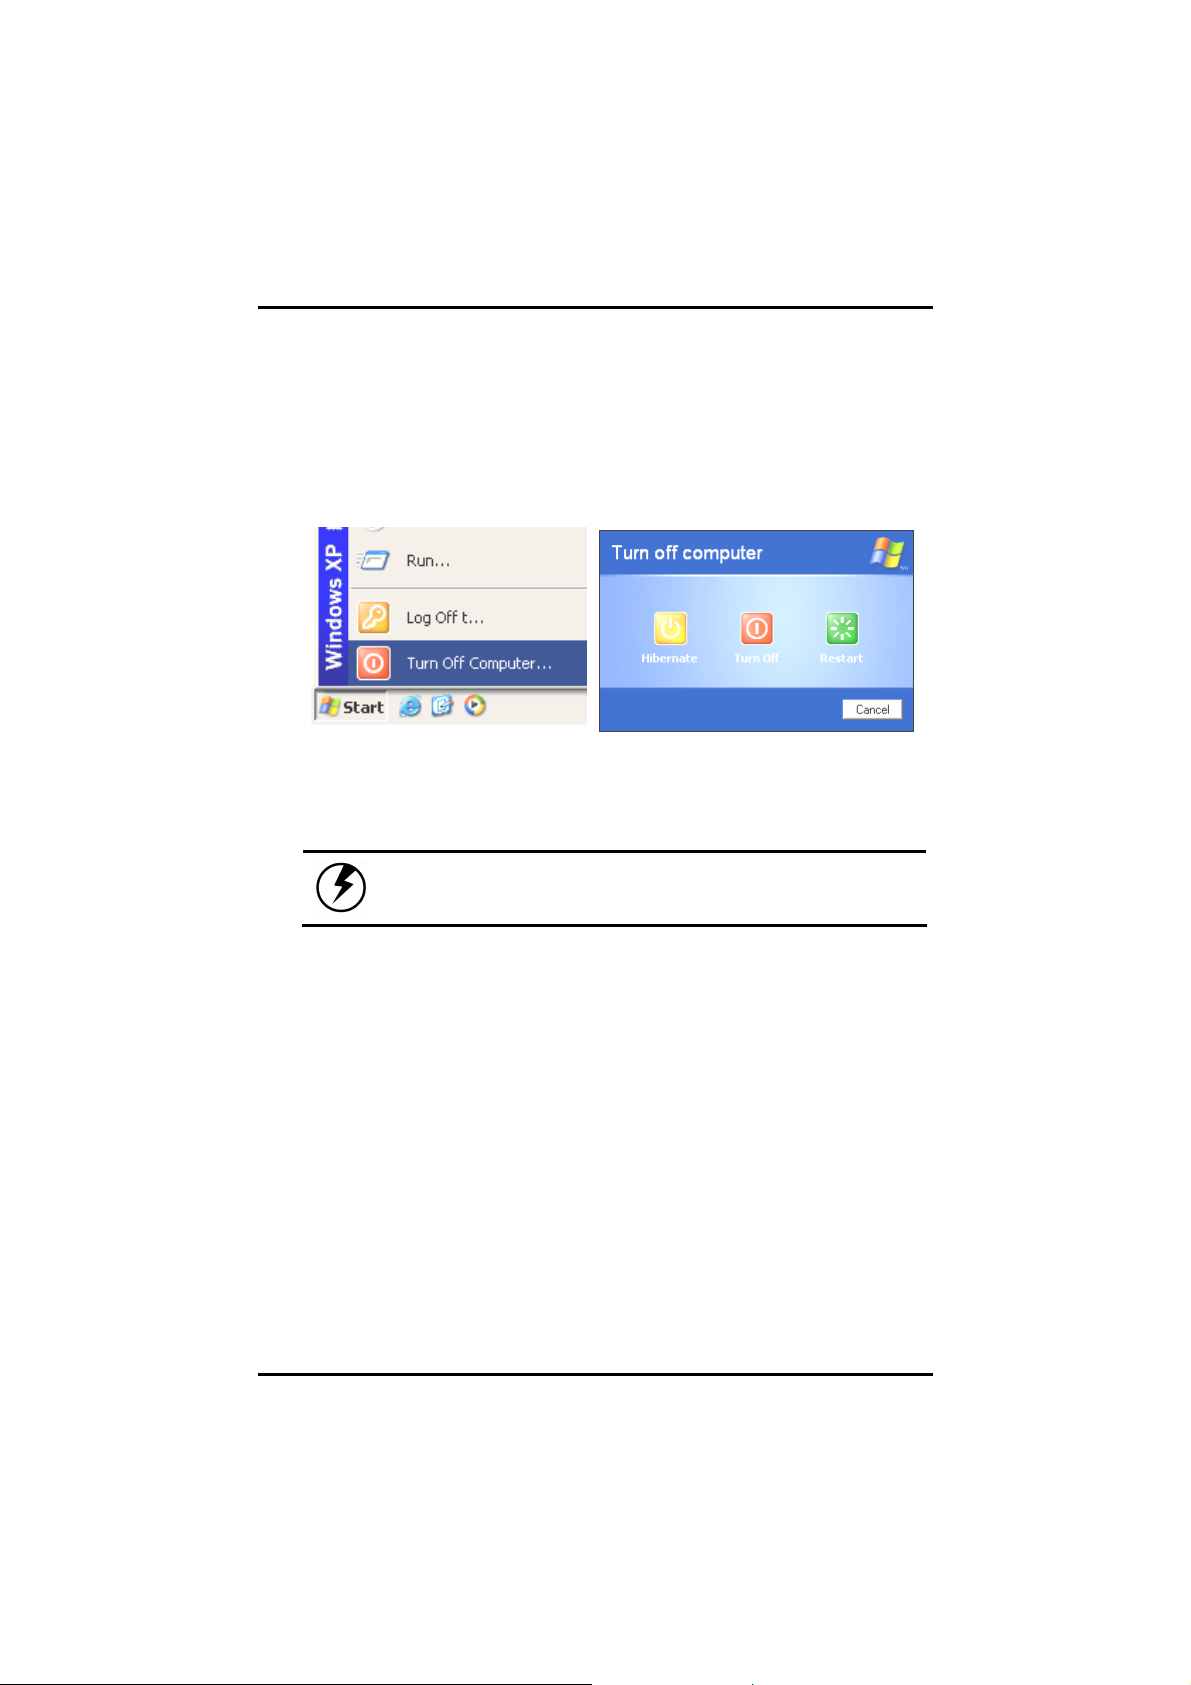
Turning off Your Computer
Turning off the computer properly is important to maintaining your
computer.
1. On the Start menu, click
Turn off Computer.
If you are going to be away from the computer for a short period, there
are ways of conserving power without shutting down the system. See
Chapter 3, Power Saving Modes, for details.
Warning: Shutting off the computer improperly
may result in data loss.
2. Click the Turn off button in the
Turn off computer Windows
screen.
Making a Startup Disk
If you have trouble starting Windows, the startup disk can be used to
start your computer and fix many problems. Refer to the Windows user
manual for instructions.
10

Introduction — Tips for New Owners
Tips for New Owners
Take responsibility for backup
Back up files often. Users who need to manage large amounts of data
may wish to use backup devices such USB drive. If you use your
notebook as a networked workstation with system backup, talk to the
system administrator about backup procedures for your notebook.
Don't leave passwords anywhere on your notebook or carrying case
Be careful when placing your notebook on an airport security conveyor belt
In most airports, security conveyor belts are safe for computers. If you
are not sure, ask the security staff. You should keep a close eye on
your computer. When you are in a hurry, make sure that you walk
away with the correct notebook computer!
Tape your business card to the notebook and accessories
In the workplace, notebooks and accessories may often look exactly
alike, leading to equipment mix-ups. Prevent such mix-ups by placing
your name on your equipment.
Develop ergonomic work habits
The science of ergonomics studies the relationship between health
and a suitable work environment. For more information on ergonomics,
contact your nearest computer bookstore, or local library. The Internet
also has information on this and other related subjects.
11

Chapter 1 — Introduction
Never take the notebook anywhere without the carrying case
A broken screen or case can be costly to repair. Prevent accidents by
carrying the computer in a suitable carrying case.
Consider using a lock
For added security, consider purchasing a Kensington lock to put into
the Kensington lock hole on the left side of your computer (see
Chapter 2, Left View). Use the Kensington lock to secure the computer
to a desk or table.
Note: Using a computer for extended periods of
time with a poor workstation setup and incorrect
work habits can cause health problems.
12

Getting Started
Geettttiinngg
G
CChhaapptteerr 22
SSttaarrtteedd
13

Chapter 2 — Getting Started
Hardware and Software
This chapter introduces the different components and controls of your
notebook computer, including the hardware components, the software, and
the audio and video systems.
Getting Started
Before you begin using your computer, read this chapter to familiarize
yourself with the main components installed in the system.
14
 Loading...