

Page 1
1
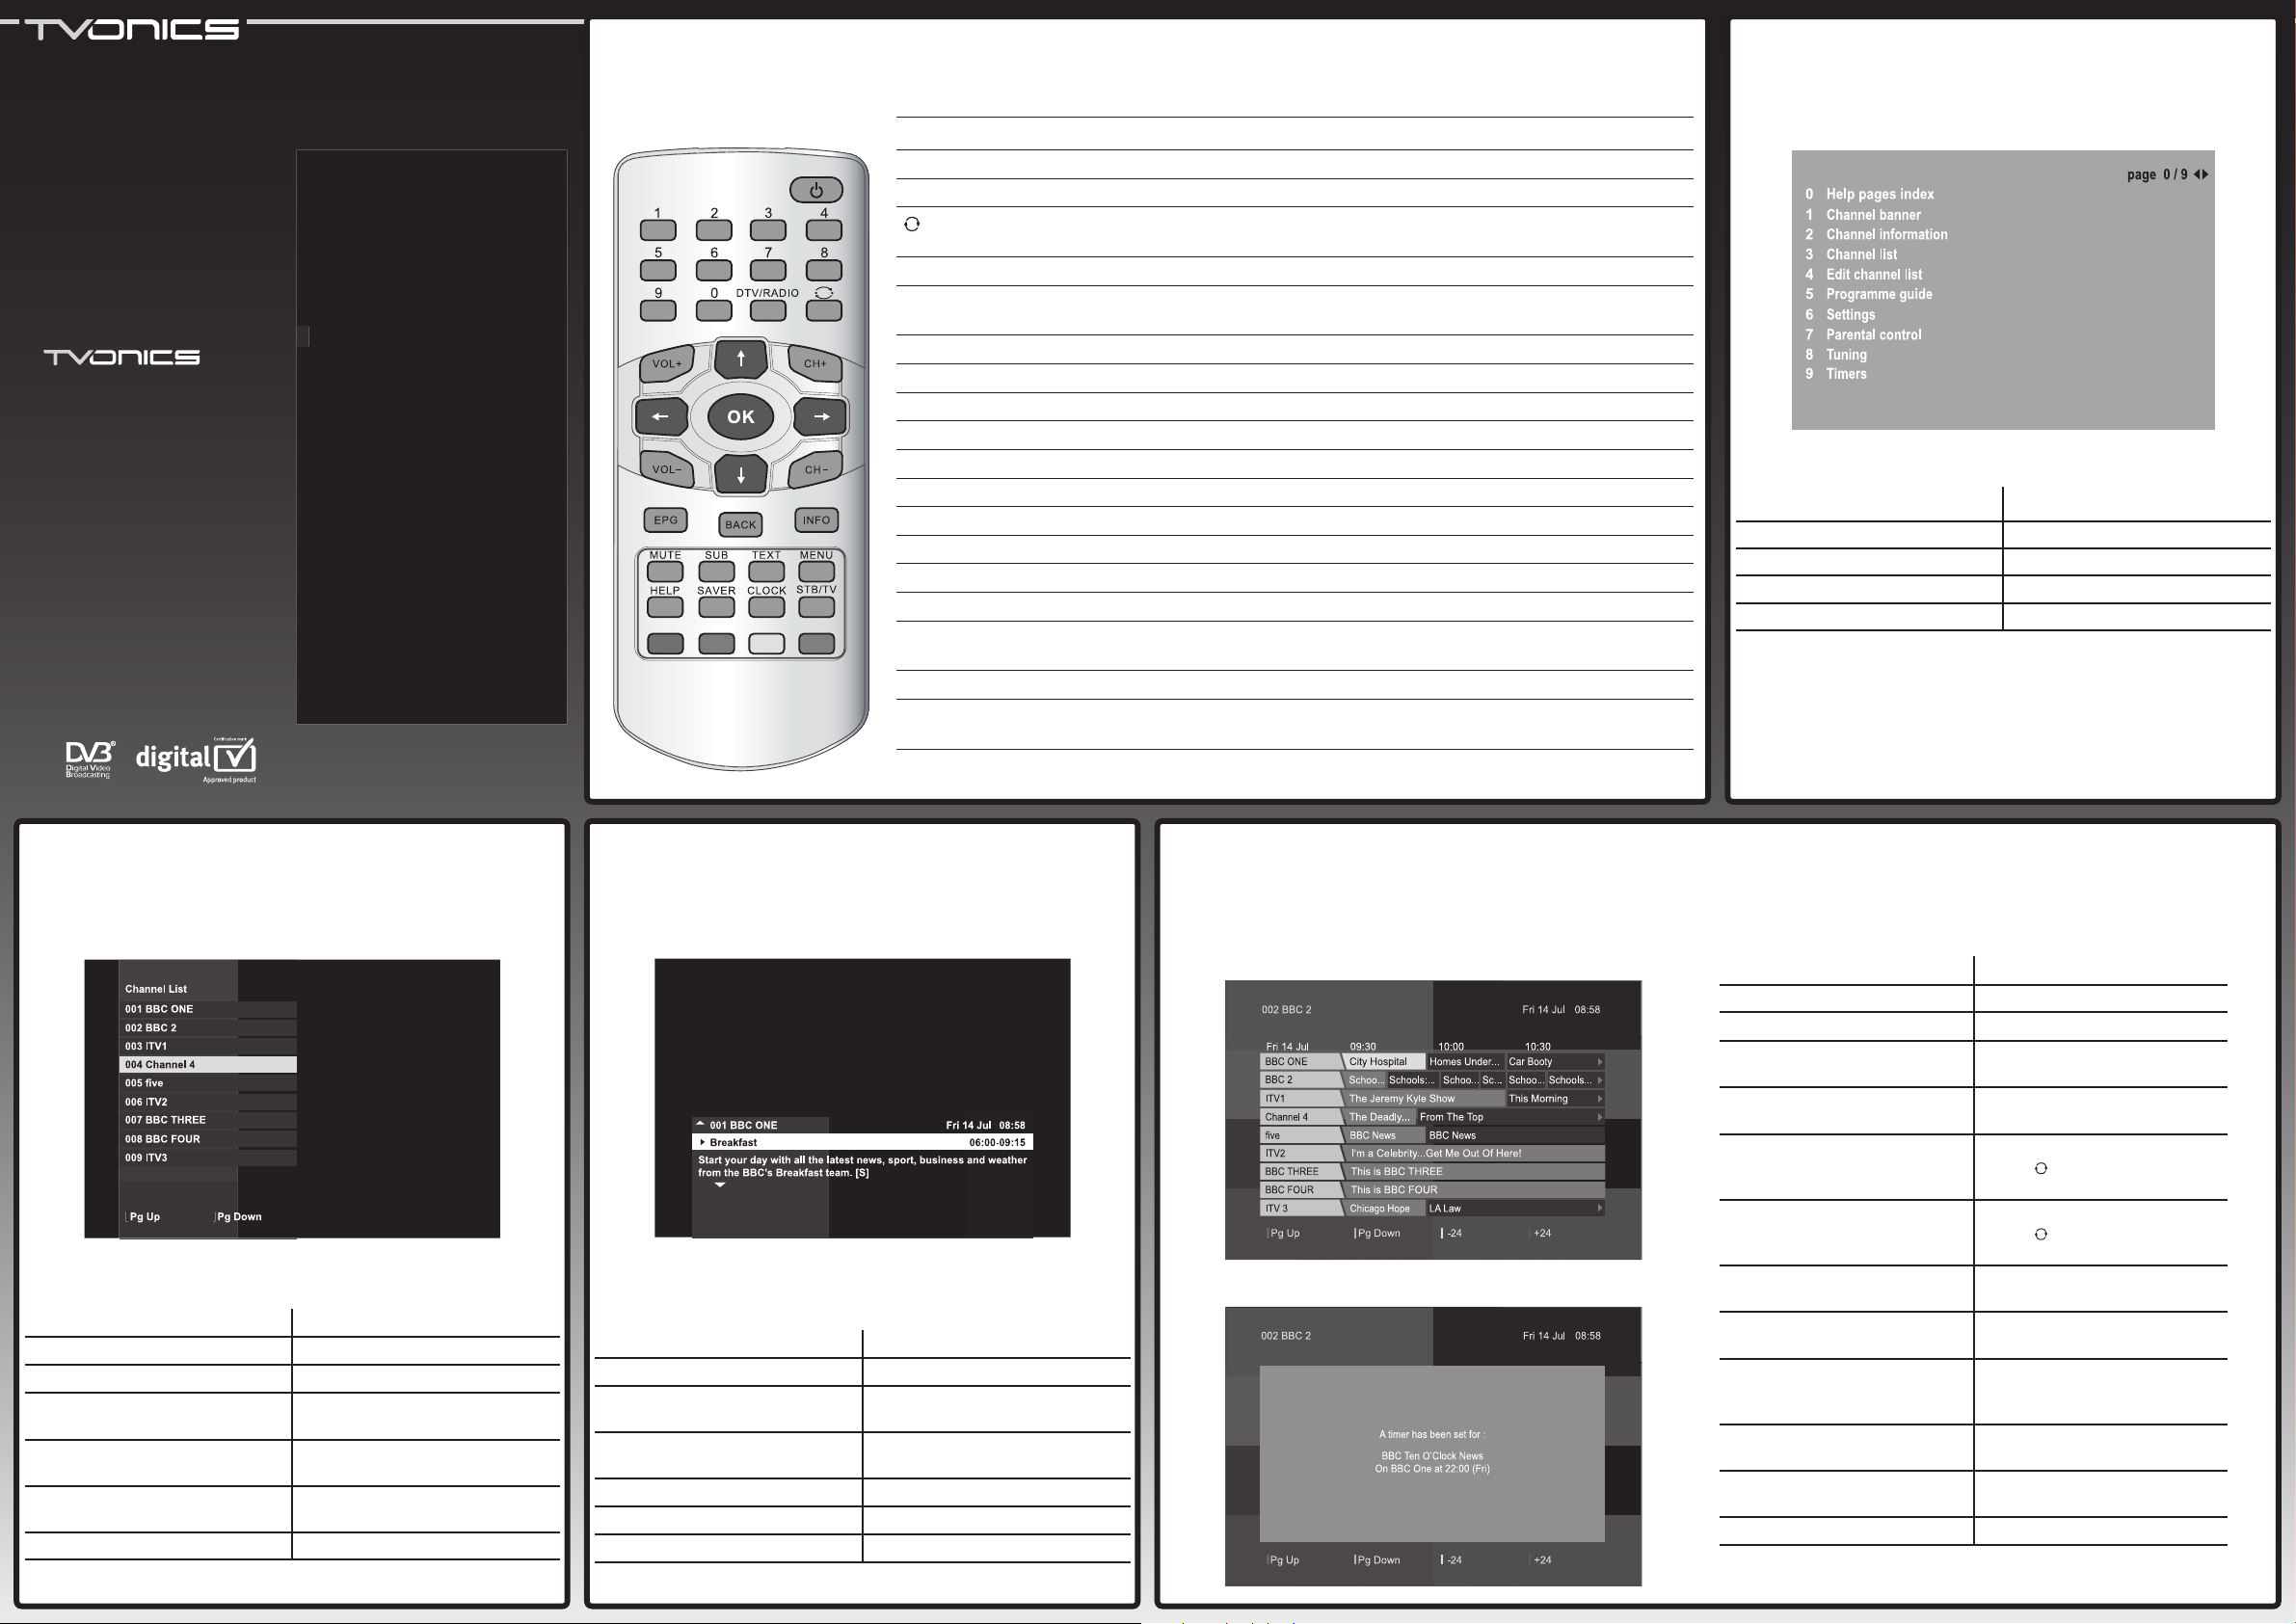
The remote control
1
Switches the Digital Set Top Box on/into standby.
0-9 Selects channels, enter PIN, use Help pages.
DTV/RADIO Switches between Digital TV channels and Digital Radio channels.
Returns to the previous channel watched. Switches between 4 and 24 hours
advance in EPG.
VOL. +/− Adjusts the volume.
OK, V, v, B, b
Displays the Channel List/con rms a selection (OK button). Navigate the EPG/
menu/Channel List/Info menu (V, v, B, b buttons).
CH. +/− Selects the next/previous channel.
EPG Switches the Electronic Programme Guide (EPG) on/off.
BACK Returns to the previous level in the menu. Exits EPG, Info and Menu ( rst level).
INFO Displays programme information.
MUTE Turns the sound on/off.
SUB Displays subtitles (if available).
TEXT Displays digital text (if available).
MENU Displays/exits the menu.
HELP Displays/exits the Help pages.
SAVER Switches the screen saver on. Press any button to cancel.
CLOCK Displays the Clock for 4 seconds. With the Clock displayed, press again to display
the Screen Saver.
STB/TV Switches between the Digital Set Top Box and TV.
Coloured
buttons
Selects options in digital text/EPG/Channel List/menu.
2
The Help pages
The Help pages give advice and information for many of the features
of this Digital Set Top Box.
To Press
Access the Help pages... [HELP] button.
Select a help topic... [1]-[9] buttons.
Return to the index page... [0] button.
Exit the Help pages... [HELP] button.
Additionally, pressing the [HELP] button whilst accessing any of the
following will take you directly to the relevant help page:
Channel Banner, Channel Information, Channel List, Edit Channel
List, Programme Guide, Settings, Parental Control, Tuning and Timers.
The Channel List
The Channel List displays all the available channels.
To Press
Access the Channel List... [OK] button while watching TV.
Select channels...
[V] and [v] buttons.
Display the previous nine channels
in the list...
[RED] button.
Display the next nine channels in
the list...
[GREEN] button.
Switch to the selected channel...
[OK] button.
Exit the Channel List... [BACK] button.
5
The Electronic Programme Guide (EPG)
To Press
Access the EPG... [EPG] button.
Move around the EPG...
[V], [v], [B] and [b] buttons.
Display the previous nine
channels in the list...
[RED] button.
Display the next nine channels in
the list...
[GREEN] button.
Move forward 4 or 24 hours... [BLUE] button.
(Press [
] to switch between
4 and 24 hours)
Move back 4 or 24 hours... [YELLOW] button.
(Press [ ] to switch between
4 and 24 hours)
View selected programme
information...
[INFO] button.
Preview a current programme...
[OK] button (while highlighting a
current programme).
Switch to the programme being
previewed...
[OK] button (while highlighting a
currently previewed programme).
Set a timer for a future
programme...
[OK] button (while highlighting a
future programme).
Cancel a timer... [OK] button (while highlighting
the required programme).
Exit the EPG... [EPG] or [BACK] button
The EPG
Setting a timer
Info display
The Info display gives brief information on the current and future
programmes.
To Press
Access the Info display... [INFO] button.
View information for future/
previous programmes...
[V], [v], [B] and [b] buttons.
Set a reminder for future
programmes...
[OK] button while highlighting a
future programme.
Change the Audio setting... [RED] button (if available).
Change the Subtitle setting... [GREEN] button (if available).
Exit the Info display... [INFO] or [BACK] button.
3
The Channel List
4
The Info display
User Guide
Thank you for choosing this
product.
Please refer to the
supplied Installation
Guide to learn how to
install the Digital Set
Top Box.
Digital Set Top Box
MDR-200
71-800-007-10 / U-MAN-001-10
s
Page 2
q;
Troubleshooting and
Helpline
Should you experience any problem with your Digital Set
Top Box, completely unplug the unit from the mains. Leave
unplugged for at least one minute before re-connecting to the
mains. If this does not resolve the issue, please contact TVonics.
For general problems:
TVonics website:
TVonics Email support:
TVonics Helpline:
www.tvonics.com
[email protected]
0870 80 30 551
(all calls charged at National Rate)
For general Freeview reception enquiries:
Freeview website:
Freeview Tel. No:
Freeview SMS:
www.freeview.co.uk
0870 880 9980 (calls charged at National Rate)
83331 (standard text rate)
Printed in UK © 2007 TVonics Solutions Ltd.
U-MAN-001-10 71-800-007-10
9
Speci cations
Physical Speci cations
Size: (W)205mm x (H)90mm x (D)36mm
W
eight: 0.2 kg
Power Requirements
Input Voltage: 5.3V DC
(with supplied power supply)
Power Consumption (On): 3.9W
Power Consumption (Active STBY): 3.3W
Power Consumption (Low Power STBY): 1.0W
Operating Temperature: +10°C to +40°C
Storage Temperature: -20°C to +60°C
Tuner
RF Input / Output Connectors: 1x IEC (Female) / 1x IEC (Male)
Channel Co
verage: UHF (B21 to B68 / 470MHz to 854MHz)
Video Decoder
Video Decoding: MPEG-2 Main Level / Main Pro le
Video F
ormats: 16:9 / 4:3
Audio Decoder
Audio Decoding: MPEG-2 Layer 1
Audio Mode:
Stereo / Mono
AV Connectors
Video: 2x 21 Pin SCART
(TV SC
ART = RGB / Y/C,
VCR SCART = CVBS)
Audio: 1x 3.5mm Jack/miniTOS
(Analogue Stereo / PCM Audio Optical
SPDIF)
Supplied Accessories
Remote Control
Installation Guide
Stand
Remote Contr
ol Extender
Power Supply (5.3V 1Amp)
User Guide
Fixing pads
Rubber Feet
Speci cations and designs are subject to change without notice
7
The Main menu
To Press
Access the Main menu... [MENU] button.
Move around the Main menu...
[V] and [v] buttons.
Select a setting...
[B] and [v] buttons.
Move back to the previous level...
[BACK] button.
Make a selection... [OK] button.
Exit the Main menu... [MENU] or [BACK] button
The Main menu
Main menu options:
Timers
Allows you to set, view, edit and delete timers. Refer to section 8 below
for more details.
Edit Channel List:
Hide: Allows you to hide unwanted channels.
Press OK to select a channel to hide.
Sort: Allows you to rearrange the channel order.
Press OK to select the channel you wish to move.
Press V or v to select the new position. Press OK to
swap the channels.
Settings menu
Language: Allows you to change the language setting (if available).
Country: Allows you to change the country setting.
Subtitle: Allows you to set your preferred subtitle setting
(if available).
Audio: Allows you to set your preferred audio setting
(if available).
TV Out: Allows you to switch the picture output between
RGB, Y/C and Composite video.
Picture Mode: Allows you to change the TV type between 4:3 and
16:9.
Picture Format: Allows you to display widescreen pictures as full
screen or letterbox when “Picture Mode” is set to
“4:3”.
continued...
Settings menu continued...
Low Power
Consumption:
Allows you to reduce the power consumption when the
Set Top Box is in standby by switching off the RF and
SCART loopthrough functions.
(When “Low Power Consumption” is set to On and the Set
Top Box is in Standby, you will not be able to view pictures from
equipment connected to the “VCR” SCART socket.
Additionally when “Low Power Consumption” is set to On and
the Set Top Box is in Standby, any equipment connected to the
“8 OUT” socket will not receive a signal.)
Parental Controls
Allows you to set your PIN and lock channels. Locked channels can only
be viewed once the correct PIN is entered. The default PIN is 0000.
Tuning
Allows you to automatically or manually tune channels. You will be
asked to enter your PIN. The default PIN is 0000. Press Help for more
information on Tuning.
Service
Allows you to check the current software version and the signal strength.
Software Upgrade
Allows you to search for software updates through your aerial (when
available).
8
The Timers screen
The Timers screen
Editing a timer event / Manually setting a timer event
6
Common symbols
The following symbols may be visible in the EPG, Channel List and
Info menu:
Locked channel.
Encrypted/scrambled channel.
Multilanguage option available (audio and subtitle).
Timer has been set.
Radio channel.
Teletext available.
Swap channel.
Hide channel.
To Press
Move around the Timers screen...
[V] and [v] buttons.
Manually set a timer event... [OK] button (while highlighting an
empty timer). See below for further
information.
Edit a timer event... [RED] button (while highlighting the
required timer event). See below for
further information.
Delete a timer event... [GREEN] button (while highlighting
the required timer event).
Exit the Timers screen and return to
the Main menu...
[BACK] button
Exit the Timers screen and return
to TV...
[MENU] button
Editing a timer event / Manually setting a timer event
To Press
Move around the Edit timers
screen...
[V] and [v] buttons.
Change the ‘Name’, ‘Mode’* and
‘PIN’** settings...
[B] and [b] buttons.
Change the ‘Start’, ‘End’ and ‘Date’
settings...
[0-9] buttons.
Save and exit the Edit timers
screen...
[OK] button.
*Use ‘Mode’ to set the timer event to occur ‘Once’, ‘Daily’ or ‘Weekly’.
**When a timer event is set to display a programme on a locked channel, you will
need to enter the PIN before the programme is displayed. If you enter your PIN when
setting the timer event, the programme will be displayed automatically.
 Loading...