

TVLogic SWM-171A, SWM-320A, SWM-420A, SWM-460A, SWM-240A Operation Manual
...
Multi Format Broadcast
LCD Monitor
O
p
e
r
a
t
i
o
n
M
a
n
u
a
l
_
v
2
.
5
SWM-171A
S WM-240A
SWM-320A
SWM-420A
SWM-460A
SWM-550A

Multi Format LCD Monitor 3
Contents
1. Caution
2. Main Features
3. Controls & Functions
4. Menu Tree & Adjustment
5. Menu Operations
[1] PICTURE
[2] VIDEO
[3] COLOR
[4] DISPLAY
[5] GPI
[6] MARKER
[7] AUDIO
[8] SYSTEM
[9] INFO.
6. Firmware Upgrade & Color Calibration
7. Button Functions
8. Other Functions
9. DVI Support Resolution
10. Product Specications
04
06
07
12
15
15
16
17
18
20
26
26
28
31
32
33
34
35
37
F
C
C
(
F
e
d
e
r
a
l
C
o
m
m
u
n
i
c
a
t
i
o
n
s
C
o
m
m
i
s
s
i
o
n
)
T
h
i
s
e
q
u
i
p
m
e
n
t
h
a
s
b
e
e
n
t
e
s
t
e
d
a
n
d
f
o
u
n
d
t
o
c
o
m
p
l
y
w
i
t
h
t
h
e
l
i
m
i
t
s
f
o
r
c
l
a
s
s
A
d
i
g
i
t
a
l
d
e
v
i
c
e
,
p
u
r
s
u
a
n
t
t
o
p
a
r
t
1
5
o
f
t
h
e
F
C
C
R
u
l
e
s
.
T
h
e
s
e
l
i
m
i
t
s
a
r
e
d
e
s
i
g
n
e
d
t
o
p
r
o
v
i
d
e
r
e
a
s
o
n
a
b
l
e
p
r
o
t
e
c
t
i
o
n
a
g
a
i
n
s
t
h
a
r
m
f
u
l
i
n
t
e
r
f
a
c
e
w
h
e
n
t
h
e
e
q
u
i
p
m
e
n
t
i
s
o
p
e
r
a
t
e
d
i
n
a
c
o
m
m
e
r
c
i
a
l
e
n
v
i
r
o
n
m
e
n
t
.
T
h
i
s
e
q
u
i
p
m
e
n
t
g
e
n
e
r
a
t
e
s
,
u
s
e
s
a
n
d
c
a
n
r
a
d
i
a
t
e
r
a
d
i
o
f
r
e
q
u
e
n
c
y
e
n
e
r
g
y
a
n
d
i
f
n
o
t
i
n
s
t
a
l
l
e
d
a
n
d
u
s
e
d
i
n
a
c
c
o
r
d
a
n
c
e
w
i
t
h
t
h
e
i
n
s
t
r
u
c
t
i
o
n
m
a
n
u
a
l
,
m
a
y
c
a
u
s
e
h
a
r
m
f
u
l
i
n
t
e
r
f
e
r
e
n
c
e
t
o
r
a
d
i
o
c
o
m
m
u
n
i
c
a
t
i
o
n
s
.
O
p
e
r
a
t
i
o
n
o
f
t
h
i
s
e
q
u
i
p
m
e
n
t
i
n
a
r
e
s
i
d
e
n
t
i
a
l
t
o
c
o
r
r
e
c
t
t
h
e
i
n
t
e
r
f
e
r
e
n
c
e
a
t
h
i
s
o
w
n
e
x
p
e
n
s
e
C
A
U
T
I
O
N
:
C
h
a
n
g
e
o
r
m
o
d
i
f
i
c
a
t
i
o
n
s
n
o
t
e
x
p
r
e
s
s
l
y
a
p
p
r
o
v
e
d
b
y
t
h
e
m
a
n
u
f
a
c
t
u
r
e
r
r
e
s
p
o
n
s
i
b
l
e
f
o
r
c
o
m
p
l
i
a
n
c
e
c
o
u
l
d
v
o
i
d
t
h
e
u
s
e
r
’
s
a
u
t
h
o
r
i
t
y
t
o
o
p
e
r
a
t
e
t
h
e
e
q
u
i
p
m
e
n
t
.
D
i
s
p
o
s
a
l
o
f
O
l
d
E
l
e
c
t
r
i
c
a
l
&
E
l
e
c
t
r
o
n
i
c
E
q
u
i
p
m
e
n
t
(
A
p
p
l
i
c
a
b
l
e
i
n
t
h
e
E
u
r
o
p
e
a
n
U
n
i
o
n
a
n
d
o
t
h
e
r
E
u
r
o
p
e
a
n
c
o
u
n
t
r
i
e
s
w
i
t
h
s
e
p
a
r
a
t
e
c
o
l
l
e
c
t
i
o
n
s
y
s
t
e
m
s
)
T
h
i
s
s
y
m
b
o
l
o
n
t
h
e
p
r
o
d
u
c
t
o
r
o
n
i
t
s
p
a
c
k
i
n
g
i
n
d
i
c
a
t
e
s
t
h
a
t
t
h
i
s
p
r
o
d
u
c
t
s
h
a
l
l
n
o
t
b
e
t
r
e
a
t
e
d
a
s
h
o
u
s
e
h
o
l
d
w
a
s
t
e
.
I
n
s
t
e
a
d
i
t
s
h
a
l
l
b
e
h
a
n
d
e
d
o
v
e
r
t
o
t
h
e
a
p
p
l
i
c
a
b
l
e
c
o
l
l
e
c
t
i
o
n
p
o
i
n
t
f
o
r
t
h
e
r
e
c
y
c
l
i
n
g
o
f
e
l
e
c
t
r
i
c
a
l
a
n
d
e
l
e
c
t
r
o
n
i
c
e
q
u
i
p
m
e
n
t
.
B
y
e
n
s
u
r
i
n
g
t
h
i
s
p
r
o
d
u
c
t
i
s
d
i
s
p
o
s
e
d
o
f
c
o
r
r
e
c
t
l
y
,
y
o
u
w
i
l
l
h
e
l
p
p
r
e
v
e
n
t
p
o
t
e
n
t
i
a
l
n
e
g
a
t
i
v
e
c
o
n
s
e
q
u
e
n
c
e
f
o
r
t
h
e
e
n
v
i
r
o
n
m
e
n
t
a
n
d
h
u
m
a
n
h
e
a
l
t
h
,
w
h
i
c
h
c
o
u
l
d
o
t
h
e
r
w
i
s
e
b
e
c
a
u
s
e
d
b
y
i
n
a
p
p
r
o
p
r
i
a
t
e
w
a
s
t
e
h
a
n
d
l
i
n
g
o
f
t
h
i
s
p
r
o
d
u
c
t
.
T
h
e
r
e
c
y
c
l
i
n
g
o
f
m
a
t
e
r
i
a
l
s
w
i
l
l
h
e
l
p
t
o
c
o
n
s
e
r
v
e
n
a
t
u
r
a
l
r
e
s
o
u
r
c
e
s
.
.
.
.
.
.
.
.
.
.
.
.
.
.
.
.
.
.
.
.
.
.
.
.
.
.
.
.
.
.
.
.
.
.
.
.
.
.
.
.
.
.
.
.
.
.
.
.
.
.
.
.
.
.
.
.
.
.
.
.
.
.
.
.
.
.
.
.
.
.
.
.
.
.
.
.
.
.
.
.
.
.
.
.
.
.
.
.
.
.
.
.
.
.
.
.
.
.
.
.
.
.
.
.
.
.
.
.
.
.
.
.
.
.
.
.
.
.
.
.
.
.
.
.
.
.
.
.
.
.
.
.
.
.
.
.
.
.
.
.
.
.
.
.
.
.
.
.
.
.
.
.
.
.
.
.
.
.
.
.
.
.
.
.
.
.
.
.
.
.
.
.
.
.
.
.
.
.
.
.
.
.
.
.
.
.
.
.
.
.
.
.
.
.
.
.
.
.
.
.
.
.
.
.
.
.
.
.
.
.
.
.
.
.
.
.
.
.
.
.
.
.
.
.
.
.
.
.
.
.
.
.
.
.
.
.
.
.
.
.
.
.
.
.
.
.
.
.
.
.
.
.
.
.
.
.
.
.
.
.
.
.
.
.
.
.
.
.
.
.
.
.
.
.
.
.
.
.
.
.
.
.
.
.
.
.
.
.
.
.
.
.
.
.
.
.
.
.
.
.
.
.
.
.
.
.
.
.
.
.
.
.
.
.
.
.
.
.
.
.
.
.
.
.
.
.
.
.
.
.
.
.
.
.
.
.
.
.
.
.
.
.
.
.
.
.
.
.
.
.
.
.
.
.
.
.
.
.
.
.
.
.
.
.
.
.
.
.
.
.
.
.
.
.
.
.
.
.
.
.
.
.
.
.
.
.
.
.
.
.
.
.
.
.
.
.
.
.
.
.
.
.
.
.
.
.
.
.
.
.
.
.
.
.
.
.
.
.
.
.
.
.
.
.
.
.
.
.
.
.
.
.
.
.
.
.
.
.
.
.
.
.
.
.
.
.
.
.
.
.
.
.
.
.
.
.
.
.
.
.
.
.
.
.
.
.
.
.
.
.
.
.
.
.
.
.
.
.
.
.
.
.
.
.
.
.
.
.
.
.
.
.
.
.
.
.
.
.
.
.
.
.
.
.
.
.
.
.
.
.
.
.
.
.
.
.
.
.
.
.
.
.
.
.
.
.
.
.
.
.
.
.
.
.
.
.
.
.
.
.
.
.
.
.
.
.
.
.
.
.
.
.
.
.
.
.
.
.
.
.
.
.
.
.
.
.
.
.
.
.
.
.
.
.
.
.
.
.
.
.
.
.
.
.
.
.
.
.
.
.
.
.
.
.
.
.
.
.
.
.
.
.
.
.
.
.
.
.
.
.
.
.
.
.
.
.
.
.
.
.
.
.
.
.
.
.
.
.
.
.
.
.
.
.
.
.
.
.
.
.
.
.
.
.
.
.
.
.
.
.
.
.
.
.
.
.
.
.
.
.
.
.
.
.
.
.
.
.
.
.
.
.
.
.
.
.
.
.
.
.
.
.
.
.
.
.
.
.
.
.
.
.
.
.
.
.
.
.
.
.
.
.
.
.
.
.
.
.
.
.
.
.
.
.
.
.
.
.
.
.
.
.
.
.
.
.
.
.
.
.
.
.
.
.
.
.
.
.
.
.
.
.
.
.
.
.
.
.
.
.
.
.
.
.
.
.
.
.
.
.
.
.
.
.
.
.
.
.
.
.
.
.
.
.
.
.
.
.
.
.
.
.
.
.
.
.
.
.
.
.
.
.
.
.
.
.
.
.
.
.
.
.
.
.
.
.
.
.
.
.
.
.
.
.
.
.
.
.
.
.
.
.
.
.
.
.
.
.
.
.
.
.
.
.
.
.
.
.
.
.
.
.
.
.
.
.
.
.
.
.
.
.
.
.
.
.
.
.
.
.
.
.
.
.
.
.
.
.
.
.
.
.
.
.
.
.
.
.
.
.
.
.
.
.
.
.
.
.
.
.
.
.
.
.
.
.
.
.
.
.
.
.
.
.
.
.
.
.
.
.
.
.
.
.
.
.
.
.
.
.
.
.
.
.
.
.
.
.
.
.
.
.
.
.
.
.
.
.
.
.
.
.
.
.
.
.
.
.
.
.
.
.
.
.
.
.
.
.
.
.
.
.
.
.
.
.
.
.
.
.
.
.
.
.
.
.
.
.
.
.
.
.
.
.
.
.
.
.
.
.
.
.
.
.
.
.
.
.
.
.
.
.
.
.
.
.
.
.
.
.
.
.
.
.
.
.
.
.
.
.
.
.
.
.
.
.
.
.
.
.
.
.
.
.
.
.
.
.
.
.
.
.
.
.
.
.
.
.
.
.
.
.
.
.
.
.
.
.
.
.
.
.
.
.
.
.
.
.
.
.
.
.
.
.
.
.
.
.
.
.
.
.
.
.
.
.
.
.
.
.
.
.
.
.
.
.
.
.
.
.
.
.
.
.
.
.
.
.
.
.
.
.
.
.
.
.
.
.
.
.
.
.
.
.
.
.
.
.
.
.
.
.
.
.
.
.
.
.
.
.
.
.
.
.
.
.
.
.
.
.
.
.
.
.
.
.
.
.
.
.
.
.
.
.
.
.
.
.
.
.
.
.
.
.
.
.
.
.
.
.
.
.
.
.
.
.
.
.
.
.
.
.
.
.
.
.
.
.
.
.
.
.
.
.
.
.
.
.
.
.
.
.
.
.
.
.
.
.
.
.
.
.
.
.
.
.
.
.
.
.
.
.
.
.
.
.
.
.
.
.
.
.
.
.
.
.
.
.
.
.
.
.
.
.
.
.
.
.
.
.
.
.
.
.
.
.
.
.
.
.
.
.
.
.
.
.
.
.
.
.
.
.
.
.
.
.
.
.
.
.
.
.
.
.
.
.
.
.
.
.
.
.
.
.
.
.
.
.
.
.
.
.
.
.
.
.
.
.
.
.
.
.
.
.
.
.
.
.
.
.
.
.
.
.
.
.
.
.
.
.
.
.
.
.
.
.
.
.
.
.
.
.
.
.
.
.
.
.
.
.
.
.
.
.
.
.
.
.
.
.
.
.
.
.
.
.
.
.
.
.
.
.
.
.
.
.
.
.
.
.
.
.
.
.
.
.
.
.
.
.
.
.
.
.
.
.
.
.
.
.
.
.
.
.
.
.
.
.
.
.
.
.
.
.
.
.
.
.
.
.
.
.
.
.
.
.
.
.
.
.
.
.
.
.
.
.
.
.
.
.
.
.
.
.
.
.
.
.
.
.
.
.
.
.
.
.
.
.
.
.
.
.
.
.
.

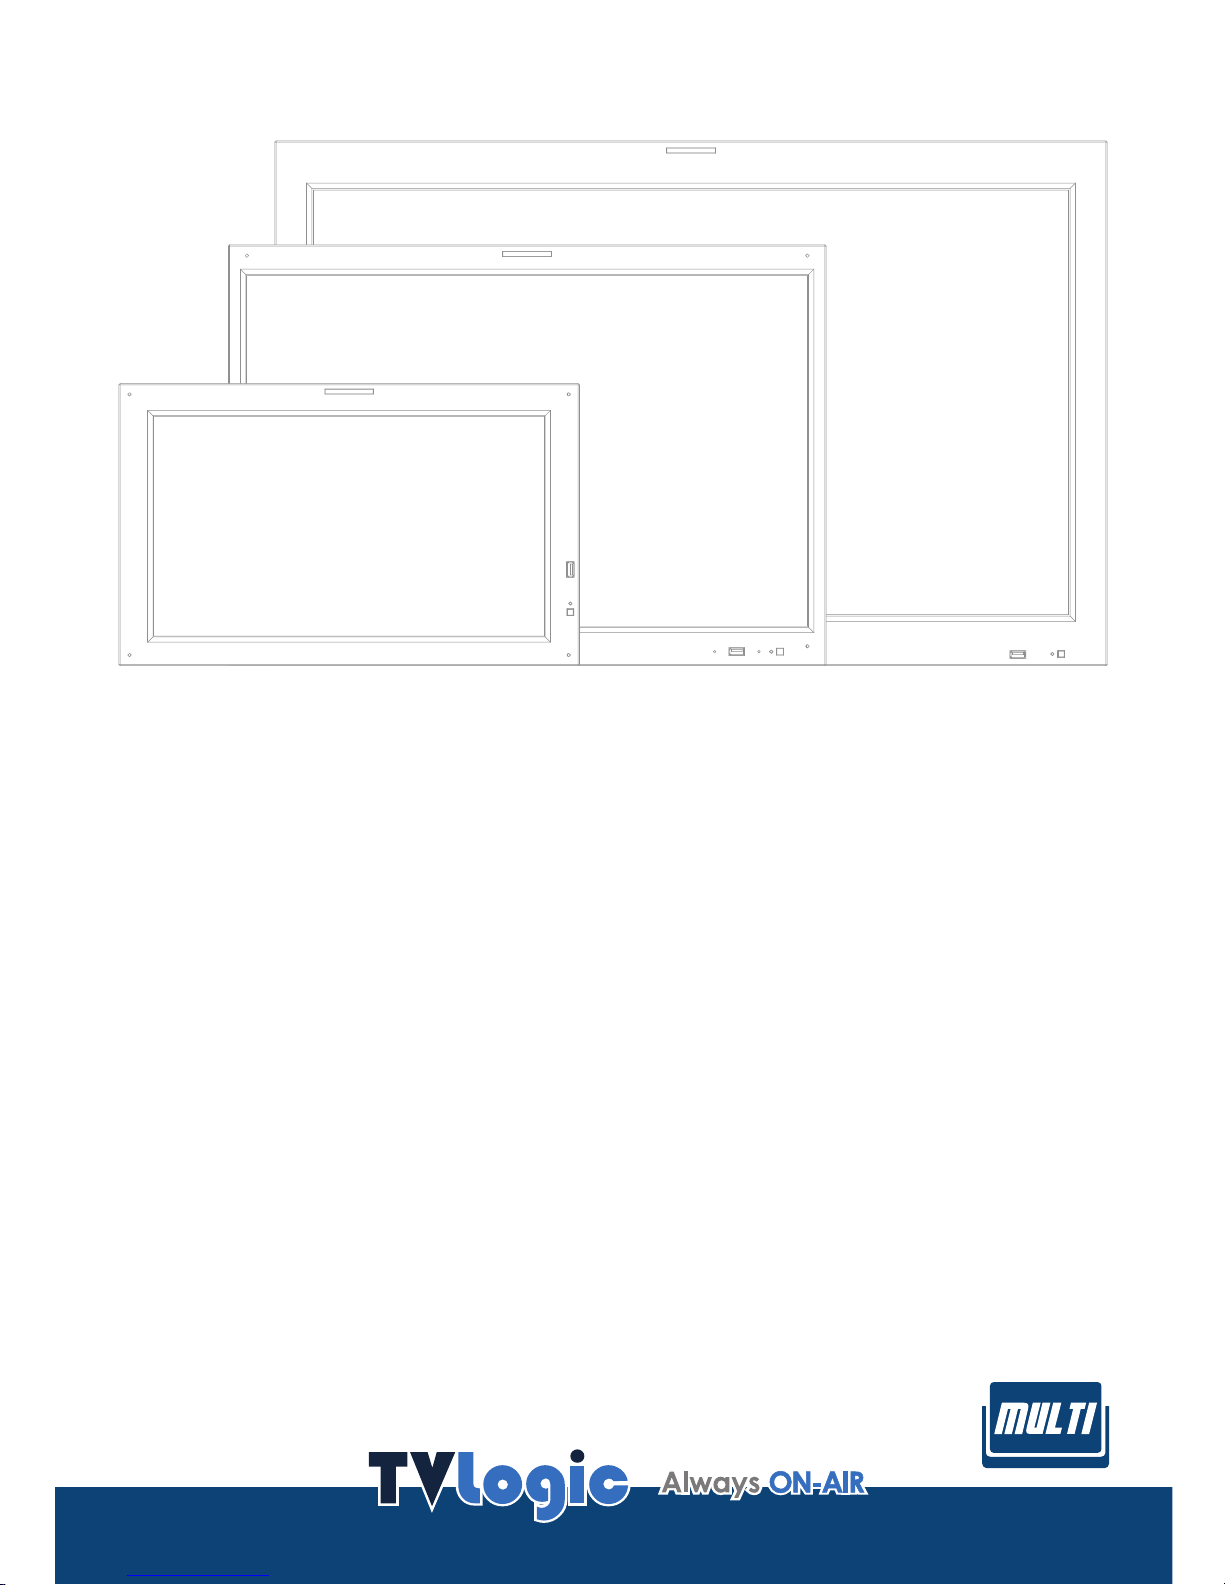
4 Multi Format LCD Monitor Multi Format LCD Monitor 5
1. Caution 1. Caution
● Always use set voltage.
● AC 100 ~ 240V (1.6A/50~60 Hz)
● DC 12V
• All operating instructions must be read and
understood before the product is operated.
• These safet y and operating instructions
must be kept in safe place for future
reference.
• All warnings on the product and in the
instructions must be observed closely.
• All operating instructions must be followed.
• Do not use attachments not recommended
by the manufacturer. Use of inadequate
attachments can result in accidents.
• This product must be operated on a power
source specied on the specication label.
If you are not sure of the t ype of power
supply used in your home, consult your
dealer or local power company. For units
designed to operate on batteries or another
power source, refer to the operating
instructions.
• The power cords must be routed properly
to prevent people from stepping on them
or objects from resting on them. Check the
cords at the plugs and product.
• Do not overload AC outlets or extension
cords. Overloading can cause re or ele ctric
shock.
• Never insert an object into the product
through vents or openings. High voltage
ows in the produc t, and inserting an
object can cause electric shock and/or short
internal part s. For the same reason, do not
spill water or liquid on the product.
• Do not attempt to service the product
yourself. Removing covers can expose
you to high voltage and other dangerous
conditions. Request a qualied service
person to perform servicing.
• If any of the following conditions occurs,
unplug the power cord from the AC outlet,
and request a qualied service person to
perform repairs.
a. When the power cord or plug in damaged.
b. When a liquid was spilled on the produc t
or when objec ts have fallen into the product.
c. When the product has been exposed to
rain or water.
d. When the product does not operate
properly as described in the operating
instructions. Do not touch the controls
other than those described in the operating
instructions. Improper adjustment of
controls not described in the instruc tions
can cause damage, which often requires
extensive adjustment work by a qualied
technician.
e. When the product has been dropp ed or
damaged.
f. When the product displays an abnormal
condition. Any noticeable abnormality
in the product indicates that the product
needs servicing.
• In case the product needs replacement
parts, make sure that the service p erson
uses replacement parts specied by the
manufacturer, or those with the same
characteristics and performance as the
original parts. Use of unauthorized parts
can result in re, electric shock and/or other
danger.
• Upon completion of service or repair work,
request the service technician to perform
safety checks to ensure that the pro duct is
in proper operating condition.
• When mounting the product on a wall or
ceiling, be sure to install the product
according to the method recommended by
the manufacturer.
• Unplug the power cord f rom the AC outlet
before cleaning the product. Use a damp
cloth to clean the product. Do not use liquid
cleaners or aerosol cleaners.
• Unplug the power cord f rom the AC outlet if
you do not use the product for considerab ly
long time.
• Do not use the product near water, such as
bathtub, washbasin, kitchen sink and
laundry tub, swimming pool and in a wet
basement.
• Keep the produc t away from direct rays of
the Sun-light.
• Do not place the product on an unstable
cart, stand, tripod or table. Placing the
product on an unstable base can cause the
product to fall, resulting in serious p ersonal
injuries as well as damage to the product.
Use only a cart, stand, tripod, bracket or
table recommended by the manufac turer
or sold with the product. When mounting
the product on a wall, be sure to follow
the manufacturer’s instruction. Use only the
mounting hardware recommended by the
manufacturer.
• When relocating the product placed on a
cart, it must be moved with the utmost
care. Sudden stops, excessive force and
uneven oor sur face can cause the product
to fall from the car t.
• The vents and other openings in the cabinet
are designed for ventilation. Do not cover
or block these vents and openings since
insucient ventilation can cause
overheating and/or shor ten the life of the
product. Do not place the product on a bed,
sofa, rug or other similar surface, since they
can block ventilation openings. This
product is not designed for built-in
installation; do not place the product in an
enclosed place such as a bookcase or rack ,
unless proper ventilation is provided or the
manufacturer’s instructions are followed.
• The LCD panel used in this product is made
of glass. Therefore, it can break when the
product is dropped or applied with impact.
Be careful not to be injured by broken glass
pieces in case the LCD panel breaks.
• Keep the produc t away from heat sources
such as radiators, heaters, stoves and
other heat generating products (including
ampliers).
6 Multi Format LCD Monitor Multi Format LCD Monitor 7
● Compatible with various SDI signal
formats
- This produc t is compatible with various SD I
signa ls - 480i, 576i, 1080i, 1080p, 1080psf
● All-in-one type system
- Slim and all-i n-one type monit or that
requ ires no additional accessori es, for
optimized space utiliz ation.
- This produc t is specially designed fo r studio
wall.
● Wide Screen support
- This produc t supports native 16:9 aspec t
ratio.
● Remote control function
- This produc t can simply be Remote-
controlled by cable connection without
addi tional peripheral equi pment attached to
unit.
● UMD feature support
- This produc t supports protocols pr ovided by
T VLogic or TSL protocol.
● Ethernet & USB support
- Support s Ethernet and USB connecti on for
program download and monitor control.
● DVI/HDMI(HDCP) Input support
- DVI(Digital) a nd HDMI(w/ HDCP) inputs
are avai lable without the need of e xtra
accessories.
● Dual Link support
- Support s Dual link YCbCr/RGB 4:4:4 and
YCbCr 4:2:2 formats.
● 3G support
- Support s 3G A/B formats.
● Auto Color Calibration support
- Support s Auto Color Calibration by direc tly
co nnecting the color prob es to the product.
● Optical support (Option)
- Optical be r interface is supporte d so that
S DI input is available without th e need of
e xtra accessories.
● Additional features
- Wide Viewin g Angle, Loop Through (SDI and
E thernet) and OSD user interf ace.
SWM-Series Monitors contain the following features:
2. Main Features 3. Controls & Functions
SWM-171A : FRONT / RIGHT
SWM-171A : REAR / LEFT
POWER
MENU
UP
DOWN
ENTER
DVI
SDI-A IN
SDI-A OUT
SDI-B IN
SDI-B OUT
REMOTE
TALLY
HDMI
ETHERNET OUT
ETHERNET IN
OPTIC CONNECTOR (Option)
POWER
MENU
UP
DOWN
ENTER
TALLY
8 Multi Format LCD Monitor Multi Format LCD Monitor 9
3. Controls & Functions
SWM-240A : FRONT / RIGHT
SWM-240A : REAR / LEFT
MENU
UP
DOWN
ENTER
POWER
USB
TALLY
MENU
UP
DOWN
ENTER
POWER
USB
TALLY
DVI
SDI-A IN
SDI-A OUT
SDI-B IN
SDI-B OUT
REMOTE
HDMI
ETHERNET OUT
ETHERNET IN
AC IN
OPTIC CONNECTOR (Option)
SWM-320A : FRONT / RIGHT
SWM-320A : REAR
MENU
UP
DOWN
ENTER
POWER
USB
TALLY
3. Controls & Functions
MENU
UP
DOWN
ENTER
POWER
USB
TALLY
SDI-A IN
HDMI
DVI
SDI-B OUT
SDI-B IN
SDI-A OUT
OPTIC CONNECTOR (Option)
REMOTEETHERNET
IN
AC IN
ETHERNET
OUT

10 Multi Format LCD Monitor Multi Format LCD Monitor 11
● [MENU] but ton
- Used to activ ate the OSD menu.
- When the OSD menu is a ctivated, press this
button to e xit from the menu.
● [DOWN] Button
- Used to move down thro ugh the menus
d uring the OSD menu activatio n and also to
d ecrease the value of the sel ected feature.
- When the OSD menu is i nactivated, this
b utton is used to activate f unction that is
s elected in Key Function 1.
● [UP] Button
- Used to move up throu gh the menus during
t he OSD menu activation and als o to
i ncrease the value of the sele cted feature.
- When the OSD menu is i nactivated, this
b utton is used to activate f unction that is
s elected in Key Function 2 .
● [ENTER] button
- Used to conrm a chos en value (or mode).
- May also be used to co ntrol the Bright/
Contrast /Chroma/Aperture value during the
O SD menu inactivation. Use th e UP/DOWN
b uttons to adjust the value.
3. Controls & Functions
FRONT RIGHT
● [STANDBY] lamp
- It aords power su pply, which may be
i ndicated by indication lamp. T he lamp is
R ED during power supply and GR EEN during
s ystem is in operation. In ca se of power cut
a nd sudden shut o of the power, our
m onitor keep previous setup s tage.
● [POWER] button
- Used to turn powe r on and o.
● [USB]
- This terminal is us ed to upgrade the rmware
or color calibration made by TVLogic.
● [TALLY] lamp
- LED indicating m onitors current status.
3. Controls & Functions
REAR /LEFT
<Warning!!>
When using the p roduct make sure to ground,
whenever pos sible, before connecti ng the
input signal ca ble in order to prevent any
possible dama ge to the product or connec ted
devices. The d amage may include signal
noise, malfun ction of main board or displ ay
panel. And th e connecte d devices such as
camera or vid eo source player may also
be inuenced t hrough signal cable. Please
check if the AC powe r source and the power
extender or power distributor is grounded.
● [HDMI(HDCP)] (HDMI)
- Signal input ter minal for HDMI signal.
● [DVI-I]
- Signal input ter minal for DVI DIGITAL signal.
● [SDI-A IN] (BNC)
- HD/SD SDI signal inpu t terminal for SDI A.
● [SDI-A OUT] (BNC)
- HD/SD SDI signal outp ut terminal for SDI A.
● [SDI-B IN] (BNC)
- HD/SD SDI signal inpu t terminal for SDI B.
● [SDI-B OUT] (BNC )
- HD/SD SDI signal outp ut terminal for SDI B.
● [Ethernet IN]
- Ethernet po rt for easy updates on new
f unctions and error correction.
● [Ethernet OUT]
- Supports Ethernet through out function.
● [REMOTE] (RJ- 45)
- Provides conne ction to control equipment
for ex ternal monitor control.
● [AC IN]
- Used to supply AC powe r; 100V~240V input
range.
● [OPTIC] (SFP optical conne ctor, Option)
- Optical Fibe r terminal for SDI signal input .
12 Multi Format LCD Monitor Multi Format LCD Monitor 13
● You may control various functions using
MENU, UP/DOWN and ENTER buttons on
the right front of the monitor.
● The product may be controlled and set
system-wise through OSD displayed on
the screen .
1. Press MENU button to ac tivate the OSD
m enu on the screen.
2. Move to a desired sub-menu wi th the UP/
D OWN button.
3. After sel ecting a sub-menu, pr ess ENTER
button to sele ct an item with UP/DOWN
but ton.
4. Press ENTER but ton to select the desire d
i tem. (The selecte d sub-menu will be
highlighted.)
5. Press ENTER bu tton to save the new value
after adjust ing the value with UP/DOWN
button.
6. Press MENU but ton once to return to
p revious menu and if there is no pr evious
m enu, the OSD menu will be removed f rom
th e screen.
7. To view next pag e in the sub menu, press
EN TER button at PAGE I >> PAGE II.
[1] Menu Construction
[2] Menu Control
[3] Menu Control Sequence [5] Menu Tree
4. Menu Tree & Adjustment 4. Menu Tree & Adjustment
SW M-17 1ASDI A
A. MENU, UP/DOWN, ENTER Bu tton Status.
B. Model name(SWM-171A).
C. Current input signal.
D. Current input signal resolution.
[4] Main Menu Window inforrmation
A
C B
D
SW M-17 1A
1080/60i
SDI A
PICTURE
BRIGHT
CONTRAST
CHROMA
PHASE
APERTURE
BACK LIG HT
BL UE O NLY
USER ASPECT HORIZONTAL
USER ASPECT VERTIC AL
VIDEO
DITHERING
FILTE R
FAS T MOD E
FORCE psf
FILM MODE DETECTION
SDI FORMAT
SDI SAMPLING
3G FORMAT
VIDEO RANGE SELEC T
COLOR
COLOR TEMP
GAIN RED
GAIN GREEN
GAIN BLUE
BIAS RED
BIAS GREEN
BIAS B LUE
COLOR COPY
GAMMA CURVE
1080/60i
BRIGH T
CONTR AST
CHROMA
APERTURE
BACK LIGHT
BLUE O NLY
USER ASPECT H
USER ASPECT V
BRIGH T
CONTR AST
CHROMA
APERTURE
BACK LIGHT
BLUE O NLY
USER ASPECT H
USER ASPECT V
0
0
0
MIN
100
OFF
1366
1366
0
0
0
MIN
100
OFF
1366
1366
DI SPL AY
HD DISPLAY MODE
TIME CODE ENABLE
ORBITER CIRCUIT
CLOSED CAPTION
608 CAPTI ON SELECT
708 SERVICE SELECT
TELETEXT PAGE
H/ V D ELAY
SCAN
ASPECT
GPI
GPI 1~GPI 8
UMD DISPLAY
D-UMD TALLY TYPE
TALLY 1 COLOR / B0:0 B1:0
TALLY 2 COLOR / B0:0 B1:0
TALLY 3 COLOR / B0:0 B1:0
TALLY 4 COLOR / B0:0 B1:0
DHCP
IP ADRESS
SUBNET MASK
GAT EWAY
PORT NO
NETWO RK SETTING APPLY
UMD CHA RACTER
UMD CHA RACTER COLO R
UMD BG.TRANS
 Loading...