

Triumph Tina T10 Owner's Handbook Manual
www.triumphtina.com
OWNE
www.triumphtina.com
TRIUMPH
MERIDEN WORKS, ALLESLEY, COVENTRY
SCOOTER
Telephone:
6.S.A.
SERVICE
MERIDEN
PRESS
DIVISION,
33/

INTRODUCT·ION
www.triumphtina.com
This handbookiswritteninsimple terms andisfully illustra:ted.
It
contains
but
willbeabletoassist you.Incases of difficulty,
at Meriden Works, Allesley, Coventry, telephone Meriden
be
contacted
QUOTE
scooter. These are stated
on
the
of
the
especially those living
spares list are available. The service handbook
with exploded and assembled illustrations giving a comprehensive
view of
all
the
if
you need further helporadvice,inmost cases your dealer
THE
right side crankcase and
frame. For
all
information
by
letter
FULL
ENGINE AND
the
more mechanically minded scooter owners,
internal parts.
that
the
normal owner
our
or
telephone.Ifyou do this
in
you r registration book
in
remote areas, a service handbook and
the
FRAME
starter
NUM~ERS
pedal cross tube part
will
Service Division
ALWAYS
and
are starn ped
is
fully illustrated
require,
331
of your
can
Bore
...
Stroke
Enginecapacity
Compression ratio
Ignition timing
Contact breaker gap
Spark plug ...
Spark plug gap
Carburettor:
Fuel/oil ratios
(with self-mixing oil)
Fuel
tank capacity .
Rear hub capacity .
Bulb
sizes: front
Wheel size ...
Tyre pressure: front
Di
mensions: height
t J
make and type
main
needle
needle position ...
throttle
pilot
rear
rear
width
length
weight
USEFUL
jet
...
jet
slide
let
...
DATA
50.4
mm.
(1.984
50.0
mm.
c.c.
in.
B.T.C.
in.
in.
type
(1.969
(6.1
(2.4
(0.45
(0.75
99.75
7 : I
3/32
22°
0.018
Champion N.4
0.030
Amal
95
0.105
3rd
/4
15
24 : I running-in
30
: I normal running
pint of
50
6-volt 18/18 watt.
6-volt 3 watt.
3.50x8
38
24 in.
68t
I
t galls.
c.c.
12
Ibs./sq. in.
16
Ibs./sq. in.
in.
in.
150
Ibs.
oil
(6.7
in.)
in.)
cu.
in.)
mm.)
mm.)
mm.)
32
to
I gallon petrol.
litres)
.
B.T.C.,
or
*
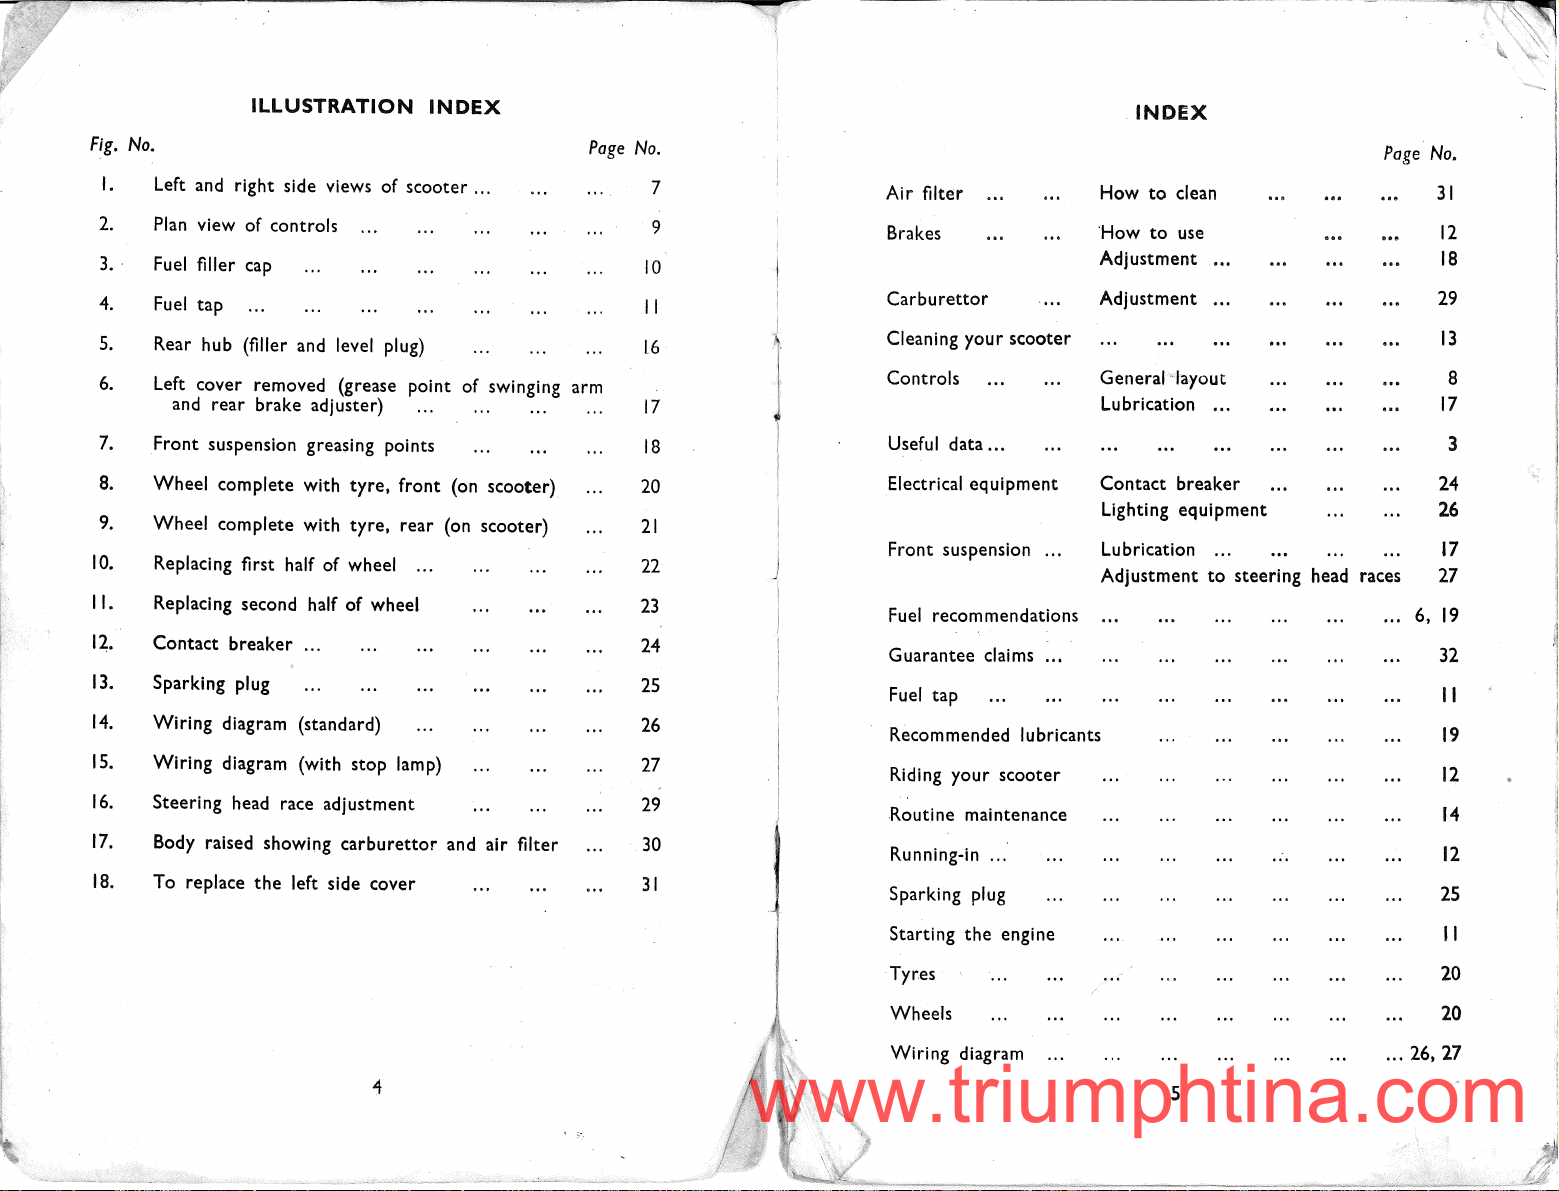
ILLUSTRATION
www.triumphtina.com
Fig.
No.
I. Left and right side views of scooter ...
2.
Plan
view of controls
3.
.
Fuel
filler cap
4.
Fuel
tap
5.
Rear hub (filler and level plug)
6.
Left cover removed (grease point of swinging arm
and rear brake adjuster)
INDEX
Page
No.
10
II
L6
17
INDEX
Page
No.
7
9
Air
filter
Brakes
Carbu
rettor
Cleaning your scooter
Controls
to
How
'How
Adjustment
Adjustment
G
en
Lu
clean
to
use
erali,chlyo
brication
31
12
18
29
13
ut
8
17
7.
8.
9.
10.
II.
I~.
13.
14.
15.
16.
17.
18.
Front suspension greasing points
Wheel complete with tyre, front (on scooter)
Wheel complete with tyre, rear (on scooter)
Replacing first half of wheel ...
Replacing second half of wheel
Contact breaker
Sparking plug
Wiring diagram (standard)
Wiring diagram (with stop lamp)
Steering head race adjustment
Body raised showing
To replace
the
left side cover
carburettor
and air filter
18
20
21
22
23
24
25
26
27
29
30
31
UsefuI data ...
Electrical equipment
Front suspension ...
Fuel
recommendations
Guarantee claims
Fuel
tap
Recommended lubricants
Riding your scooter
,Routine maintenance
Running-in ...
Sparking plug
the
Starting
Tyr.es
.
Wheels
engine
Contact breaker
Lighting equipment
Lu
brication ...
to
Adjustment
steering head races
3
24
26
17
27
6,
19
32
II
19
12
14
12
25
JI
20
20
Wiring diagram
...
26,27
5

DESCRIPTION
www.triumphtina.com
The engine
two-stroke
generator
fitted. Transmissionisfully automaticby"V"
reduct.ion gear
which under centrifugal force cause
the
"V"
is
varied accordingtoload and engine speed.
The front suspensionisa trailing link controlled
compression. The rear suspensionisa swinging arm controlled
a Girling suspension unit. The brakes are cable operated
diameter internal expanding. The wheels are interchangeable and
the
of
equipment and horn are supplied direct from
,incorporatedinthe
running.
Fuel and
is
a horizontally mounted single cylinder, fan-cooled,
having a capacity of
withanexternal ignition coil.
in
the
rear hub. The front pulley
belttorun higher on
split rim type, fitted with
flywheel and operate only when
TAKING
Oil.
YOUR
SCOOTER
100
c.c. Ignitionisby
An
Amal
carburettor
belttoa single stage
has
the
platestomove closer and
the
pulley. The effective gear ratio
3.50x8in.
ON
three
by
tyres..The lighting
the
A.C. generator
the
THE
ROAD
flywheel
weights
rubber
five
engine
inch
is
in
by
is
The engineislubricated
that
the
lubricating oilismixed with
mixture. The
mixture of
is
This
.premium grade but not
be used. Before mixing fuel
This ensures
clogs
amount
Although
and
available ready mixed from most garages.
If
you havetomix your own petroil, you should use regular
the
petrol
correct
Iin24
fuel system. To mix
of
the
for
that
petrol and then add
oil
contentofthe
without
by
the
"petroil"
mixture for your scooterisan
"running-in"
100
no
undiluted oil reaches
oil
must
and Iin30
octane petrol. Self-mixing oil should
in
the
tank
the
fuel, first putinthe
the
fuelissmall itismost important
never
system which means
the
fuel
turn
correct
be
used.
to
form petroil
for normal running.
off
the
oil petrol
the
fuel tap.
carburettor
quantity
required
of
oil.
or
or
6
Fig.
I.
Left
and
right
side
viewsofscooter.
7
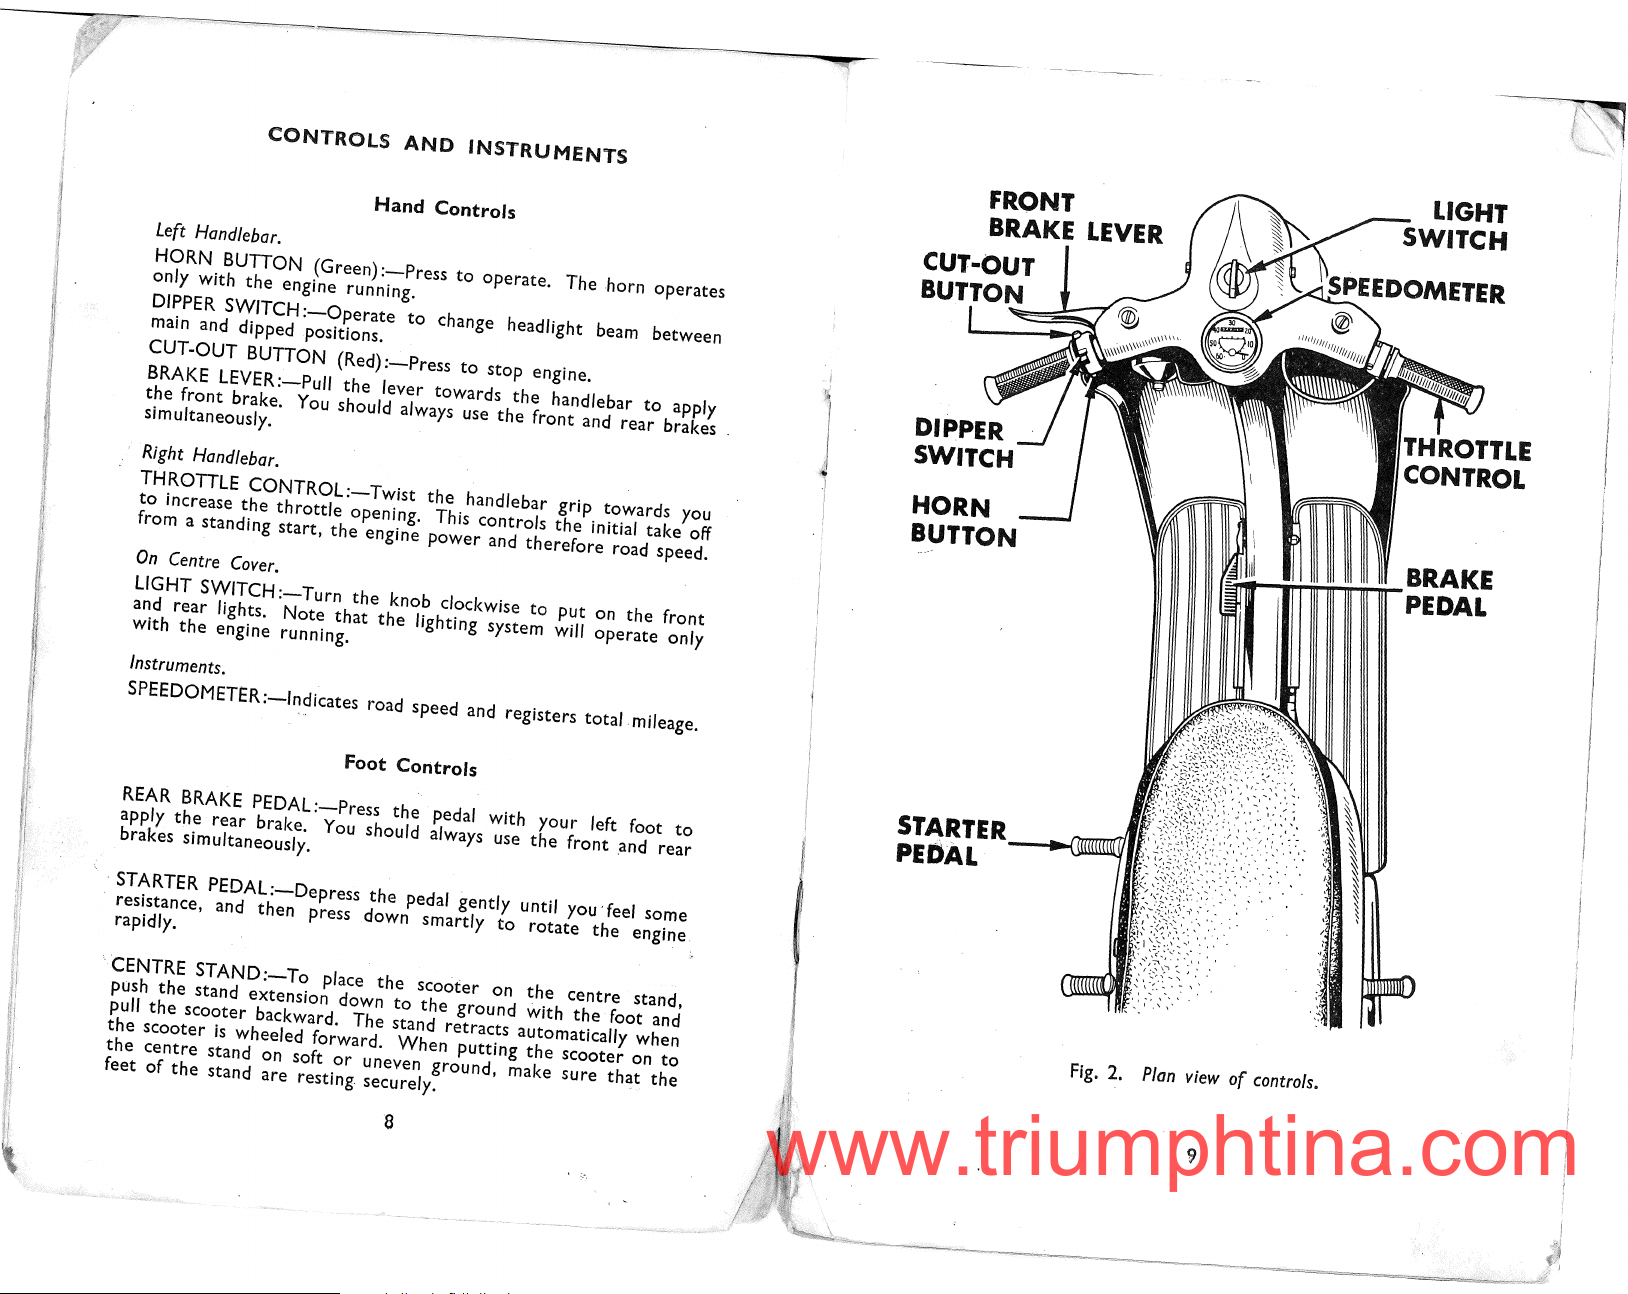
CONTROLS
www.triumphtina.com
AND
INSTRUMENTS
Left
Handlebar.
HORN
only
DIPPER SWITCH
main
CUT-OUT
BRAKE
the
simultaneously.
Right
THROTTLE
to
from a standing
On
LIGHT
and
with
BUTTON
with
the
and dipped positions.
LEVER:-Pull
front
brake. You should always use
Handlebar.
increase
Centre
rear
the
the
Cover.
SWITCH:_
lights.
engine running.
Hand
(Green):-Press
engine running.
:-Operate
BUTTON (Red)
the
CONTROL:-Twist
throttle
start,
Note
opening. This controls
the
engine
Turn
the
that
Controls
to
operate.
to
change headlight beam between
:-Press
lever
knob clockwisetoput
the
to
stop
towards
the
power
lighting system will
the
handlebar
and
engine.
the
handlebar
front
grip
the
therefore
The horn
and
to
rear
towards
initial
take
road speed.
on
the
operate
operates
apply
brakes
front
only
Instruments.
SPEEDOMETER:-Indicates road speed and registers total mileage.
Foot
Controls
you
off
FRONT
BRAKE
CUr-OUT
Burro
HORN
BUTTON
LEVER
REAR
BRAKE
apply
the
brakes simultaneously.
. STARTER
resistance, and
rapidly.
;
CENTRE
pUsh
the
pull
the
the
the
feetofthe
SCooter backward. The stand
SCooter
centre
PEDAl:-Press
rear
brake. You should always
PEDAL:-Depress
then
press down
STAND:-To
stand extension downtothe
is
wheeled forward.
stand
on softoruneven
stand
are
place
resting
the
the
pedal
the
SCooter
When
securely.
8
smartly
pedal
gently
ground
retracts
putting
ground,
with
your
the
front
rotate
centre'
SCooter on
sure
left foot
the
the
that
Use
until you 'feel some
to
on
the
With
automatically when
the
make
.and
rear
engine
stand,
foot and
to
the
to
.
ST"~TER_""""\llUl\\.lli1l
PEDAL
Fig.
2.
Plan
viewofcontrols.
 Loading...